Deploy a Remote Agent Contact Center in 30 Minutes With Twilio Flex
Time to read: 5 minutes
March 26, 2020
Written by

You might be in a position where you urgently need a new contact center that enables your employees to work remotely. This article will guide you through deploying Twilio Flex – a cloud-based contact center with native WebRTC support – in just 30 minutes.
Twilio Flex can be instantly provisioned and provides you the immediate ability to start testing voice calls, SMS, and web-chat. In this blog post, we'll show you how to quickly create a solution that enables contact center agents to work from their homes.
Before We Get Started...
- To get started with the project you will need the following Twilio account. Sign up for a free trial account and get a $10 credit.
Deploy a Remote Agent Contact Center
Now that you are logged into your Twilio account, you’re ready to start setting up a new Flex Instance.
In these next steps, I’ll guide you through creating your new Flex project, familiarizing yourself with Flex tasks, and adding Agents. Then we’ll discuss trial restrictions, options to enhance voice quality, and finally deploy your instance and test!
Let’s get started.
Create a Twilio Flex Project
To kick things off, we first need to set up a Twilio Flex Project.
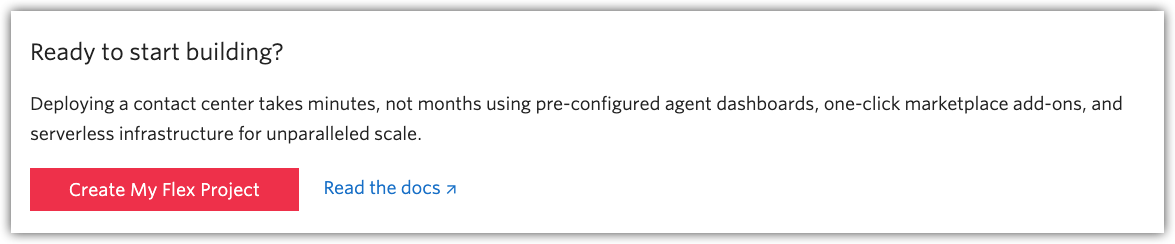
Login to Twilio Console with a pre-existing account, or sign up for a Twilio account. Navigate to Flex and select ‘Create My Flex Project’:
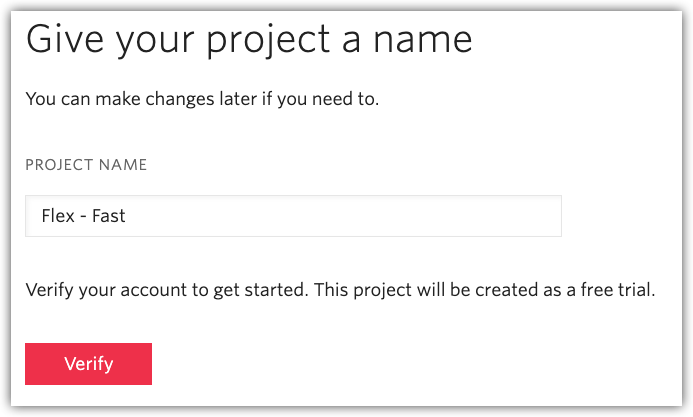
The console will guide you through the process, but start by entering a name for your new project:
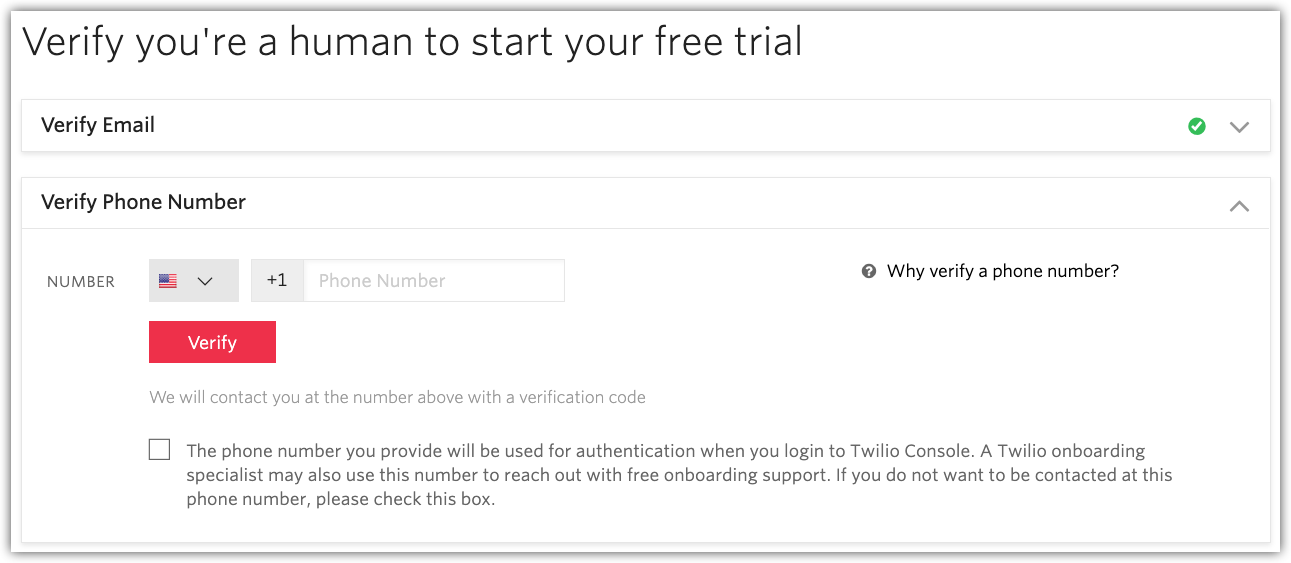
After you entered your Project Name, you will walk through the Verify process.
Follow the instructions on the next screen to start the verification process:
After your project is verified, Flex will run through an initialization process to get your new Flex account setup.
Once this process is complete, you will be redirected to your new Twilio Flex contact center.
Congratulations! You now have a cloud-hosted contact center running on Twilio!
Get Started with Flex
The first time you access Flex we provide you with some initial tasks that will help you get started. Of course – you might be asking yourself “What is a task?”.
Typically, tasks are voice calls, chat messages, or SMS messages – but with Flex you have the ability to route whatever you want. Tasks are the items that Flex routes to the contact center workers; these initial tasks are here to guide you through additional steps you can take when setting up Flex.
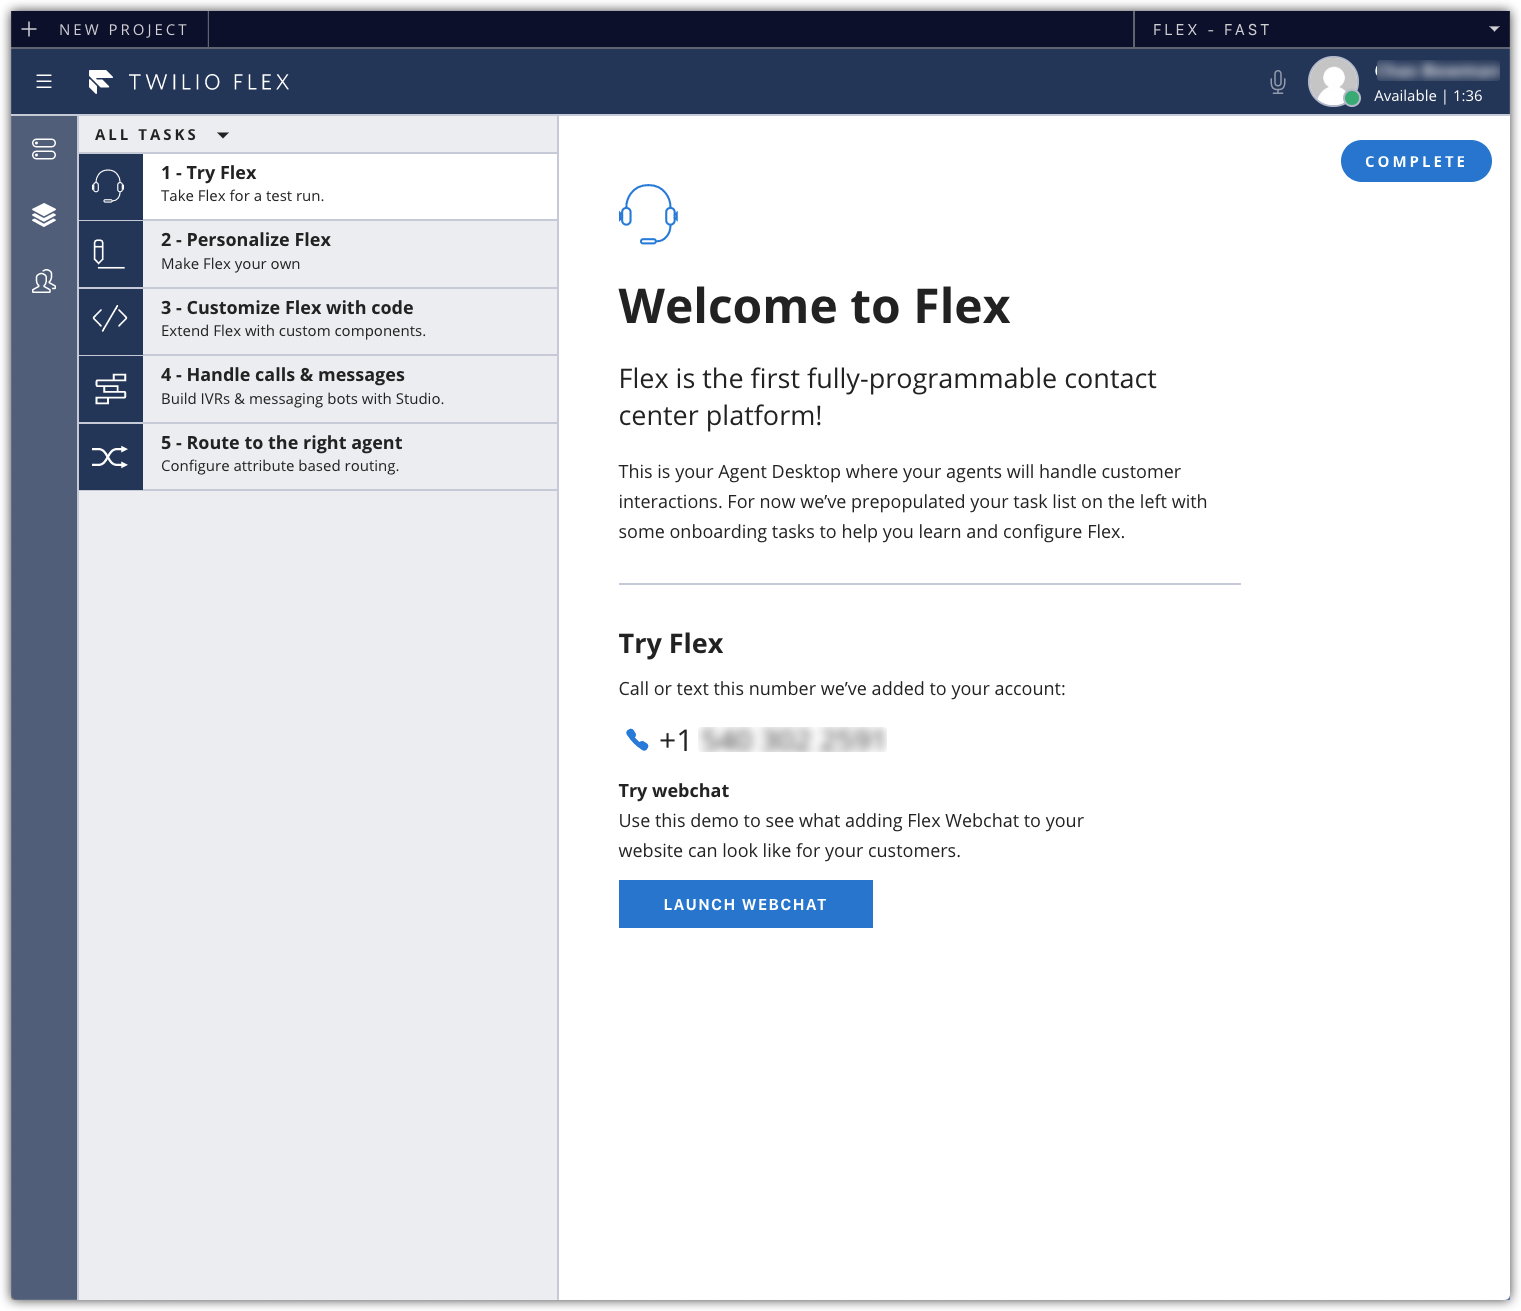
With your newly created Flex project, you can immediately start testing.
Go ahead and test by making a call or sending an SMS to the number provided. (You can also try sending a chat message by clicking the ‘Launch Webchat’ button.) When you test your new Flex instance you will be alerted of a new incoming task. New tasks will appear in the Task List, where the 5 starter tasks appear.
Now you’ve verified that you can see new incoming tasks, and your Flex project is now up and running!
At this point in time, your Flex account is still a Trial Account. In the next section, we will walk through upgrading from the Trial account.
If you want to know more about the free Twilio trial account, take a look at this page.
Get Ready for Agents
Flex leverages Single Sign-On (SSO) to automatically provision contact center agents. The Twilio Flex Documentation provides guides for configuring common SSO providers.
Check out these guides for step by step instructions on how to set up single sign-on with some of the more common SSO providers:
- Configure Google SSO with Flex
- Configure Okta IdP with Flex
- Configure Azure Active Directory with Flex
- Configure Salesforce SSO with Flex
Upgrade from a Flex Trial Account
You now have a Flex contact center operating in trial mode. In this mode, you can work on internal testing and try out additional customizations.
In trial mode, you are restricted to receiving incoming calls from verified numbers, plus any caller will hear a “Twilio trial” message. To remove these restrictions, accept the Fair Use Policy for Flex and select a pricing plan.
(For more information on Flex pricing please refer to our pricing page.)
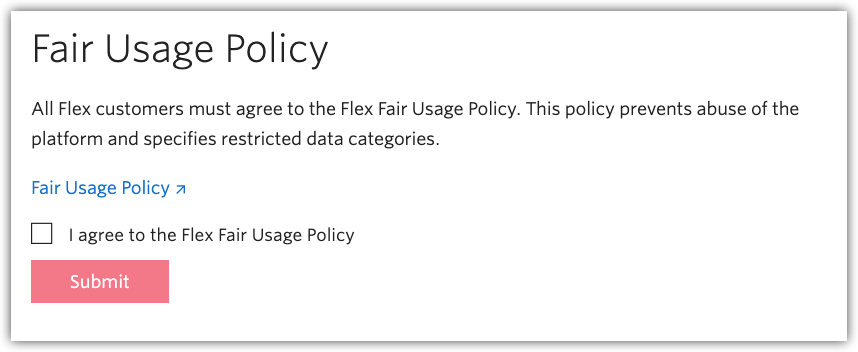
When you’re ready to leave the trial, first verify that you are logged into Twilio Console and have the Flex project loaded. From the same browser window, navigate to https://www.twilio.com/console/flex/fair-usage-policy.
Review the Fair Usage Policy, then check the “I agree to the Flex Fair Usage Policy” box, and finally click ‘Submit’.
Next, navigate to the Flex Pricing page and select the appropriate pricing method. The process will guide you through selecting the best option, including staying on the free tier. It is important to note that you will need to provide a billing method to pay for usage fees.
- Open the Flex Pricing page, https://www.twilio.com/console/flex/pricing
- Click Get Started to select a model and enter your billing information.
Deploy your Flex Instance
Flex is now up and running and is ready to be used by your contact center employees. If you’ve configured SSO, your employees can launch Flex from your SSO application. If you have not yet configured SSO you can access flex directly from your Chrome browser at https://flex.twilio.com/<FLEX_DOMAIN>?path=/agent-desktop.
(You can find your Flex domain at the Flex Single Sign-on page.)
If you need to add more functionality, check out our additional next steps.
Enhance Voice Quality
Flex makes it simple to deliver voice to your contact center agent using the web browser, without any additional software required. This is accomplished by using WebRTC to stream the audio to the agent's web browser. The stream can be delivered using the traditional g.711 codec, or OPUS, a more modern and dynamic codec.
OPUS was designed to account for the inconsistent network conditions of a typical home network. Out of the box, Flex is configured to use g.711 for the audio stream.
OPUS can be enabled from either the Flex Configuration API or the command line. Next, I’ve included an example CuRL command you can run to set OPUS as the preferred codec. Replace “ACxxx” with your Flex Account SID and the “auth_token” with your Auth Token. You can find these values on the home screen in the Twilio Console.
Testing Your Instance
Your Flex instance is provisioned with a Twilio Phone Number. You can test your Flex Project by calling in and sending SMS messages to that phone number. From the Flex Admin view you will find a button to test Webchat.
For the OPUS section, the easiest way to verify the OPUS configuration is to use the Chrome Developer Tools. Login to Flex and open the Chrome Console.
Enter the following command to view the codec configuration:
With an active call, enter this command to see the codec for that specific call:
Next Steps with Flex
Now that you have a running Flex instance, you’re in great shape!
Next, consider what to do with your IVR, how you’ll route your incoming interactions to agents, and how you want to customize your branding and front end. Here are some helpful links to guide you on your next steps:
- Set up an IVR on Flex using Twilio Studio
- Skill-based Routing and Agent Management
- Configure Themes on Flex
We hope this post has helped you get your contact center up and running quickly. However, if you do get stuck, please reach out to our friendly Customer Support team for help. We can’t wait to see what you build!
Chas Bowman is a Contact Center Solution Architect with over 20 years of experience in the contact center market. He enjoys evangelizing technology and helping customers deliver amazing customer experiences. He can be reached at bowman [at] twilio.com.


Related Resources
Twilio Docs
From APIs to SDKs to sample apps
API reference documentation, SDKs, helper libraries, quickstarts, and tutorials for your language and platform.
Resource Center
The latest ebooks, industry reports, and webinars
Learn from customer engagement experts to improve your own communication.
Ahoy
Twilio's developer community hub
Best practices, code samples, and inspiration to build communications and digital engagement experiences.