Travel the World with FlyoverKit in Swift
Time to read:
November 16, 2018
Written by

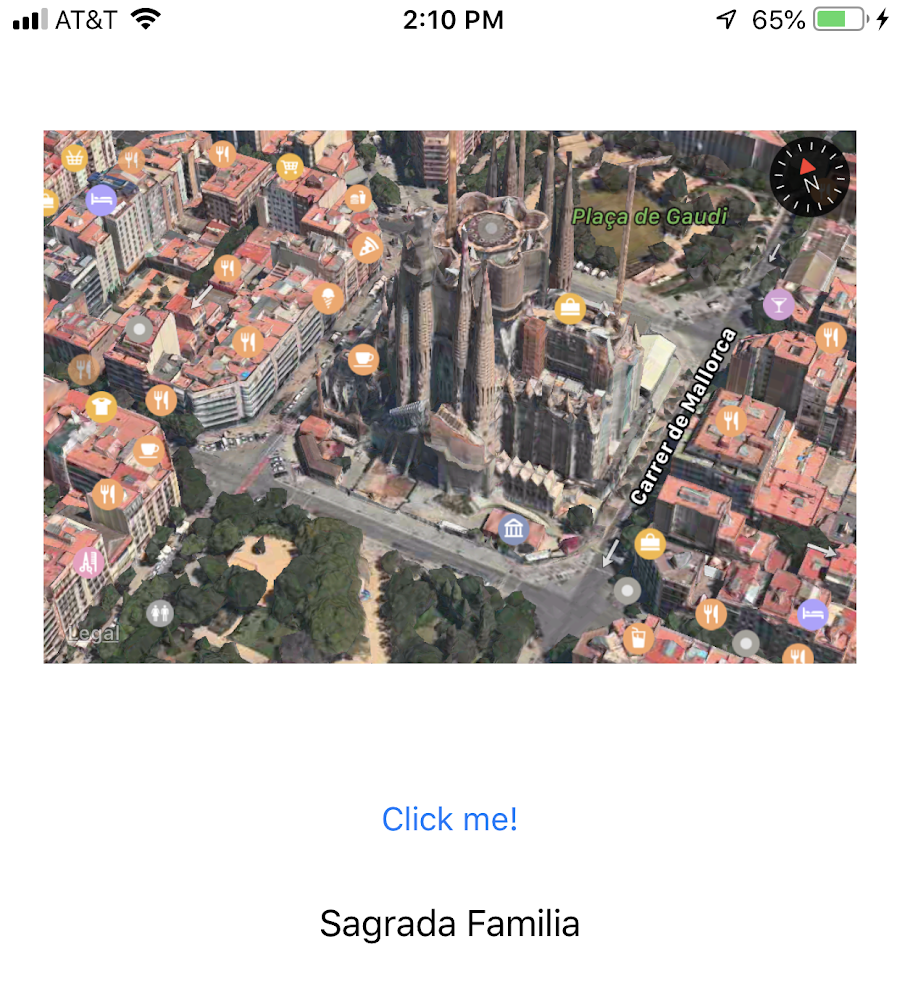
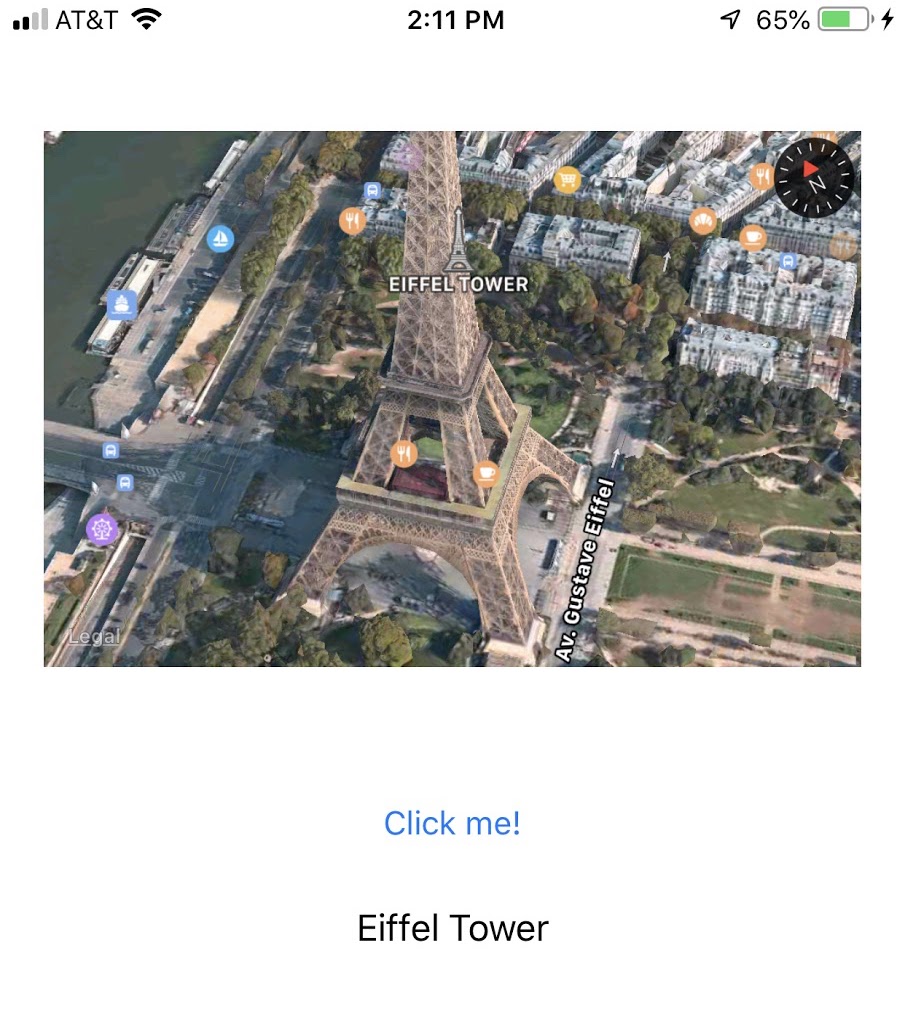
I was a bit jealous to see some of my peers visit multiple cities and countries after graduation. What if we could build an app that could take us to all those places instead? FlyoverKit is a Swift library that presents you with "stunning 360° flyover views of various monuments on a MKMapView." This post will go over how to see different sights with FlyoverKit by generating a random location at the click of a button. The Sagrada Familia and the Eiffel Tower (shown below) are just a few of the locales we'll be flying over in this post.
In part two of this multi-part series, we will go over how to travel the world with FlyoverKit with speech recognition in Swift.
Setup
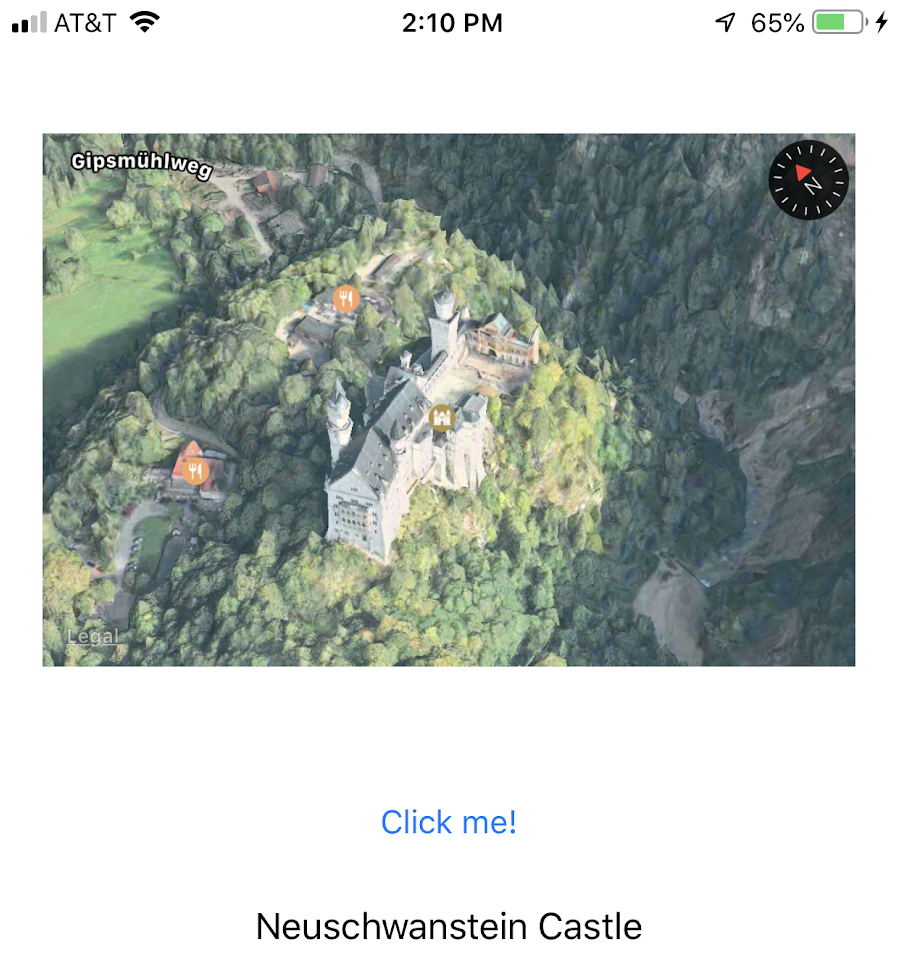
This post uses Xcode 10 and a Mac which you will need to follow along. Preferably you will also have a physical iOS device to test on to view the hybridFlyover-style map as shown in the screenshot above--otherwise, you can use Standard or SatelliteFlyover, both of which are also shown in the gif above. The hybrid view offers more detail and realism than the standard or satellite views.
First let's make a new single-view iOS project in Xcode. Because we'll need to install FlyoverKit as an external dependency in this app, we'll use Cocoapods for this. Initialize the app with pod init on the command line in the same directory as your Xcode project, and then open the Podfile and add this line below use_frameworks!:
pod 'FlyoverKit', '~> 1.2.0'
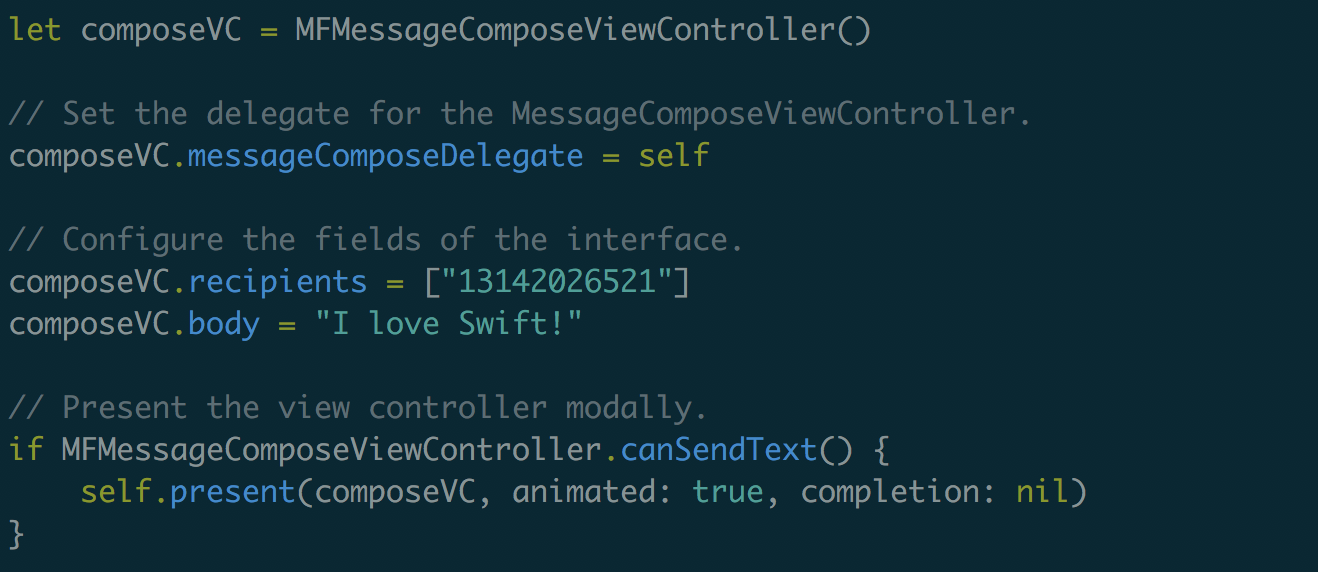
On the command line again run pod install, close XCode, and open up your project's workspace. There in ViewController.swift add the following import statements at the top.
MapKit will be used to create a mapView instance for the FlyoverKit library. Right below the import statements our ViewController will need to inherit from MKMapViewDelegate in addition to UIViewController like this:
Setting up our Storyboard
Now let's go over to Main.storyboard and click on the library button at the top and search for a button (called locButton), label (called placeLbl), and MKMapView (called mapView) to drag-and-drop onto the storyboard. The label will display the randomly-generated location from a button click action (which we'll code later on), and a MKMapView. Dragging, dropping, and connecting the map view can be done in XCode 10 as shown below.
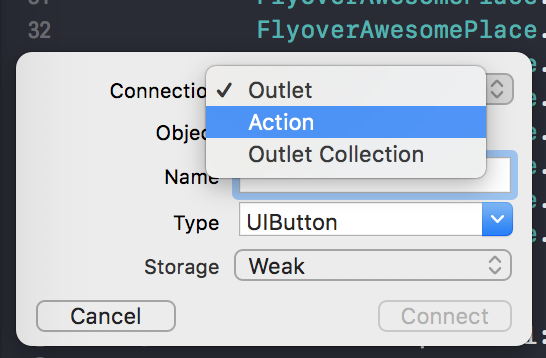
You can connect the label and button in the same manner. Additionally for the button, after you drag-and-drop it as an outlet, make sure you drag-and-drop again but make the second one an action like below. The action will be used in this post, the button as an outlet will be used later on.
Let's name that function locButtonClicked. We'll get back to it later.
Around the World: Setting up our Map
A map camera will fly over a randomly-generated monument. We need to initialize our map in ViewController.swift. Add the function below to the ViewController class:
This function sets up our map and also enables scrolling, zoom, and the appearance of buildings in our map. So that we can see the mavView we add it as a subview to the main view. To set up the map when the view loads, add the following lines to viewDidLoad:
If you run this code, you will see a map of America according to the attributes we set in the mapSetUp function. That's all good and fun but now it's time to fly over some famous tourist attractions.
FlyoverKit Code
Now we're going to implement FlyoverKit to visit famous landmarks.

Right below the viewDidLoad function, define a dictionary with the cool sights we can visit with FlyoverKit. Our keys will be clean string versions to display on the label and the corresponding values will be the places as FlyoverAwesomePlace objects.

Let's go back to the locButtonClicked function that we generated for our button earlier. We're going to add the code that will come up with random place to visit and then configure FlyoverKit to take us there. Start by getting the location and setting up the camera:
Look at that spiffy Swift 4 code! First we used randomElement to generate a random dictionary element. randomElement can be used on any Collection, like arrays, sets, and dictionaries. It is important to note that the returned random element is an optional so we will have to unwrap it later. Then we create a FlyoverCamera to add to our existing mapView At this stage we can configure how the camera acts.
- Duration is the duration of the animation
- Altitude is the altitude above the ground in meters
- Pitch is the viewing angle of the camera in degrees
- HeadingStep is the direction step added to the camera in each flyover iteration measured in degrees
Beneath that code let's start the camera and pass it the randomly-generated dictionary value rand. Then we use Swift's Grand Central Dispatch to delay the running of code: here, we stop the camera after six seconds to create a smoother animation transition after changing locations. Lastly we set the label text to be the corresponding dictionary value.
If you want to learn more about Grand Central Dispatch you can visit the official Apple documentation on it here, there's some good Ray Wenderlich tutorials like this one, and Paul Hudson has written generally about GCD and also about delaying code.
Run the Completed App and Travel
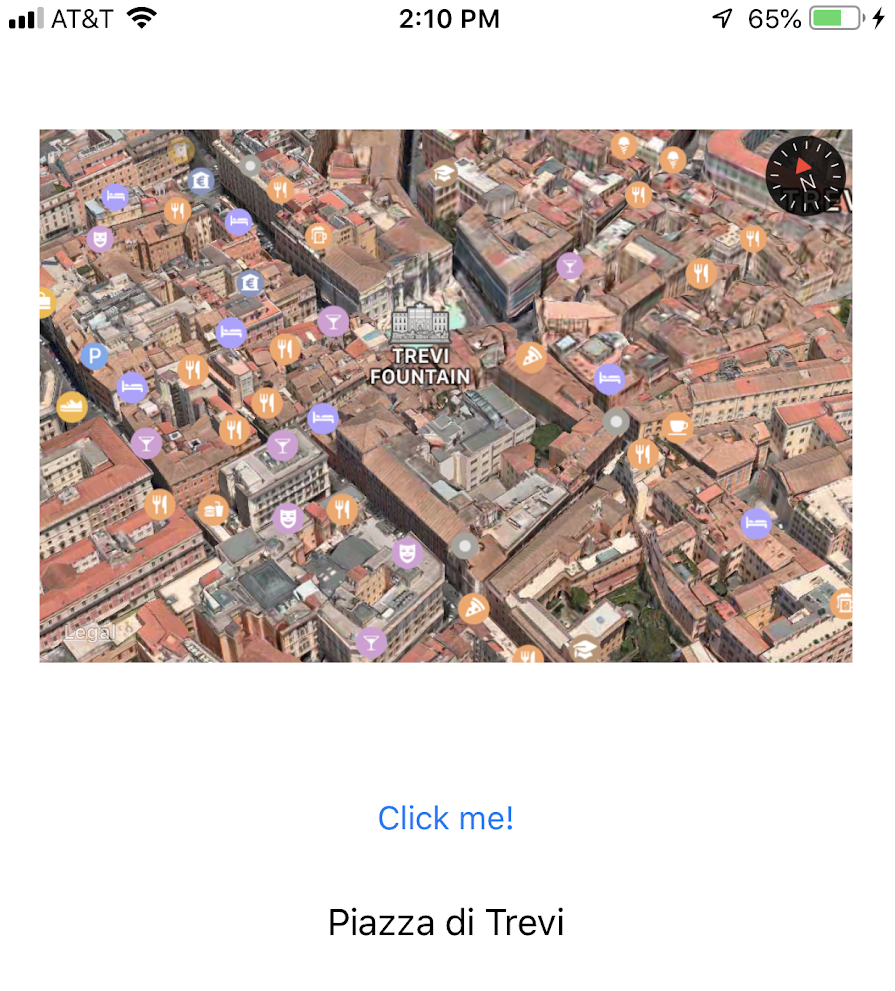
Let's run the app on a physical device and click the button to visit places like the Statue of Liberty, New York, Golden Gate Bridge, Central Park, Googleplex, Miami Beach, Luxor Resort, Brandenburger Gate, Hamburg Town Hall, Cologne Cathedral, Munich Church, Neuschwanstein Castle (good luck pronouncing that!), Hamburg Philharmonic, Colosseum, Muenster Castle, Piazza di Trevi, Sagrada Familia, Big Ben, and others included in the FlyoverKit docs. Your device should show a screen like one of these:
What's Next?
Time to play around with this cool Swift library. Instead of just using these famous locations included with FlyoverKit, you could use other databases of facts and visit those locations based on longitude and latitude values, as well as getting your own current latitude and longitude and finding some place near you.
Some cool APIs involving location include the Yelp API, Google Maps API, Foursquare API, and more! Need some other resources to check out about autoconstraints? Check out Getting Started With Auto Layout for iOS in Xcode 8 (it's an older version of Xcode but still relevant) or Working with Xcode Auto Layout in Swift and iOS Projects.
The complete code can be found here on GitHub. Where do you want to travel next? Let me know in the comments or you can find me on Twitter @lizziepika or lsiegle@twilio.com, and stay tuned for part two of this series.


Related Resources
Twilio Docs
From APIs to SDKs to sample apps
API reference documentation, SDKs, helper libraries, quickstarts, and tutorials for your language and platform.
Resource Center
The latest ebooks, industry reports, and webinars
Learn from customer engagement experts to improve your own communication.
Ahoy
Twilio's developer community hub
Best practices, code samples, and inspiration to build communications and digital engagement experiences.