Send email when files are uploaded to Amazon S3 with AWS Lambda and SendGrid using C# and .NET
Time to read:
March 20, 2023
Written by
Reviewed by

You can store files and data using the Amazon S3 service in all types of projects. Managing these files can be difficult if you don't know they have been uploaded.
In this post, you are going to create a function with AWS Lambda to monitor files that are uploaded to the Amazon S3 service, and this function will send an email with the metadata (name, size, among others) to notify you what has happened in the repository files.
Prerequisites
You will need a free Twilio SendGrid account. Sign up for a SendGrid account here and send up to 100 emails per day completely free of charge. You will also need an AWS account.
Finally, you will need the following for your development environment:
- a .NET IDE (Visual Studio, VS Code with C# plugin, JetBrains Rider, or any editor of your choice)
You can find the source code of this tutorial in this GitHub repository.
Configure SendGrid
Configure a Single Sender in SendGrid
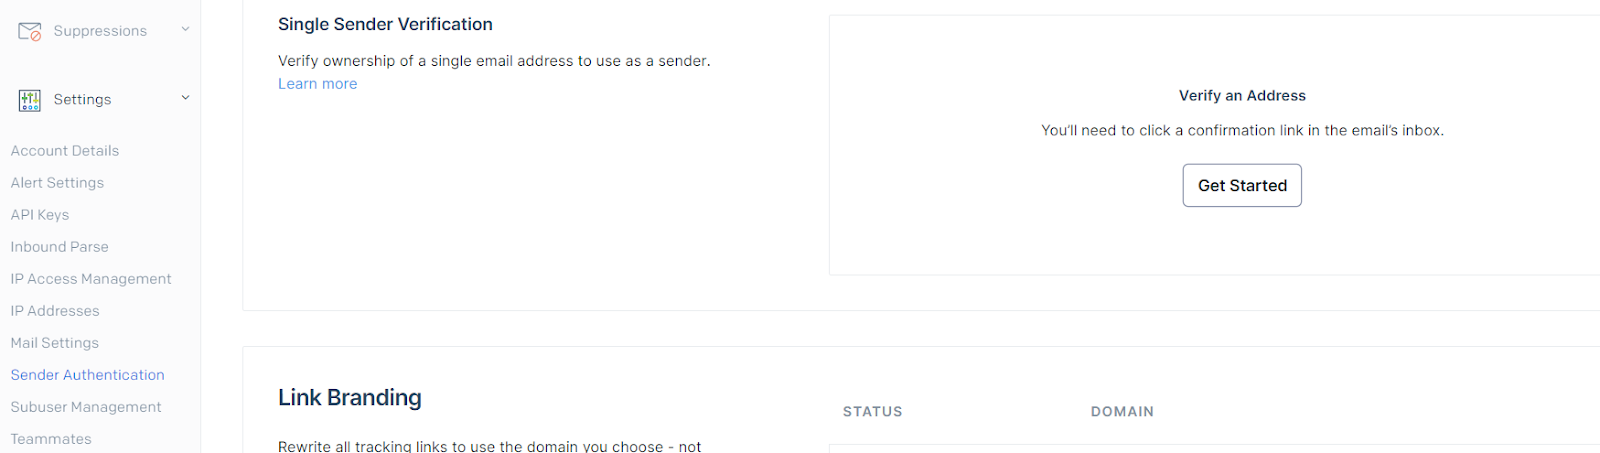
The information entered in the form that you will create later will be sent by email through Twilio SendGrid, and you need to verify ownership of an email address or domain so that the service can send messages on your behalf. To start quickly, you will use Single Sender Verification for this tutorial. This verifies that you own the email address to which the application will send emails. Single Sender Verification is great for testing purposes, but it is not recommended for production.
To do this, go to the Sender Authentication option, and then in the Single Sender Verification section, select Get Started.
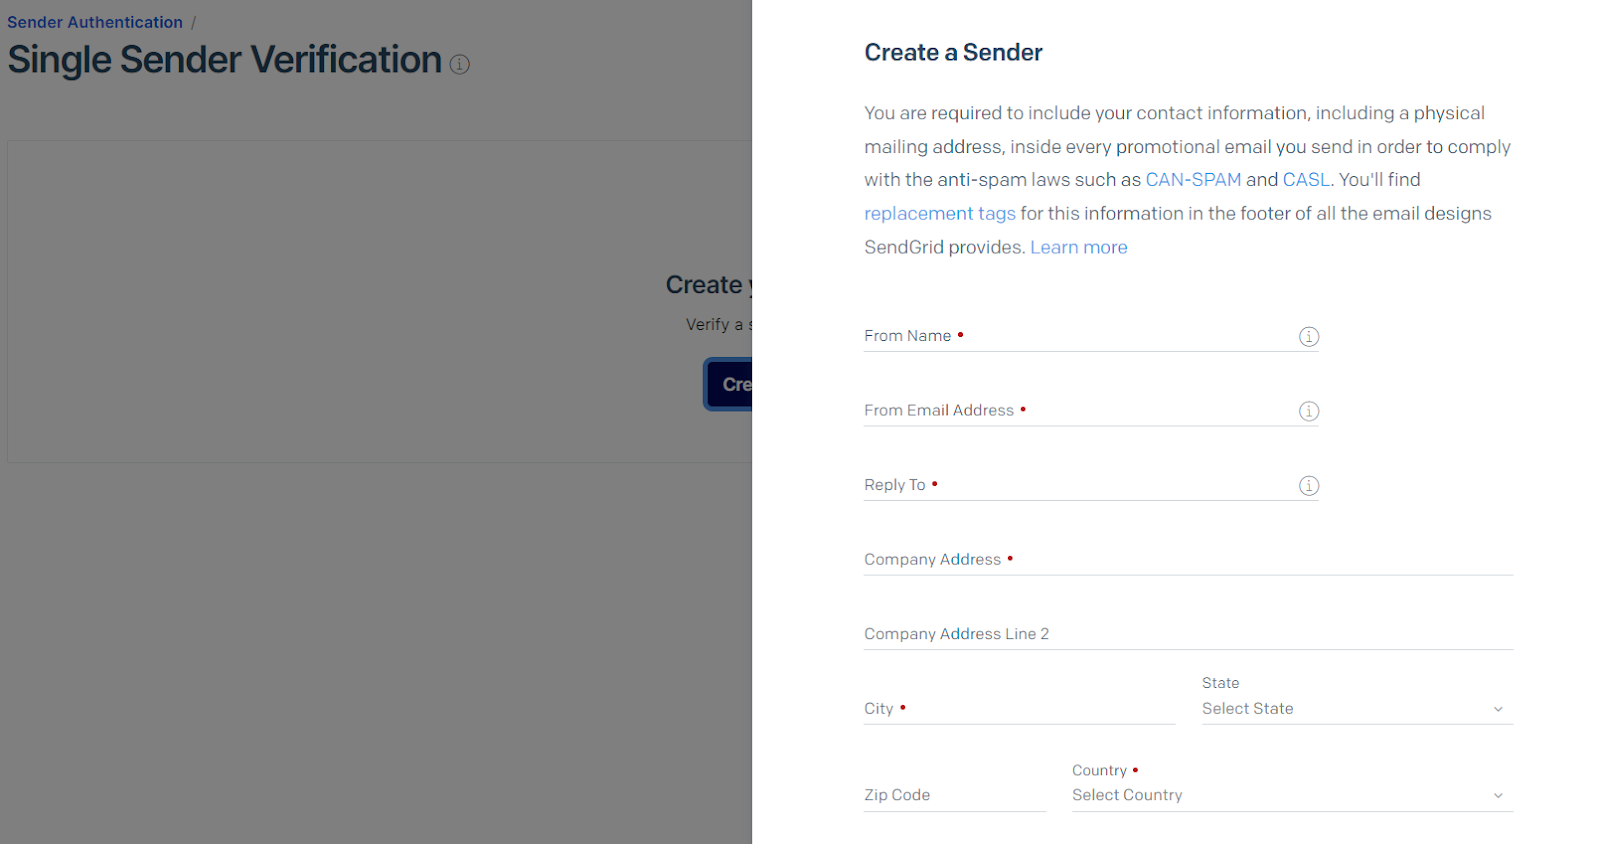
Complete the form, specifying in the From field the email address that you will send the emails from. It must be an email address that you have access to because you will receive a verification email.
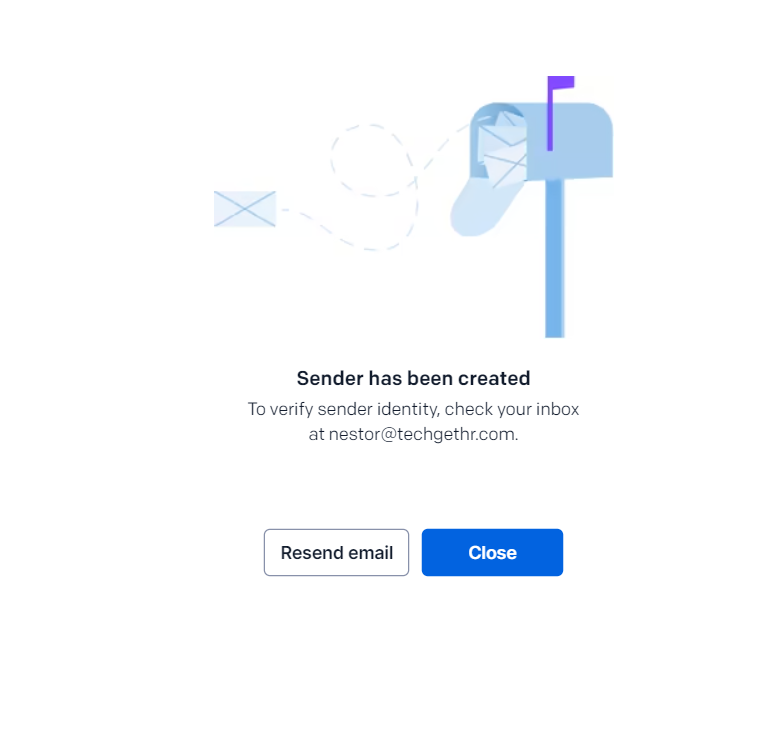
After creating the sender, you will receive an email to confirm your ownership of the specified email address.
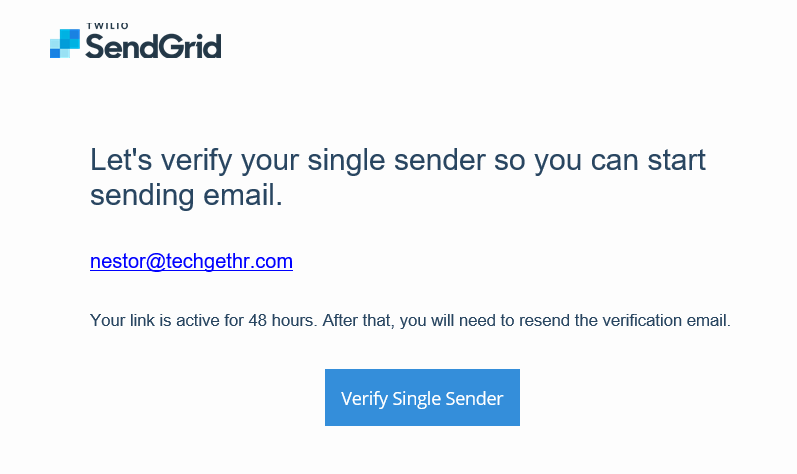
An email will arrive in a few seconds or minutes with a link that you must access to confirm and verify your ownership of the existing email box. Find the email and click Verify Single Sender.
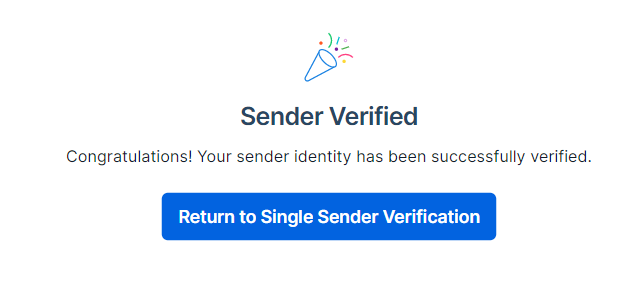
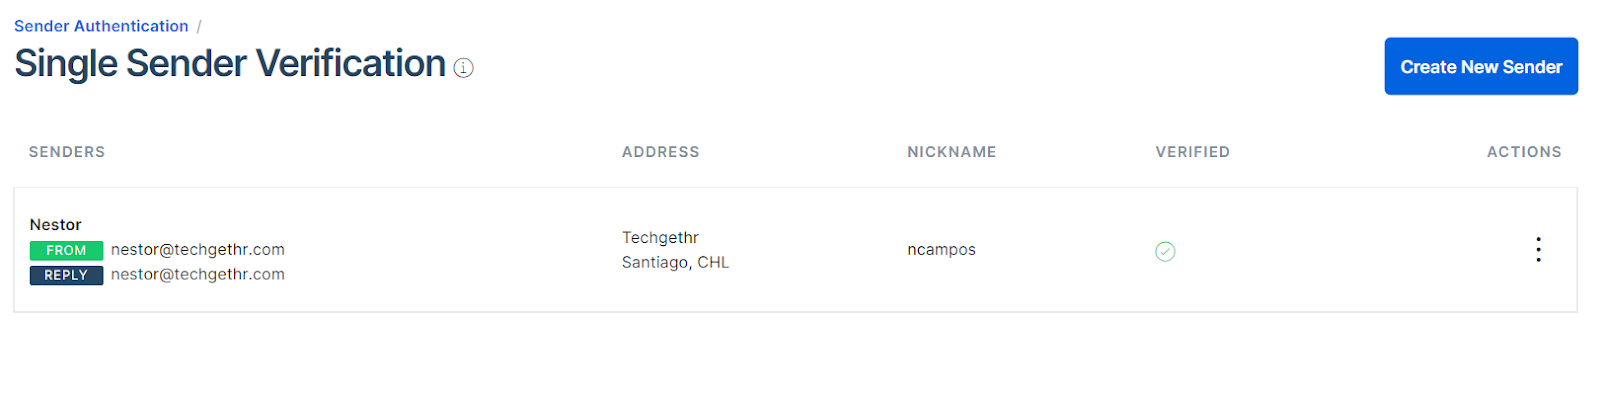
When verifying the email address through the link you received, you will see a confirmation page, and later you will be able to see in the Sender list that your email address is verified and ready to send emails from SendGrid.
Create an API Key
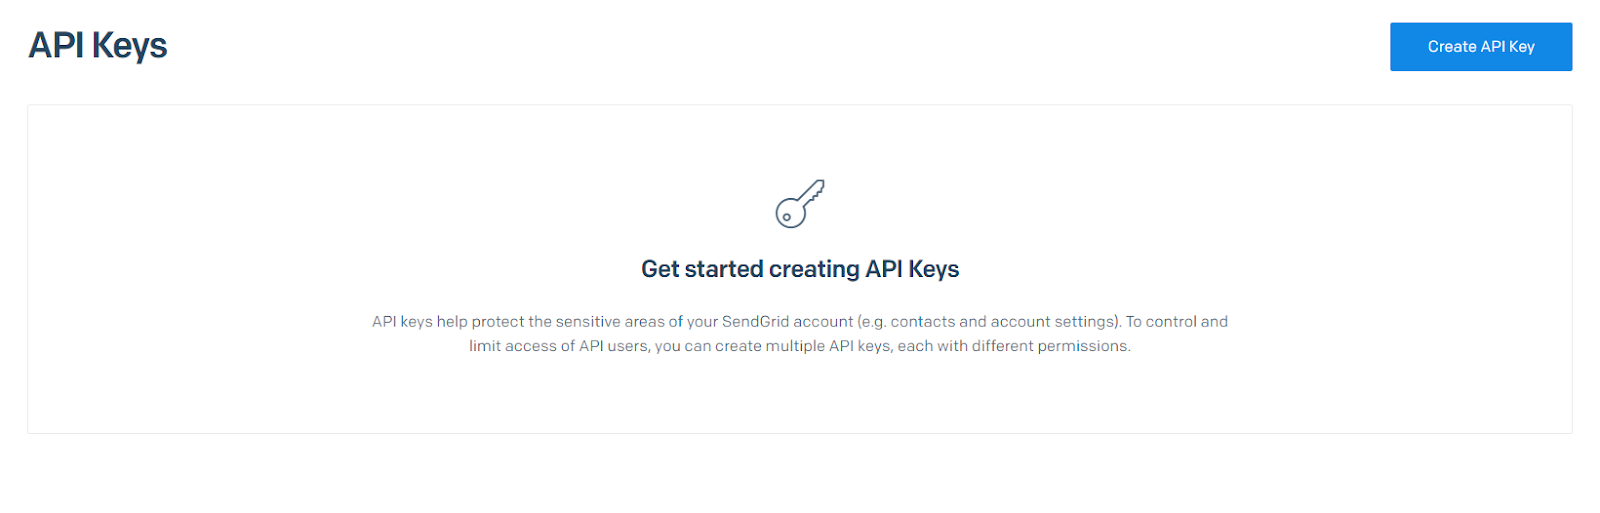
You'll need to create an API key to send emails with Twilio SendGrid.
First, access your SendGrid account and navigate to the API Keys page under Settings.
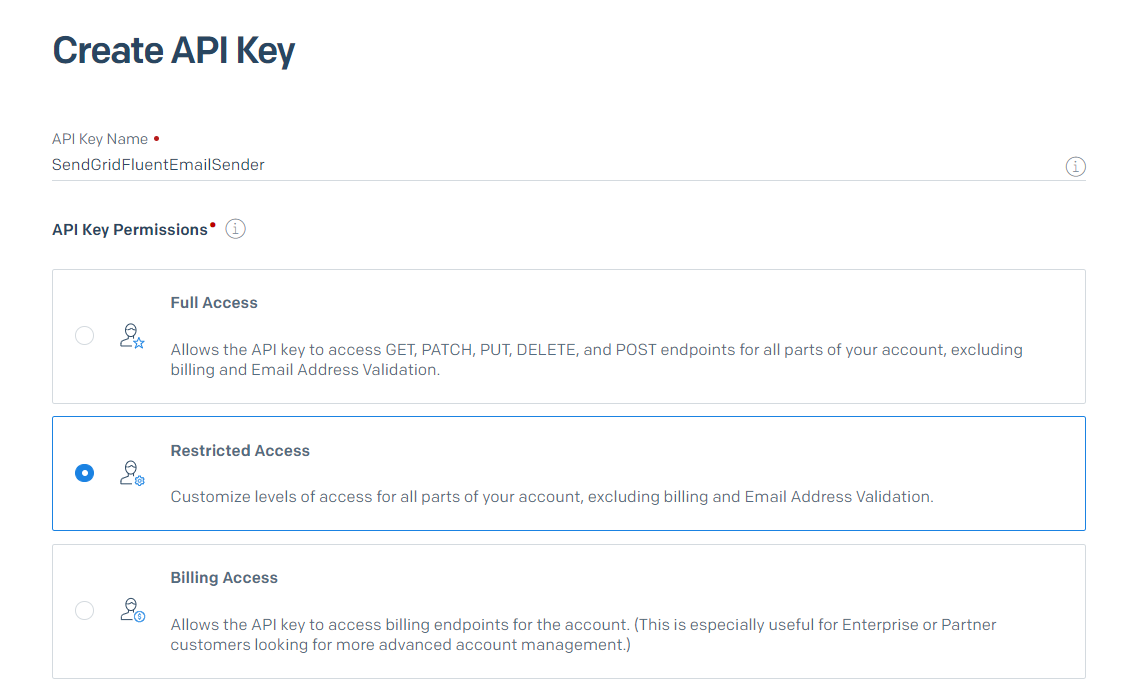
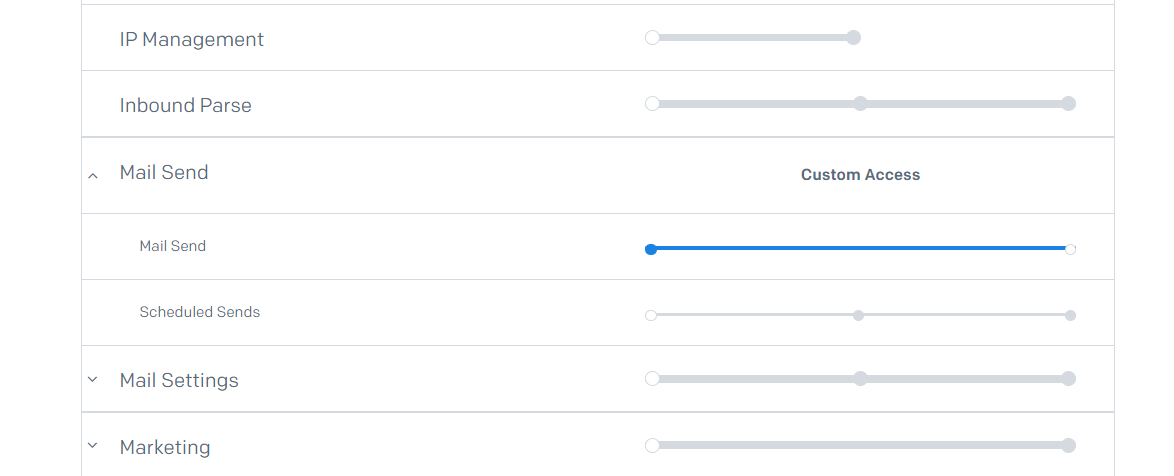
Next, click Create API Key, and in the displayed form, enter a name to distinguish it from other keys for other projects, and give it Restricted Access with only Mail Send permissions.
Scroll to the bottom of the form and click Create & View. On the next screen, you will be presented with the API Key that you must copy (you will use it later for the project).

Enabling S3
Configure S3 buckets
You are now going to set up buckets in Amazon S3 for file storage. Buckets correspond to a type of container within the S3 service in which you can organize folders and files to be consumed/inserted/updated by other apps.
Next, sign in to your AWS account. Then, in the AWS console, search for "S3" in the search box and click on the S3 option.
If this is your first time in S3, you'll see a page describing the service and what you can do with it.
Click on the "Create bucket" button. Fill out the form using the following value and leave the default values for the remaining fields:
- Bucket name: Select a unique name for your bucket.
- AWS region: Select the AWS Region where the files will be stored.
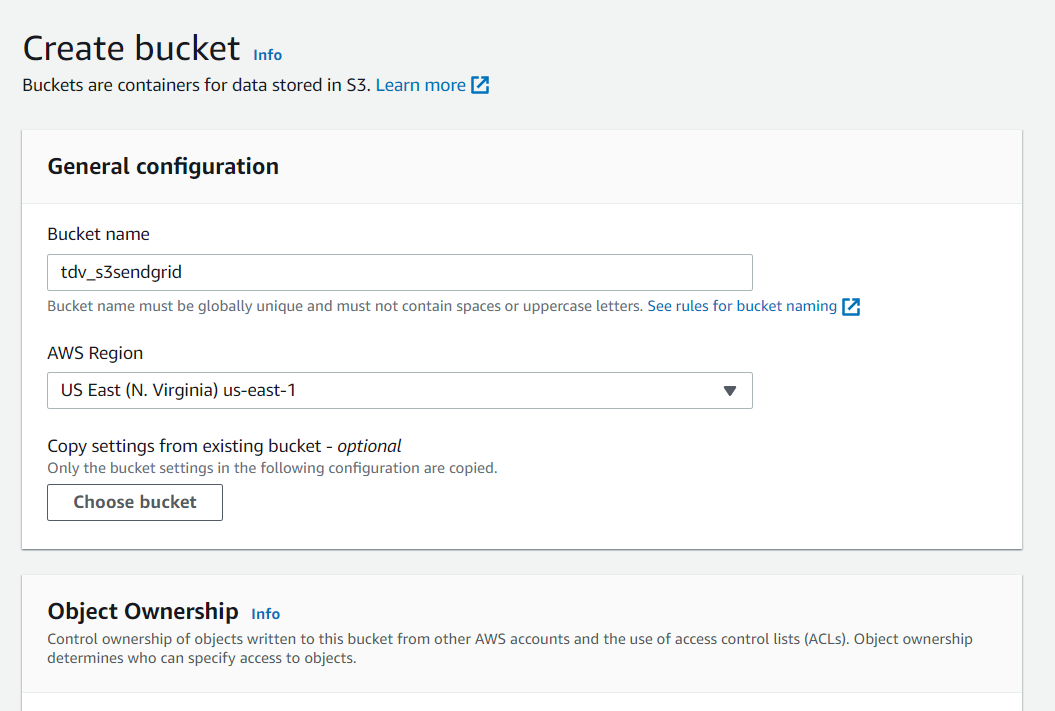
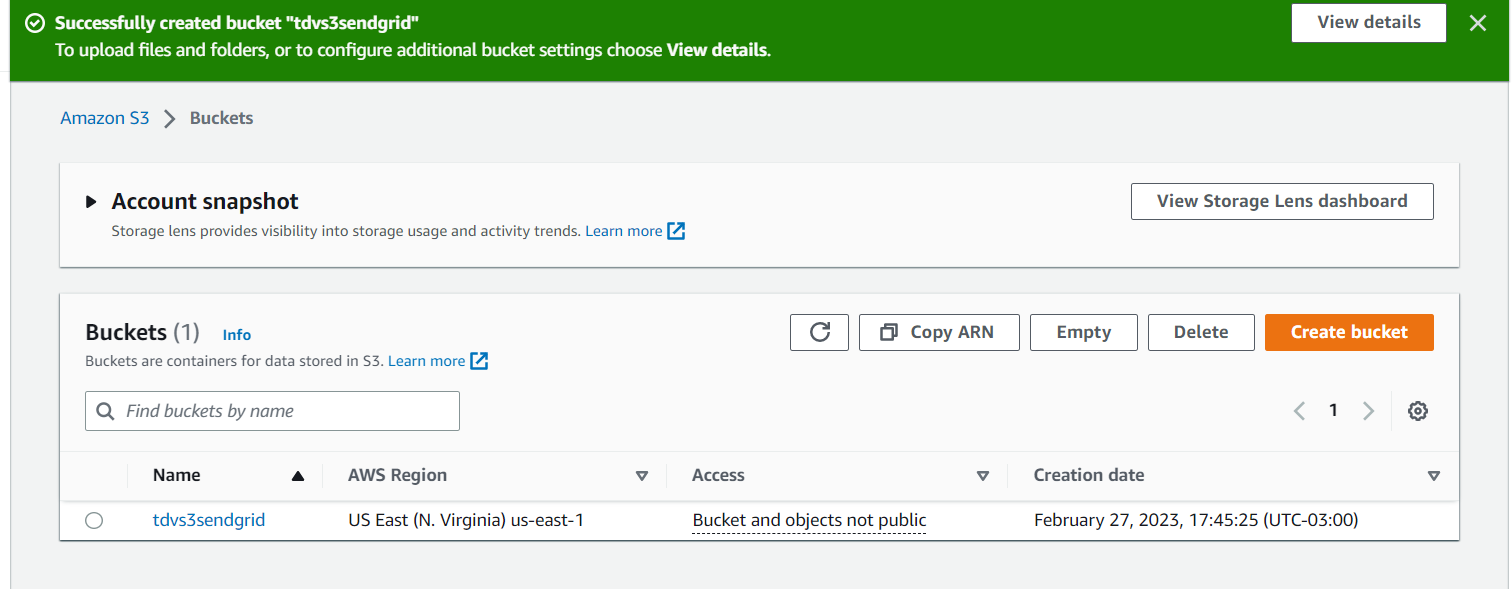
At the bottom of the form, click on "Create bucket". The screen with the list of buckets will be displayed, where you will see the new one you just created.
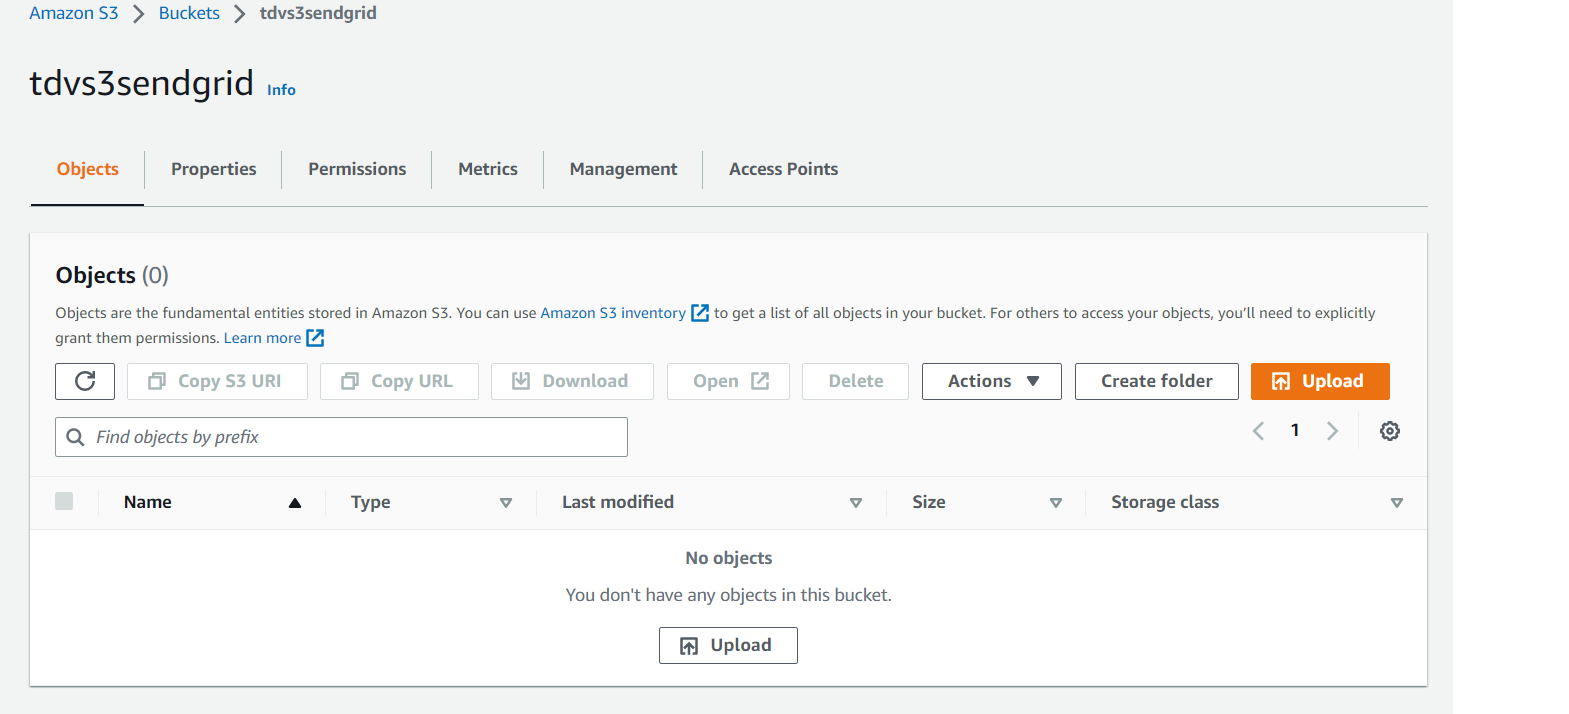
Click on your new bucket. You will see another list (for now empty) where the files that you will upload will be displayed.
Create a Lambda function
Configure the trigger
In this part, you'll create the function in AWS Lambda that monitors incoming files to the bucket you created earlier. To do this, in the search box, enter "Lambda" and select the Lambda service, which will redirect you to a page with an explanation of the service and the options available at the programming language level.
Now, click on the "Create a function" button and enter the following data into the form:
- Template: Author from scratch
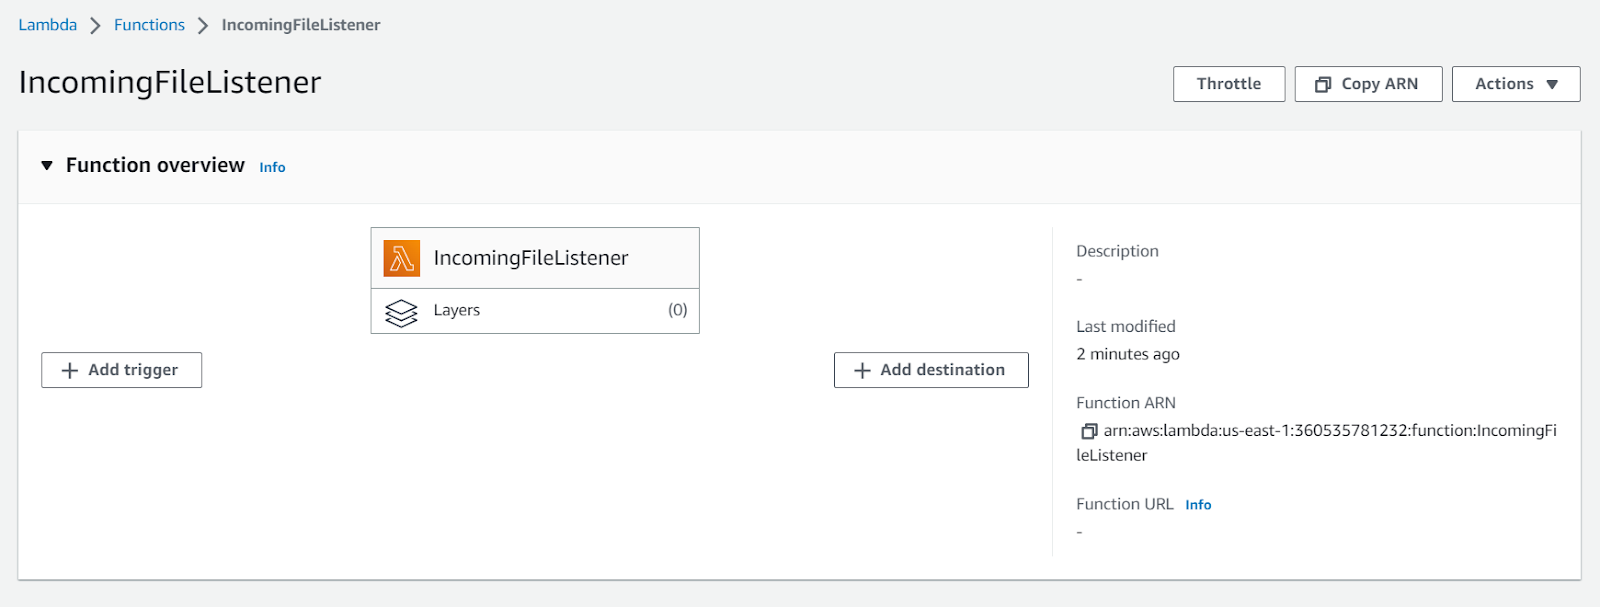
- Function name: IncomingFileListener
- Runtime: .NET 6 (C#/Powershell)
Leave the defaults for the rest of the fields. Then click the "Create function" button.
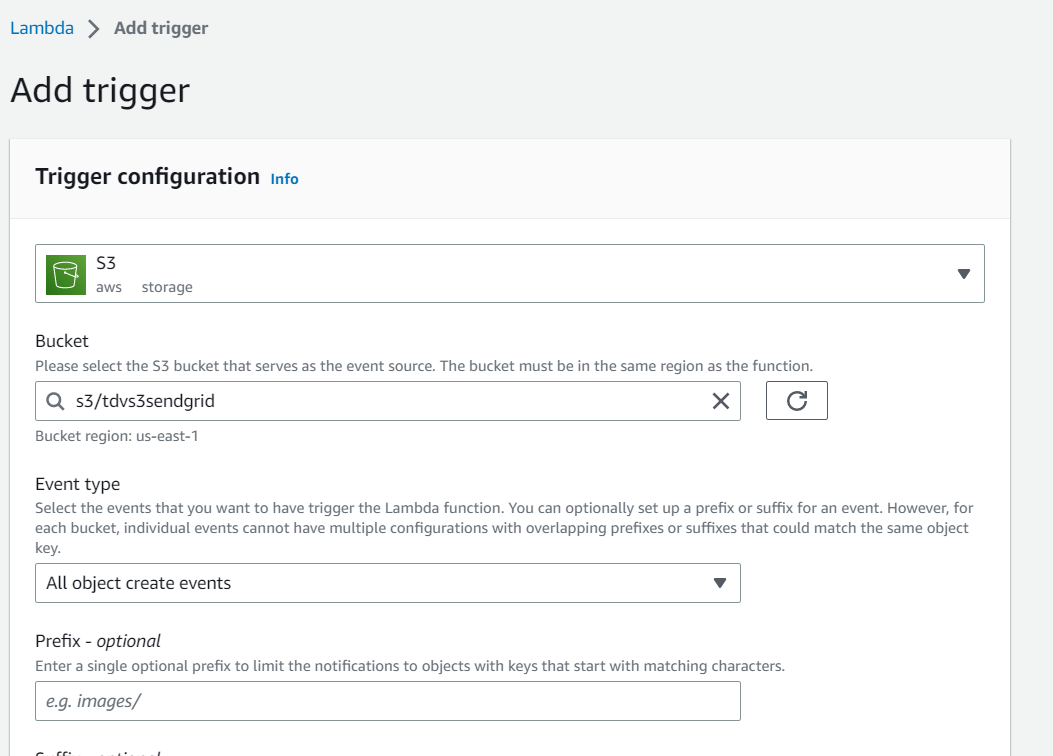
Once the function is created, you are going to add the trigger to be executed when a new file arrives. Click on the "Add trigger" button.
On the new page, select S3 as the source, select the bucket you created earlier, and then accept the conditions and click "Add".
Add the code
To create your Lambda function, you must install the AWS Lambda Templates to be able to create .NET projects for this technology. To do this, open a command line window and run the installation statement:
Next, create a folder for your new project, go into it, and finally create a C# for Lambda project via the command line:
Go to the project folder and install the SendGrid, Amazon.S3, and Amazon.Lambda.S3Events NuGet packages to use it inside the function:
Now, in the Function.cs file, replace all existing code with the following:
The function listen for events on the bucket in S3, receives the data relating to the S3 event, and formats the data in a string that will be sent via email with SendGrid.
Now build the project in Release mode, so you can upload it to AWS Lambda:
Go to the folder where the function has been built, i.e. bin/Release/<target_framework>/
Inside the folder are all the generated files (libraries and configuration files) for the function. Compress them into a zip file, as you will be use it later to update the function.
Update the function
The above function uses certain values obtained from environment variables, specifically the source and destination email addresses and the SendGrid API key for sending emails. Add these variables to the function, by accessing the "Configuration" tab and then the "Environment variables" option.
Click “Edit” and add the following environment variables:
- SendGridApiKey: With the API Key obtained earlier when configuring SendGrid.
- FromEmailAddress: The email address that will be used to send the emails from, which must maintain the same domain/subdomain configured in SendGrid that is authorized to send this type of email.
- ToEmailAddress: The recipient of the emails can be, in this case, your personal email address.
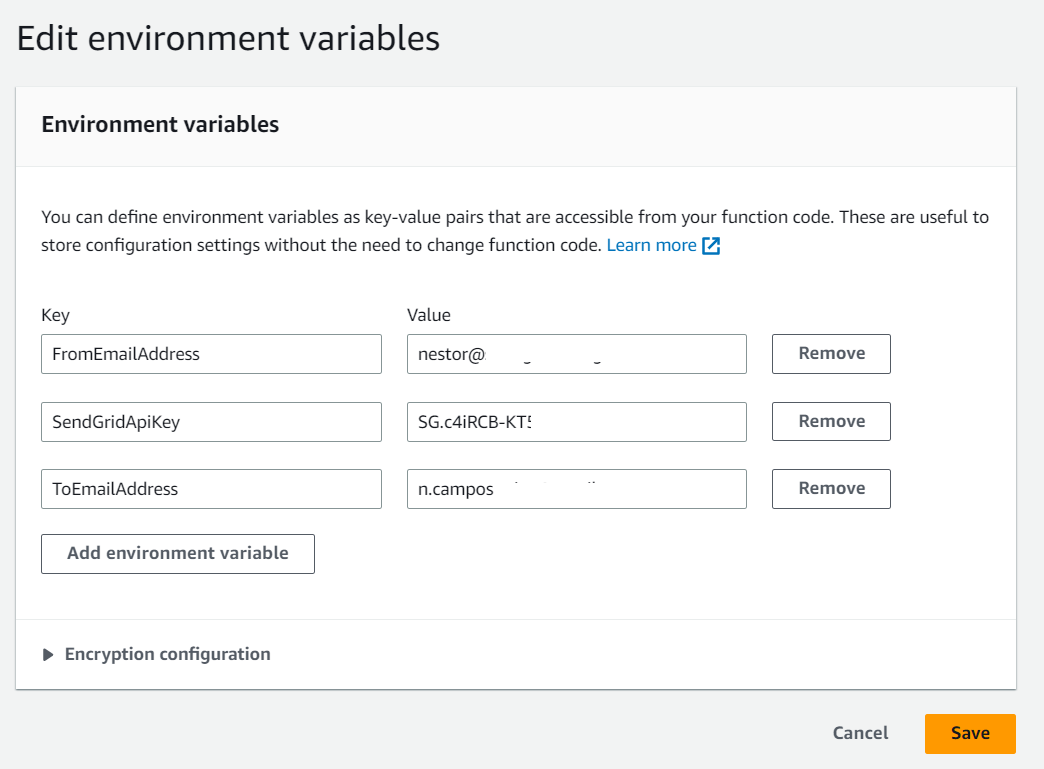
Click "Save".
Then go back to the Code section, click "Upload from" and select the ".zip file" option. In this option, browse and select the zip file you created earlier with your function.
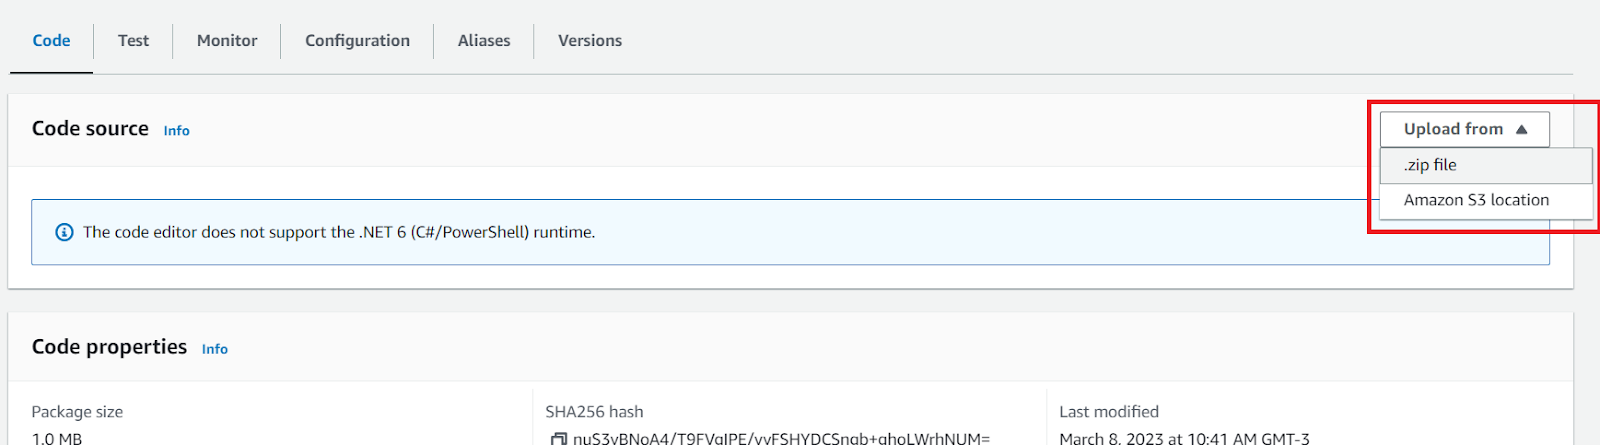
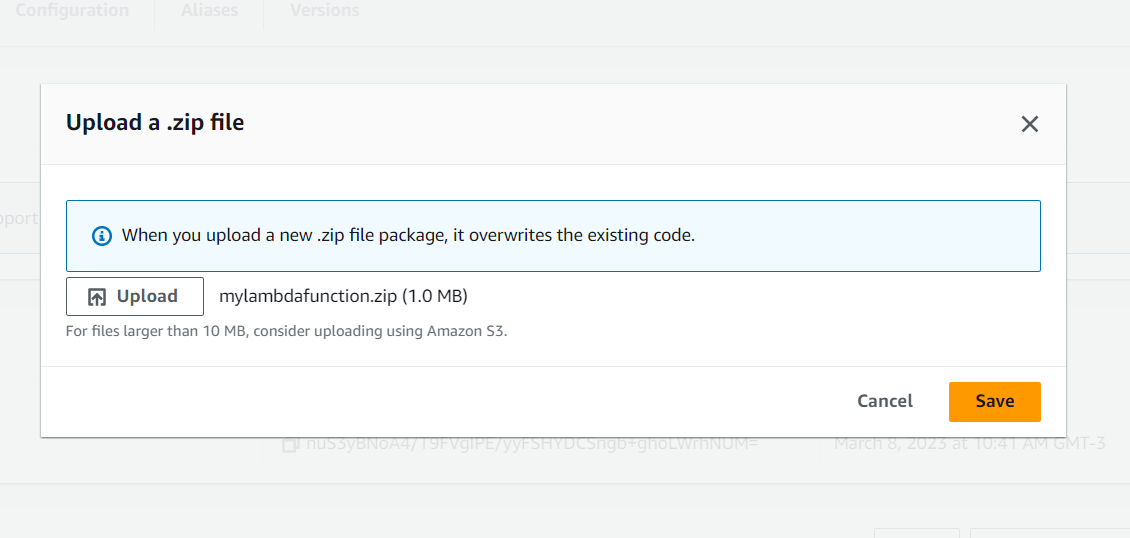
Click "Save" and wait a few seconds for the feature to update with the files you've uploaded.
In order to have your function work correctly, you will need to update the method that will be initially executed when it is triggered. To do this, in the same Code section, in the Runtime settings subsection, click "Edit", and then in the following form, edit the "Handler" property with the value IncomingS3FilesMonitor::IncomingS3FilesMonitor.Function::FunctionHandler and click “Save”.
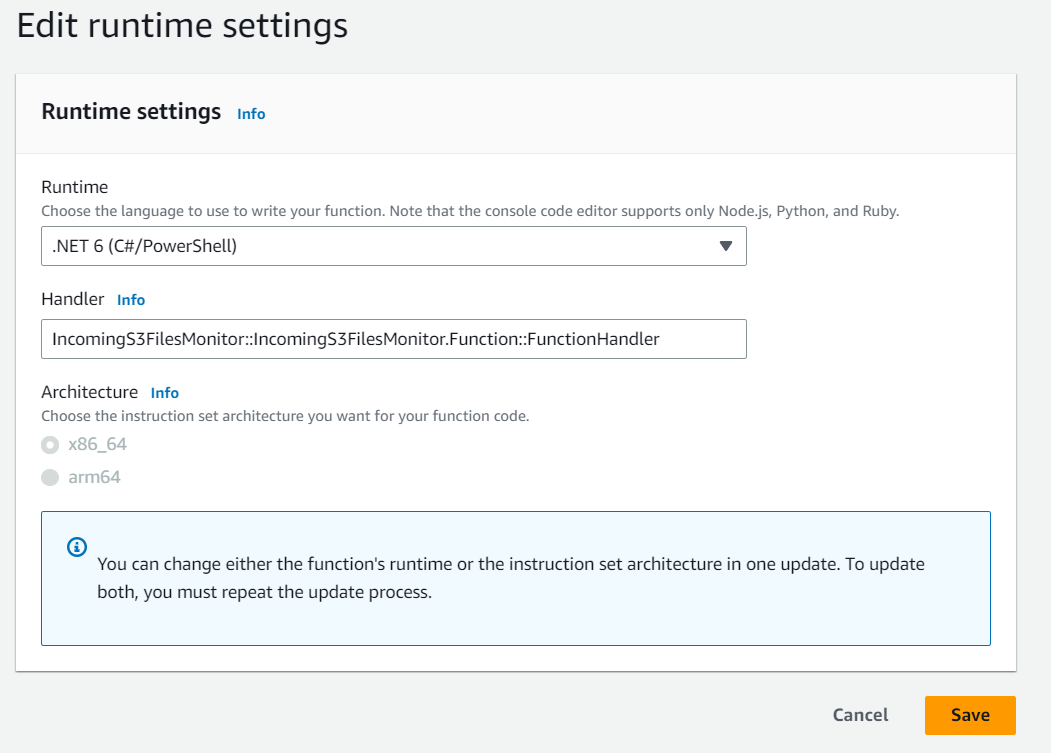
Now your function is ready to be triggered.
Test the function
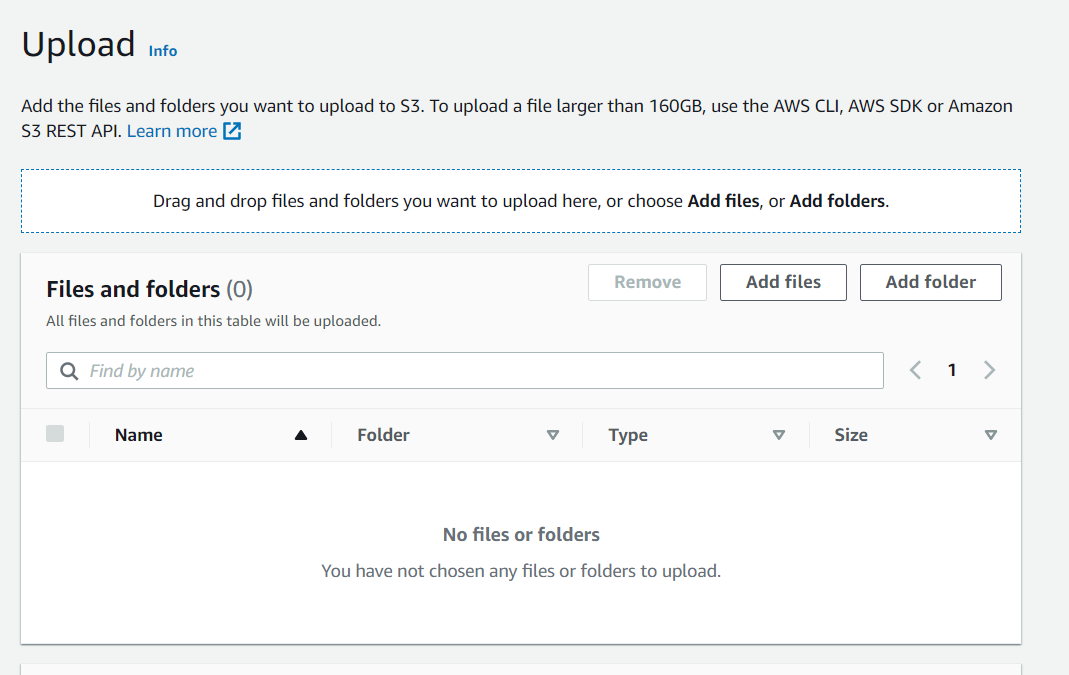
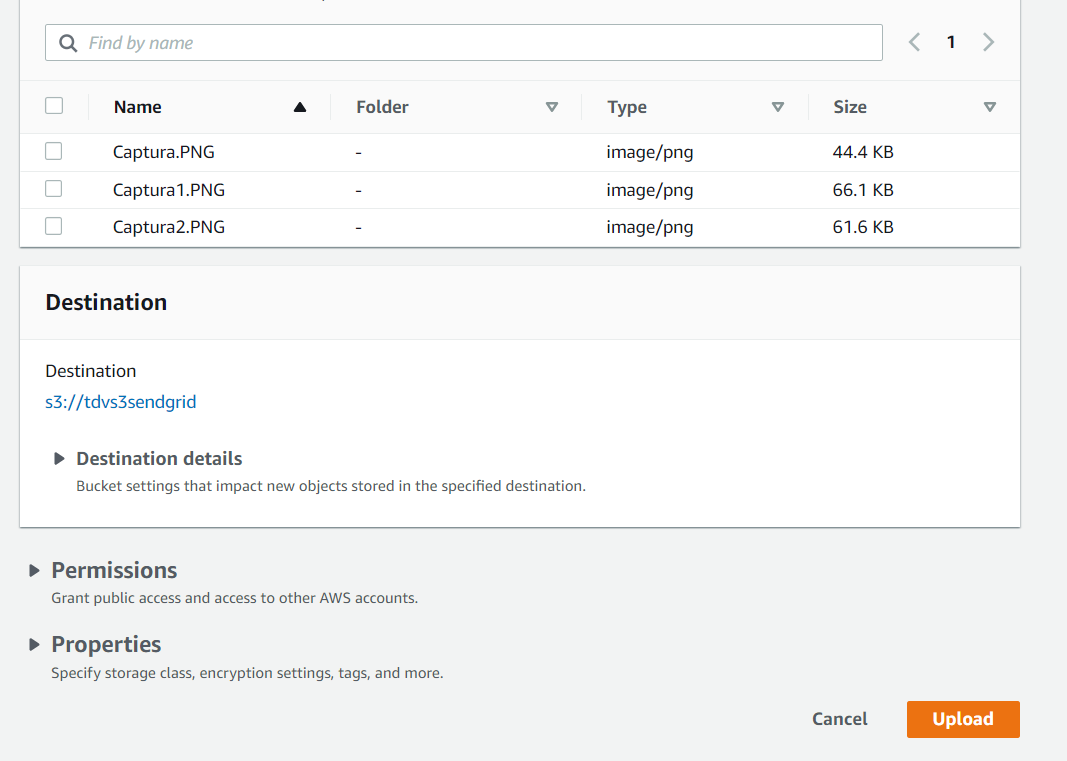
The simplest way to test the feature is by uploading a new file to the S3 bucket created in the previous steps. To do that, navigate back to S3, enter the bucket, then click on "Upload", click again on "Add files" and when the modal window on your computer appears to select the files, search for the ones you deem convenient, select and upload them.
Click the "Upload" button to confirm the new files in the bucket.
After a couple of seconds or minutes, an email will arrive for each file uploaded to the destination box you specified, similar to the following:
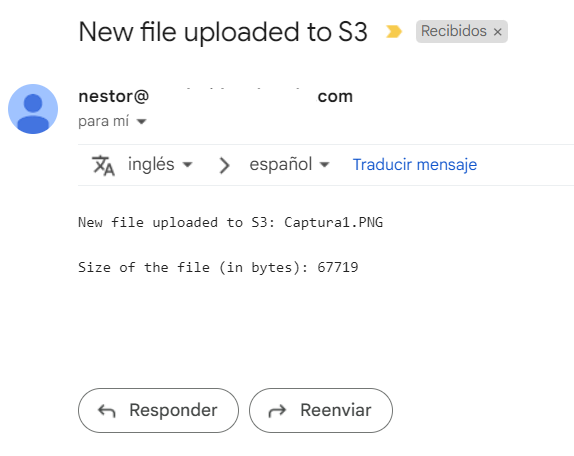
With all this work, you already have a function that will monitor and notify you of each new file, which can help you when you are waiting for an important file to work on, regardless of how the file was uploaded.
Additional resources
Check out the following resources for more information on the topics and tools presented in this tutorial:
How to send Emails with C# and .NET 6 using the SendGrid API: In this post on the Twilio blog, you can learn about sending emails using Twilio SendGrid API with C# and .NET framework.
AWS Lambda: Explore AWS Lambda and all the options available for its use.
Building Lambda functions with C#: Review the methods, libraries, and programs for using AWS Lambda with C#.
Source Code to this tutorial on GitHub: You can find the source code for this project at this GitHub repository. Use it to compare solutions if you run into any issues.
Néstor Campos is a software engineer, tech founder, and Microsoft Most Valuable Professional (MVP), working on different types of projects, especially with Web applications.
Related Resources
Twilio Docs
From APIs to SDKs to sample apps
API reference documentation, SDKs, helper libraries, quickstarts, and tutorials for your language and platform.
Resource Center
The latest ebooks, industry reports, and webinars
Learn from customer engagement experts to improve your own communication.
Ahoy
Twilio's developer community hub
Best practices, code samples, and inspiration to build communications and digital engagement experiences.