Enrich and validate phone number data in Google Forms and Sheets with Twilio
Time to read:
February 25, 2022
Written by
Reviewed by
Many businesses rely on Google Forms and Google Sheets to capture customer information. These forms often include a question asking for the customer’s phone number. Did you know that you can connect this data submission with the Twilio Lookup API to validate phone numbers and retrieve additional information? This is a useful integration that saves businesses the time and effort it takes to look up or validate phone numbers manually.
In this post, we’ll walk through how to integrate your Google Forms and Google Sheets with the Twilio Lookup API for phone number validation. We’ll also look at how to set up all of our pieces, integrate a Google Apps Script, and configure a form submission trigger to send our API lookup call.
Are you ready? Let’s go.
Prerequisites
To follow this tutorial, you’ll need the following:
1. Set up a Twilio account
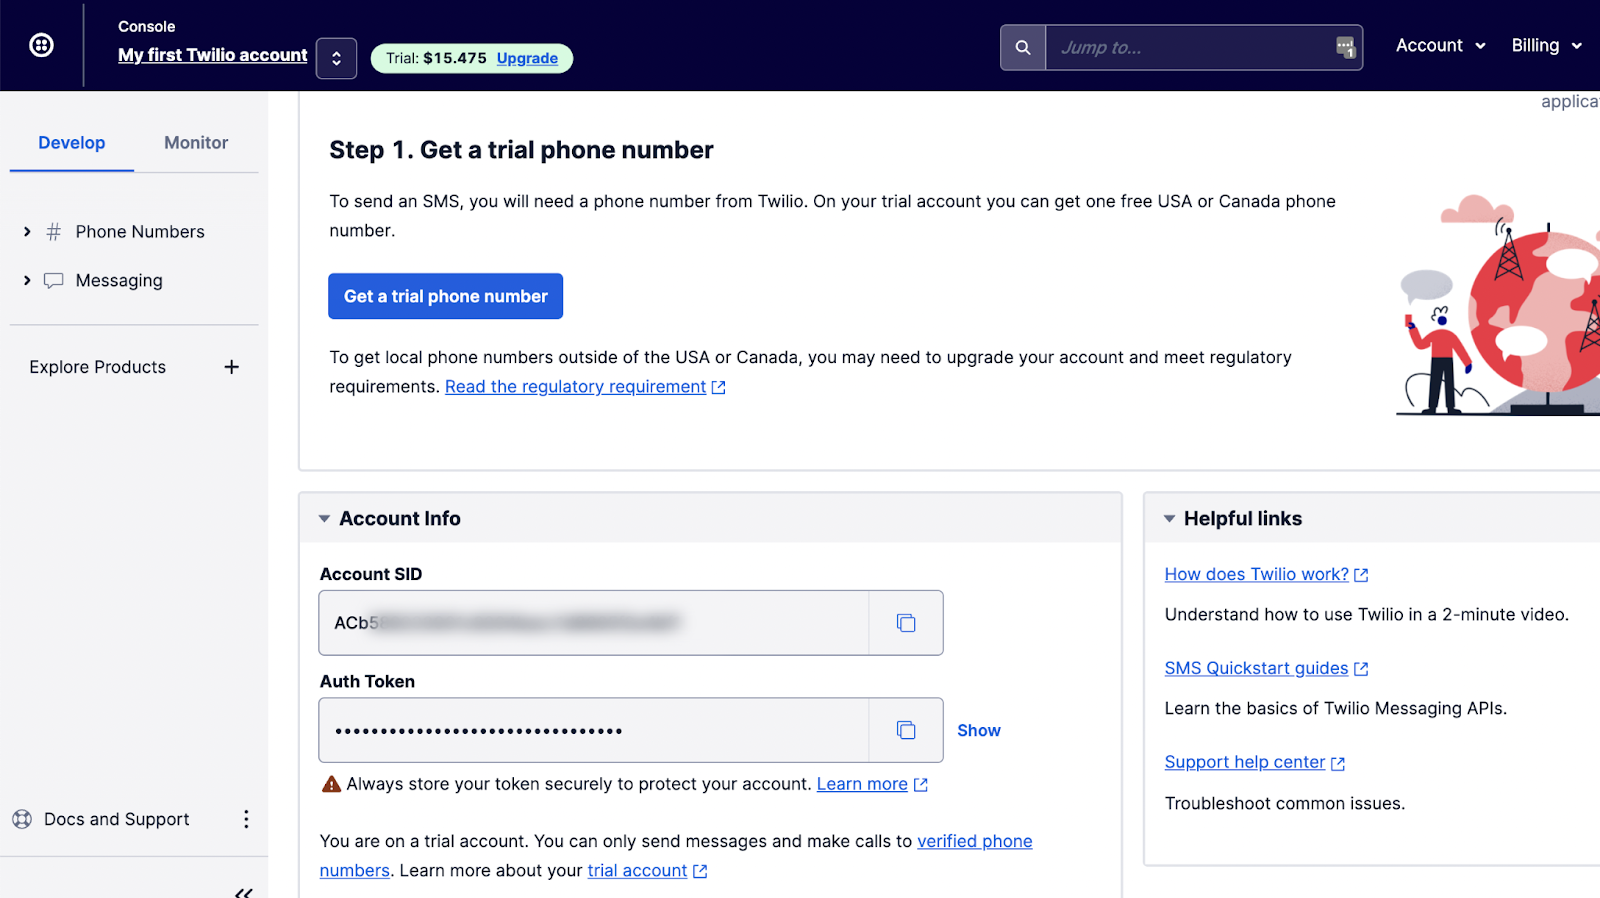
To get started, you’ll need a Twilio account. You can sign up here for a free trial. Once you’re signed in, go to your dashboard. You’ll see your Account SID and Auth Token, which you’ll need to make calls to the Twilio Lookup API.
2. Set up the Google Form for data collection
Next, let’s set up the Google Form that we’ll use to collect customer information. Specifically, we’ll create a form that asks for the customer’s name and phone number.
On Google Forms, we’ll create a new form and type in a name and description. Then, we’ll add the two fields we need: name and phone number. The field type for both will be Short answer.

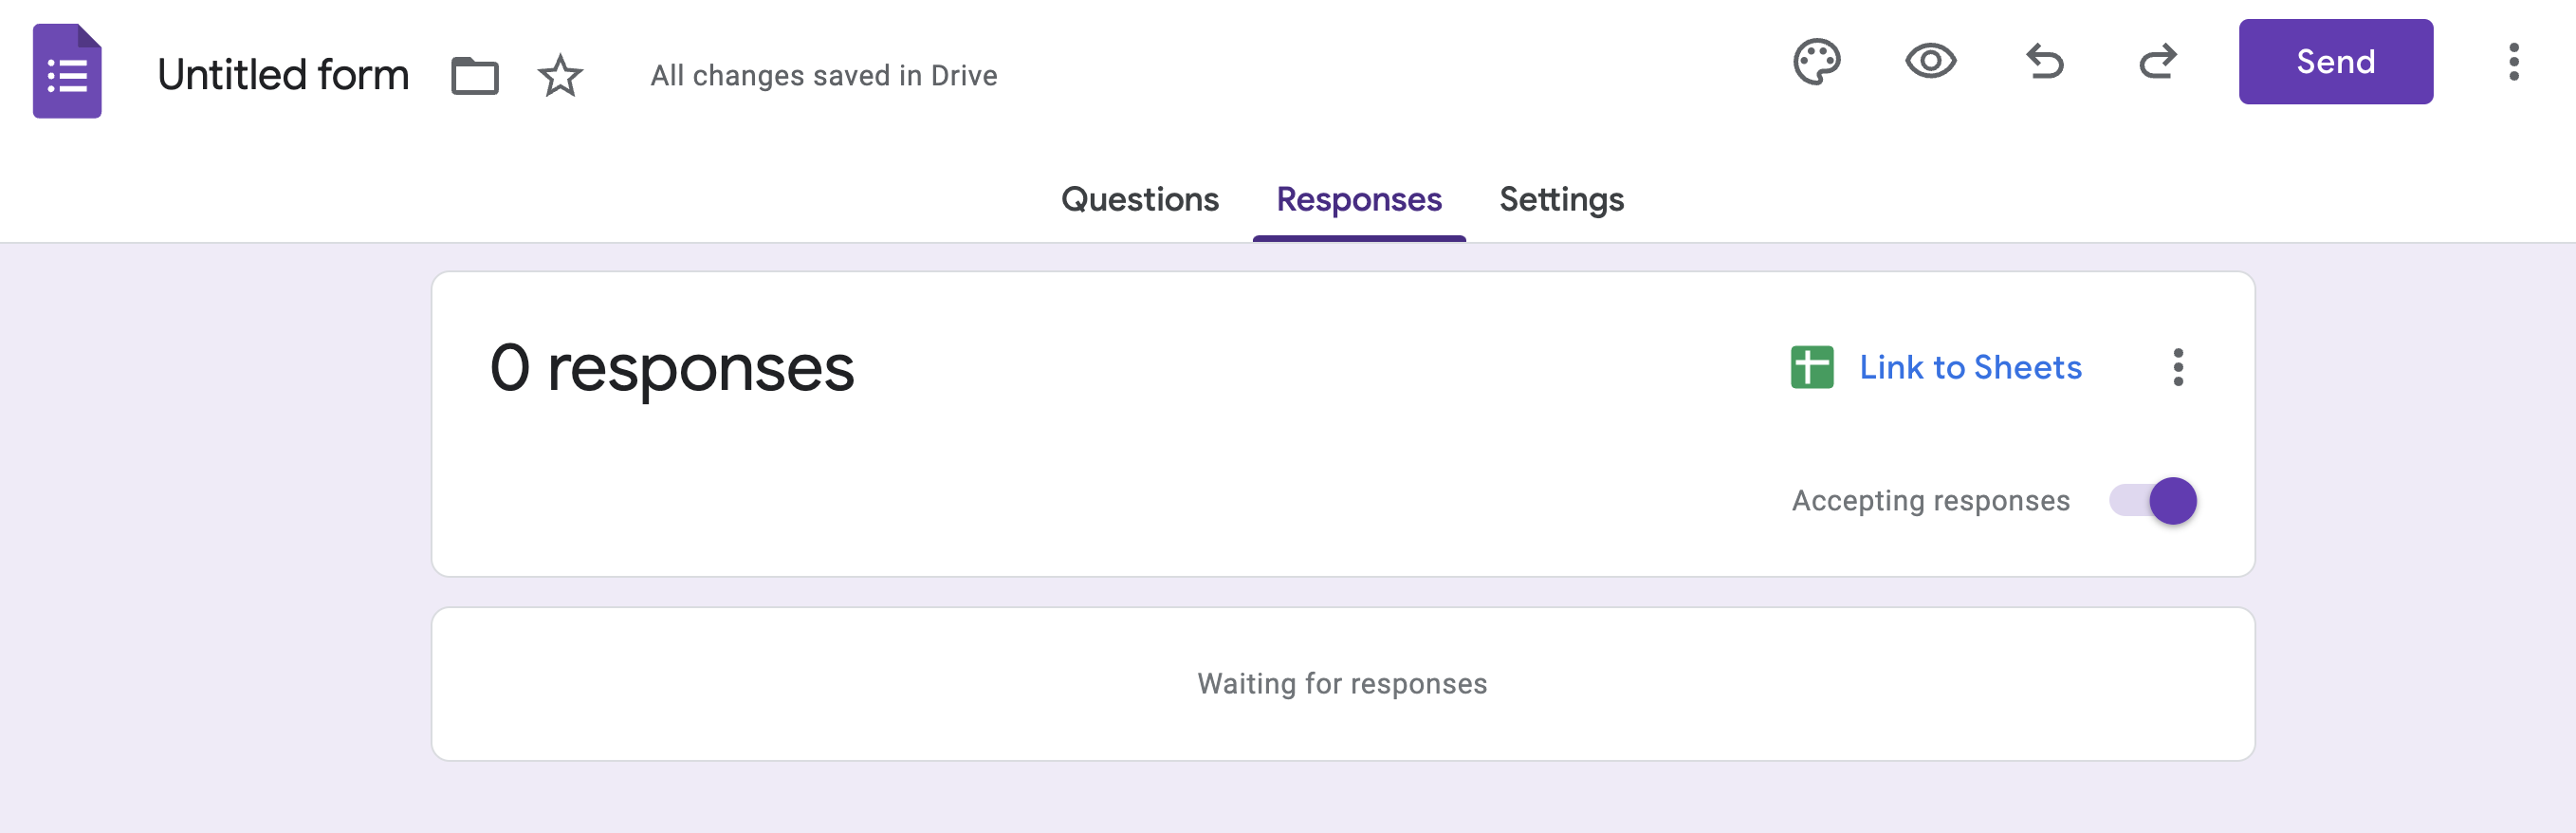
That’s all there is to it. We now have a form that we can make public, and it’ll automatically publish the responses to a Google Sheet for tracking. To get to the associated Google Sheet, click Responses, then select Link to Sheets in the top right. Select Create a new spreadsheet, and it’ll take you to a spreadsheet that’ll record your responses.
If you want to see it in action, go back to your Google Form and click the Preview icon in the top right. There, you’ll get a preview link for your form, which you can fill out and submit. Then, you’ll see your response recorded in the Google Sheet that you just created.
3. Enhance your Google Sheet and Form
Google uses a JavaScript language platform called Google Apps Script, which we can leverage to enhance and customize our Google Workspace apps. In our case, we’ll use Google Apps Script to automatically populate additional columns of phone number information for each form submission. This will help us validate the phone numbers entered in the Google Form.
A. Prepare additional columns
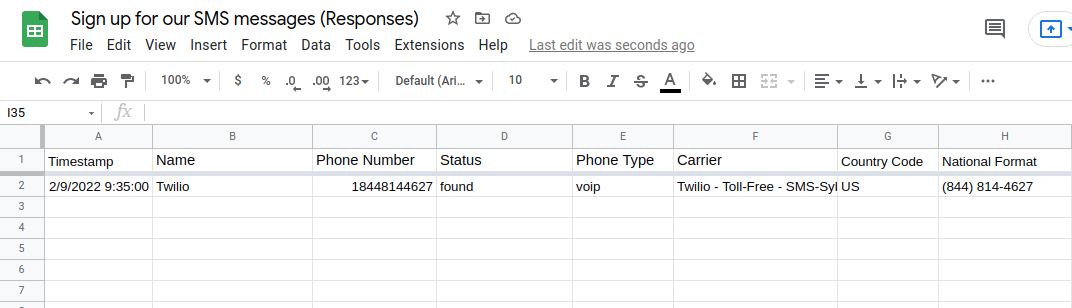
First, let’s add the new columns that we’ll need. Your sheet should already have columns for Timestamp, Name, and Phone Number. We’ll also add:
- Status
- Phone Type
- Carrier
- Country Code
- National Format
These columns will populate with results from the Twilio Lookup API.
B. Add Google Apps Script
Now it’s time to get to the good stuff. Go to Extensions and click Apps Script. This is where we add our login to make the Twilio Lookup API call.

You’ll see a text editor opened to a nearly empty file called Code.gs. Note that this Apps Script already links to our Google Sheet and Form. So when we add a trigger to this Apps Script, only the Google Sheet and Form that we created will automatically call it.
Replace all the code in the editor with the following snippet. We’ll walk through what this code does momentarily.
Make sure to insert your Twilio Account SID and Auth Token in the line with the API authorization string. Then, save your project.
C. Test your script
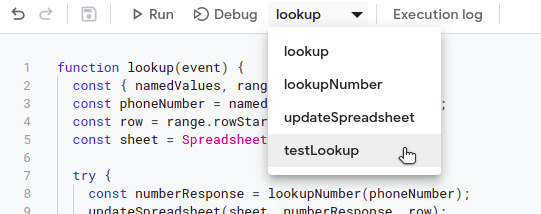
In the script navigation bar, you’ll see a drop-down with function names from your script. Choose the testLookup function. We included this function as a way to manually run our code—using the Twilio Customer Support number (1-844-814-4627) for our test—and see the results.
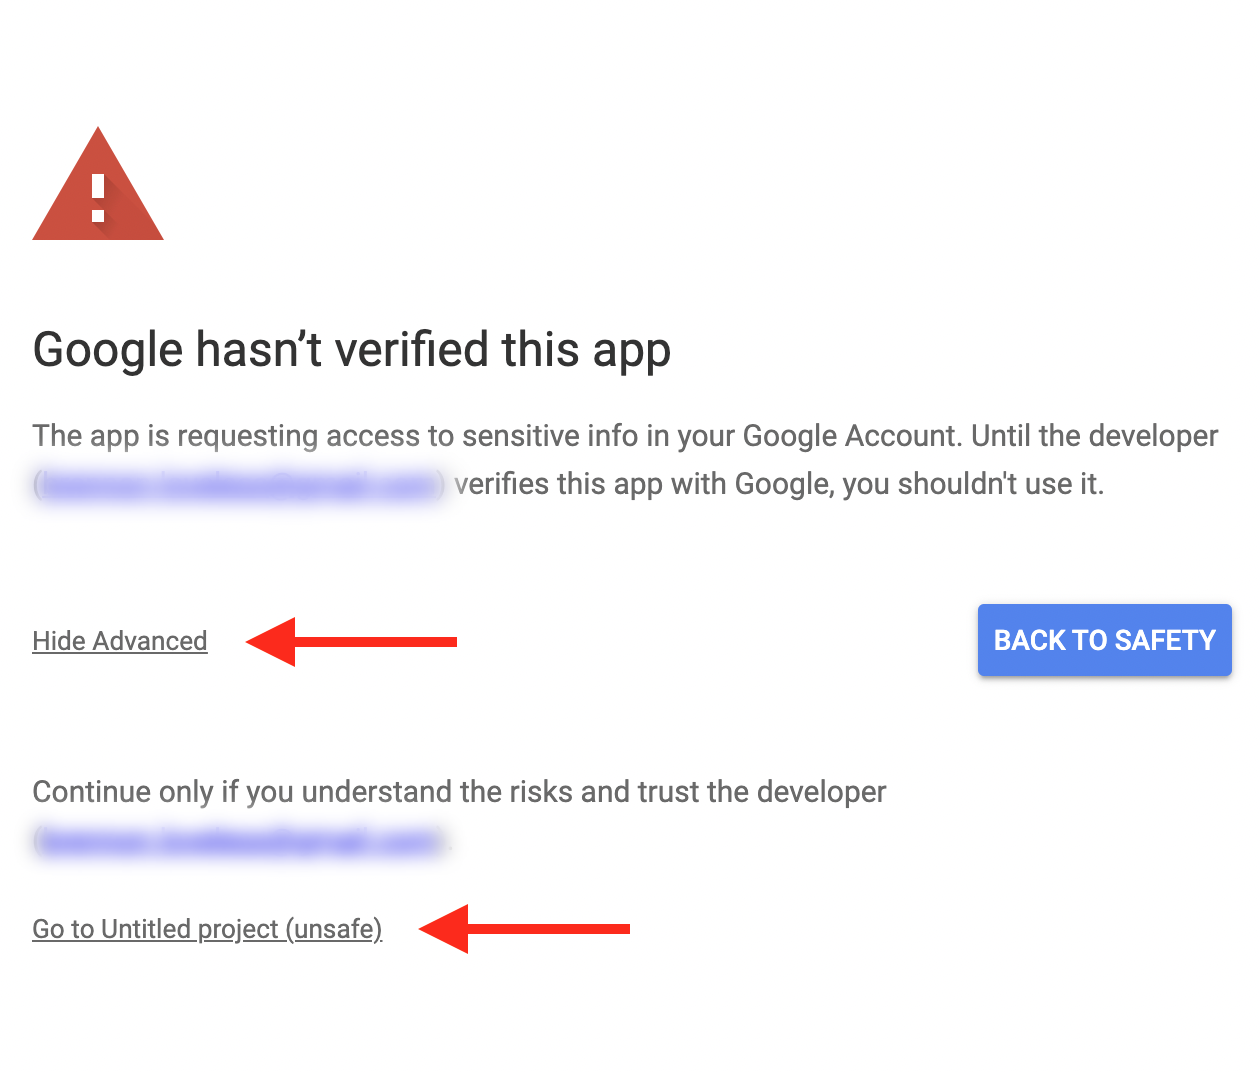
Click Run. Then, you may see a dialog prompt that asks you to review permissions before you can execute your script.
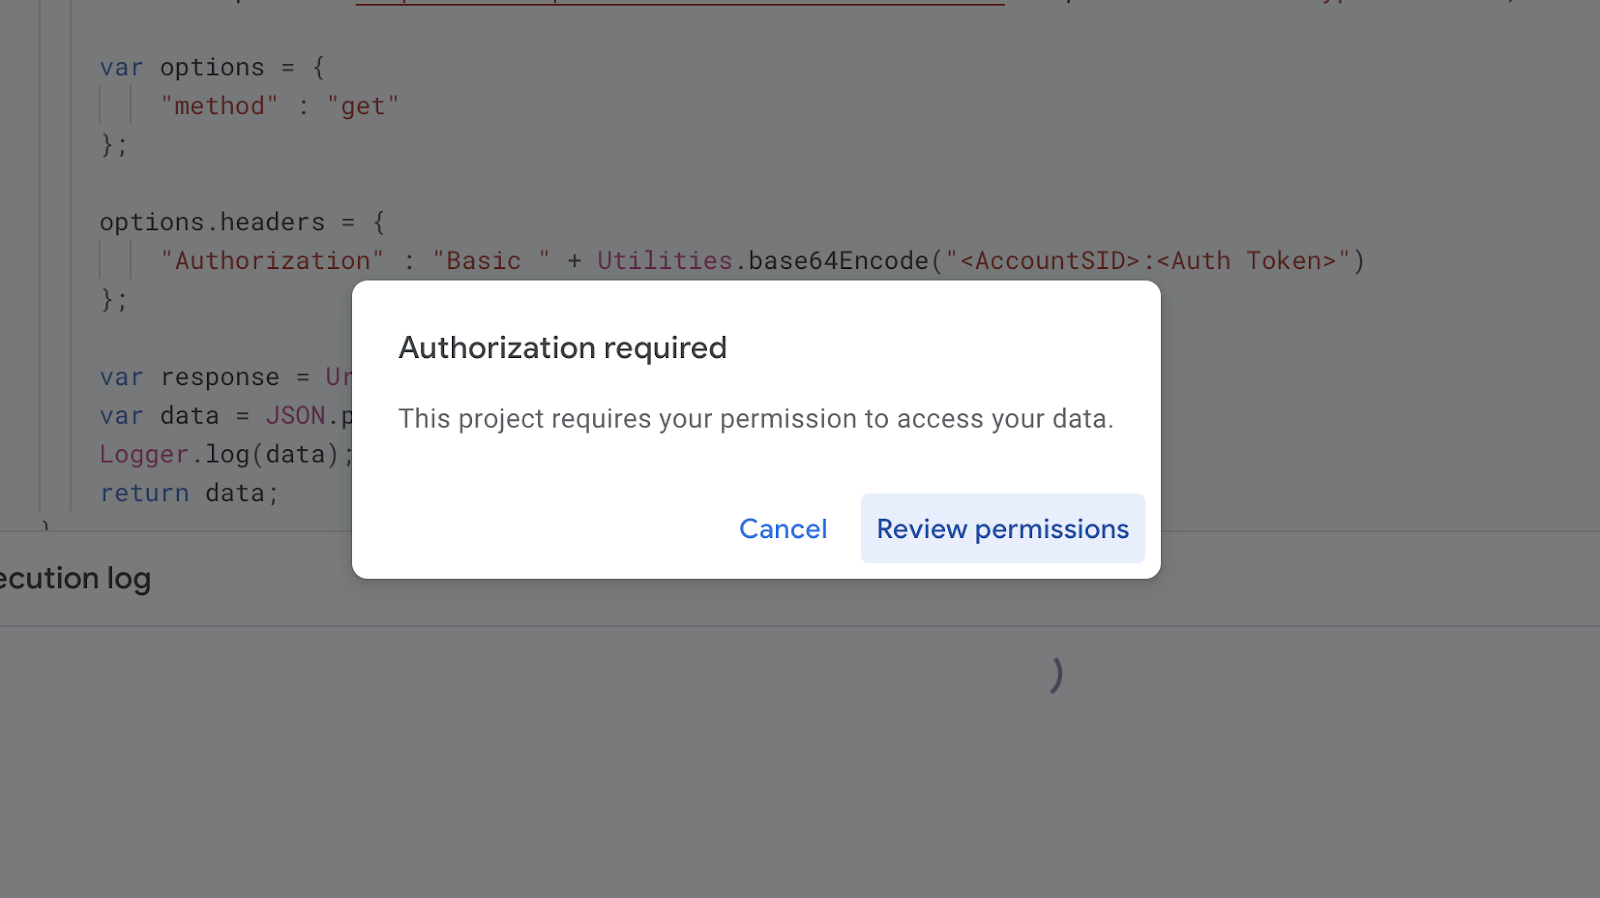
You can accept most of the prompts, but since your Apps Script is unverified, you’ll get a big warning screen. Click the Hide Advanced button, then the Go to <Your Project Name> (unsafe) button to continue. You’ll only have to do this authorization once. After that, you can run your script as many times as you want.
Then, your script will run, and you’ll see some results in the Execution log at the bottom of the screen.
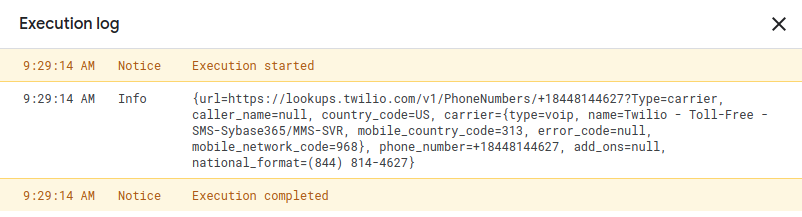
Look at all of the cool data we get back from the Twilio Lookup API.
D. Set up script triggers
The final piece is to set up the triggers so that our lookup request initiates whenever a form is submitted. We’ll use the phone number from the form submission in the script and the API response to populate the additional columns.
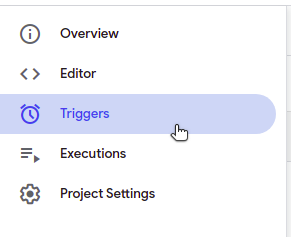
On the bar on the left, click the clock icon, then tap on Triggers.
This area is for setting up triggers for our Google Form and Google Sheet. We are particularly interested in the onFormSubmit trigger. So when a user successfully submits a Google Form, the Apps Script will automatically run the function we choose.
Click the Add Trigger button and fill out the pop-up as follows.
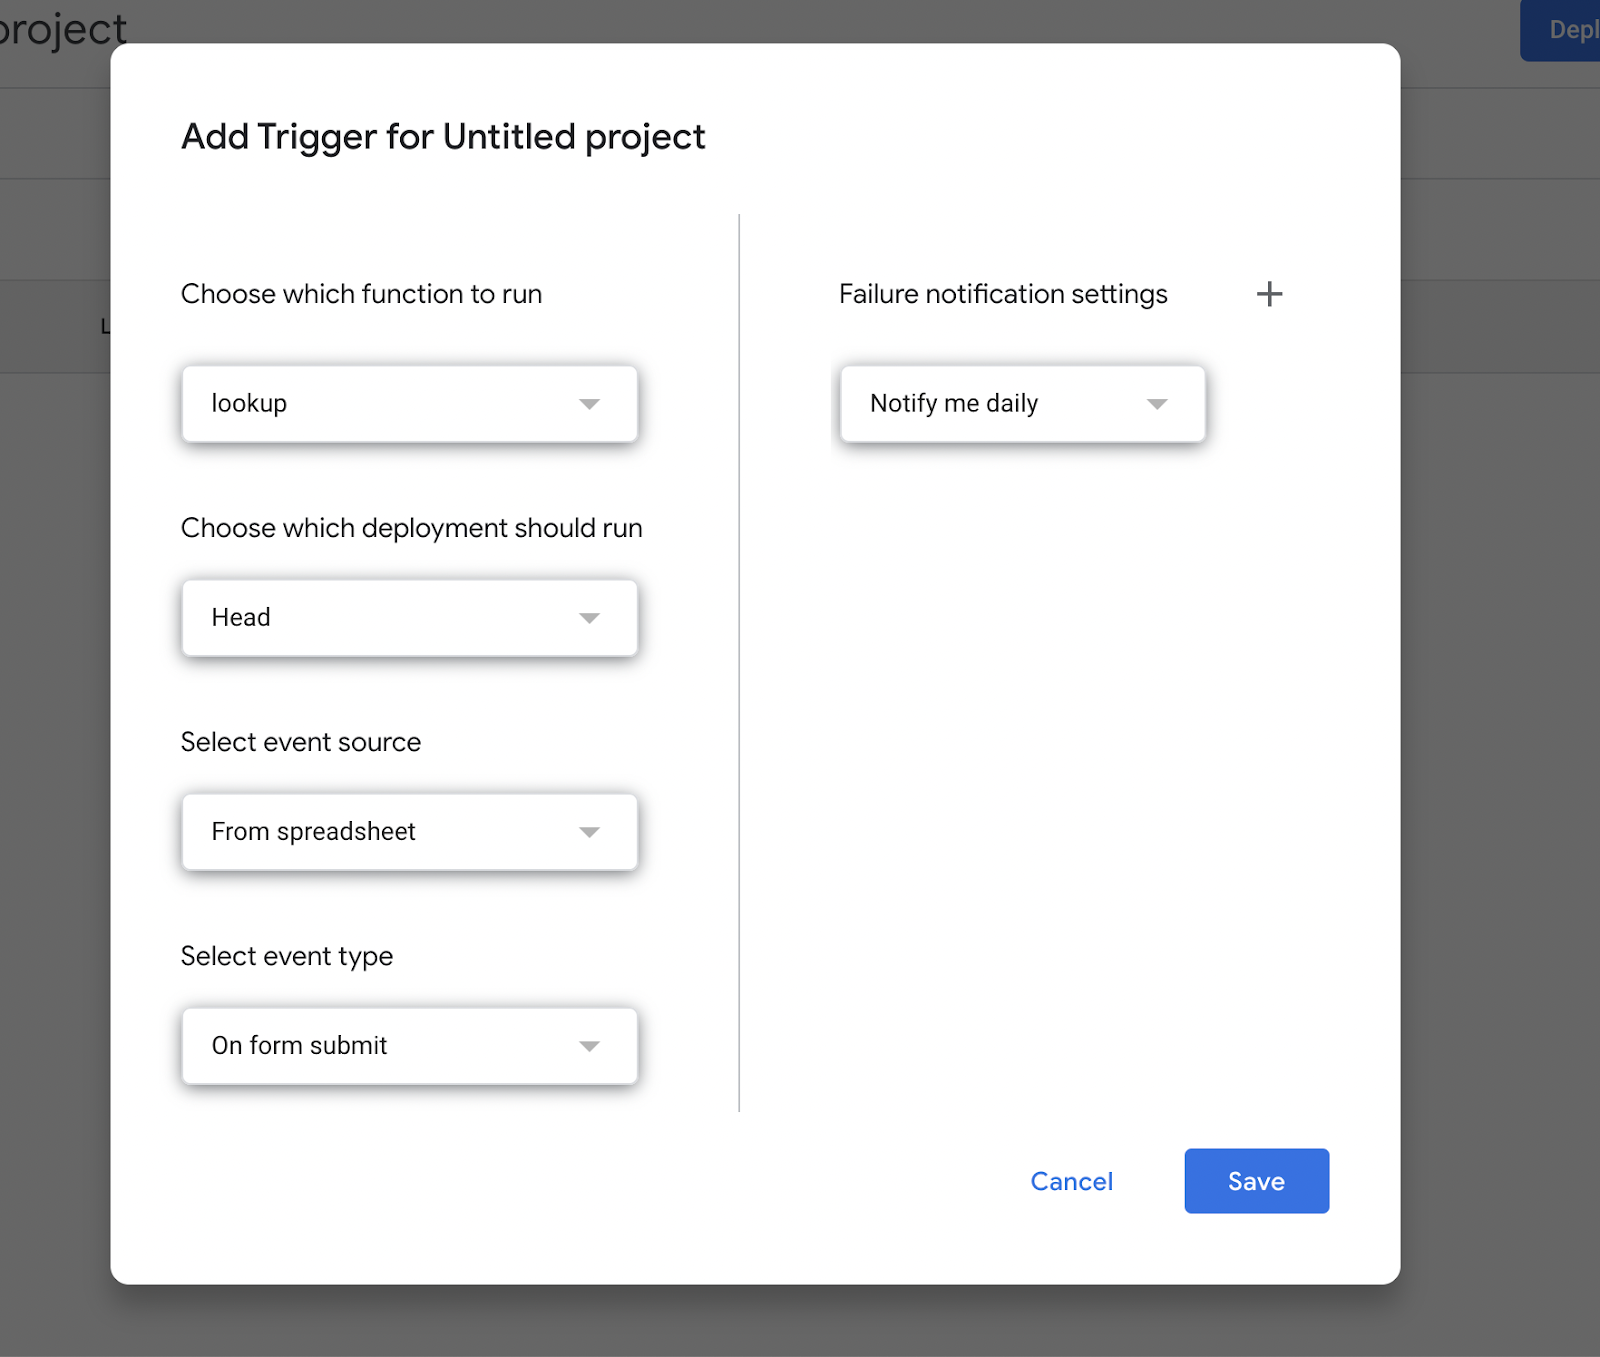
Make sure to choose lookup as the function to run. Then, choose On form submit as the event type. Click Save.
E. End-to-end test
At this point, we have a fully functional form that populates the additional columns we added, so you can preview your form again and fill out a test response. If you use your personal phone number, you should see some familiar information show up in those extra columns.
Below, we show the result of submitting a form with the Twilio Customer Support phone number again. As you can see, the additional columns populate with information about the phone number. It works.
Deep dive into script code
If you’re interested in the details of the Apps Script code, we’ll describe it for you step-by-step here.
lookup function
First, we have the lookup function, which is called whenever the Google Form is submitted.
The event argument that gets passed in contains contextual information about the new rows added to the Google Sheet upon form submission. It includes information such as:
- Which row was updated
- Which range of columns was updated
- Which values were put into those columns
In our case, we’re most interested in the value and the row of the newly inserted phone number. We get those values from event.range.rowStart and event.namedValues["Phone Number"].
lookupNumber function
Next, we pass the phone number to the lookupNumber function. If our lookup is successful, we’ll update the spreadsheet with the data returned from the Twilio Lookup API.
Then, we build the endpoint URL by inserting the phoneNumber argument into the URL. To perform the lookup, we send a GET request to this URL. However, we need to authenticate our request by including an Authorization header that contains our Twilio Account SID and Auth Token.
We’ll send our request with Google’s custom UrlFetchApp class.
updateSpreadsheet function
Finally, we need to take the data from the API response and use it to populate our Google Sheet.
We pass three arguments to the updateSpreadsheet function: the active sheet, the API response, and the row number.
If the API response is 404, the number wasn’t found or is invalid. We then need to update our row with that information. Otherwise, we have a successful response with additional data about the phone number. We can then update the row with that information.
Use the Twilio Lookup API to validate phone numbers from Google Forms
In this walk-through, we set up a Google Form associated with a Google Sheet. Then, we wrote a Google Apps Script with a function call triggered by a form submission.
That function takes the phone number from the form submission and sends a request to the Twilio Lookup API to validate the phone number and fetch additional data about it. Additional columns in the Google Sheet then populate with this API response data.
Google Forms and Google Sheets are convenient for providing a web interface to capture information submitted by customers. However, you can take it to the next level by adding Google Apps Script and leveraging third-party services like the Twilio Lookup API. It’s an effective way to enhance your Google Form with usefulness and power.
Ready to try it for yourself? Get started for free.

Related Resources
Twilio Docs
From APIs to SDKs to sample apps
API reference documentation, SDKs, helper libraries, quickstarts, and tutorials for your language and platform.
Resource Center
The latest ebooks, industry reports, and webinars
Learn from customer engagement experts to improve your own communication.
Ahoy
Twilio's developer community hub
Best practices, code samples, and inspiration to build communications and digital engagement experiences.