Build a Site with Flask and Twilio Verify for Users to Upload a File
Time to read: 10 minutes
February 18, 2021
Written by
Reviewed by

When it comes to building a website that allows users to upload files and provide their own input, you need to consider what is necessary to protect not only your users, but your project as well.
This application incorporates Twilio Verify to generate one-time passcodes for your user to verify their identity and access your app. Verify provides an easy to use form of authentication with passcodes delivered to the user's mobile phone. For even more security, consider implementing two-factor authentication.
After authenticating the users, you can give them the option to upload an image file through your site and store the files in your project directory.
In this article, you will learn how to develop a functional website to authenticate your users and protect their identity before allowing them to upload an image file to your directory.
Tutorial requirements
- Python 3.6 or newer. If your operating system does not provide a Python interpreter, you can go to python.org to download an installer.
- A free or paid Twilio account. If you are new to Twilio get your free account now! (If you sign up through this link, Twilio will give you $10 credit when you upgrade.)
Set up the environment
Create a project directory in your terminal called flaskupload to follow along. If you are using a Mac or Unix computer enter these commands in your terminal:
If you are on a Windows machine, enter the following commands in a prompt window:
NOTE: Depending on what distribution of Python you are on, you might have to specify python3.
If you are curious to learn more about the packages, you can check them out here:
- The Flask framework, to create the web application that will receive message notifications from Twilio.
- The python-twilio package, to send messages through the Twilio service.
- The python-dotenv package, to read a configuration file.
Create your first Twilio Verify
In order to use Twilio Verify, a service must be generated. Head to the Twilio Verify Dashboard - you should be on a page that says Services.
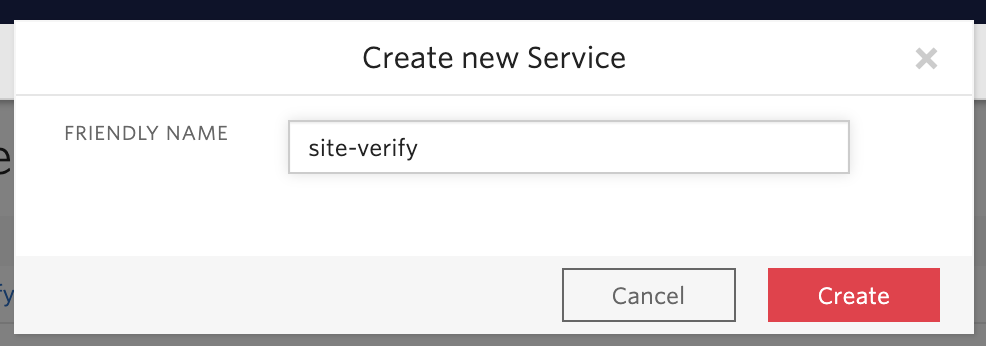
Click on the red plus (+) button to create a new service. Give the service a friendly name of "site-verify". The friendly name will actually show up on the text message that is sent to people's phones so if you have another specific name you would like to use, such as "<YOUR_NAME> website verify" feel free to do so.
Click on the red Create button to confirm.
Creating the Twilio Verify service will lead you to the General Settings page where you can see the properties associated with your new Twilio Verify service.
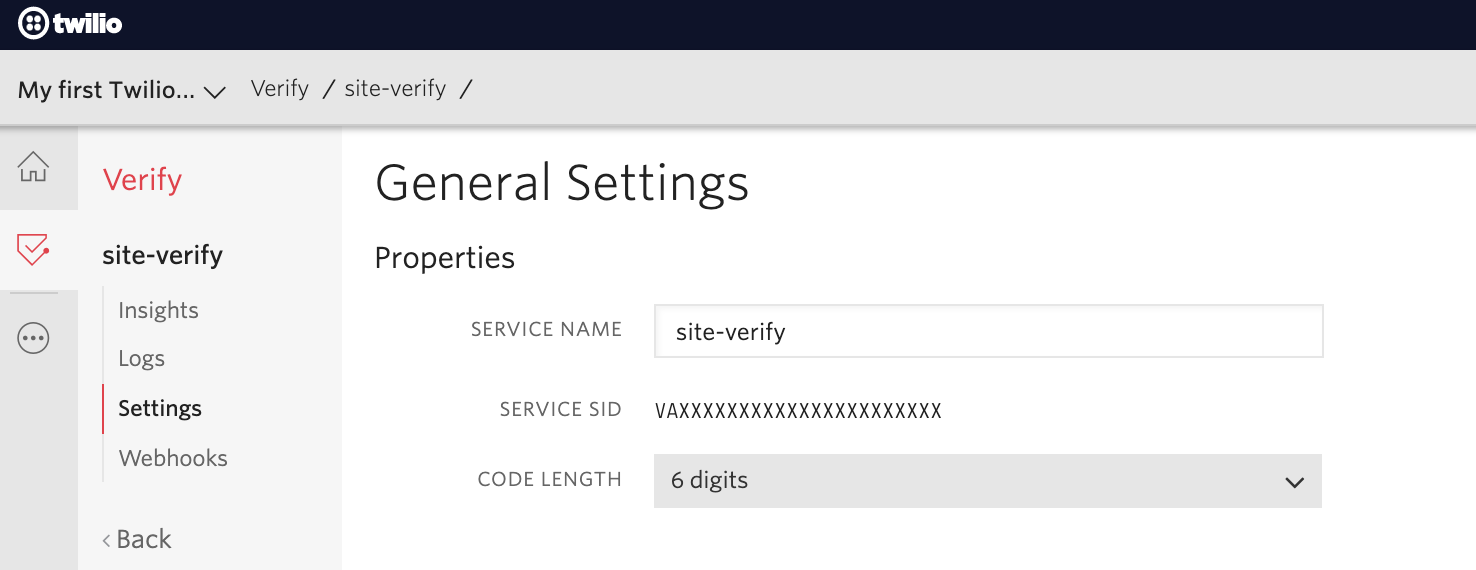
Open your favorite code editor and create an .env file. Inside this file, create a new environment variable called VERIFY_SERVICE_SID. Copy and paste the SERVICE SID on the web page as the value for this new variable. .
To complete the .env file, create two additional environment variables: TWILIO_ACCOUNT_SID and TWILIO_AUTH_TOKEN. You can find the values for these variables on the Twilio Console as seen below:

Set up a development Flask server
Make sure that you are currently in the virtual environment of your project’s directory in the terminal or command prompt. Since we will be utilizing Flask throughout the project, we will need to set up the development server. Add a .flaskenv file (make sure you have the leading dot) to your project with the following lines:
These incredibly helpful lines will save you time when it comes to testing and debugging your project.
FLASK_APPtells the Flask framework where our application is located.FLASK_ENVconfigures Flask to run in debug mode.
These lines are convenient because every time you save the source file, the server will reload and reflect the changes.
Then, run the command flask run in your terminal to start the Flask framework.
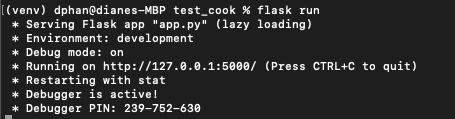
The screenshot above displays what your console will look like after running the command flask run. The service is running privately on your computer’s port 5000 and will wait for incoming connections there. You will also notice that debugging mode is active. When in this mode, the Flask server will automatically restart to incorporate any further changes you make to the source code.
However, since you don't have an app.py file yet, nothing will happen. Though, this is a great indicator that everything is installed properly.
Feel free to have Flask running in the background as you explore the code. We will be testing the entire project at the end.
Create a database file of eligible users
For the purposes of this tutorial, we will be hardcoding a list of accounts that are allowed to enter the website, along with their phone numbers. In a production setting, you would have to use your chosen database instead.
We will be skipping passwords altogether solely for the scope of this project tutorial, however handling passwords is essential in a production setting. Keep in mind that if you were to use your own database, you would have to avoid storing passwords as plaintext.
There are plenty of libraries that help developers manage passwords in a Flask application such as Flask Security.
Create a file in your working directory named settings.py and copy the code below into the file:
The dictionary can be modified to include different emails and phone numbers as you please. Make sure the phone numbers are in E.164 format as seen in the settings.py example above. Be sure to add your phone number to an existing item in the dictionary, or create a new item with your information. Each email address is a unique key which is helpful in our case because we want to look users up quickly in the login step.
Plan the logic of the project
The flow of logic for the project goes as follows:
- A user from
KNOWN_PARTICIPANTSwill enter their email on the website homepage. - The Flask application sends a one time passcode to the user's phone number.
- The user is prompted to enter the verification code they received from their phone to verify their identity to their account.
- If the user entered the verification code correctly, they are redirected to a page to upload a .jpg or .png image of their choice.
With that said, let's start coding!
In your working directory, create a file named app.py and copy and paste the following code:
At the top of the file, we imported the necessary Python modules and libraries so that the project can load the environment variables, the list of participants from settings.py, and start the Flask app.
The Flask app will also have a secret_key for some level of security for the user session. Any random string can replace "not-so-secret-key". This is also required in our project since we need to store the users' account information and pass it along to other routes on the site using Flask's session.
Create an empty folder named "UPLOADS'' in the same flaskupload project directory. This is where all uploaded image files will be stored for the sake of simplicity in this tutorial.
Create the template folder for HTML pages
To build the UI for this project, you’ll be using Flask templates. Create a folder in the working directory named templates and create the following files inside of the folder:
- index.html - the landing page for the user to enter their email and request a verification token.
- verifypage.html - for the user to enter the verification code when prompted.
- uploadpage.html - for the user to submit a picture in .jpg or .png format.
- success.html - page indicating the success of uploading an image!
Build the user login page
For this project, the user will go to the website and enter their username, which is an email in this case. Copy and paste the following code at the bottom of your app.py file:
A POST request is made to allow the participant's username to be stored in the Flask session. If the username is in the database, in this case the KNOWN_PARTICIPANTS dictionary, then the username is stored in the current Flask session and the verification token is sent to the corresponding phone number. The participant is redirected to another route where they will see a second form allowing them to submit the verification code.
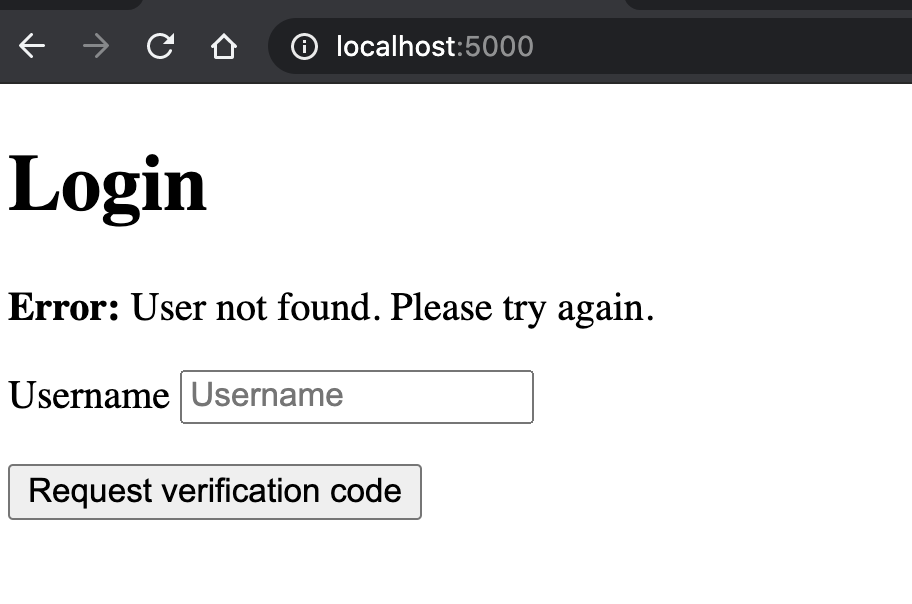
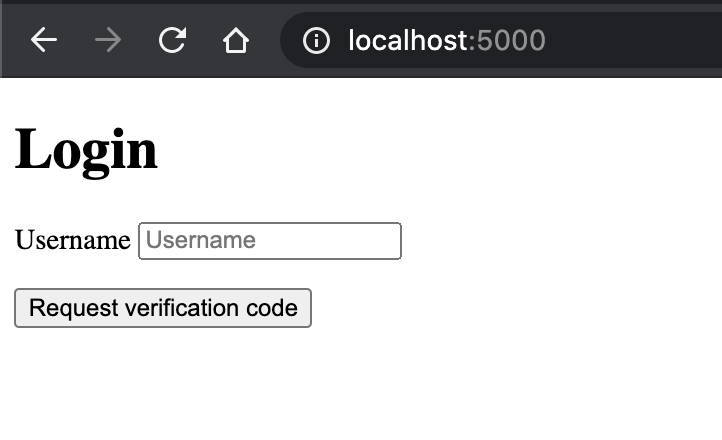
Create a form that takes in a username input, as well as a button to submit. Copy and paste the barebones HTML form from my GitHub repo into the index.html file:
Here's an example of what happens when the user enters a username that’s not in the KNOWN_PARTICIPANTS dictionary:
With the form set up, it’s now time to build the send_verification function that will fire after the user submits the form.
Generate a verification code with Twilio Verify
Time for the fun part - calling the Twilio Verify API!
We want to send the verification token after the user enters a valid email in our database. Add the following code to the app.py file under the same route as the login function:
The Twilio Client sends a verification token to the phone number associated with the username stored in the current Flask session. The specified channel in this case is SMS but it can be sent as a call by sending channel=’voice’ if you prefer.
Keep in mind that this is a simple function that sends a verification passcode and does not yet account for error handling.
Time to test it out. On the webpage, enter the email in settings.py that corresponds to your phone number. You should get an SMS with a passcode shortly.
Verify the user's phone number
We will now take the user input from a new form and make sure it is the same exact verification code that Twilio texted via SMS to the phone.
Let's start by creating the form on the HTML side. Copy and paste the HTML from my GitHub repo into the body of verifypage.html:
But wait - how can we verify the 6 digit code if Twilio is the one that sends out the code? We need to define the /verifyme route and define the appropriate functions so that the user can verify the passcode.
Copy and paste the following code to the bottom of the app.py file:
We need to define the check_verification_token() function beneath the verify_passcode_input() code so that this function can be called within this route:
The check_verification_token() function takes in the Flask session's phone number and the verification_code that the user typed into the textbox and calls the Verify API to make sure they entered the one time passcode correctly.
So once the user submits the form, which then makes the POST request to the /verifyme route, the verify_passcode_input() function is called. If the passcode was correct, the success page is rendered. Similar to the logic for the login page, if the participant enters an incorrect verification code, the page will refresh and show an error message. The page will also let the user enter the verification code again.
Allow users to submit a photo
At this point, the user has entered their credentials and verification code correctly. It's time to build out the page where users can drag and drop the image file. Copy and paste the HTML from my GitHub repo into the body of uploadpage.html:
As you might have noticed, the mechanics in the uploadpage.html page are different, as you have to specify the input type that is expected in this POST request. Here, multipart/form-data is used in order to encode the data as a file element.
Once the user clicks on the Submit button, they are rerouted to the /uploader of the website where they will see a success page if they uploaded an appropriate file with either a .jpg or .png extension, or, be asked to reupload a valid file.
Here's what the error message could look like:

Go back to the app.py file to build out these two new routes so that the user can upload an image. Copy and paste the following code to the bottom of the file:
If the user makes a POST request on the uploadpage.html, then the file is stored in the Flask session's request object. Not only do we check if the user uploaded a valid .jpg or .png file and that exists, but we have to make sure that the user input is appropriate.
This is the reason we imported the werkzeug library earlier so that we can utilize the secure_filename function. Our project saves the uploaded files inside the project directory so we must take the precautions to identify file names that may harm our system.
To check the file extensions, we need to define the allowed_file function where the file name uploaded can be parsed and checked against the app.config['UPLOAD_EXTENSIONS']. Scroll up to the top of the app.py file to define a global function.
Place the following code between the definition for the first / route and the KNOWN_PARTICIPANTS:
Once the file input has been checked and approved, the file is finally saved into the project directory's "UPLOADS" folder, as stated in app.config['UPLOAD_FOLDER'].
Another thing to consider is that in a larger scale project, you would not want to store all of your files on your system. You might want to store the files in a database or dedicated cloud storage service instead and consider the maximum size limit for the user inputs. Flask currently takes care of this for us by raising a RequestEntityTooLarge exception, but you can implement your own rules as you please.
Display a success message
You can now redirect them somewhere else as you please, but in this tutorial, you’ll redirect them to a success page. Copy and paste the HTML from my GitHub repo into the success.html file within the templates directory:
Authenticate your account with Twilio Verify and submit an image
It's time to test out the app. Feel free to look at the completed code on GitHub.
Make sure that Flask is running on your terminal with flask run. Visit http://localhost:5000/ and enter any username from the defined dictionary in settings.py.
I'll use the "twilioisthebest@twilio.com" email which is the key for my own phone number for testing:
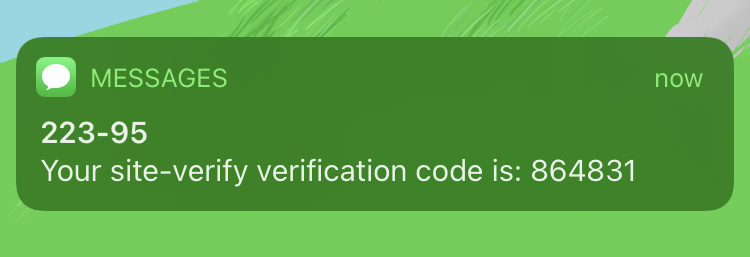
Check your phone to see the notification for the verification code provided by Twilio Verify. Seems like the code for my case was 864831.
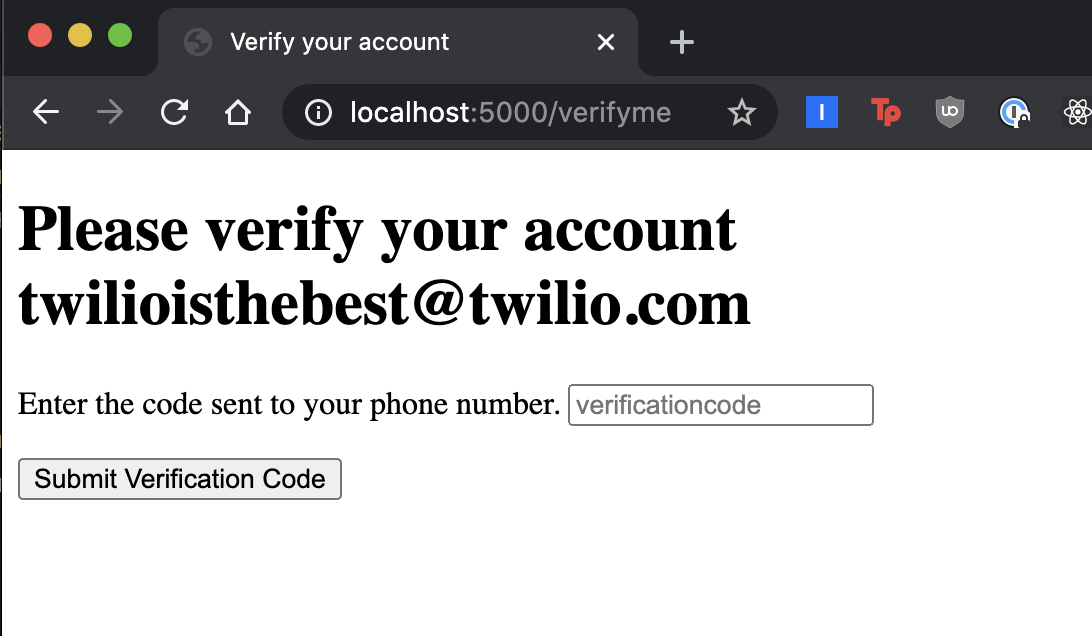
After entering the code correctly, you'll see this page:
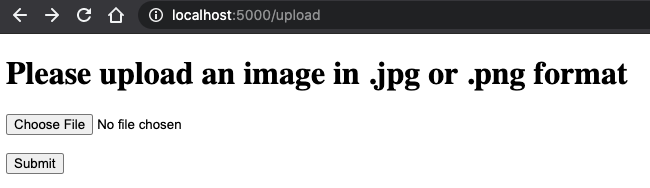
Select an image in .jpg or .png format. Click on the Submit button.
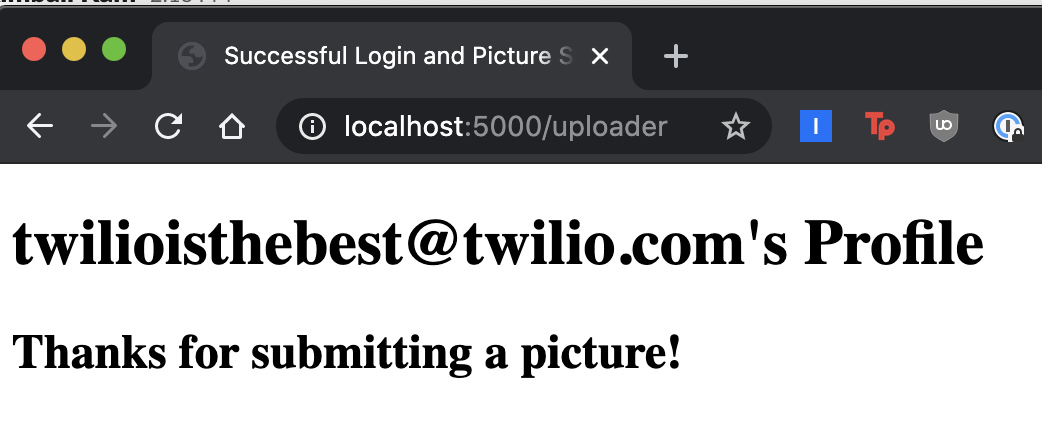
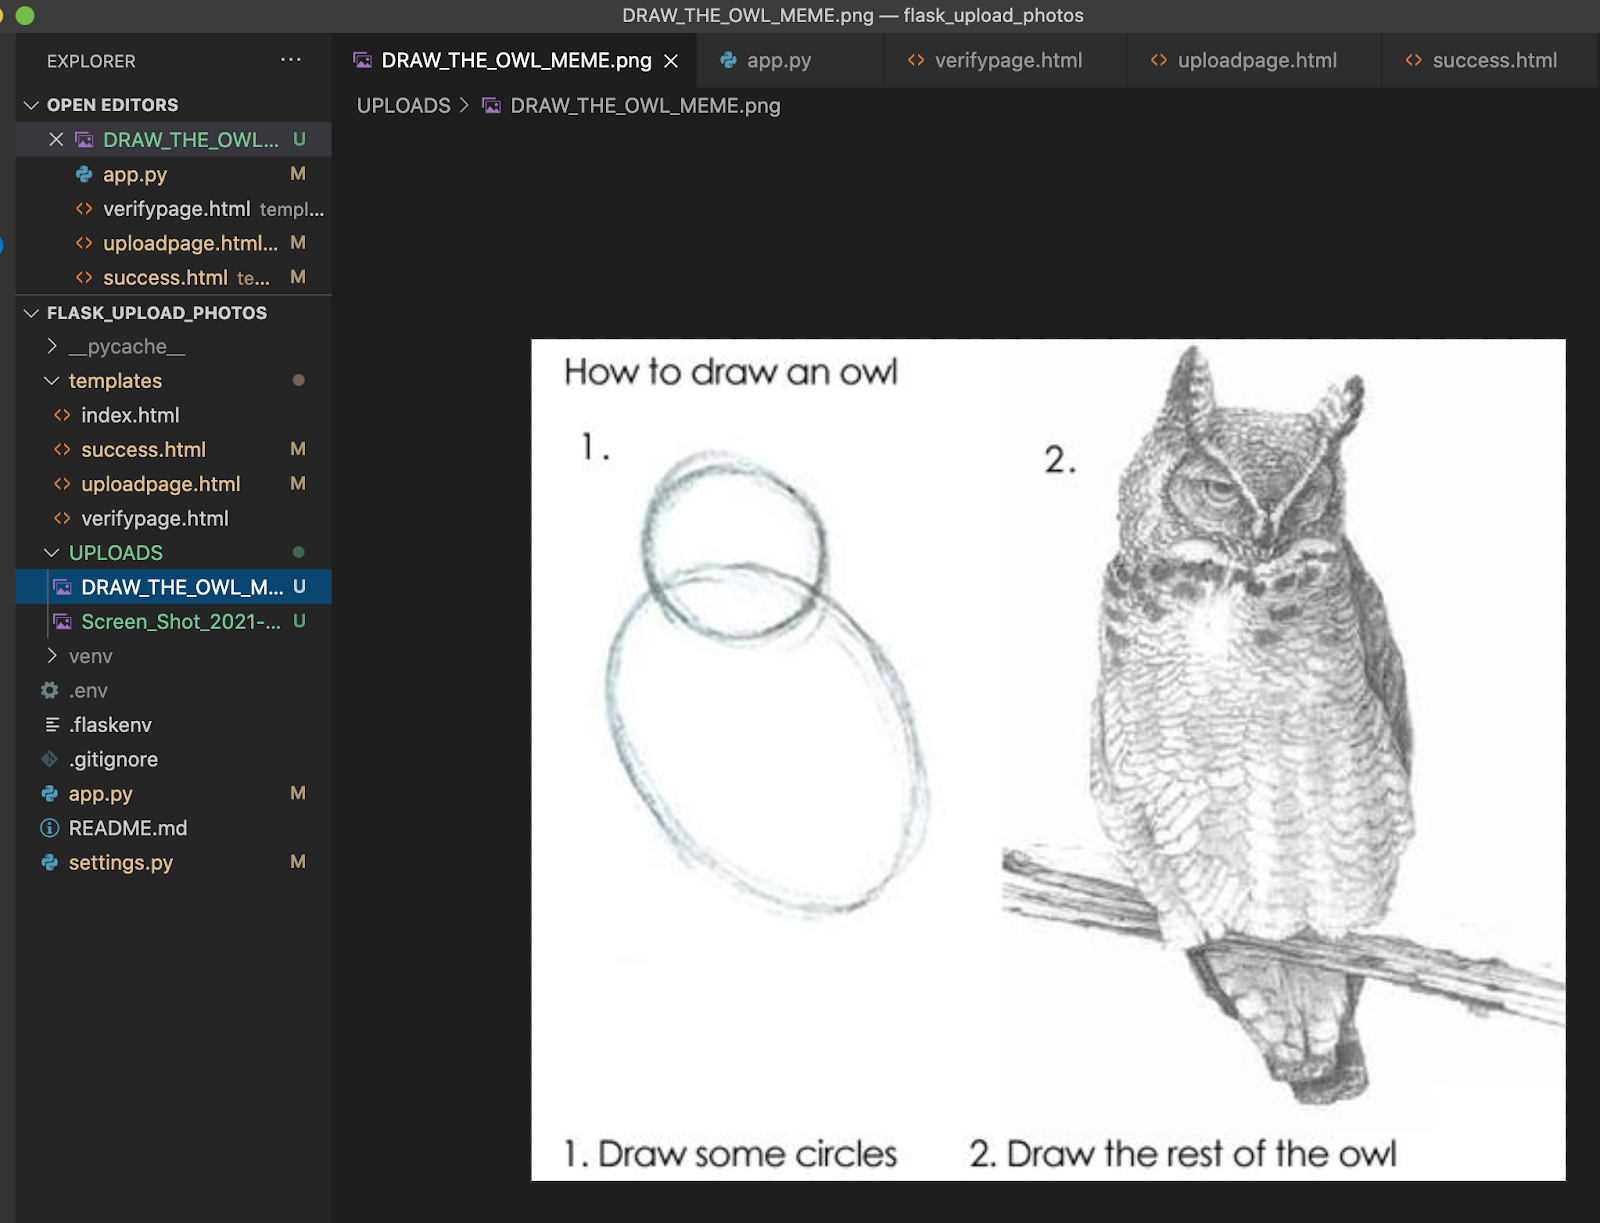
Check your project directory and look at the UPLOADS folder, or whichever folder you created to store the pictures. You should see the image you just submitted.
What’s next for image uploading sites?
Congratulations on implementing safe practices and incorporating security measures into your project! There are plenty of ways to expand on this project and build a full fledged site to interact with users safely and avoid bad actors that you may come across.
Another way you can use Twilio Verify for authentication is to send a verification code over email using Twilio Verify and SendGrid. In that case, you would use the username in the database or any email address on the user's profile.
You can also increase the amount of safety in checking the user's input by implementing an image recognition API in your project to detect content such as NSFW photos.
Let me know what you're building in your image uploading site and how you are protecting the users in your project by reaching out to me over email!
Diane Phan is a developer on the Developer Voices team. She loves to help programmers tackle difficult challenges that might prevent them from bringing their projects to life. She can be reached at dphan [at] twilio.com or LinkedIn.

Related Resources
Twilio Docs
From APIs to SDKs to sample apps
API reference documentation, SDKs, helper libraries, quickstarts, and tutorials for your language and platform.
Resource Center
The latest ebooks, industry reports, and webinars
Learn from customer engagement experts to improve your own communication.
Ahoy
Twilio's developer community hub
Best practices, code samples, and inspiration to build communications and digital engagement experiences.