What's Cookin’? Build an Image Recognition App on WhatsApp using Twilio MMS, Clarifai API, Python, and Flask
Time to read:
July 10, 2020
Written by
Reviewed by

Food and photos go hand in hand - if there’s food, then you know there’s going to be an impromptu photoshoot to show it off. There are plenty of apps online that promote the lifestyle of making sure “the camera eats first” on any occasion, no matter where you are.
Completing this tutorial will allow you to apply image recognition on pictures that your friends and family share in WhatsApp.
In this article, we’ll walk you through how you can develop a functional Python program to easily share and identify media content in a private sandbox through WhatsApp using Twilio Programmable MMS, Clarifai API, and Flask.
Tutorial Requirements
In order to build this project, you will need to have the following items ready:
- Python 3.6 or newer. If your operating system does not provide a Python interpreter, you can go to python.org to download an installer.
- ngrok is a handy utility to connect the development version of our Python application running on your system to a public URL that Twilio can connect to. This is necessary for the development version of the application because your computer is likely behind a router or firewall, so it isn’t directly reachable on the Internet. You can also learn how to automate ngrok.
- Clarifai account. Sign up for a free account to generate an API key.
- A free or paid Twilio account. If you are new to Twilio get your free account now! (If you sign up through this link, Twilio will give you $10 credit when you upgrade.)
Configuration
We’ll start off by creating a directory to store our project files. Inside your favorite terminal, enter:
Since we will be installing some Python packages for this project, we need to create a virtual environment.
If you are using a Unix or MacOS system, open a terminal and enter the following commands:
NOTE: Depending on your active version of Python, you might have to specify python3.
If you are on a Windows machine, enter the following commands in a prompt window:
If you are curious to learn more about the packages, you can check them out here:
- The Flask framework, to create the web application that will receive message notifications from Twilio
- The python-twilio package, to send messages through the Twilio service
- Clarifai’s Python library to interact with the Clarifai API for image recognition
Configure the Twilio WhatsApp Sandbox
Log onto the Twilio Dashboard to view your Programmable SMS. Look at the sidebar to find “WhatsApp”. Click on it to learn how to set up your sandbox.
The sandbox is provided by Twilio, however, once you complete your app, you can request production access for your Twilio phone number.

Use your smartphone to send a WhatsApp message of the phrase to your assigned WhatsApp number. If you are successful, you should receive a message as shown below.
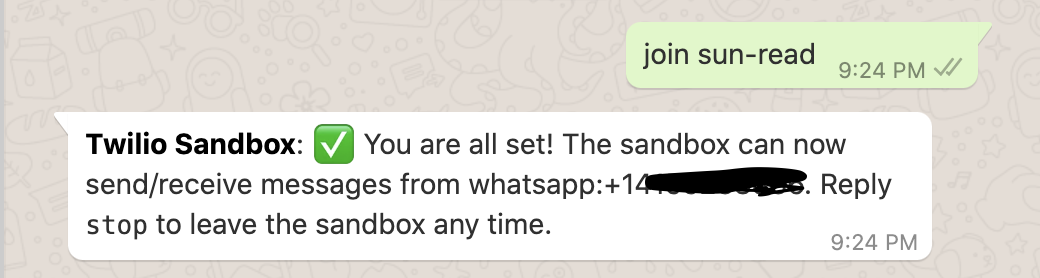
You should share these instructions with anyone else who wants to join your WhatsApp sandbox to share pictures.
Authenticate against Twilio and Clarifai Services
Next, we need to safely store some important credentials that will be used to authenticate against the Twilio and Clarifai services.
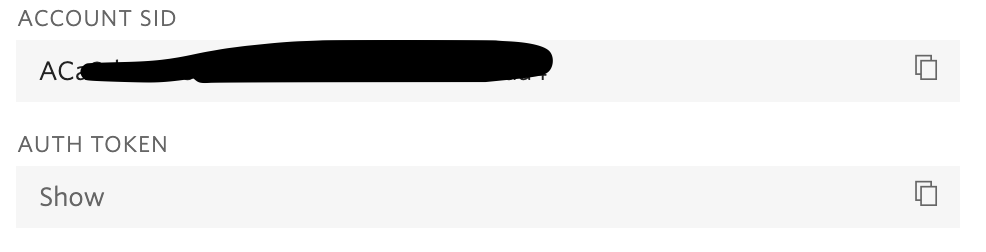
For the TWILIO_ACCOUNT_SID and TWILIO_AUTH_TOKEN variables, you can obtain the values that apply to your Twilio account from the Twilio Console:
To use the Clarifai API, you need to make an account and create an application in order to generate an API key for your project.
Once you have located the credentials and API key, we’ll be setting the environment variables by typing the following commands into your terminal:
Remember that if you are a Windows user, replace export with set for the environment variables.
Receive and respond to messages with Twilio
The goal of our app is to allow friends and family to text your WhatsApp number with a picture of food they cooked or a meal they ate, kind of like a shared Snapchat story, but hosted over WhatsApp.
After texting the generated phrase from the Twilio WhatsApp console, the users can proceed to send in a picture. If pictures have been sent in at any point, then the sender’s phone number and image will be saved until the user texts check to see the pictures. The hardcoded message tells the app to iterate through the data structure to send out all the pictures of food that were sent to the WhatsApp number. Later on, we will discuss how the app is able to recognize the picture sent in.
Receive messages
The Twilio API for Programmable SMS uses a webhook (web callback) to allow real-time data to be delivered to other applications. This is especially important since we want to constantly be able to view our friends’ statuses.
Create a file named app.py in the root directory of your project and copy the following code into the file:
Remember to replace the comment in the from_ variable with your WhatsApp number in the format of ’whatsapp:<phone number>’ inside single quotes.
As you can see, a new function respond() is created and called throughout the project. This function sends a response to the user. By calling this function, it also helps our app send confirmations to the users.
The request.form is a special object from Flask that parses incoming data and exposes it in a convenient dictionary format. The app sets the sender variable from the From parameter to keep track of who sent in a picture. media_msg is a variable that identifies if the user sent in a photo image or text from the NumMedia parameter provided by the Twilio MMS API.
A message variable is created so users can “check” what pictures have been sent in already. If a user texts “check”, they can view all the food pictures that were sent in from friends and family. However, if no one sent in a picture, then the app will tell them to send something in because the directory is empty. You could also change the phrase to something like “what’s cookin?” if you want.
Notice that there is a function called get_food_tags() which hasn’t been defined yet. We will be going over this function later in this article, as well as the food_pics data structure that holds the info from the sender and the picture they sent in.
Set up a development Flask server
Now that you have saved the code above into your file, we’ll have to test things out by starting a development Flask server. Type the following line in your terminal:
Remember that if you are a Windows user, replace export with set for the environment variables.
These lines are convenient because every time you save the source file, the server will reload and reflect the changes.
Then, type flask run in your terminal to start the Flask framework.
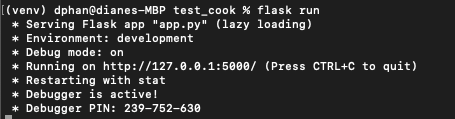
The screenshot above displays what your console will look like after running the command flask run. The service is running privately on your computer’s port 5000 and will wait for incoming connections. You will also notice that debugging mode is active, and that my flask server restarted to reflect my changes.
While flask is running in one terminal window, open up a second tab or terminal window. Start ngrok with the following command:
Great, you enabled your Flask service publicly over the Internet!
Ngrok is a great tool because it allows you to create a temporary public domain that redirects HTTP requests to our local port 5000.
Note that if you are unable to install ngrok system-wide, try to locate the executable ngrok file manually in order to call it in your terminal using its full path. For example, my ngrok file was on my desktop, so I would type
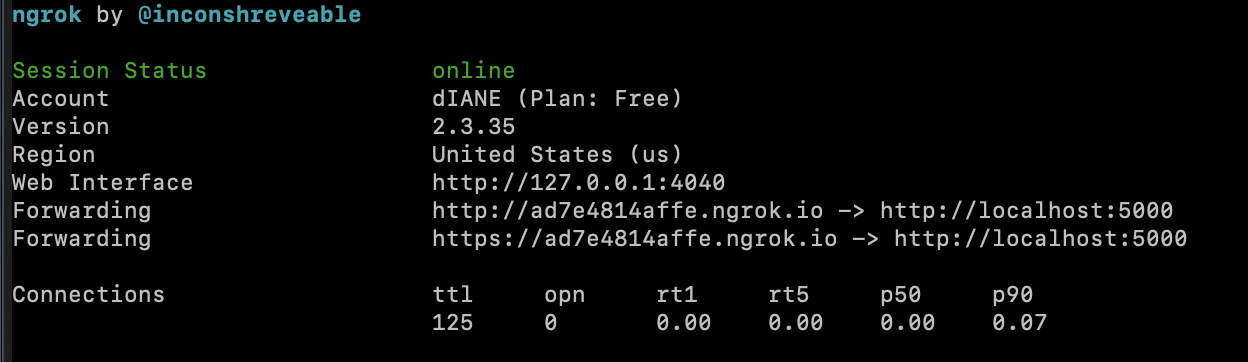
Your ngrok terminal will now look like the picture above. As you can see, there are URLs in the “Forwarding” section. These are public URLs that ngrok uses to redirect requests into our flask server.
Set up a webhook with Twilio
Copy the URL starting with https:// and return to the Twilio Console, where we tell Twilio to send incoming message notifications to this URL.
In the Twilio Console, click on the (...) on the left sidebar to find the Programmable SMS Dashboard. Look at the sidebar to find “WhatsApp”. Click on it to unlock the option “Sandbox” under “Learn”, which we looked at earlier in this article.
Paste the URL copied from the ngrok session into the “WHEN A MESSAGE COMES IN” field and append /webhook, since that is our endpoint. Here is my example for reference:
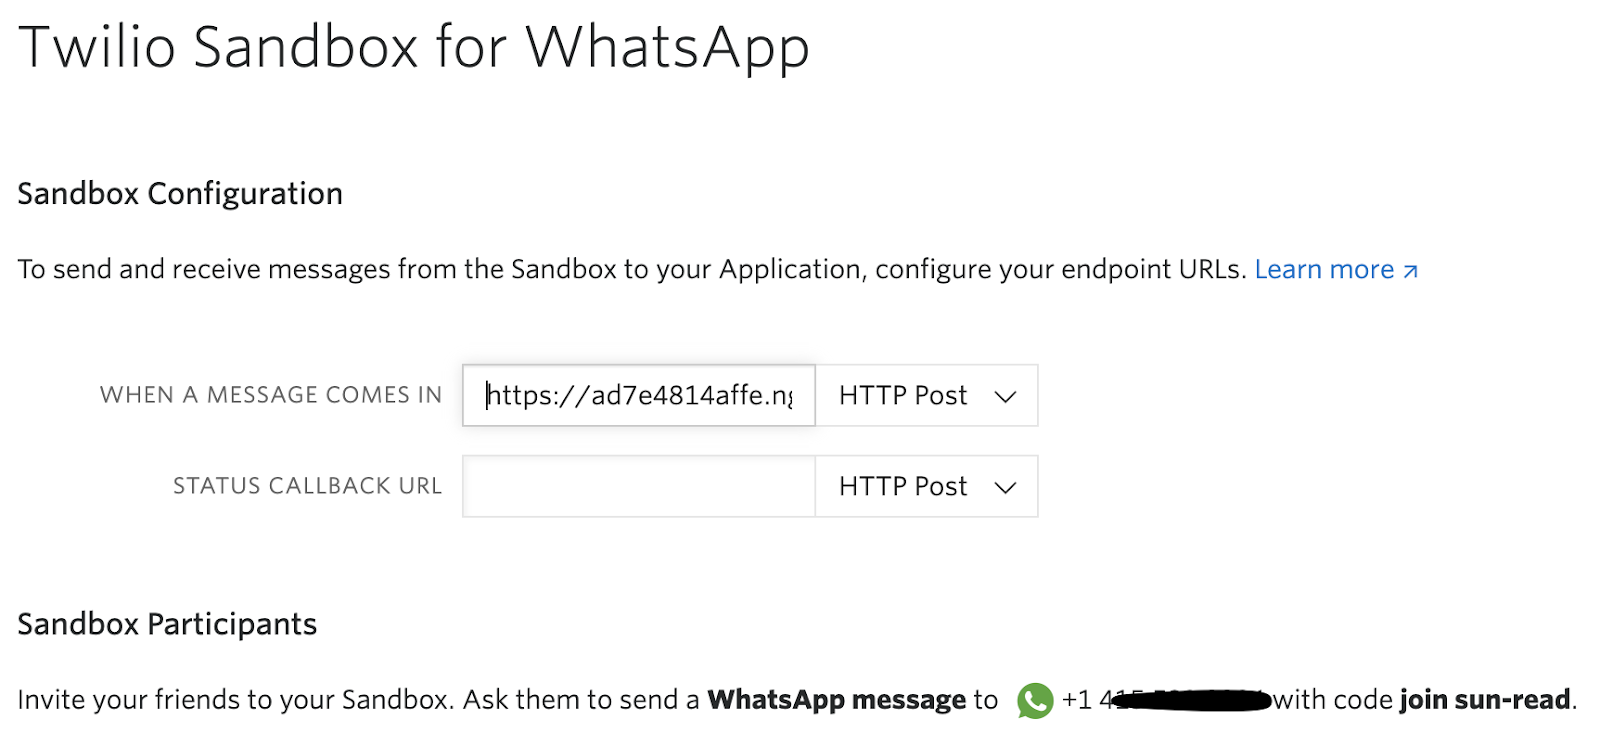
The URL from ngrok is “https://ad7e4814affe.ngrok.io/webhook”
Before you click on the “Save” button, make sure that the request method is set to HTTP POST.
Time to test things out! Log into WhatsApp and send a text message to your Twilio Sandbox.

Woah, looks like our program is working so far! But it seems hungry for a picture of food. Maybe it’s a good time to cook a meal or bake some cupcakes before we can move forward.
Identify food pictures with Clarifai API
Yeah, we know cooking is fun, but here’s some more coding fun! Clarifai offers a very nifty API that helps developers like you recognize what’s going on in the image. You might have wondered at some point - “Image recognition must be really hard to learn!” but that’s not the case when using Clarifai’s API!
Earlier, we created and exported our Clarifai API key to the terminal. If you forgot to do so, you should find your API key and do it now.
Again, if you are a Windows user, replace export with set for the environment variables.
Integrate Clarifai API to your application
This project is a fun opportunity to test out the Clarifai API and see how it works against the user inputs. In this section you will understand why image recognition APIs are important especially when building a project that presents untrusted users the ability to upload any photo they want. Here, you’ll want to make sure that the users only send in pictures of food instead of a meme.
With that said, let’s create a new Python file. I created image_classifier.py to store the code that uses Clarifai’s API. Copy the following code into the file you just created::
After importing the code, save it, then go back to app.py. You’ll need to import the function from the new Python file to the main file that runs via Flask. Add this line at the top of the file where you imported various packages.
Let’s try testing out our app by sending a greeting message, and then sending a picture of food.
If you didn’t run the following commands earlier, kill the flask process and rerun it with the newly saved code.
For those developing on Windows, here are the commands you would need to run.
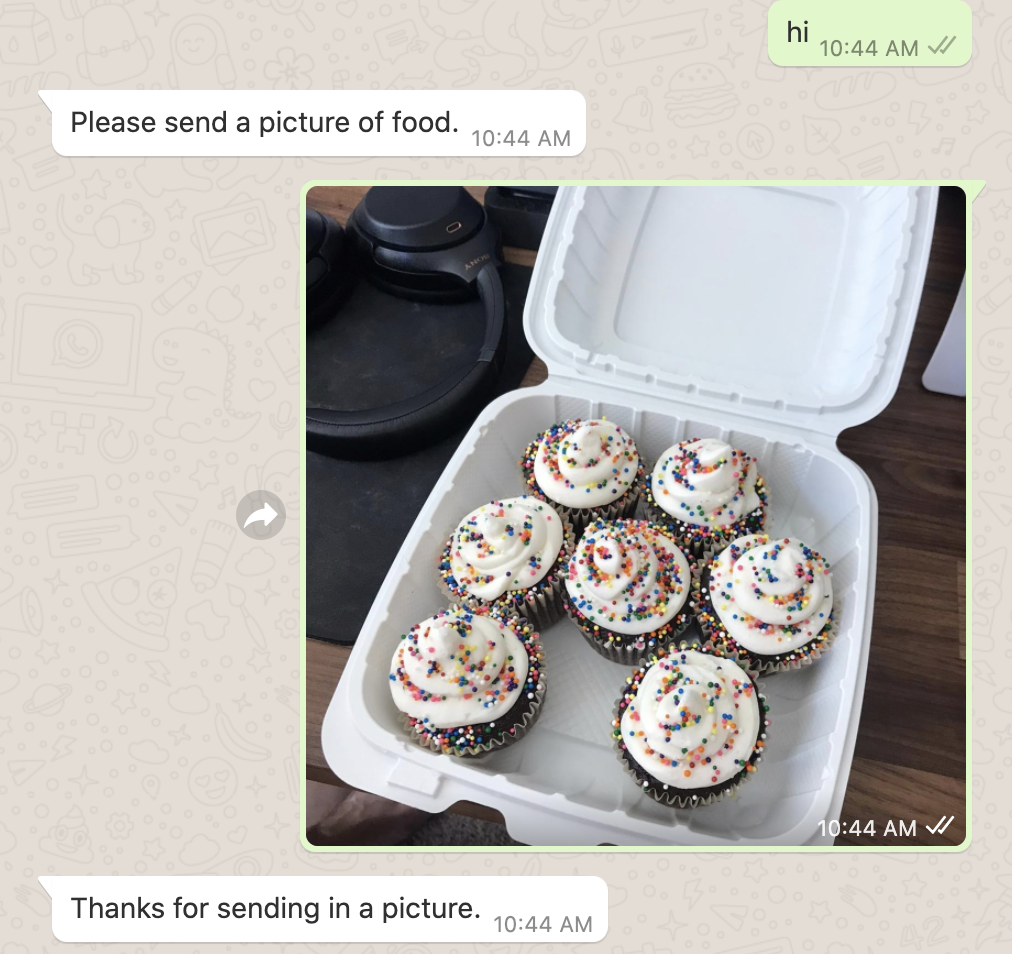
Cool! The app was able to recognize a picture of homemade cupcakes. But how exactly does that work out?
Retrieve picture data
According to the picture we saw in the previous section, the app was able to recognize the picture of cupcakes and add this picture to the Python dictionary which we named food_pics. This global variable is a data structure that allows us to have one unique key, representing the person’s phone number. Each key will have it’s own status that can be updated. It is also a returnable object that conveniently lists out all the keys (sender’s phone number) and their values (the picture).
If you want to view the list of tags that the Clarifai API came up with for your picture, you can print them into your console with the line below. Insert this line right below your relevant_tags = get_food_tags(pic_url) line inside app.py.
Save it, then send another photo to the WhatsApp number. The program will now print out tags for any photo that is sent in. Here are the tags for the cupcakes photo from earlier.
So how is this helpful? These tags help identify if the picture is actually food or not. Let’s see what happens inside the terminal if I send in an owl meme.
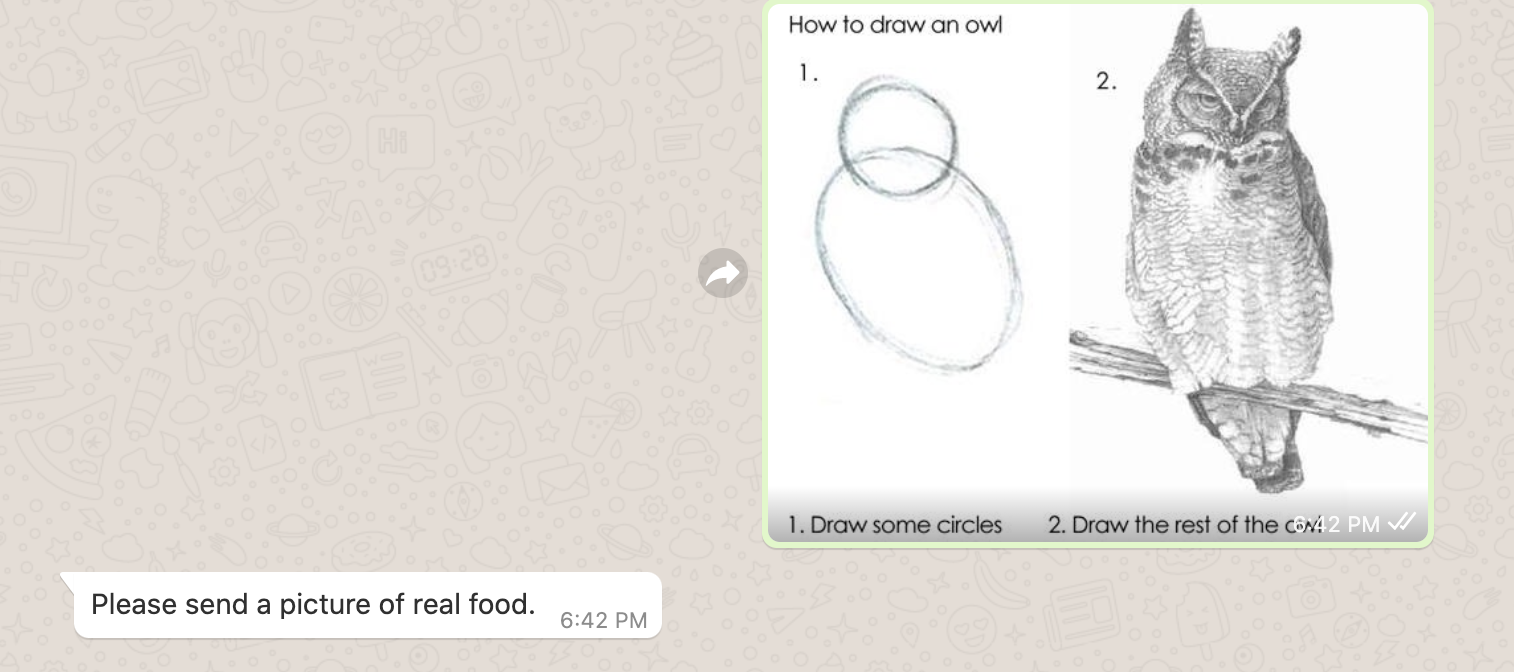
Notice that there is no sign of a “food” tag in the terminal after sending in the picture. Looks like the Clarifai API is doing its work and the app is able to tell you to send in a picture of real food.
Run the WhatsApp Picture Sharing App
It’s time to wrap things up and make sure your program is working the way you want it to so that you can share it with friends and family. If you want an example, view my code on GitHub.
Make sure you have one tab running flask and one tab running ngrok. If you closed it for any reason, start it again now with the following commands in their respective tabs.
And in the second tab:
Furthermore, make sure that your ngrok webhook URL is updated inside the Twilio Sandbox for WhatsApp. Each time you restart ngrok, the URL changes, so you will have to replace the URL. Remember to add the /webhook at the end of the ngrok forward URL.
Once you have Flask and ngrok running, tell your friends to text your Twilio WhatsApp number with the unique phrase to join the sandbox. Once they receive the confirmation message, everyone can start sharing pictures!
Here’s what my colleague Lizzie and I had for lunch:
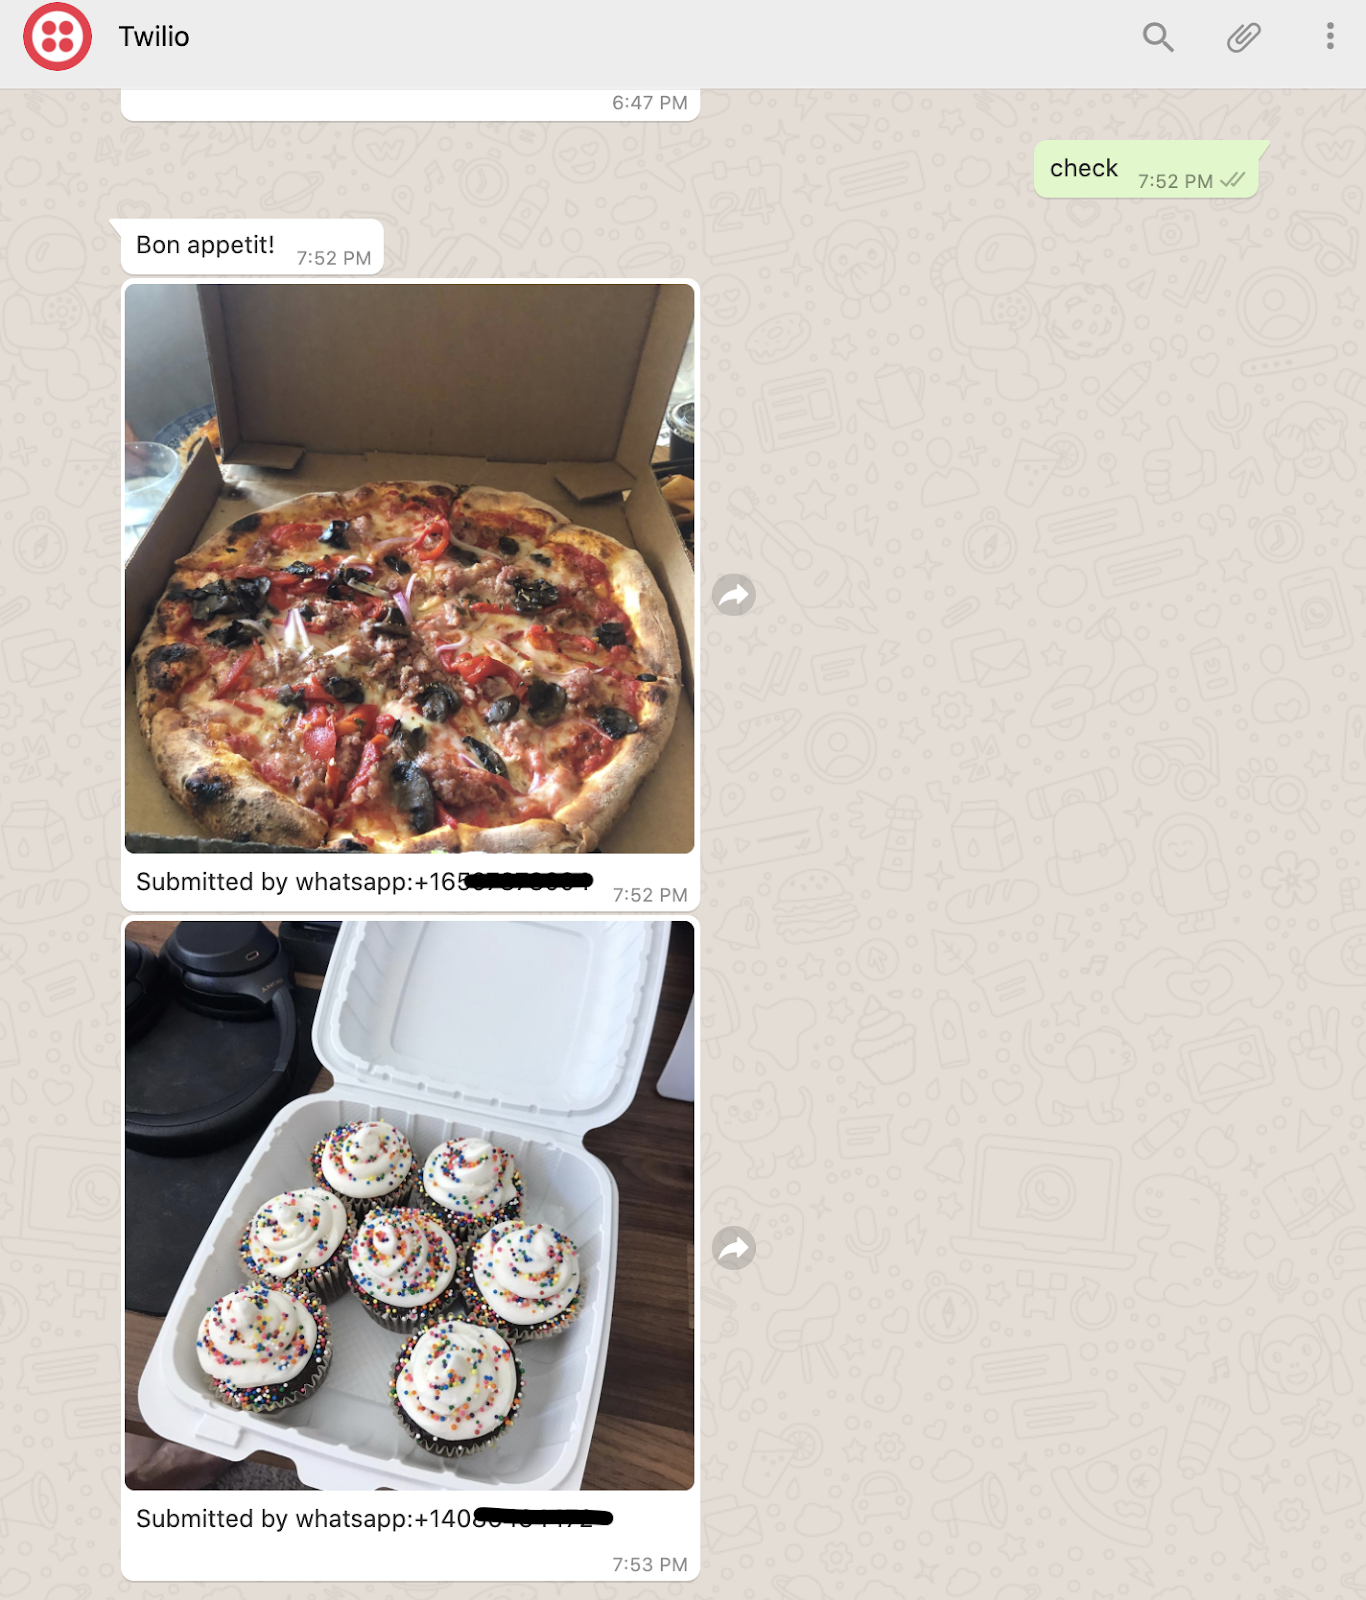
It’s time to share pictures of your cupcakes, pizza, or anything else you’re cooking up. Be sure to tell your friends your WhatsApp Number so that they can text in, register themselves in the sandbox, and send in pictures of their daily meals!
Conclusion: Building a WhatsApp Picture Sharing app
Congratulations on building your first WhatsApp Picture Sharing app! You must be pretty hungry if you made it this far, so why not treat yourself to some desserts and share a picture of it on your app? This simple MMS tutorial shows you how to create a database of pictures and phone numbers of friends and family who can update each other of what they’re cooking up throughout the day with the help of Twilio, Python, Clarifai, and Flask.
This might even be a great way to seek out the next best chef in the group!
What’s next for Picture Sharing apps?
Looking for ways to expand on this project? Try these:
- Figure out how to protect the app better by making sure Clarifai API identifies NSFW photos
- Create a word database to read from instead of hardcoding ‘food’ into the conditional statement
- Use Twilio MMS keys to send a message with more user information
- Build a photo backup system on WhatsApp
Let me know if you’re cooking up any projects or if you had a delicious meal lately!
Diane Phan is a Developer Network Intern on the Developer Voices team. She loves to help beginner programmers get started on creative projects that involve fun pop culture references. She can be reached at dphan [at] twilio.com.


Related Resources
Twilio Docs
From APIs to SDKs to sample apps
API reference documentation, SDKs, helper libraries, quickstarts, and tutorials for your language and platform.
Resource Center
The latest ebooks, industry reports, and webinars
Learn from customer engagement experts to improve your own communication.
Ahoy
Twilio's developer community hub
Best practices, code samples, and inspiration to build communications and digital engagement experiences.