Save your Twilio Studio Chatbot Data to Airtable using Node.js and Twilio Functions
Time to read:
September 29, 2021
Written by
Reviewed by

If you’ve built a chatbot or application flow with Twilio Studio, an integral part of bringing your app into production is being able to store relevant user data and access data you need to remit to your user. This means you need a database.
In this article, you’ll learn how to use Twilio Functions and Node.js to store and access data in an Airtable base. This article builds off the specific example project created in Build a Trick or Treat Chatbot with Twilio Studio and Functions, and Node.js.
To follow along step by step with this article, having built the Trick or Treat chatbot will be required, but if not, have no fear! This article contains valuable information about connecting with and using the Airtable API with Node.js for all readers.
Prerequisites
To get started with this tutorial, you’ll need the following:
- A free Twilio account (sign up with this link and get $10 in free credit when you upgrade your account).
- A Twilio phone number.
- The trick-or-treat bot.
- An Airtable account.
Create your Airtable base
Login to your Airtable dashboard and click on the grey square with the plus button to create a new base in your workspace. Once you click on it, a small submenu will appear. Select the Start from Scratch option. When prompted, name your base Halloween.
In the top left of your new base, you’ll see a tab for the current table named Table 1. Double click the tab and change the name of the tab to locations.

There are four columns, known in Airtable as fields, that have been automatically added to your table.
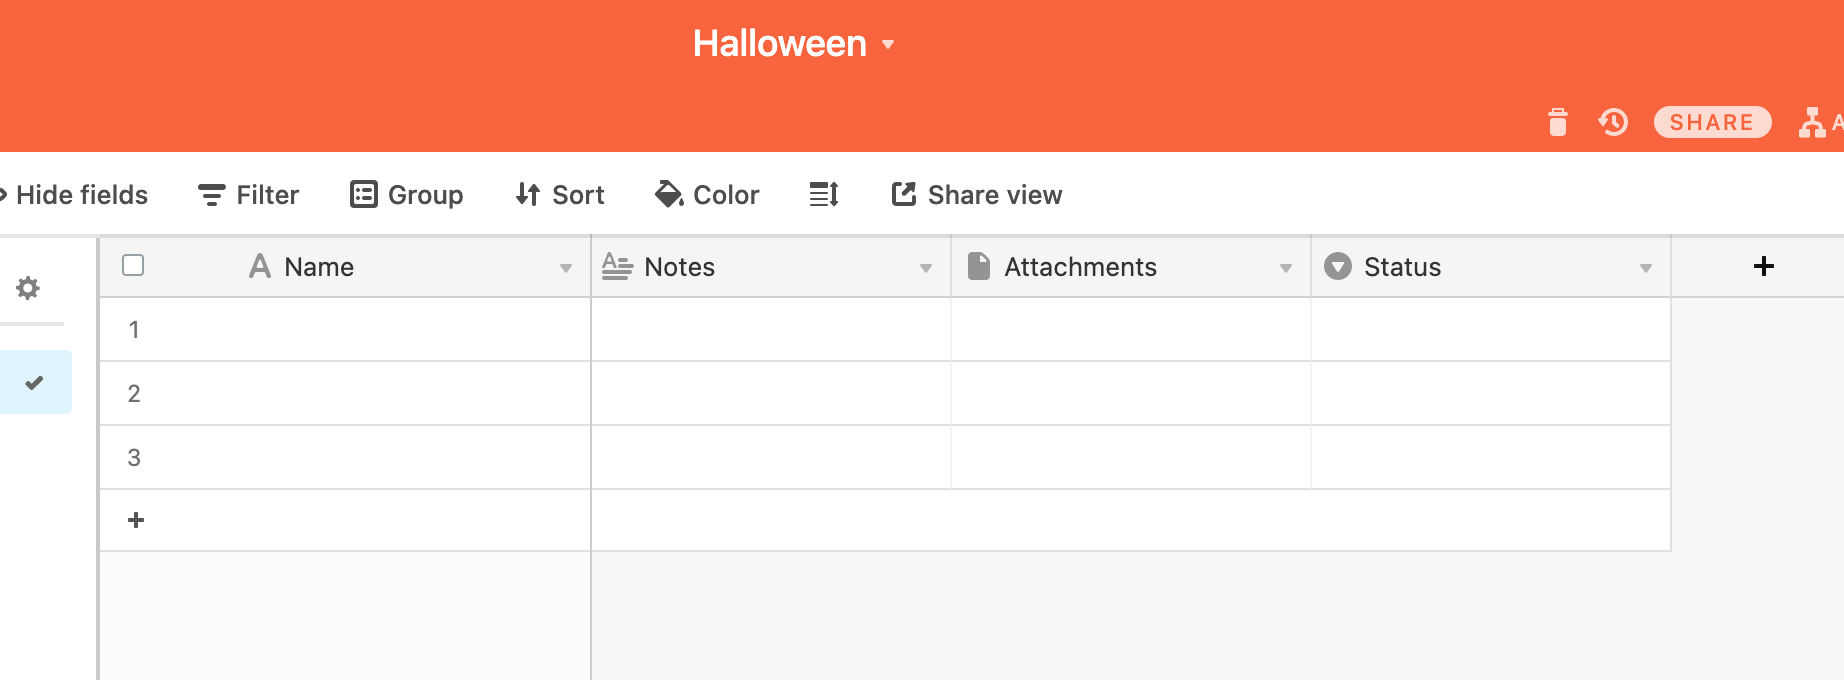
Delete the two rightmost fields, Attachments and Status, by clicking the small arrow next to each of their names and selecting Delete Field at the very bottom of the sub-menu.

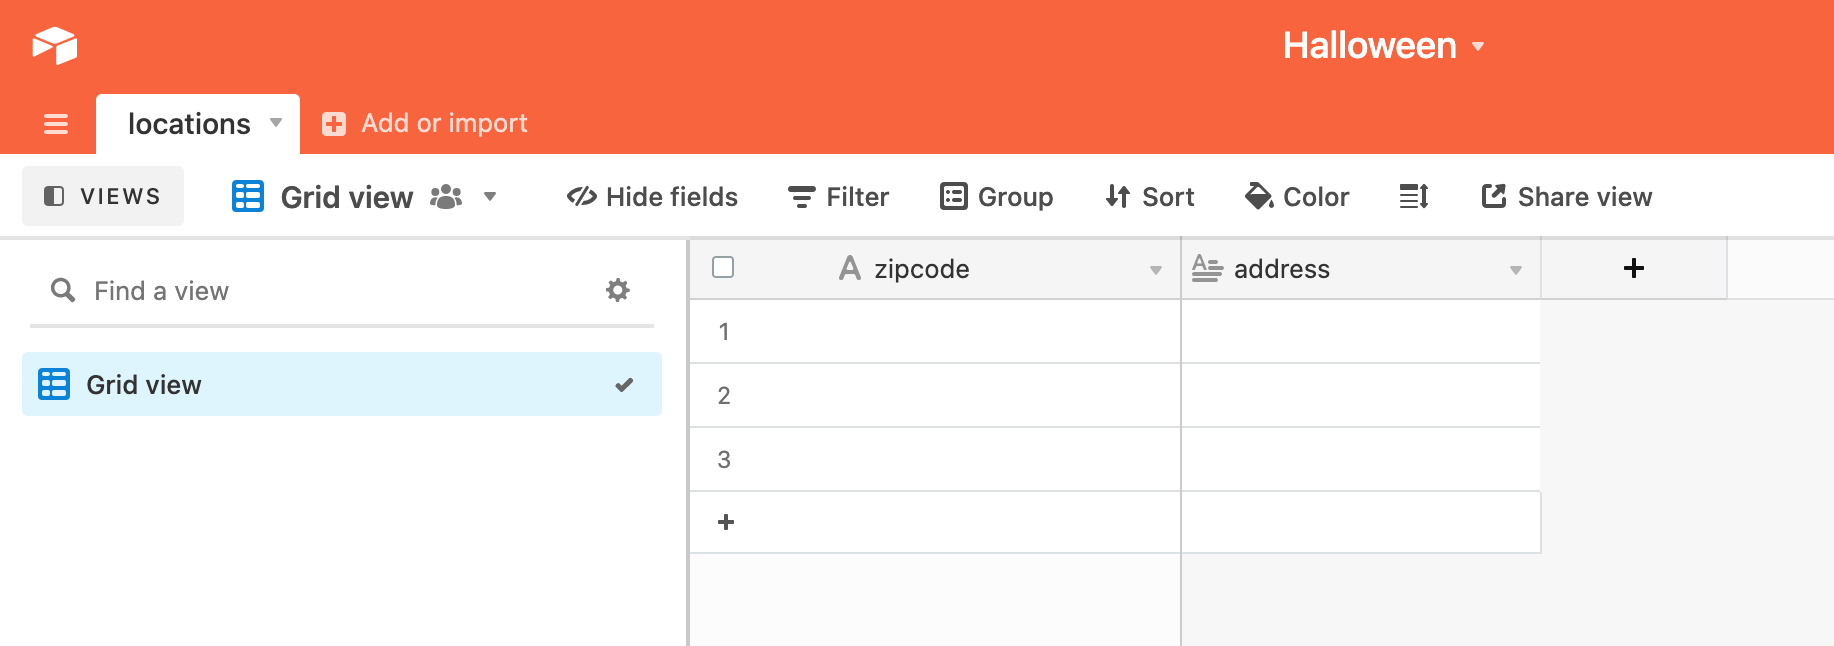
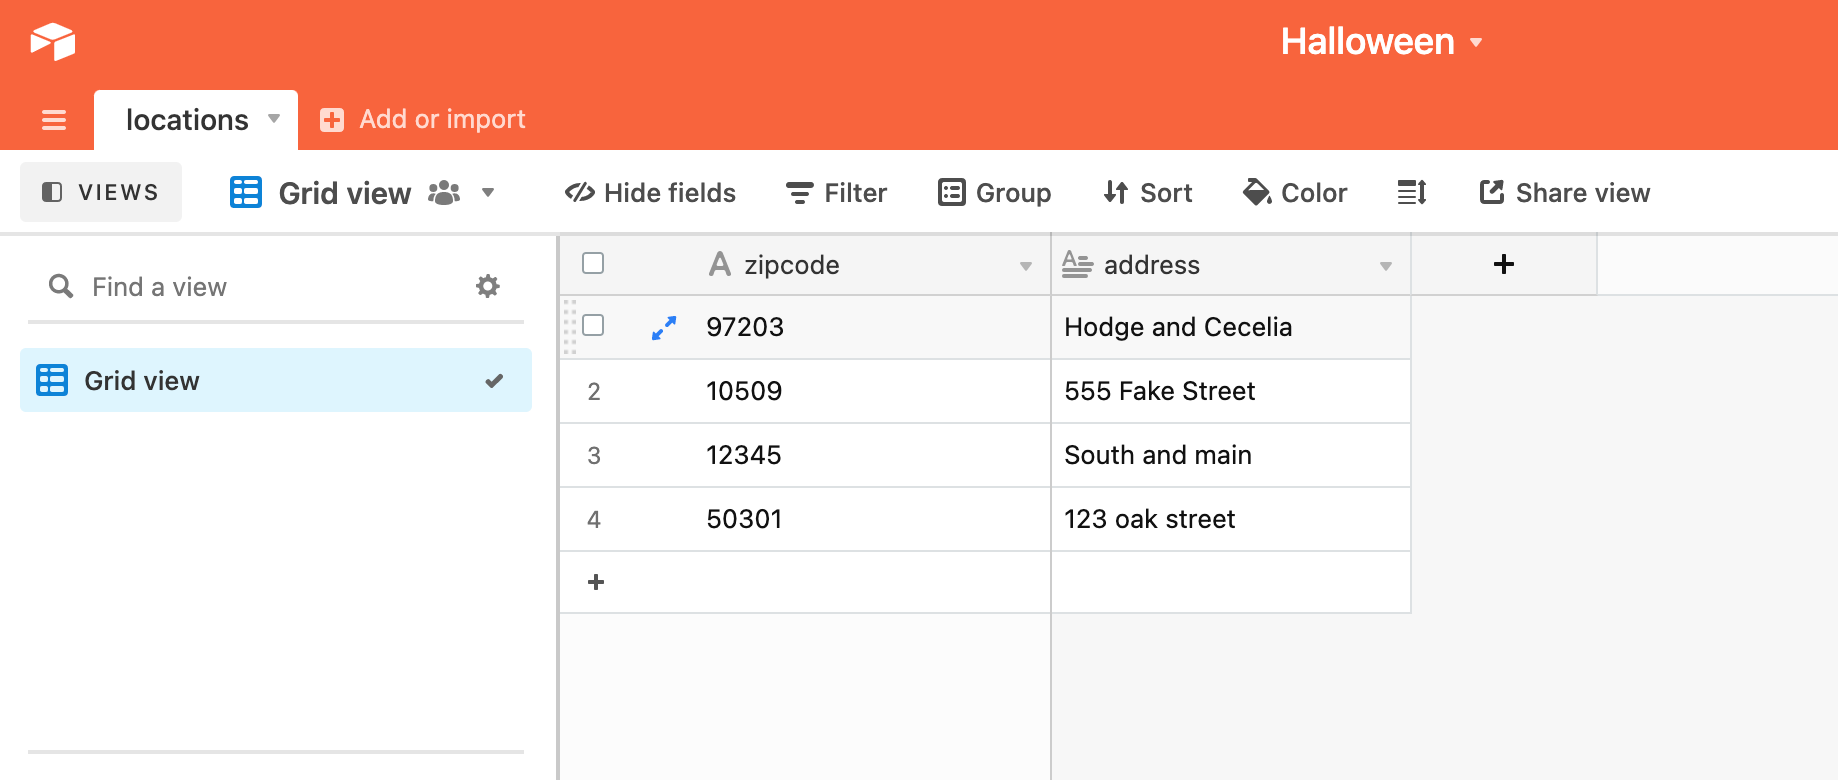
Change the name of the first (left-most) field from Name to zipcode by double clicking on the field name. Change the name of the second field from Notes to address.
Your Airtable base will now look like this:
Add Airtable to Twilio Functions
In order to work with Airtable in your Twilio Functions, you need to take two steps:
- Gather your Airtable credentials and add them as environment variables in your Function Service.
- Add the Airtable npm package as a dependency in your Function Service.
I’ll walk through each of these steps now.
Gather your Airtable credentials
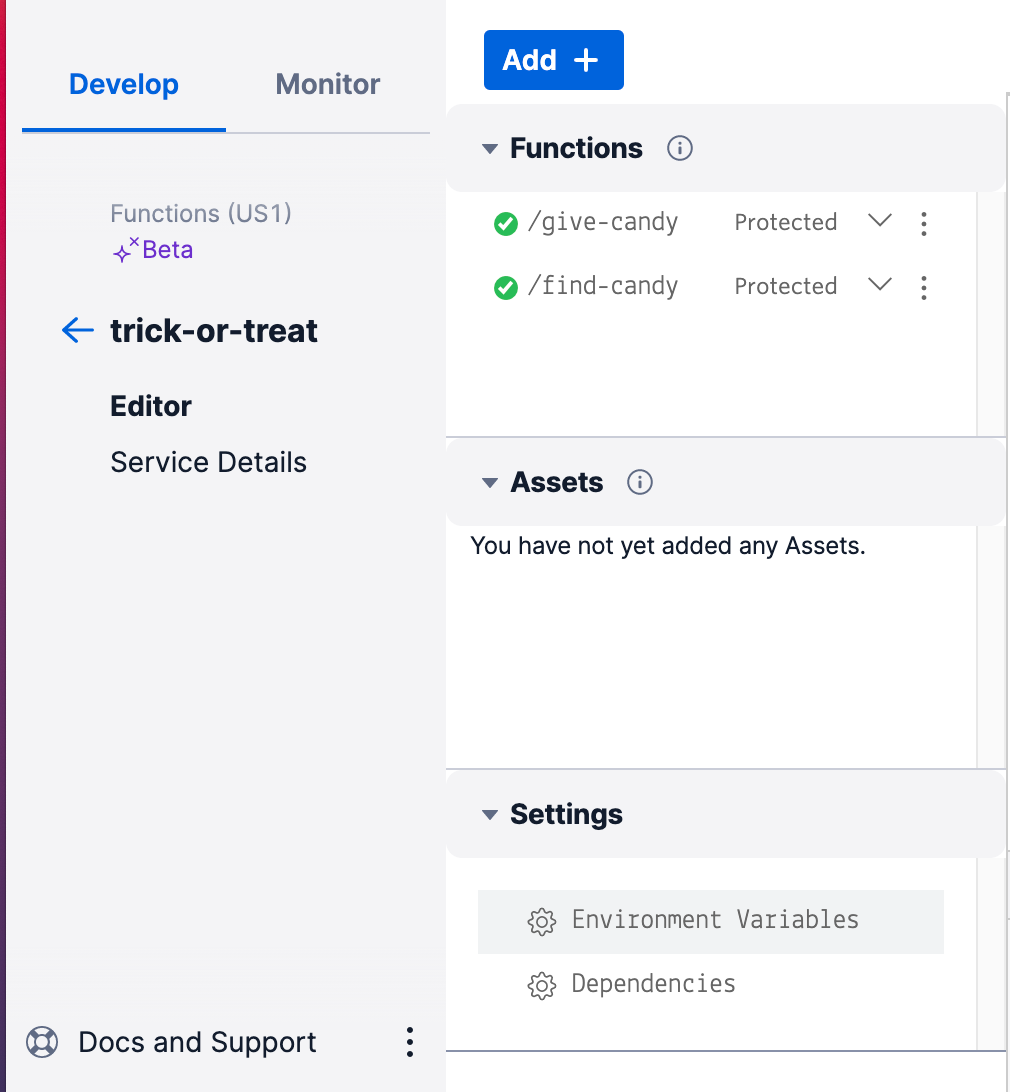
Navigate to the Functions section of the Twilio Console and click on the name of the service you created when building your chatbot, likely named trick-or-treat.
On the lower half of the page, look under the Settings heading and click Environment Variables.
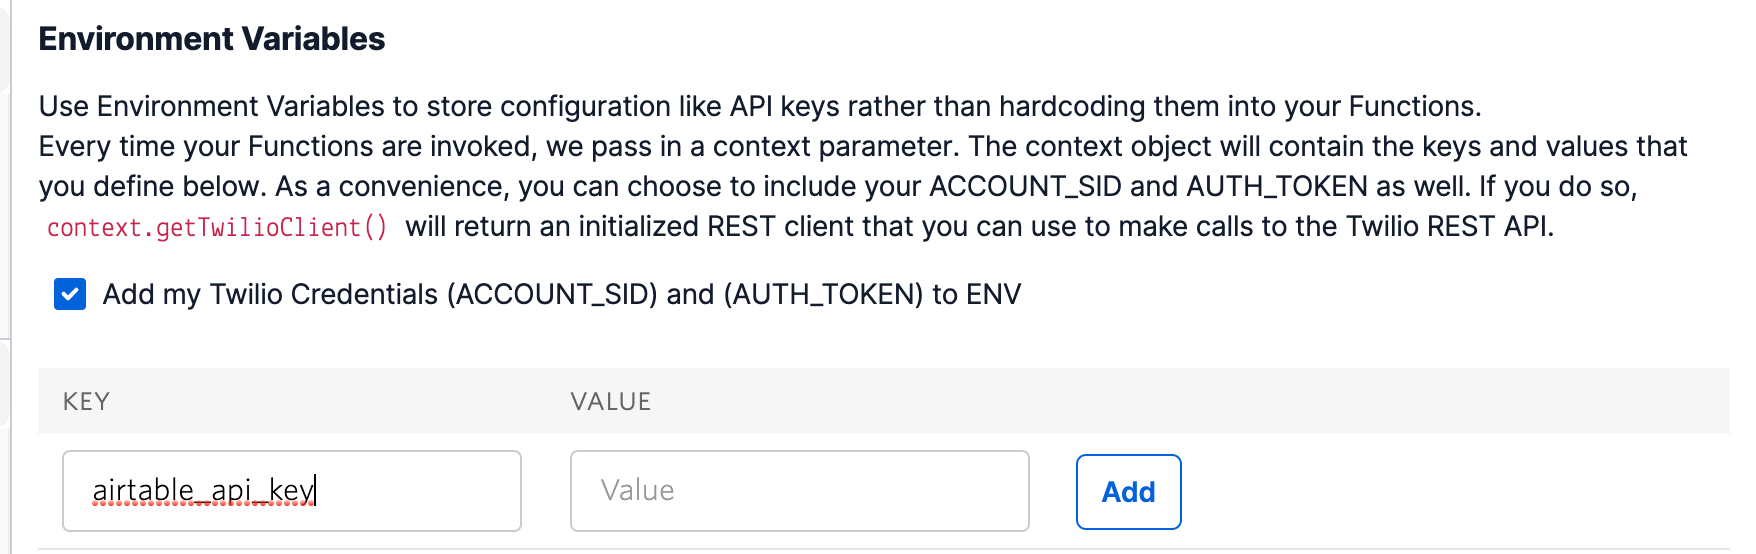
This will open an editor on the right side of the screen where you can add environment variables that your functions will use. In the next step, after gathering the associated credentials, you’re going to add two environment variables here: airtable_base_id and airtable_api_key.
Get your Airtable API key
To get an API key, visit the Account section of Airtable and scroll down to the API section. Click the button that says Generate API key.

This will create a new key that will be masked unless you click on it.
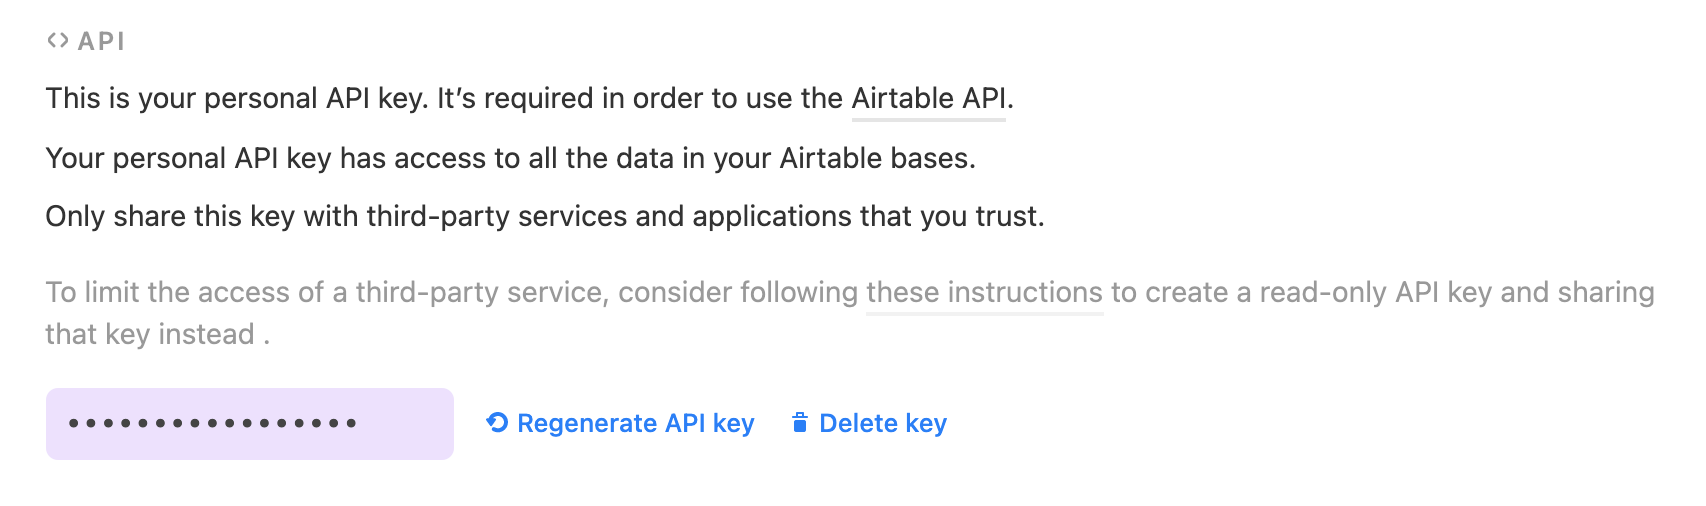
Click into the field with your masked key to toggle the visibility, and then copy the value.
Head back to the functions editor in your Twilio Functions Console and create the environment variable for the Airtable API key by typing airtable_api_key in the empty KEY field, and paste the value of the base ID into the empty VALUE field. Then click the Add button.
Get your Airtable base ID
Now you need to get your Airtable base ID. While logged into Airtable, visit the Airtable API documentation page. This will show you a list of all your Airtable workspaces and bases, with a link to see documentation specific to each of those bases.
Scroll down until you find your Halloween base and click the link.
This will open a page that resembles the following:
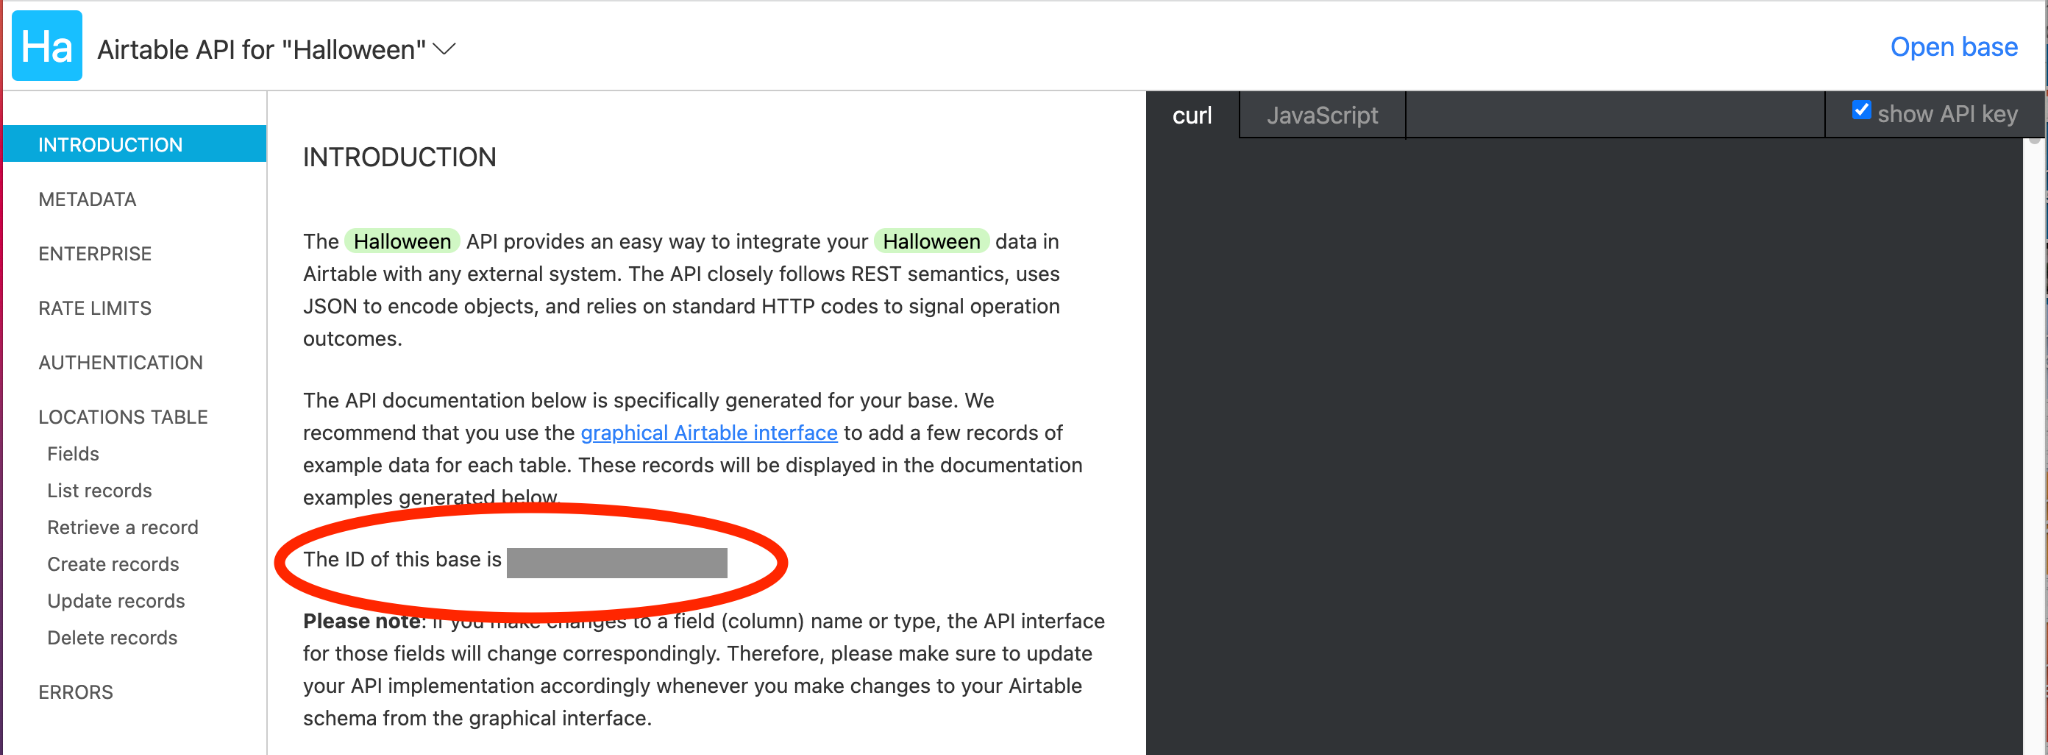
Your base ID is found under the INTRODUCTION section of the Airtable documentation. Copy this value.
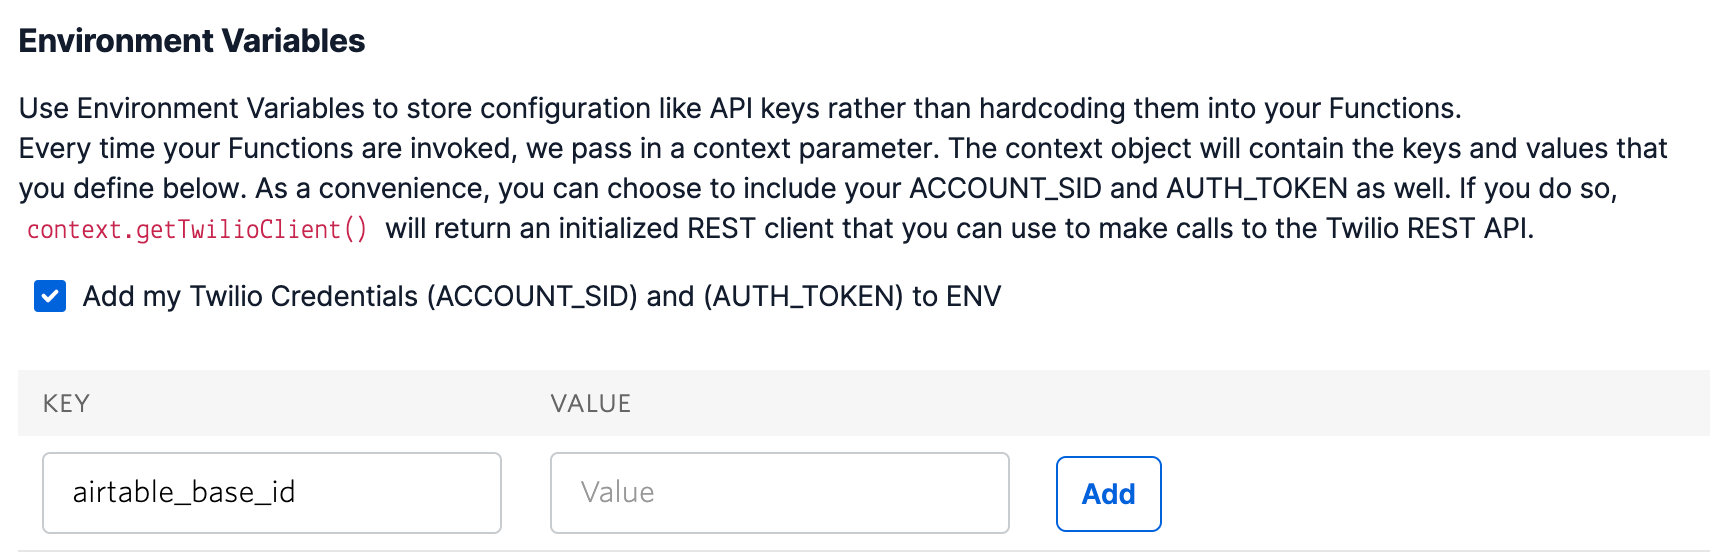
Head back to the functions editor in your Twilio Functions Console and create the environment variable for the Airtable base ID by typing airtable_base_id in the empty KEY field, and paste the value of the base ID into the empty VALUE field. Then click the Add button.
Add Airtable as a dependency
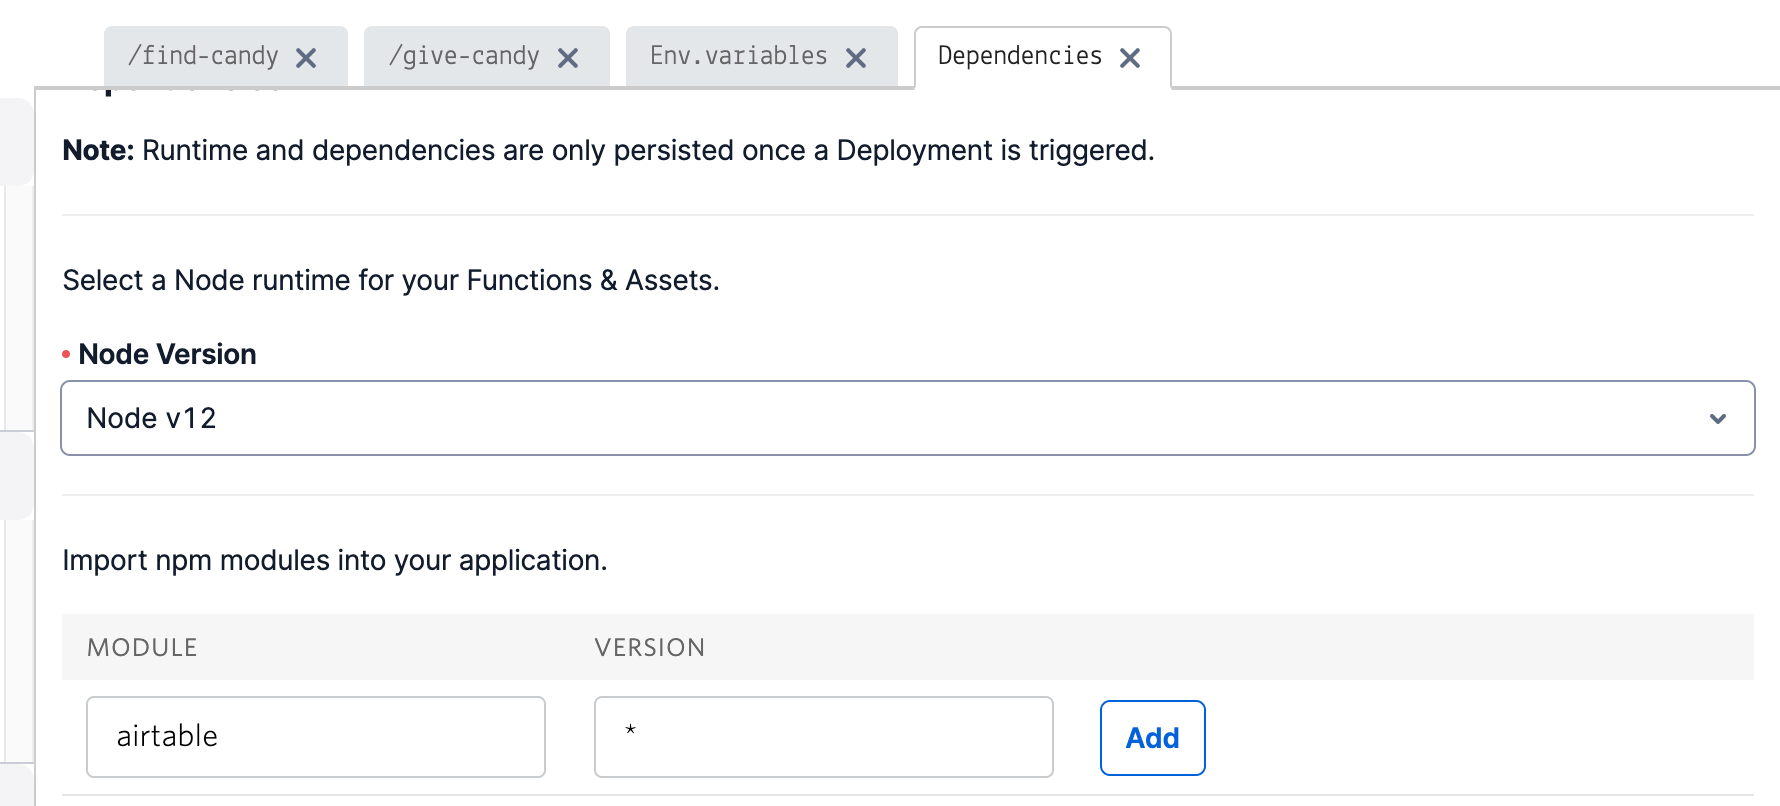
In the functions editor in your Twilio Console, click the Dependencies title under Settings to open the dependencies editor.
In the empty MODULE input type airtable and in the VERSION input to the right, type *. Then click the Add button. This will add the latest version of the airtable npm package to your project.
Congratulations - you’re hooked up to Airtable! Now it’s time to get coding.
Look up data from your Airtable base
Open your /find-candy function in the functions editor and take a look at the code:
The highlighted lines call out the placeholder code from part 1 of this project. Delete these lines and replace them with the code that connects to Airtable and retrieves data from your Airtable base.
After deleting the highlighted lines, paste the following code in their place:
This code imports the Airtable npm package and then creates a connection to the Airtable API using your two environment variables.
The code then queries your Airtable base and filters the returned data with the line that says filterByFormula: {zipcode} = "${event.zipcode}". This line indicates that you only want records from the base where the record’s the zipcode field is equal to the zipcode value passed to the function.
Then, the JavaScript map()` method is used to extract only the address values from the returned records and combine them into one string, separated by a new line.
As in part 1 of this project, this string is then returned from the function and sent as an SMS to the user.
Insert data into your Airtable base
Save your /find-candy function and then open your /give-candy function.
Your function should have this code inside:
The highlighted comments in the code above represent the place where your Airtable insertion code will go.
Delete the comments and replace them with the following:
Like in the /find-candy function, this code first imports the Airtable npm package and then connects to the Airtable API using your credentials.
Then, the code calls the Airtable SDK’s create() method, passing to it an array of JSON objects that represent the new records you’d like to add to your locations table.
Save your function, and then at the bottom of the screen click the Deploy All button to make your changes live.
Add some fake data to Airtable
Head back to Airtable and add a few fake (or real!) records to your locations table:
Adding these records will make testing your chatbot more intuitive. If you jumped to this tutorial before finishing part 1, head back now to finish building your Studio flow and see how it all works together. If you have finished part 1, then go ahead and test it out!
To take your completed chatbot for a spin, send any text message to the Twilio phone number you configured to work with your Studio flow.
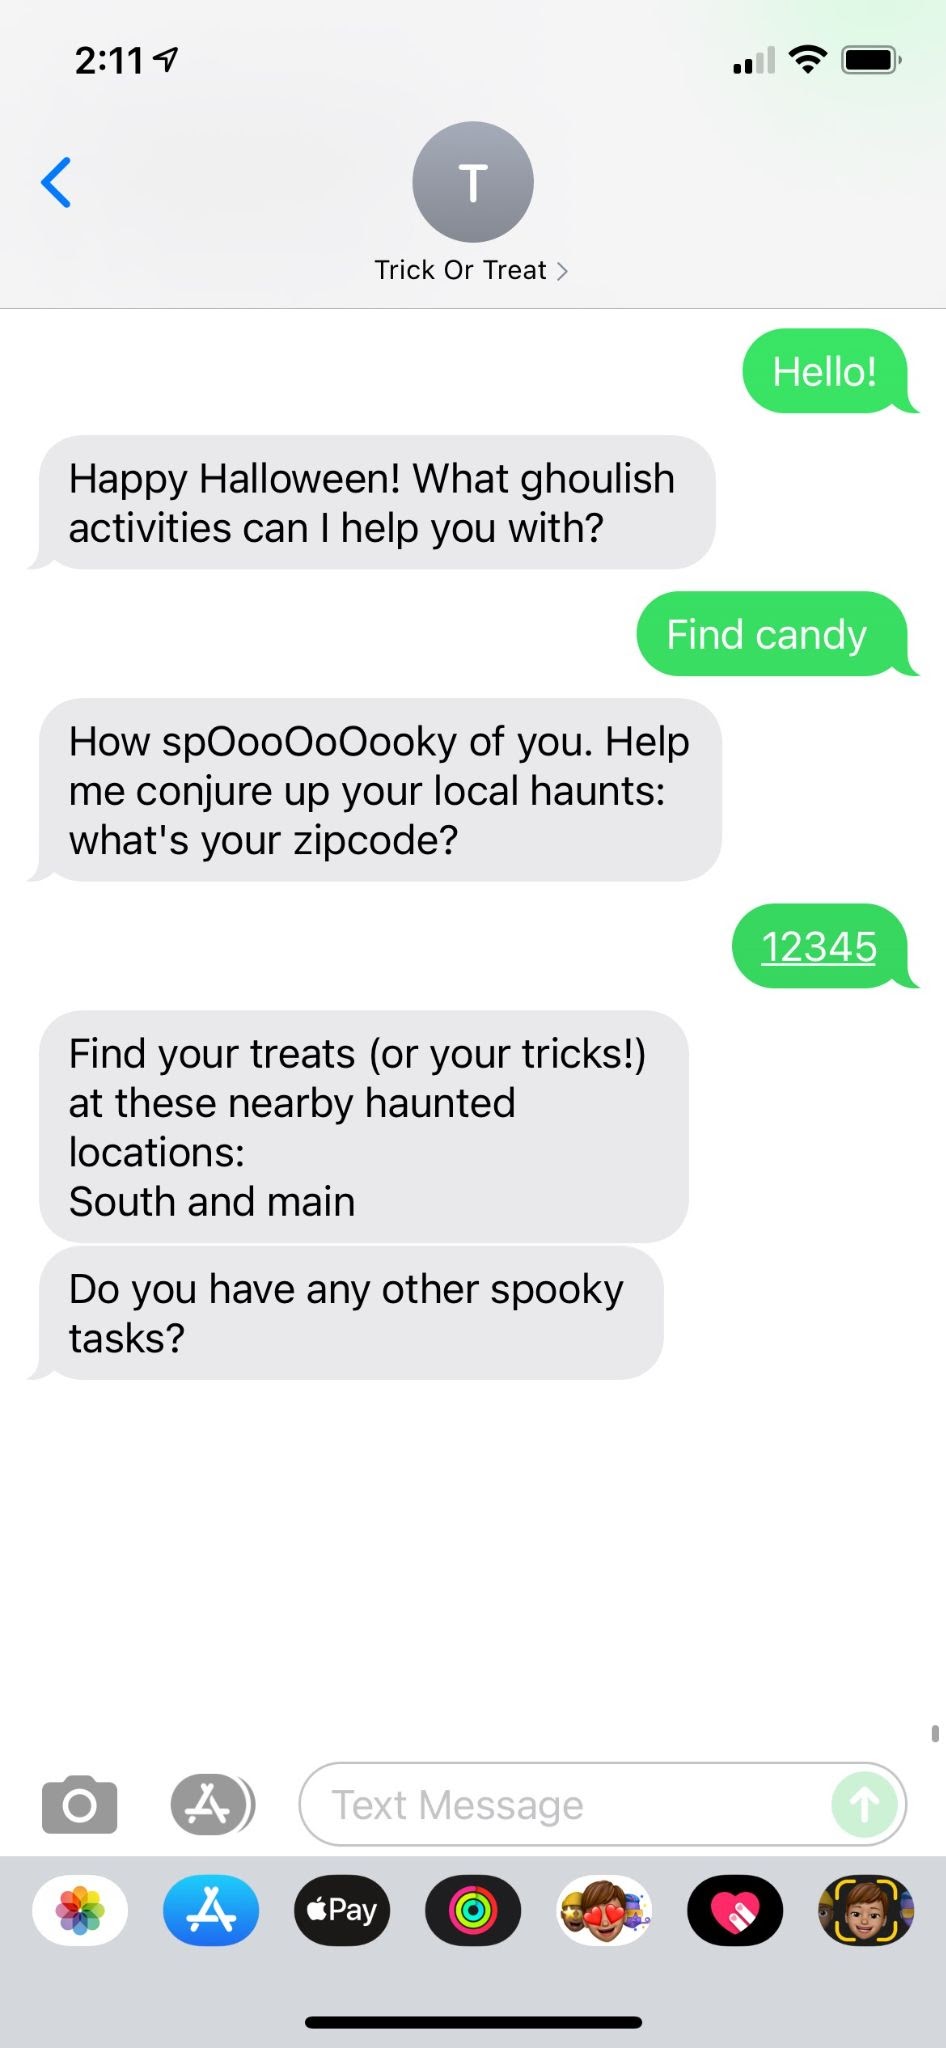
When you’re testing the find candy flow, be sure to use a zip code that corresponds to one of the fake records you added in Airtable.
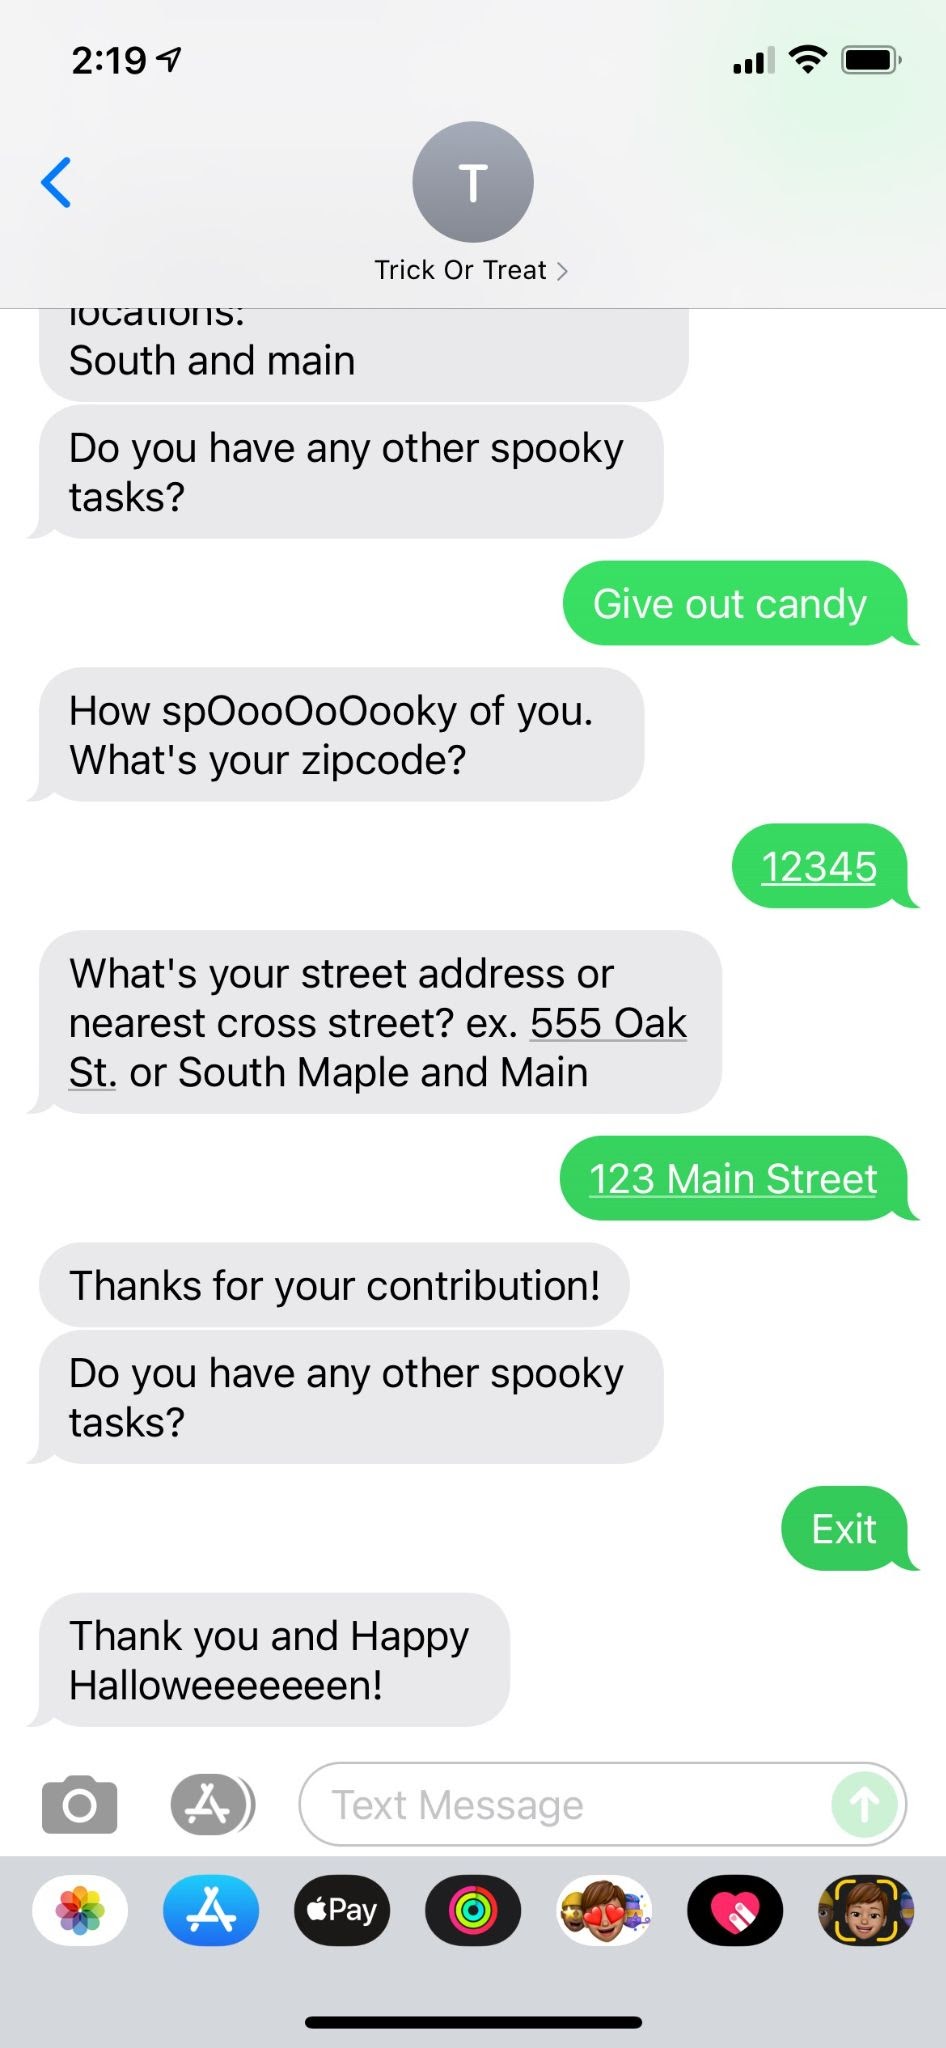
After testing the "give candy" flow, head back to Airtable and see your next records in your base!
If you had fun integrating Airtable with Twilio products, then check out this article teaching you how to build a messaging game with Twilio Autopilot and Airtable.
For more spooky projects, check out some of our other haunted articles, like this one on building a ghost-writing app with GPT-3, or this one on building a socially distant candy dispenser.
Happy hallowEeEeEeEeeeen!
Ashley is a JavaScript Editor for the Twilio blog. To work with her and bring your technical stories to Twilio, find her at @ahl389 on Twitter. If you can’t find her there, she’s probably on a patio somewhere having a cup of coffee (or glass of wine, depending on the time).

Related Resources
Twilio Docs
From APIs to SDKs to sample apps
API reference documentation, SDKs, helper libraries, quickstarts, and tutorials for your language and platform.
Resource Center
The latest ebooks, industry reports, and webinars
Learn from customer engagement experts to improve your own communication.
Ahoy
Twilio's developer community hub
Best practices, code samples, and inspiration to build communications and digital engagement experiences.