How to Implement 2FA with Twilio Verify in Node
Time to read:
April 24, 2023
Written by
Reviewed by

In today's digital world, security is paramount, and two-factor authentication (2FA) is becoming increasingly important for securing user accounts. Two-factor authentication provides an additional layer of security beyond just a username and password, making it much more difficult for hackers to gain access to user accounts. Twilio Verify is a powerful API that makes implementing 2FA in your Node.js application straightforward and secure.
One of the most significant benefits of using Twilio Verify for implementing 2FA is its ease of use. Twilio Verify provides a simple API that can be easily integrated into your Node.js application, and with just a few lines of code, you can implement 2FA for your users. This makes it an ideal solution for developers who want to add an extra layer of security to their applications without spending a lot of time on implementation.
In this article, I'll provide a step-by-step guide on how to implement 2FA with Twilio Verify in Node.js, including how to generate a Twilio API key and how to integrate Twilio Verify into your application. I'll also provide tips and best practices for ensuring the security of your users' accounts. By the end of this article, you will have a solid understanding of how to implement 2FA with Twilio Verify in your Node.js application, and how to ensure that your application is secure and reliable.
Prerequisites
- Node 14+
- Twilio Account
- A phone to test out the SMS verification
Twilio Project Setup and Sandbox Activation
After creating and verifying your account on Twilio, navigate to the Twilio Console and create a new account, stating the Twilio project you would like to use, in this case select Verify and select Javascript as the preferred language to use. In the resulting dashboard, take a note of the ACCOUNT SID and AUTH TOKEN. You’ll need them later when building out the code.
Next, navigate to the Verify page by clicking Explore Products and selecting Verify from the list of products.
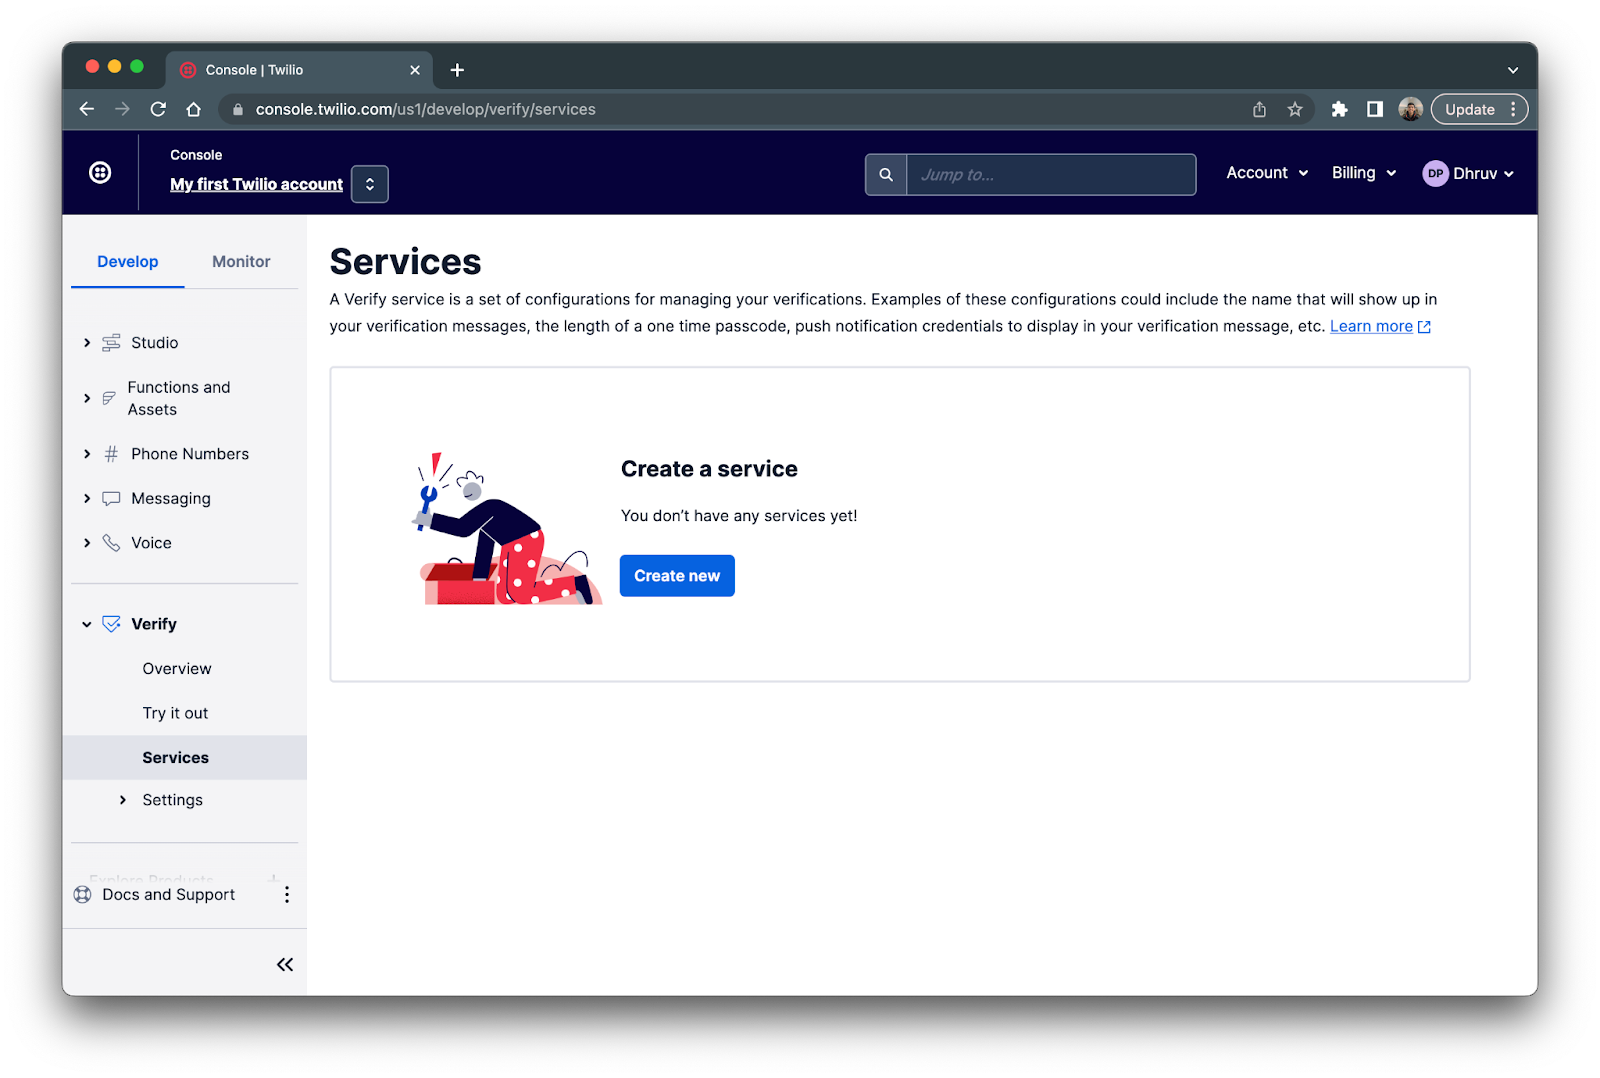
Click on the Create new button to create a new service. Enter node-verify as the Friendly name select SMS as the preferred verification channel as shown below.
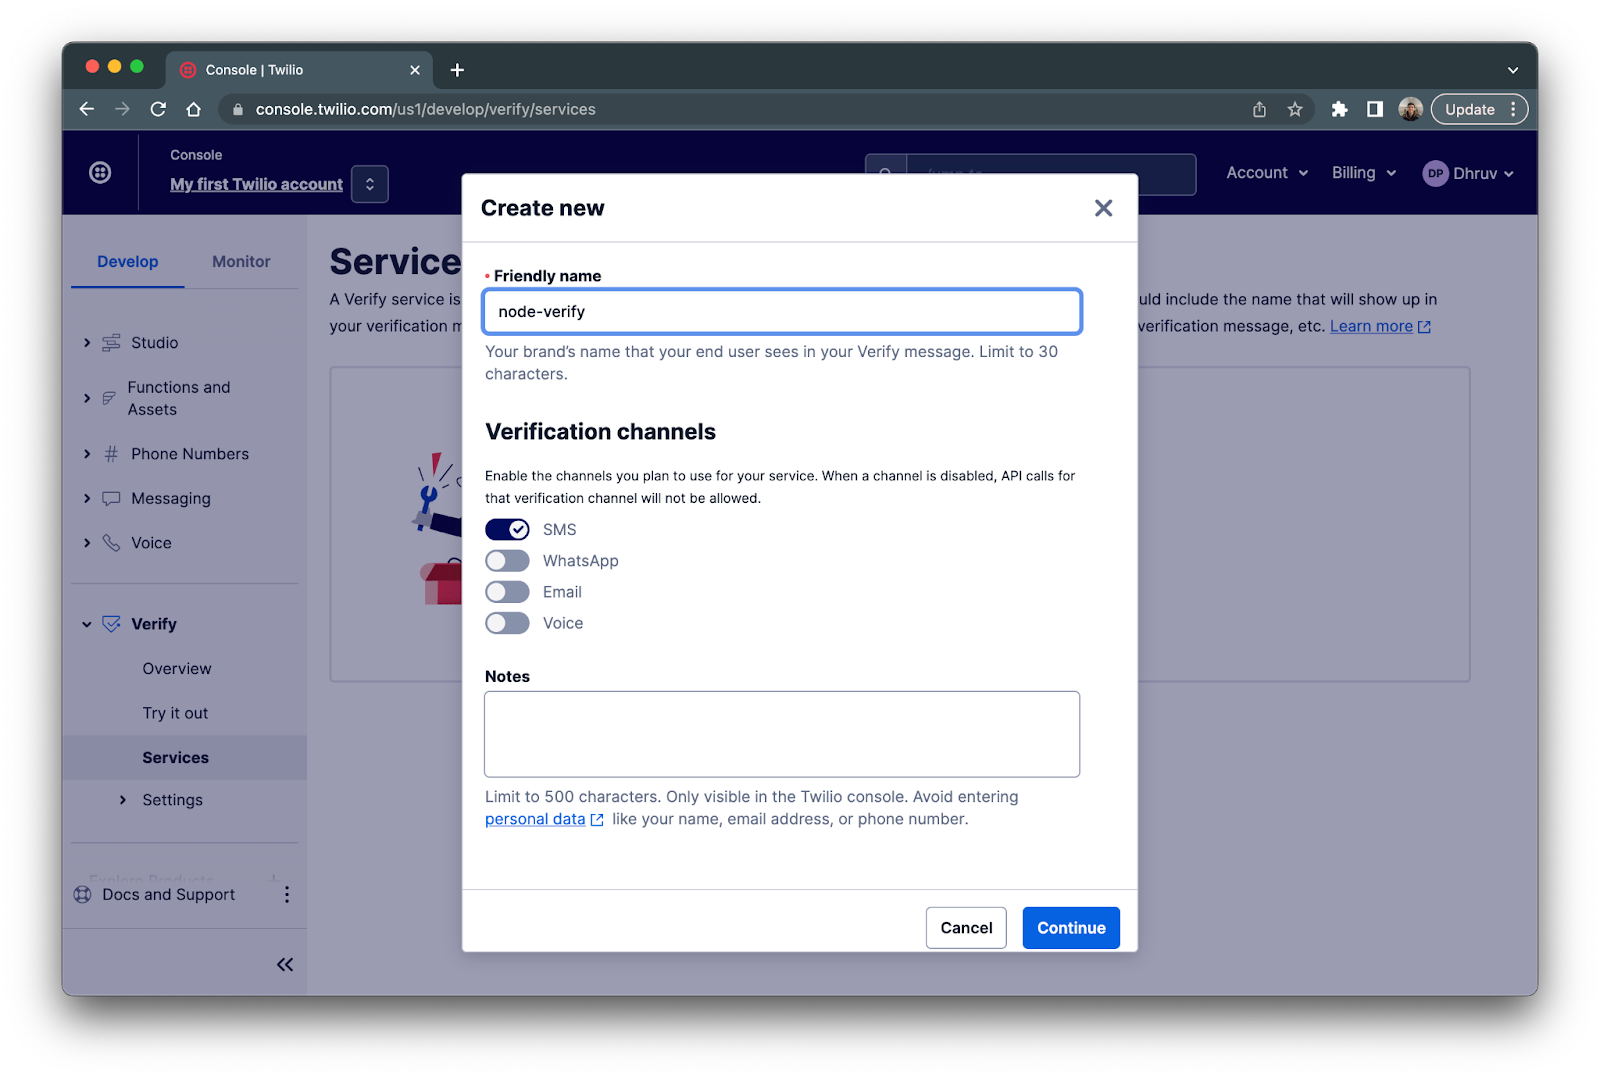
Once filled out, click the Continue button and enable Fraud Guard.
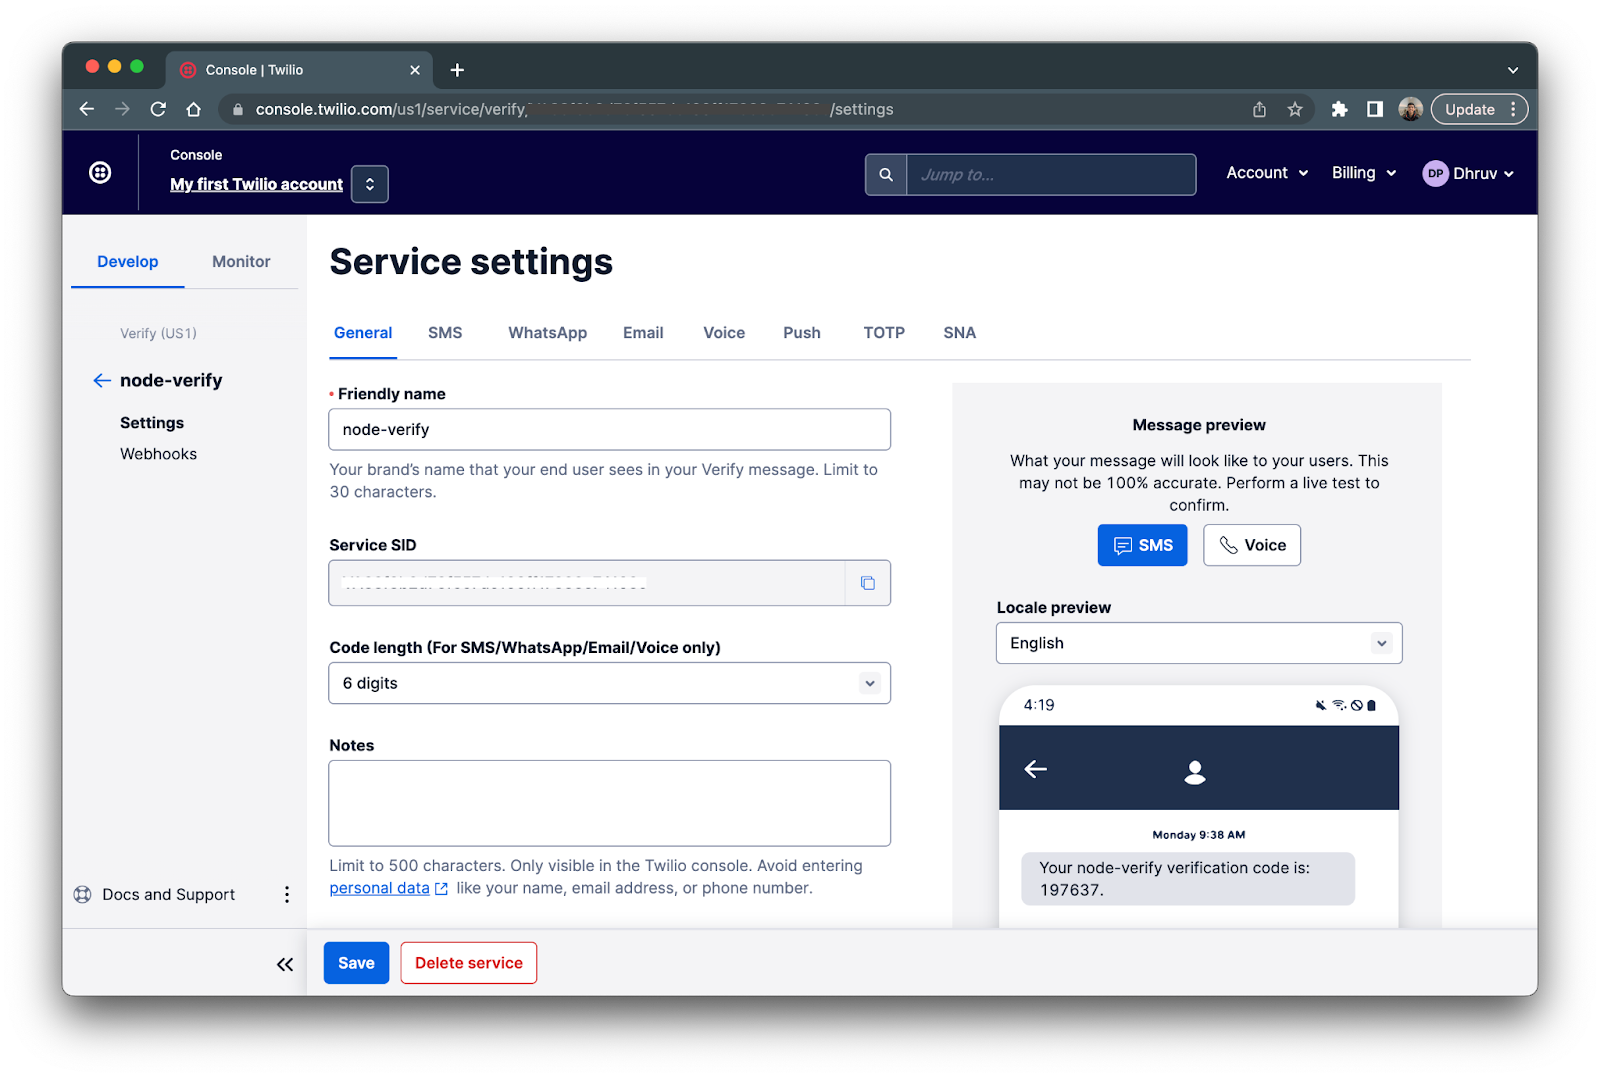
You’ll then be redirected to your new services Service settings page. Copy and paste the Service SID and store it in a safe place as this will be needed in the next sectio
Project Setup
Enter the following commands in your preferred terminal to set up your local development environment:
The above commands create a folder called /demo and our working files, verify-node.js for our project code. The last command will then initalize the Node.js project.
Next enter the following commands to install the Twilio and dotenv npm packages and to create a .env which will hold your environment variables:
In your preferred code editor, navigate to the /demo folder and add the following configurations in the .env file. Replace the XXXX placeholders with their respective keys from the previous section.
Next, add the following code in the verify-node.js file:
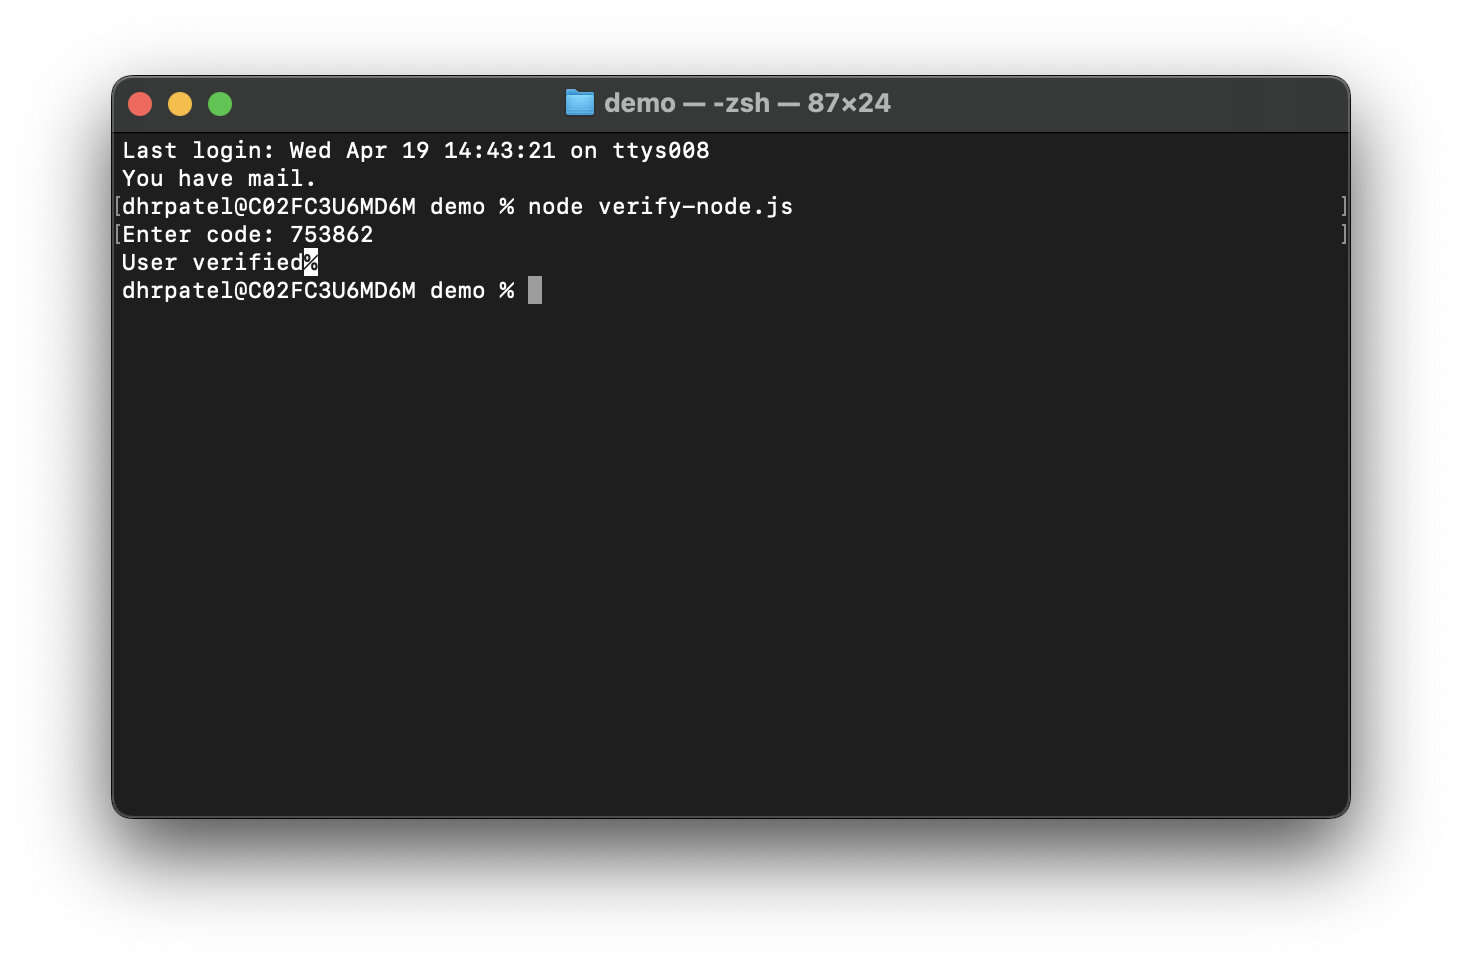
The code above uses the Twilio API to send a verification code via SMS to a specific phone number and then verifies the user by prompting them to enter the code they received. The script reads Twilio API account details from environment variables using the dotenv module and uses the Twilio Verify service to create and check verifications. It prompts the user to enter the verification code using the Node js readline module, then checks the code entered by the user against the code sent by Twilio. If the codes match, the user is considered verified and the script prints "User verified" to the console; otherwise, it prints "User not verified". The phone number to be verified is passed as an argument to the function verifyUser(), which is an async function.
In a real world example, you will need to integrate this script with the frontend application instead of reading input from the terminal.
Testing out the demo
Before testing out the code, replace the <your_phone_number> placeholder with your number in E.164 format and save the file.
Now navigate back to your terminal and enter the following command to run the Node application:
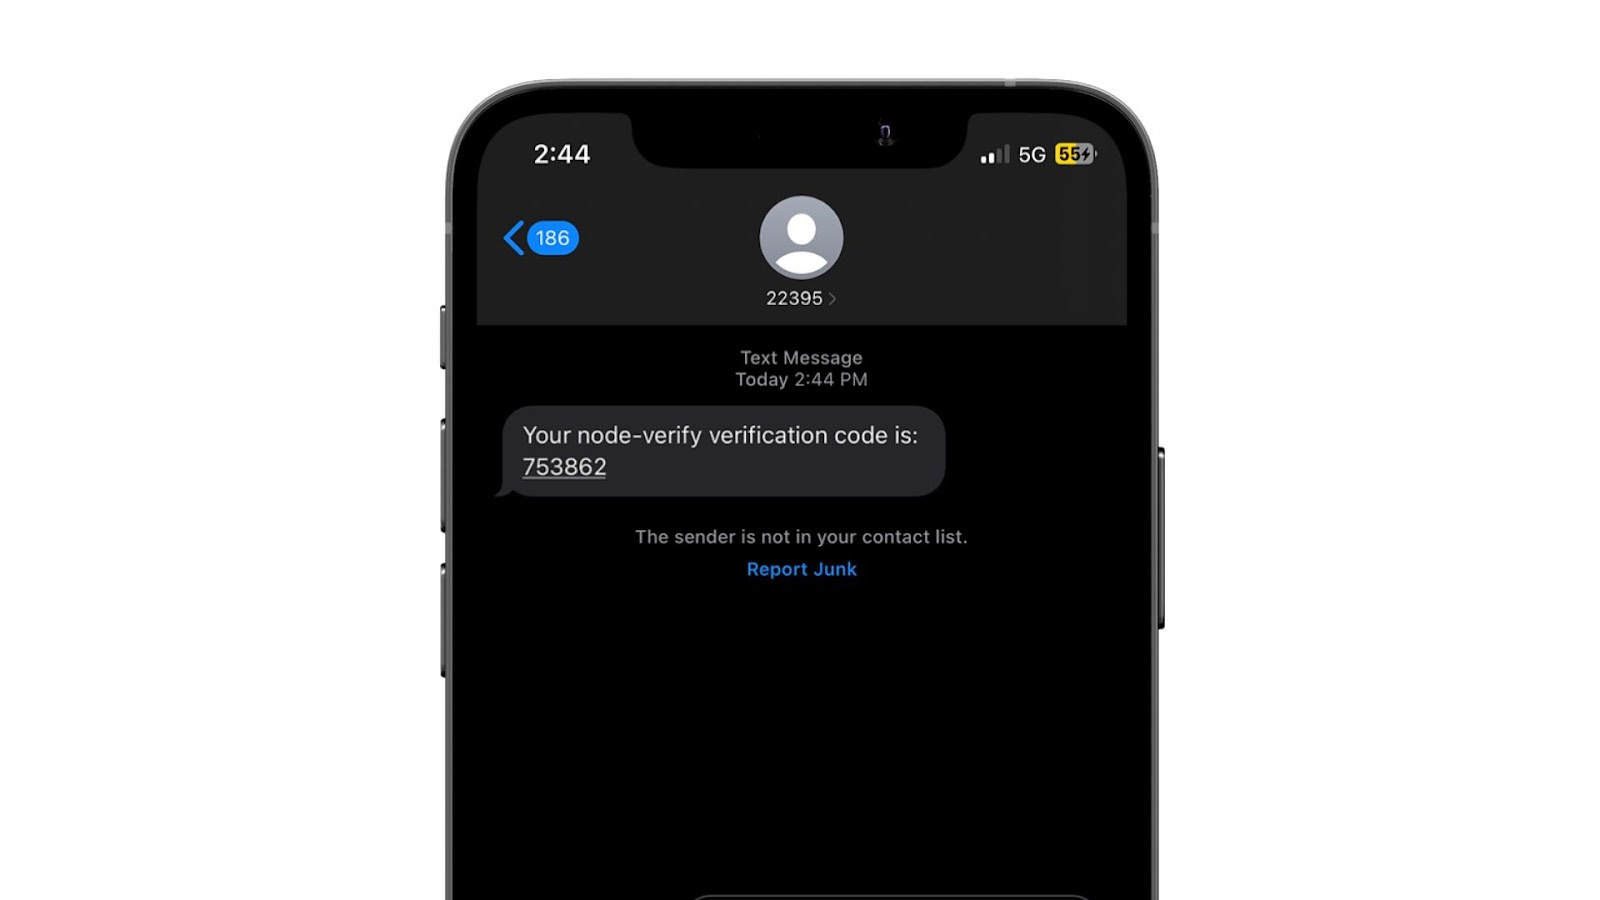
Once entered, you’ll receive a verification code on your phone like so:
Wrapping up
In this tutorial, you have learned how to use Twilio Verify to implement 2FA in Node.js with minimal lines of code. By following the step-by-step instructions, you can quickly and easily set up phone number verification for your application, enhancing its security and preventing unauthorized access.
It's important to note that this tutorial only covered the backend implementation of 2FA with Twilio Verify. In a real-world scenario, you would typically implement a Graphical User Interface (GUI) for users to input the code received from Twilio Verify. This GUI would allow users to easily enter the verification code and complete the authentication process. Implementing a GUI for 2FA can greatly enhance the user experience, making the verification process more intuitive and user-friendly.
Overall, Twilio Verify is an incredibly useful tool for implementing 2FA in your applications. By following the steps outlined in this tutorial and implementing a user-friendly GUI, you can provide your users with a secure and easy-to-use authentication process.
Felistas is a Software Engineer who enjoys writing technical articles from time to time and loves solving problems through code.
Related Resources
Twilio Docs
From APIs to SDKs to sample apps
API reference documentation, SDKs, helper libraries, quickstarts, and tutorials for your language and platform.
Resource Center
The latest ebooks, industry reports, and webinars
Learn from customer engagement experts to improve your own communication.
Ahoy
Twilio's developer community hub
Best practices, code samples, and inspiration to build communications and digital engagement experiences.