How to Send an SMS With Java and SpringBoot
Time to read:
April 08, 2022
Written by
Reviewed by
Twilio is a customer engagement platform providing programmable communication tools for making and receiving phone calls, sending and receiving text messages, and performing other communication functions using its web service APIs. Twilio conveniently empowers communication in any language.
With the help of the Twilio SMS API, Java, and the Spring Boot framework, you can send SMS with a text message. This article will help you set up a Spring Boot application that will expose a REST API to send the SMS. You will also be using the Twilio Java Helper Library.
In this article, you will learn how to navigate a Java IDE to set up and build a Spring Boot application and send an SMS to your mobile device. Find the code for the article on GitHub.
Tutorial Requirements
- Java Development Kit (JDK) version 8 or newer.
- Spring Tool Suite (STS) for convenient and fast Java project development work.
- A free or paid Twilio account. If you are new to Twilio get your free account now! (If you sign up through this link, Twilio will give you a $10 credit when you upgrade.)
- Apache Maven.
Create a new Spring Boot Project
Go to Spring Initializr and start creating your project. Select the project build tool as Maven and language as Java. Mention the Group as com.example.twilio, the Artifact as sms, the Package com.example.twilio.sms, and the Description as "Send SMS using Java and Spring Boot in Twilio". Select the Project as Maven Project, Spring Boot version as 2.6.2, and Language as Java as the same is shown in the picture below:
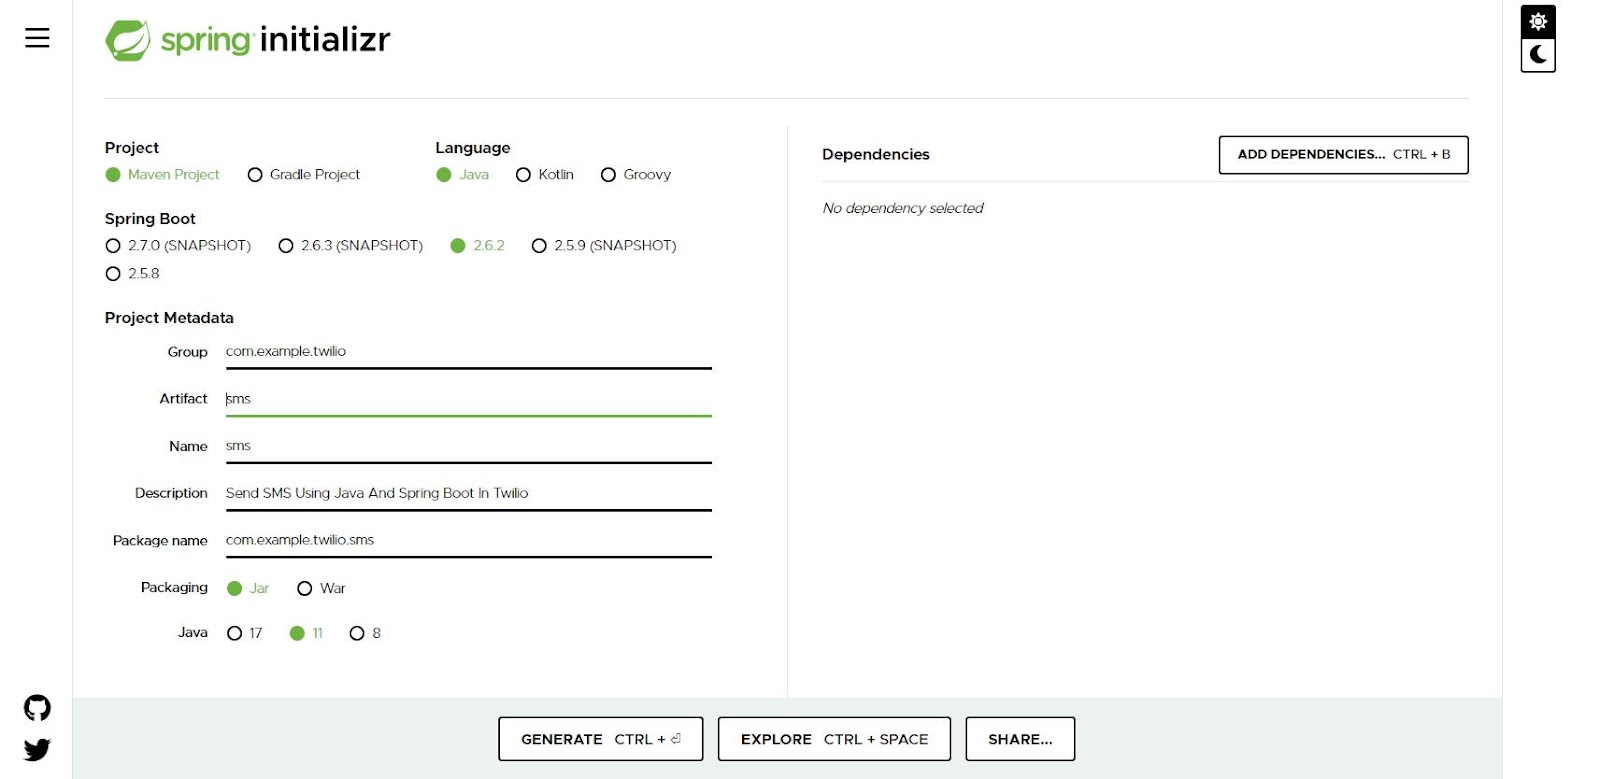
Then click on the Generate button. This will download the Spring Boot project in your Download directory. Go to the Download directory and extract the zipped folder.
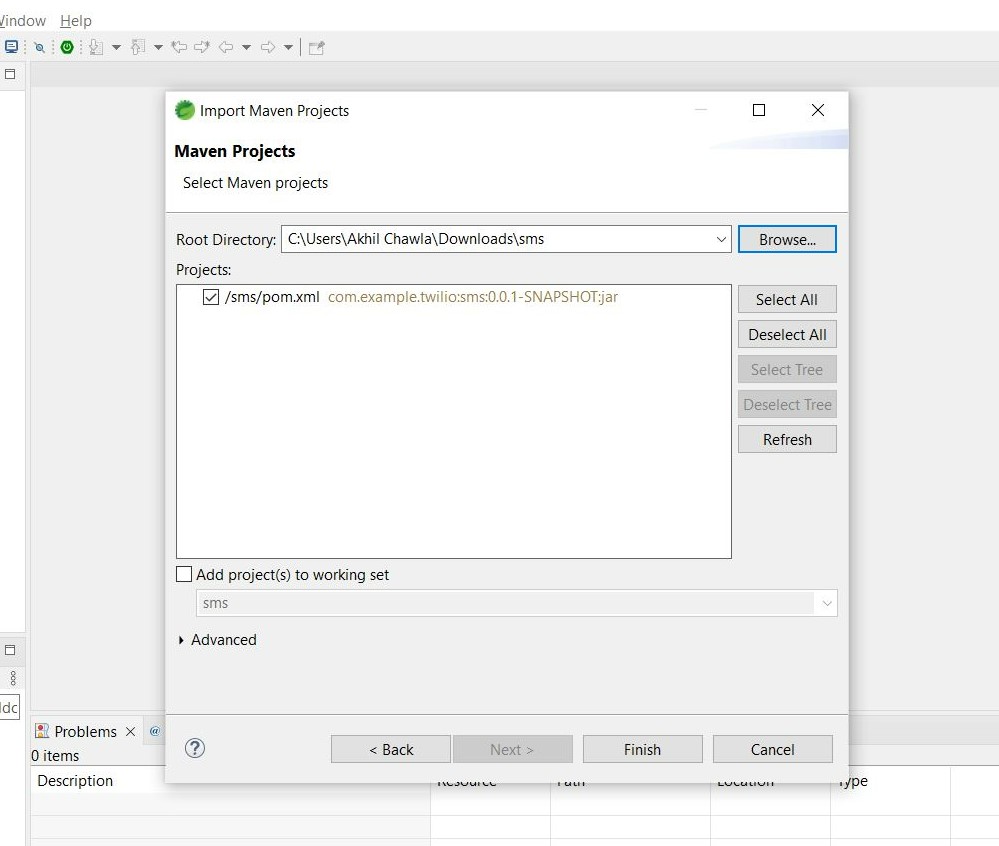
Now open your Spring Tool Suite. Click on File -> Import -> Existing Maven Projects. Navigate to the Download directory where you have the extracted project and click on the Finish button.
Set up the Spring Boot Application
After you have imported the project into the IDE, it's time to configure the project. This article will demonstrate using Apache Maven as the build tool which will download and manage the dependency. There are other tools such as Gradle which will work too, if that's what you prefer.
Navigate to the pom.xml file. In the dependency tag make sure you add the following dependencies in the project:
Write the code
Let’s make a new package com.example.twilio.sms.controller. We will now create a new class SmsController.java in this package. We will now make a REST API that will send the SMS.
The HTTP requests are handled by a controller. These components are identified by the @RestController annotation. This indicates that it is a controller layer of the application. This code uses Spring @RestController annotation which marks the class as a controller where every method returns the domain object instead of a view. It is shorthand for including both @Controller and @ResponseBody.
The @GetMapping annotation ensures that HTTP GET requests to /sendSMS are mapped to the sendSMS() method. Make sure to import the required packages and dependencies to run the program.
Make sure to add the TO and FROM value in the sendSMS() method.
The API returns a string “Message sent successfully” as the body and 200 as the HTTP status code after the message has been sent.
You'll need your ACCOUNT_SID and AUTH_TOKEN from your Twilio Console. It is best practice to store these secrets as environment variables rather than hard-coding them. You can also set them in your operating system. Once they are set in the environment, add the following code in the sendSMS() function body:
If you have not set the environment variables this code will throw the error message: "com.twilio.exception.AuthenticationException: Username can not be null".
Send your first SMS
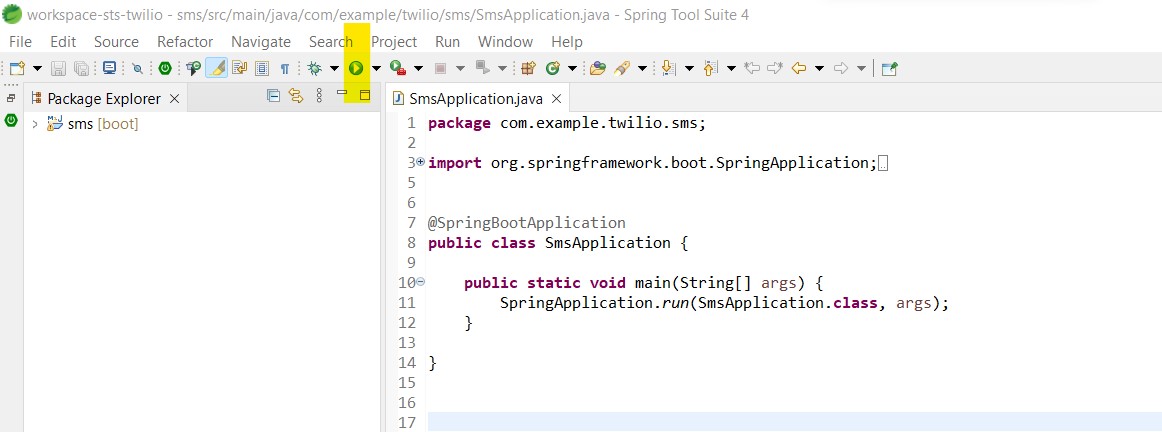
You will use the REST API for sending a text message. Open the class SmsApplication.java.This class was auto-generated when we had created the project using Spring Initializr.
The annotation @SpringBootApplication adds the @Configuration, @EnableAutoConfiguration, and @ComponentScan.
The @Configuration tags the class as a source of bean definitions for the Spring application context.
The @EnableAutoConfiguration tells Spring Boot to add beans based on classpath settings, other beans, and various property settings. For example, if spring-webmvc is on the classpath, this annotation flags the application as a web application and activates key behaviors, such as setting up a DispatcherServlet.
The @ComponentScan allows Spring to look for other components, configurations, and services in the package, letting it find the controllers and other classes stereotype annotation. The main() method uses Spring Boot’s SpringApplication.run() method to launch the application. Click on the highlighted buttons to run the application as shown in the picture.
Once you have started the application you can see the following logs in the Console tab.
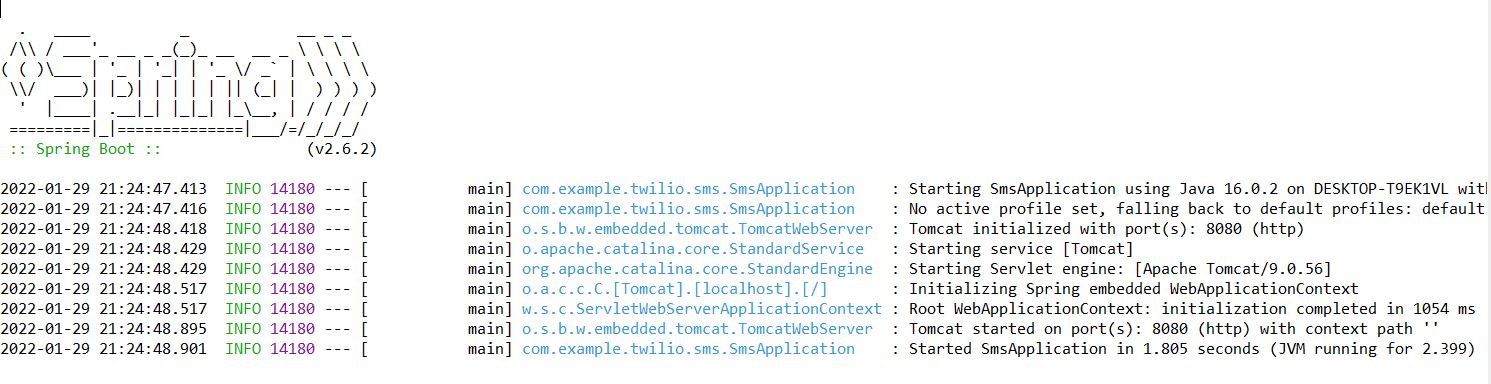
You can see the application has started on port 8080.
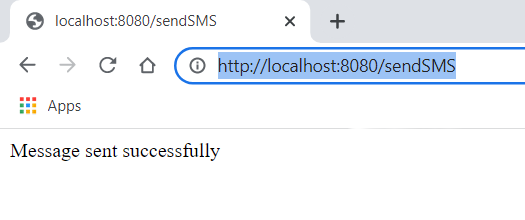
Open a new browser window and hit the URL http://localhost:8080/sendSMS. You will see the message - “Message sent successfully” on the web browser.
In a few seconds, you will receive a SMS on your mobile device.
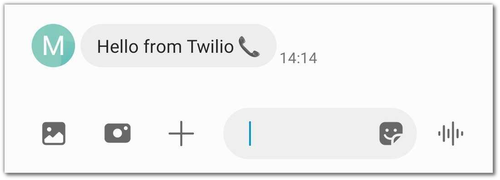
Congratulations you have successfully sent an SMS using Spring Boot.
Wrap It Up
Now you know how to send an SMS with the Spring Boot framework using Twilio API.
It's time to put your imagination to work. You can send daily reminders, weather forecasts, alerts for parking spaces, or anything else you can imagine.
Whatever you're building, I'd love to hear about it - get in touch.
Bio
Akhil is an enthusiastic software professional with extensive experience in translating business requirements into innovative technological solutions. He is a full-stack developer and has experience in building end-to-end scalable applications using Java, Spring Boot/ Spring Cloud, CI/CD, Azure, AWS, Docker, Kubernetes, OpenShift, Jenkins, Apache Kafka, Apache Spark, Javascript, and others.

Related Resources
Twilio Docs
From APIs to SDKs to sample apps
API reference documentation, SDKs, helper libraries, quickstarts, and tutorials for your language and platform.
Resource Center
The latest ebooks, industry reports, and webinars
Learn from customer engagement experts to improve your own communication.
Ahoy
Twilio's developer community hub
Best practices, code samples, and inspiration to build communications and digital engagement experiences.