How to Use TypeScript and Deno to Build a CLI
Time to read: 8 minutes
May 20, 2021
Written by
Reviewed by

Twilio Programmable SMS includes an HTTP REST API that makes it easy to interact with the SMS API. Once an SMS message request is created with the REST API, its status can be retrieved using another endpoint. By incorporating that REST API you can build a Deno CLI application that sends the message and reports on its delivery.
Deno is a new runtime environment for JavaScript that provides the capabilities of Node.js without the heavyweight package deployment and complex package management required for Node.js applications.
Deno provides new features to support the wide range of contemporary server-side applications being developed with JavaScript, a range that wasn’t envisioned when Node.js was developed.
Deno includes native support for TypeScript; no additional components are required. An application written with Deno can also be launched “remotely” - the user can execute the script specified by the URI pointing to a file hosted on the web. Deno will automatically download the script and other required dependencies to run the program.
Thanks to Deno modularity, you can build a program that utilizes existing code to create an SMS message request and monitor its status. Like other programming languages, Deno supports command line arguments, so you can create a CLI program to achieve anything you want.
Important compliance note: There are rules for using SMS messaging and they vary between countries. Familiarize yourself with the countries’ rules in which you’ll be sending messages with the Twilio Regulatory Guidelines for SMS.
Understanding the tutorial project
This tutorial will show you how to create a CLI program using Deno. To demo Deno features, you’ll be writing a CLI program that sends an SMS message to a phone number and reports the message delivery status. Unlike the Twilio CLI, this program will report the message delivery status without the need to execute another command. You’ll use the TwilioSMSHelper, which utilizes Twilio Programmable SMS to send the messages with Twilio’s REST API.
You’ll learn how to read command line arguments in Deno using the yargs library. You’ll find out how to register the arguments alias shortcuts (--argument, -a). You’ll also learn how to fallback to environment variables if the user doesn’t provide some of the arguments - for this purpose you will use lodash. You will also learn how to utilize the difference() method from lodash to compare two object keys and verify that the provided input doesn’t miss any values.
Prerequisites
To complete the project described in this tutorial you will need the following tools and resources:
- Deno – Follow the link for installation instructions for a wide variety of operating systems and package management tools.
- Twilio account – Sign up for free using this link and receive an additional $10 account credit when you upgrade to a regular account.
- Twilio Phone Number - Learn how to register one using Twilio CLI
- Git – Required for cloning the companion repository or managing the source code as a Git repo.
Visual Studio Code users, ensure that you have the denoland.vscode-deno extension installed:
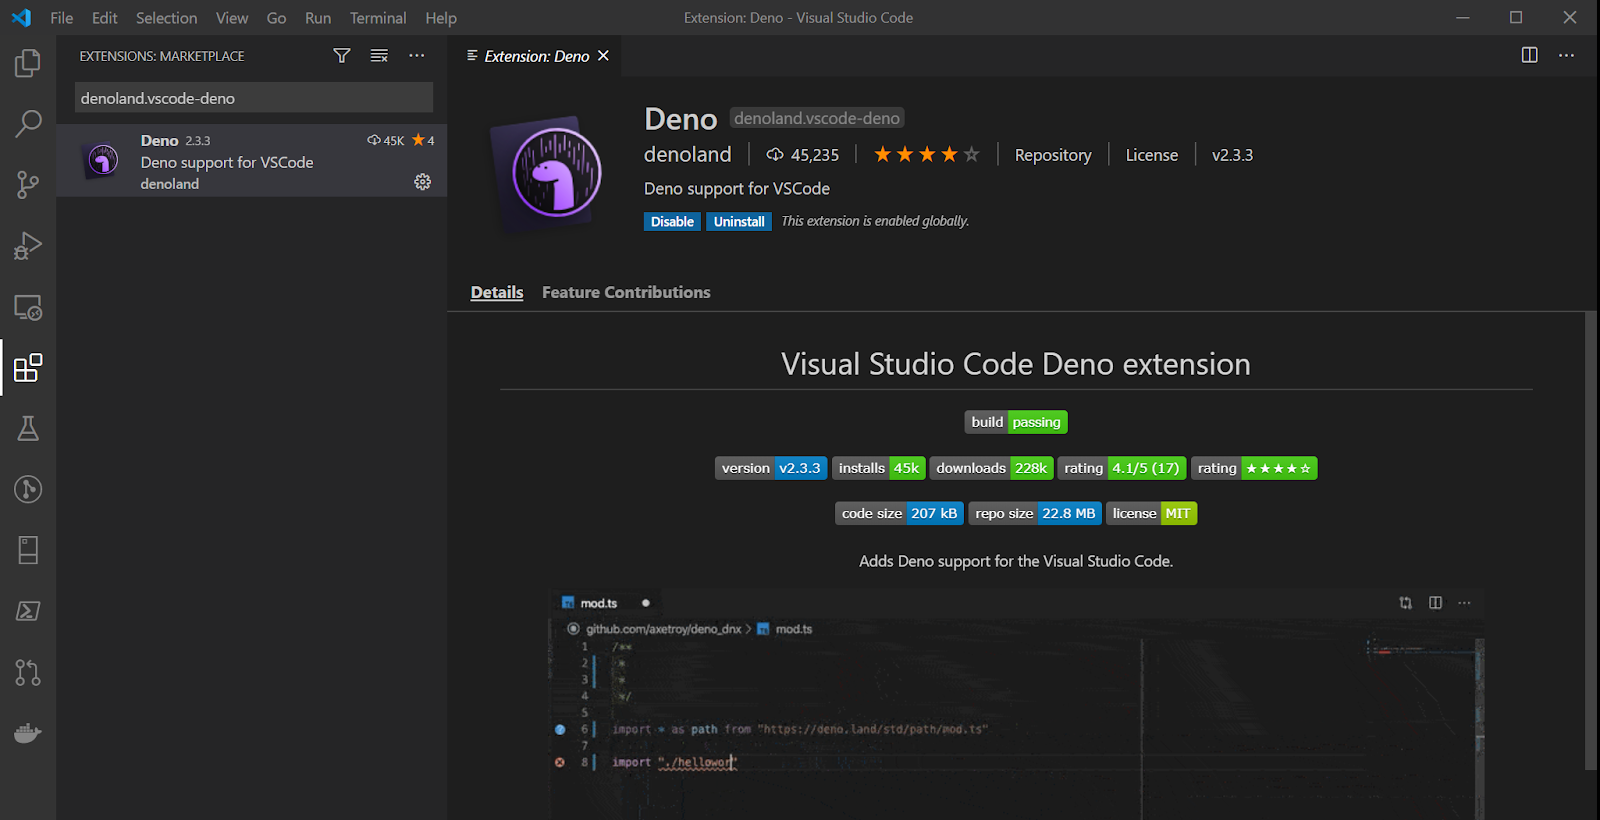
The Deno extension provides numerous features, including intelligent module import and full intellisense support.
You should also have a working knowledge of the core elements of TypeScript, asynchronous JavaScript mechanics, and ReactiveX programming. Knowledge about Deno essentials is also beneficial; you can learn the basics from the Hello Deno post here on the Twilio blog.
There is a companion repository for this post available on GitHub. It contains the complete source code for the project described in this tutorial and it’s available under an MIT license so you can use it in your own projects.
Getting your Twilio account credentials
To use the Twilio CLI and interact with the Twilio APIs you’ll need three essential pieces of information from your Twilio Console dashboard: Account SID, API Key and API Secret. You can find the Account SID on the top right-hand side of the dashboard. To generate the API Key and API Secret, navigate to Settings/API Keys and click on the red plus button to generate a new key.
Keep these values handy, you’ll need them to test your CLI app in the following steps.
Building the Deno CLI
Initializing the Deno project
Once you’ve registered and tested the phone number, you can initialize the project and its Git repository with a series of command-line instructions.
Open a console window and execute the following instructions in the directory where you want to create the project directory:
These commands will create the project directory and the first code file, and initialize a Git repository for the project.
Enabling the Deno extension for Visual Studio Code
If you’re using Visual Studio Code and the Deno extension mentioned in the Prerequisites section, you’ll need to enable the extension for this project.
Create a .vscode/settings.json file in your project folder and add the following JSON:
You can also use the VS Code user interface to change the setting for the Workspace. Enabling the Deno extension for the User is not recommended.
Reading command line arguments
To read the arguments provided by the user, you’ll utilize the yargs library. Due to the nature of Deno, you don’t need to install any dependencies - it is enough to add the import statement only.
Open file twilioSMSCLI.ts and place the following code inside:
Apart from importing the yargs library, the above code introduces the Arguments interface that represents a list of arguments accepted by the program. Those arguments are:
from- your Twilio number, which will be used to send the messageto- recipient’s phone numberbody- message contentsid- your Twilio Account SIDapikey- your Twilio API Key (API SID)secret- secret corresponding to the provided API key
Later on, you’ll parse command line arguments that reside under Deno.args using the yargs library and assign them to the inputArgs variable. Moreover, for each parameter, you define the shortcut, so the user will be able to use the full parameter name or just one letter:
--from=>-f--to=>-t--body=>-b--sid=>-i--apikey=>-k--secret=>-s
At the very end, you print received input to the console.
Try out the program using the following commands:
You should see output like below:
As you can see, the user can pass the arguments using their full names and shortcuts.
Unfortunately, the program doesn’t verify if the user has provided all of the required input. This may be fixed by enhancing the program with error handling.
First, introduce the lodash library by adding the following import statement at the top of the twilioSMSCLI.ts file:
Add the following code prior toward the bottom of the file, right above the console.log(inputArgs); statement:
You’ve just introduced the errorMessages map object, which holds messages that will be displayed when some of the arguments are missing.
The :{[k:string]: string} type in the object declaration informs the TypeScript compiler that this object will be holding properties of type string under the string keys. Thanks to that, you’ll be able to access these object properties dynamically by using a variable that represents the entry key instead of string literal.
Next, you’ve introduced the errors array that holds information about the missing values in the user input. To feed up this array, you used the difference() method from the lodash library. This method accepts two arrays (A and B) as a parameter and returns a third array, which contains elements from the A array that are not present in the B array (A minus B: A\B). The arrays (A and B) are key-sets of object errorMessages and inputArgs.
In other words, you’re looking for all keys from errorMessages that are not present in the inputArgs.
Finally, you check the errors array length. If it’s more than 0, it means that some input is missing, and an error message should be displayed. Inside the if statement, you iterate through the errors array and print the corresponding error message from the errorMessages. Then, you provide the user with an example program and exit the Deno process by theDeno.exit(1) statement.
Rerun the program to verify if the input is validated against missing values:
The output will be:
At this point, your program now verifies that all arguments have been provided.
Falling back to environment variables when the argument is not provided
Some users might prefer to omit many of the arguments which you are expecting to be provided. Values like Account SID, API key, API secret, and even the Twilio phone number are often kept in environment variables. It would be great not to treat these arguments as necessary ones, and when they are not provided, fallback to the environment variable values.
To introduce the functionality of falling back to environment variables, you’ll use the lodash library.
Now you can utilize the defaults() method from the lodash to fill missing values in inputArgs with the environment variable values, i.e. Deno.env.get('VARIABLE_NAME').
Place the following code before the errorMessages declaration. It’s very important to place this code before the line that looks up the key differences in the errorMessages and inputArgs objects: let errors: string[] = _.difference(_.keys(errorMessages), _.keys(inputArgs));:
At this point, your complete code should look match the following:
To test that the fallback works, you can save your account credentials and your Twilio phone number in environment variables.
If you are using a Unix-based operating system, such as Linux or macOS, you can set environment variables using the following commands:
If you are a Windows user, use the following commands:
Run your program and verify that it’s properly falling back to environment variables:
You should see output similar to:
Sending an SMS using Twilio API
It’s time for the program essentials. You’ll take advantage of Deno’s reusability and leverage the code written in the Sending SMS Messages with Deno, TypeScript, and Twilio Messaging post.
Import the TwilioSMS and SMSRequest objects by adding the following statement at the beginning of the twilioSMSCLI.ts file:
At the end of the twilioSMSCLI.ts file, before the console.log(), create the SMSRequest object based on the inputArgs object values; and initialize the TwilioSMS helper method. Next invoke the sendSms() method on the helper object:
At the very end, you may want to remove the line containing the console.log() invocation, as it’s no longer needed.
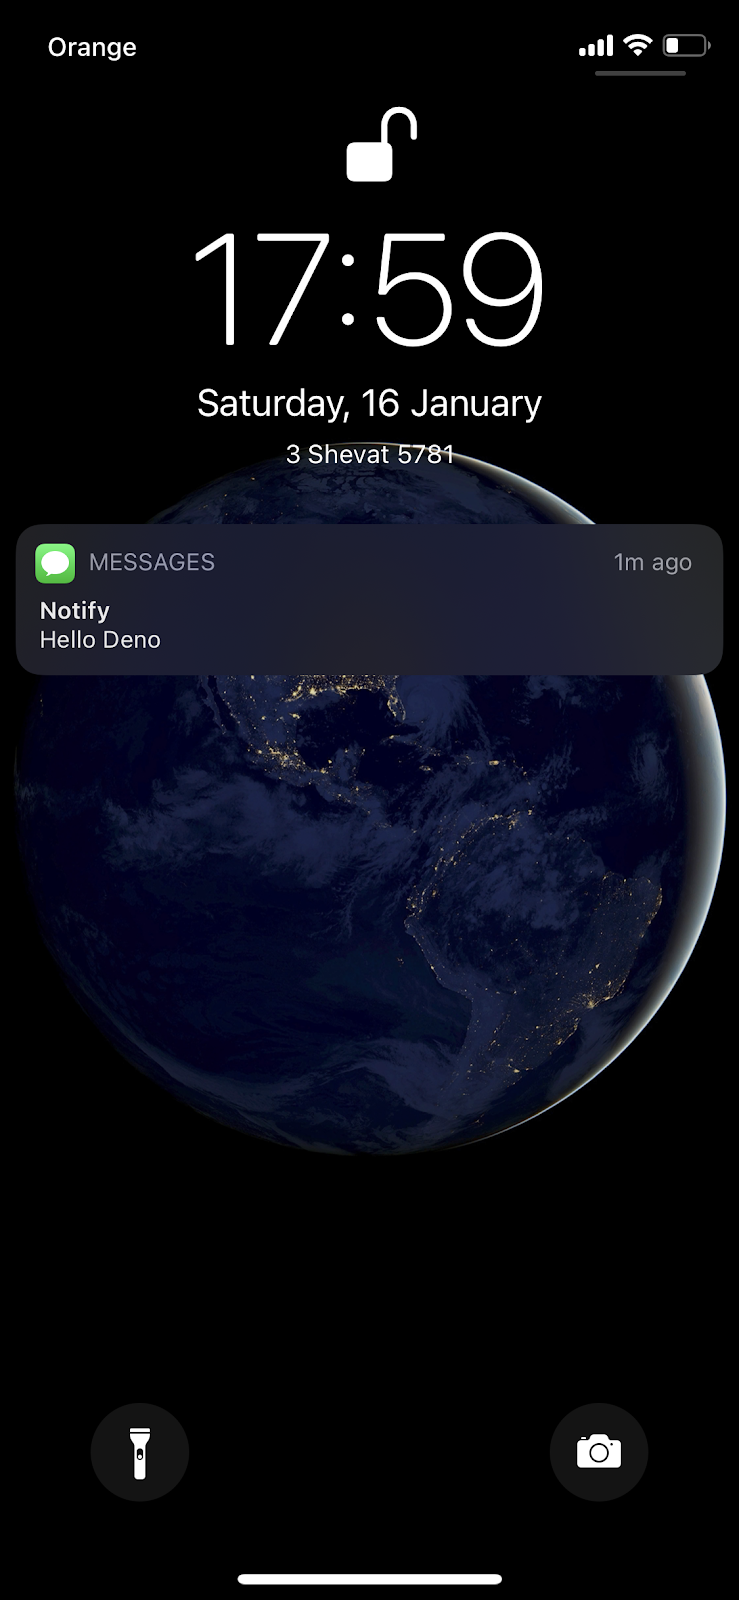
Run your program using an SMS-enabled phone number (replace the <phone_number> with this SMS-enabled phone number):
Within short time you should receive an SMS on your device:
Completed code
Your program is ready and should look like the following:
If you haven’t been following along, but would still like to run the program in this tutorial, you can find the complete code in the companion repository. To clone the repo, execute the following command-line instructions in the directory where you would like to create the project root directory (replace the <phone_number> with SMS-enabled phone number):
Through this article, you’ve learnt how to read command line arguments in Deno using yargs library. You’ve found out how to register the arguments alias shortcuts (--argument -a). You’ve also learnt how to fallback to the environment variable if the user doesn't provide some of the arguments using lodash.
The Deno ecosystem is designed for code reusability. Once the code is published online, you can use it in other Deno programs, or as a standalone one. To try this out, run the following command (replace the <phone_number> with SMS-enabled phone number):
Additional resources
Refer to the following sources for more information discussed in this post:
Hello Deno - Learn the Deno basics.
Asynchronous JavaScript: Introducing ReactiveX and RxJS Observables – Learn to program with the ReactiveX Observables.
Confirming SMS Message Delivery with RxJS Observables, Node.js, and Twilio Programmable SMS - Learn how to send SMS messages using Twilio in Node.js
TwilioQuest – Defeat the forces of legacy systems with this 16-bit style adventure game.
Maciej Treder is a Senior Software Development Engineer at Akamai Technologies. He is also an international conference speaker and the author of @ng-toolkit. You can learn more about him at https://www.maciejtreder.com. You can also contact him at: contact@maciejtreder.com or @maciejtreder on GitHub, Twitter, StackOverflow, and LinkedIn.
Gabriela Rogowska contributed to this post.

Related Resources
Twilio Docs
From APIs to SDKs to sample apps
API reference documentation, SDKs, helper libraries, quickstarts, and tutorials for your language and platform.
Resource Center
The latest ebooks, industry reports, and webinars
Learn from customer engagement experts to improve your own communication.
Ahoy
Twilio's developer community hub
Best practices, code samples, and inspiration to build communications and digital engagement experiences.