Robocall-Resistant Voicemail with Add-ons and Functions

Time to read:
September 01, 2022
Written by
Reviewed by
Twilio Add-ons are designed to enhance existing messaging and voice systems and APIs.
This tutorial covers how to use the Trestle Reverse Phone Add On to prevent robocallers from leaving voicemails. This tutorial uses Twilio Functions, a serverless, Node.js platform for deploying code.
Install and configure the Trestle Reverse Phone Add-on
This section covers how to install and enable the Trestle Reverse Phone Add-on, which provides you with caller information.
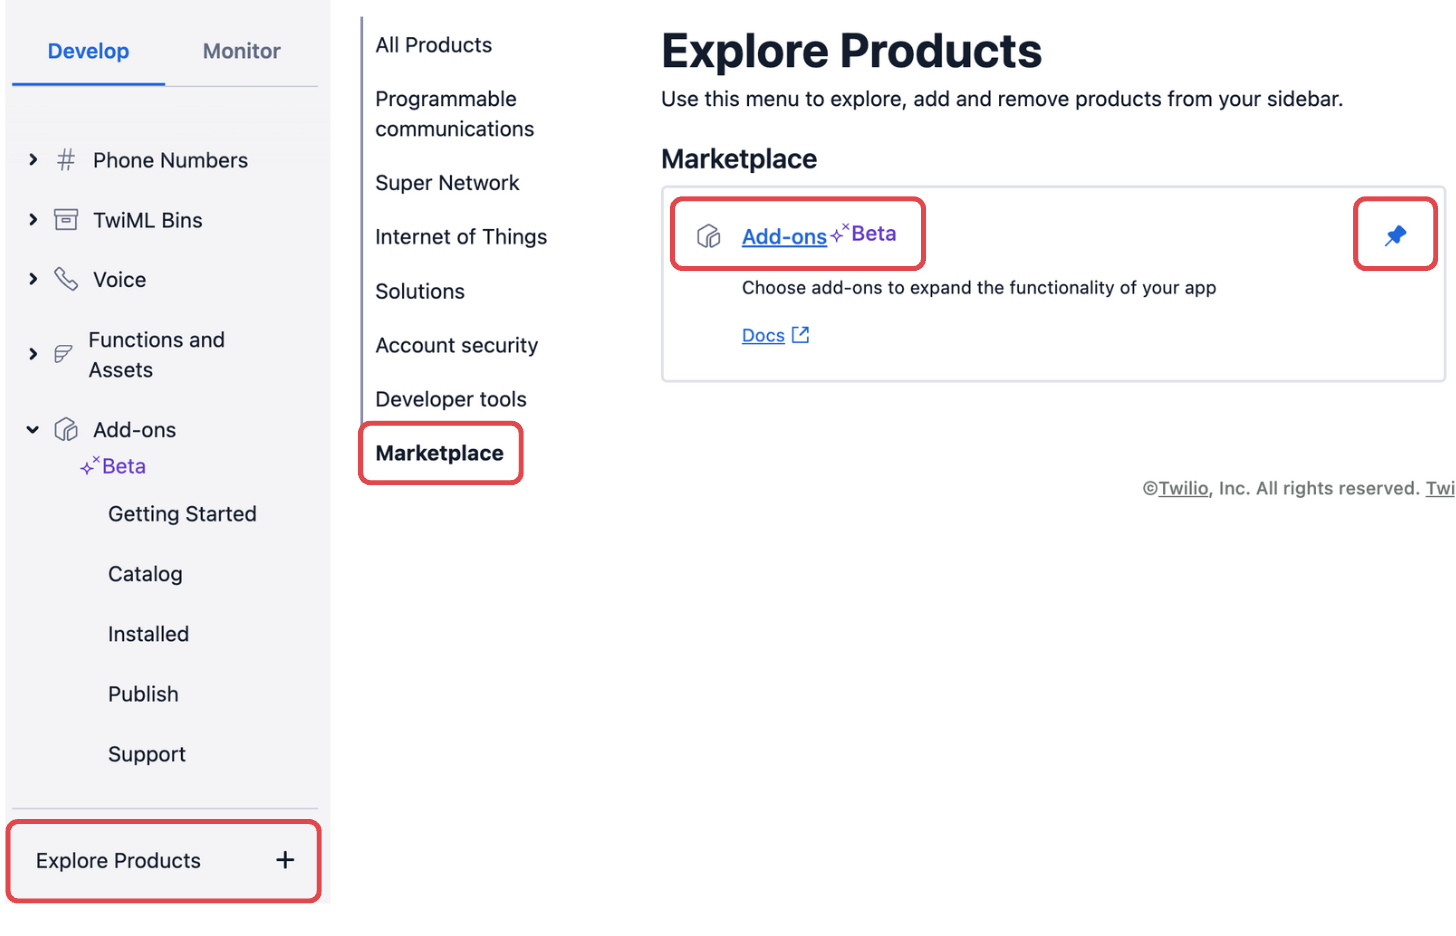
- In the Console, navigate to the Add-ons catalog in either of the following ways:
- In the search bar at the top of the page, search for
Add-ons Catalog. - In the left navigation pane, click on Explore Products. Click on the Marketplace heading and click on Add-ons. You can also click the pin icon to pin the Add-ons page to your Console navigation.
- In the search bar at the top of the page, search for
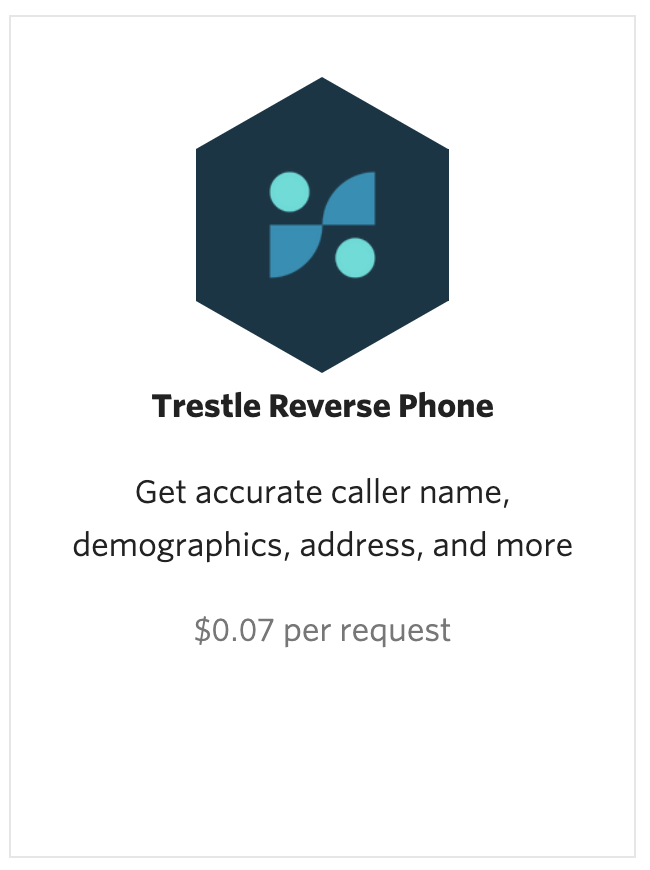
- On the Add-ons page, click on Trestle Reverse Phone.
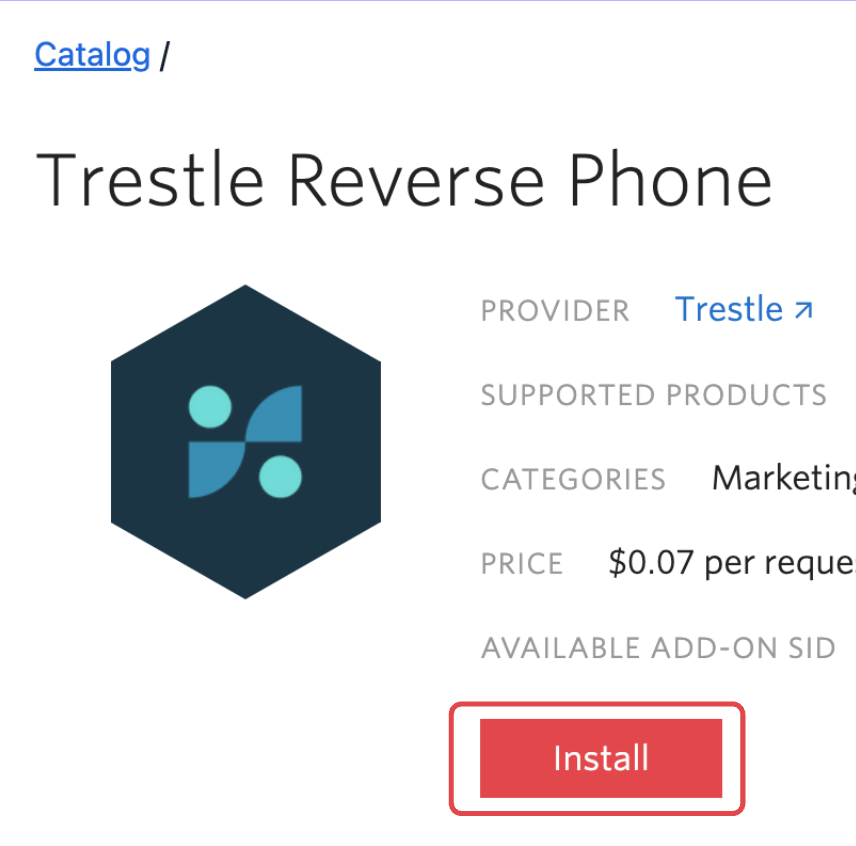
- On the Trestle Reverse Phone page in the Console, click on Install.
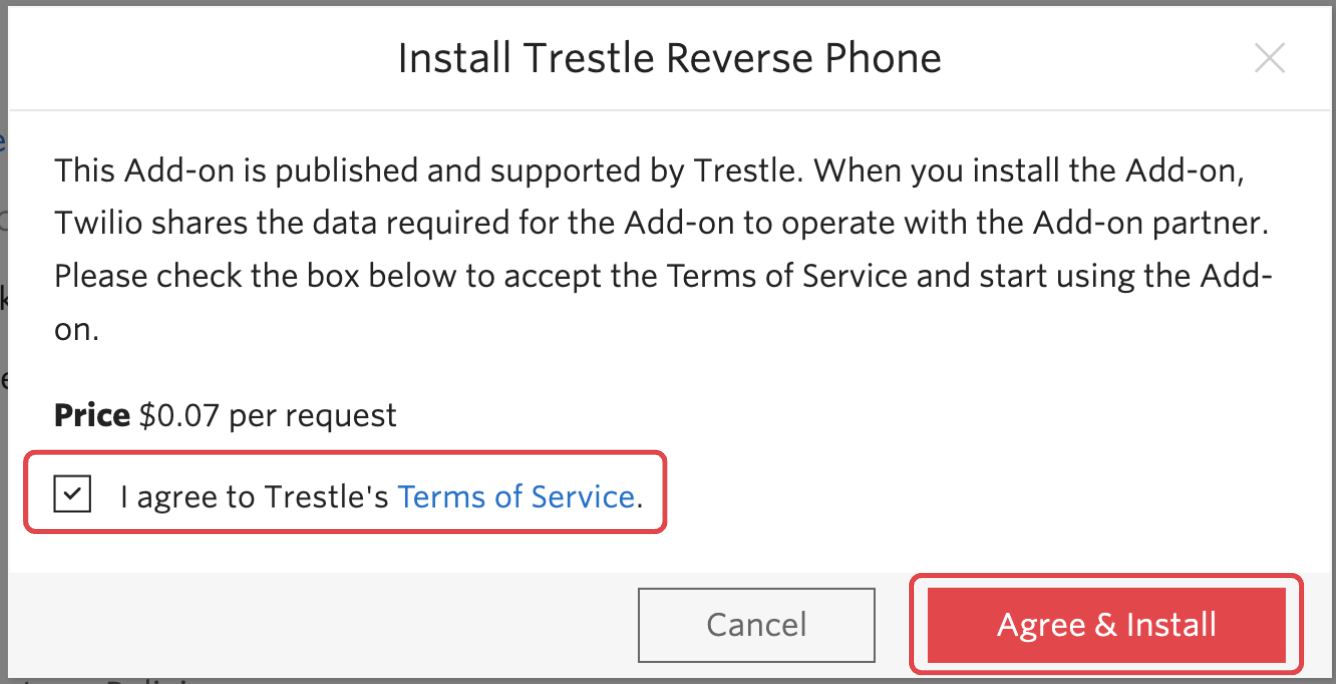
- In the pop-up, read the Terms of Service, click the checkbox next to I agree to Trestle's Terms of Service and click Agree & Install.
- You now see a Configure tab on the Trestle Reverse Phone Console page. Find the USE IN field and select the Incoming Voice Call checkbox.

- Click Save.
With this configuration, Twilio sends the Trestle Reverse Phone data in all incoming call webhooks. The next section covers how to receive and use the data from Trestle Reverse Phone in order to reject voicemails from invalid phone numbers.
Create a Twilio Function to handle incoming calls
This section covers how to create a Twilio Function that parses the data from Trestle Reverse Phone and dynamically creates TwiML instructions based on that data.
Callers with valid phone numbers are prompted to leave a voicemail with <Say> and <Record> TwiML, while callers with invalid phone numbers are rejected with <Reject>.
- In the Twilio Console, in the left navigation pane, click on Explore Products.
- Under Developer Tools, click on Functions and Assets.
- On the Functions Overview page, click the Create Service button.
- In the Service Name field, enter
test-voicemailand click Next. - Click the Add + button and click Add Function.
- Change
/path_1to/voicemailand hit the enter key.- Once you buy and configure a Twilio Phone Number in the next section, this is where Twilio sends incoming call webhooks that contain the data from Trestle Reverse Phone.
- Next to
/voicemail, click the lock icon and select Protected.

- This allows Twilio to send incoming call webhooks to your
/voicemailendpoint.
- You now see sample code. Delete that code and replace it with the code below:
// This code sample serves to filter robocalls prior to taking a voicemail. // Twilio Functions automatically executes the exports.handler method in any // code you write. It comes with inputs for a context, event, and callback. // Full documentation: https://www.twilio.com/docs/runtime/functions/invocation exports.handler = (context, event, callback) => { // Use the Twilio Node helper library to generate valid TwiML in JavaScript. const twiml = new Twilio.twiml.VoiceResponse(); // Save the AddOns data that Twilio provides in the incoming call webhook const addOns = event.AddOns; // Save the data from Trestle Reverse Phone const trestleData = addOns.results.trestle_reverse_phone; let callIsValid = false; // Check if both AddOns and Trestle Reverse Phone were successful if (addOns.status == 'successful' && trestleData.status == 'successful') { // Check whether the caller's phone number is valid // Learn more on the Documentation tab of the Trestle Reverse Phone page in the Console callIsValid = trestleData.result.is_valid; }; if (callIsValid) { // Prompt the caller to leave a message. twiml.say('Please leave a message after the beep. Please hang up when you are finished.'); // Use <Record> to record the voicemail. twiml.record(); } else { // Reject the call with <Reject> if the caller's phone number is invalid voiceResponse.reject(); } return callback(null, twiml); } - Click Deploy All. Wait until the Function has been deployed before continuing to the next section.
Now you have a deployed endpoint that returns TwiML instructions to Twilio that either records a voicemail or rejects the call.
In the next section, you will buy and configure a phone number so that Twilio sends incoming call webhooks (and the data from Trestle Reverse Phone) to your Twilio Function.
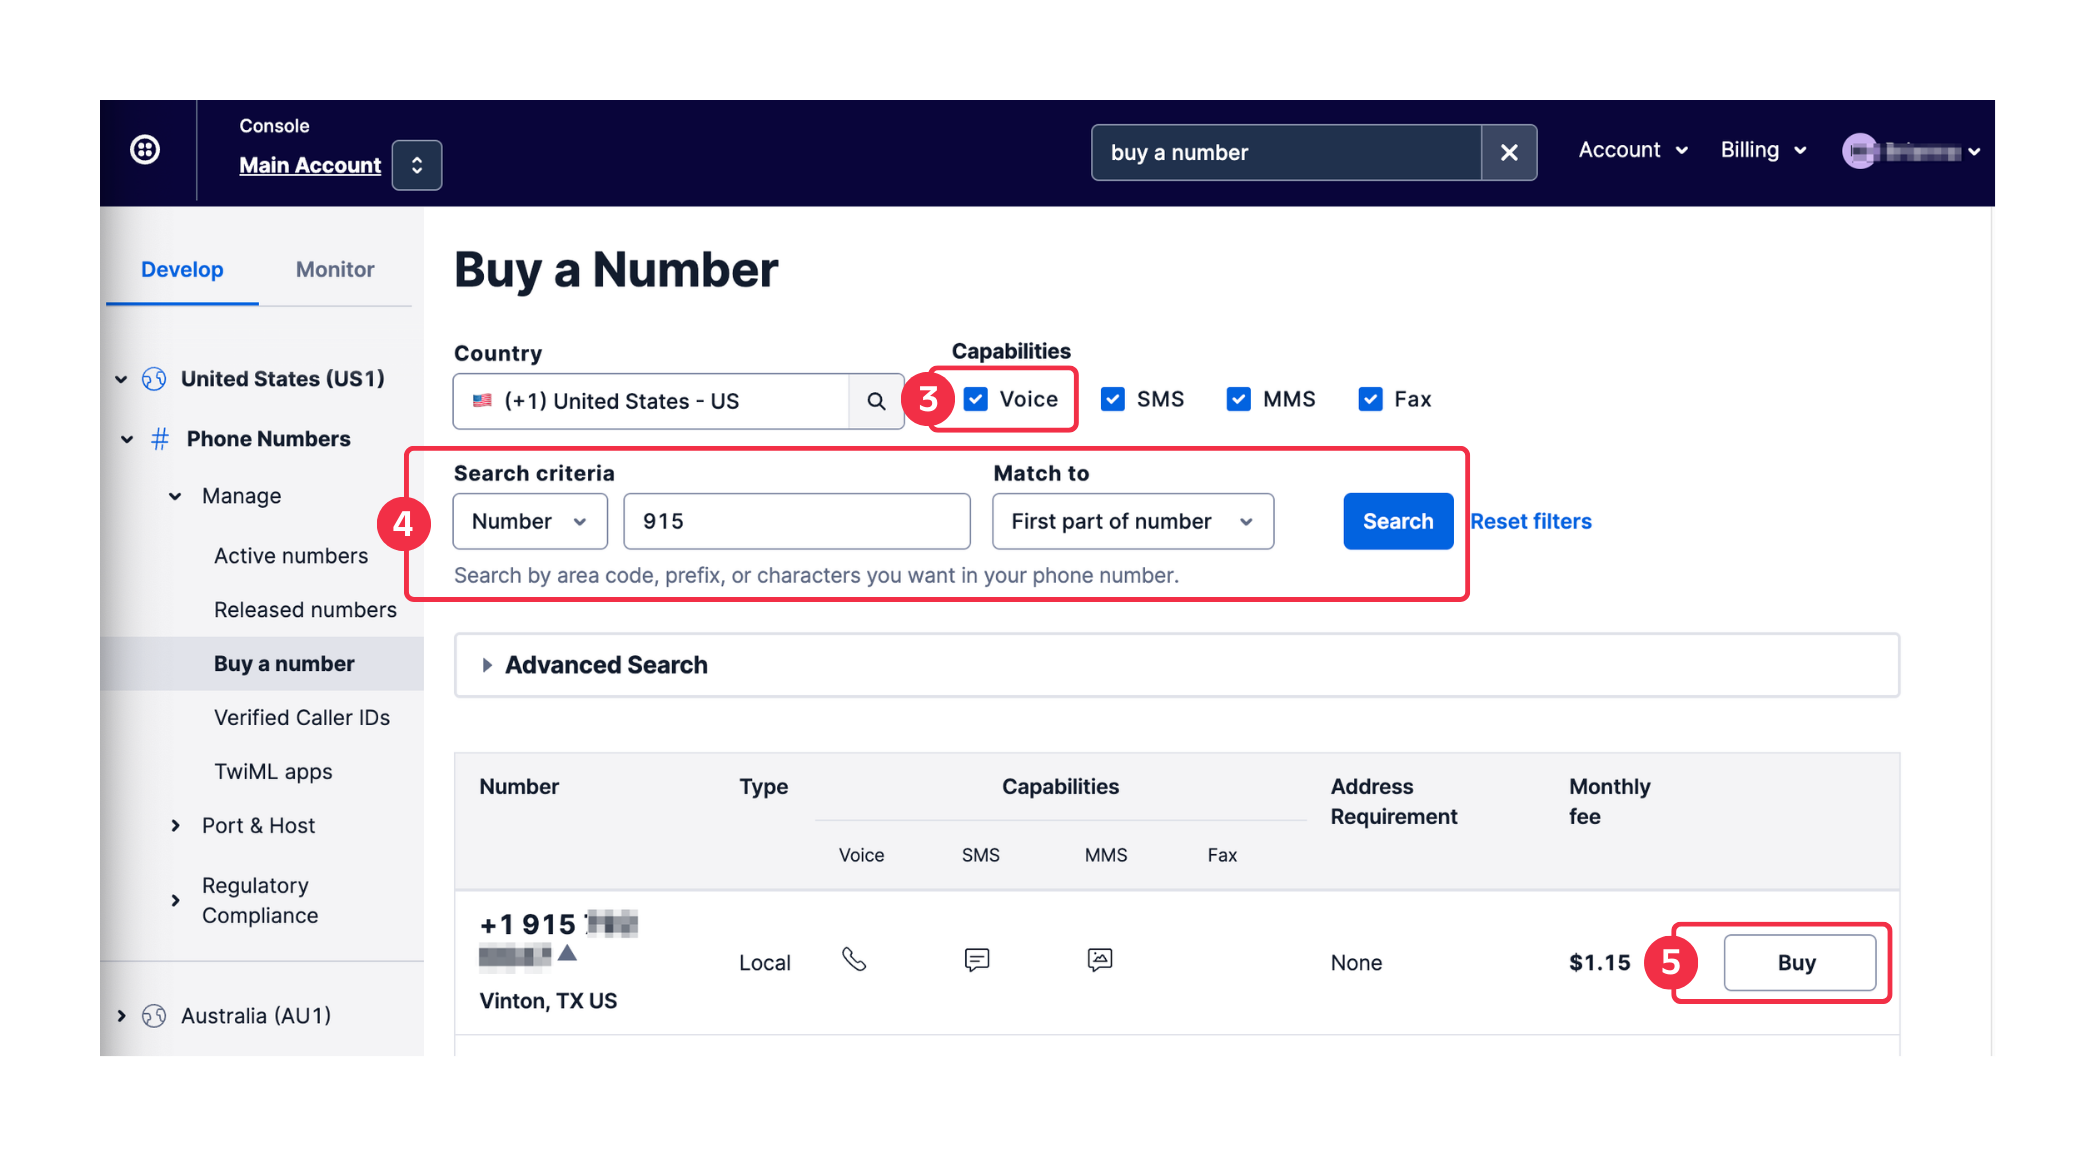
Follow the steps below to purchase a Twilio Phone Number with Voice capabilities.
- Log in to your Twilio Console.
- Navigate to the Buy a Number Console page: Search for "Buy a number" in the search bar at the top of your Console, or in the navigation sidebar, click on Phone Numbers > Manage > Buy a number.
- Under Capabilities, make sure that the Voice checkbox is checked.
- Under Search criteria, enter any criteria you want in your phone number and click the Search button.
- Choose a number from the list and click its associated Buy button.
- On the Review Phone Number pop-up, click the Buy (XXX) XXX-XXXX button to confirm your purchase.

Configure your phone number
- On the Phone Number's Console page, scroll down to the Voice Configuration section.
- Under A call comes in, select Function from the dropdown.
- Under Service, select
test-voicemail. - Under Environment, select
ui. - Under Function Path, select
/voicemail.

- Don't see
/voicemail? Make sure you completed step 7 from the "Create a Twilio Function to handle incoming calls" section above. Don't forget to click Deploy All.
- Click Save.
Try it out
Call your Twilio Phone number! Since you're not a robocaller, you are able to leave a voicemail.
You can view the data from Trestle Reverse Phone in your Call Logs in the Console, as well as listen to the recording.
- In Console, in the left navigation pane, click Monitor > Logs > Calls.
- Click on the most recent Call.
- Under Media, you can download or listen to the recording.
- Under Request Inspector, click Expand All (on the right side of the page).
- Under the first POST request's Parameters, find the AddOns parameter. You can see all of the information provided by Trestle Reverse Phone (along with any other Add-ons you may have installed).
Next Steps
Find out more about the data provided by Trestle Reverse Phone in the Console. Navigate to the Trestle Reverse Phone page and click on the Documentation tab.
Learn more about recordings with Twilio on the Recordings Reference page.

Related Resources
Twilio Docs
From APIs to SDKs to sample apps
API reference documentation, SDKs, helper libraries, quickstarts, and tutorials for your language and platform.
Resource Center
The latest ebooks, industry reports, and webinars
Learn from customer engagement experts to improve your own communication.
Ahoy
Twilio's developer community hub
Best practices, code samples, and inspiration to build communications and digital engagement experiences.