Enhancing Security with Two-Factor Authentication in Laravel using Inertia

March 06, 2024
Written by
Anumadu Udodiri Moses
Contributor
Opinions expressed by Twilio contributors are their own
Reviewed by

Enhancing Security with Two-Factor Authentication in Laravel Using Inertia

Two-factor Authentication (2FA) significantly boosts the security of any application by introducing an additional layer of verification. This ensures that only authorized users with proper authentication can access the application.

In this tutorial, we will guide you through the process of implementing a Two-Factor Authentication system in a Laravel and Vue.js application, utilizing Inertia.js.

To achieve this, we'll cover the following steps:

  1. Set up authentication in a Laravel application using Laravel Breeze, Inertia.js, and Vue.js.

  2. Integrate a One-Time Password (OTP) system into our authentication process using the Twilio Verify API.

  3. Develop middleware to restrict access to the dashboard until a specified phone number has been successfully verified.

With that said, let's dive into the implementation.

Prerequisites

To follow along effectively with this tutorial, the following technologies are required:

Set up the project

The first step is to create a fresh Laravel application with Composer and change into the new project's directory using the commands below.

composer create-project laravel/laravel TwilioInertiaAuth
cd TwilioInertiaAuth

After creating the application, the next step is to create a database and establish a connection between the application and database. Add the following to your .env file to establish a database connection.

DB_CONNECTION=mysql
DB_HOST=127.0.0.1
DB_PORT=3306
DB_DATABASE=reminder
DB_USERNAME=root
DB_PASSWORD=

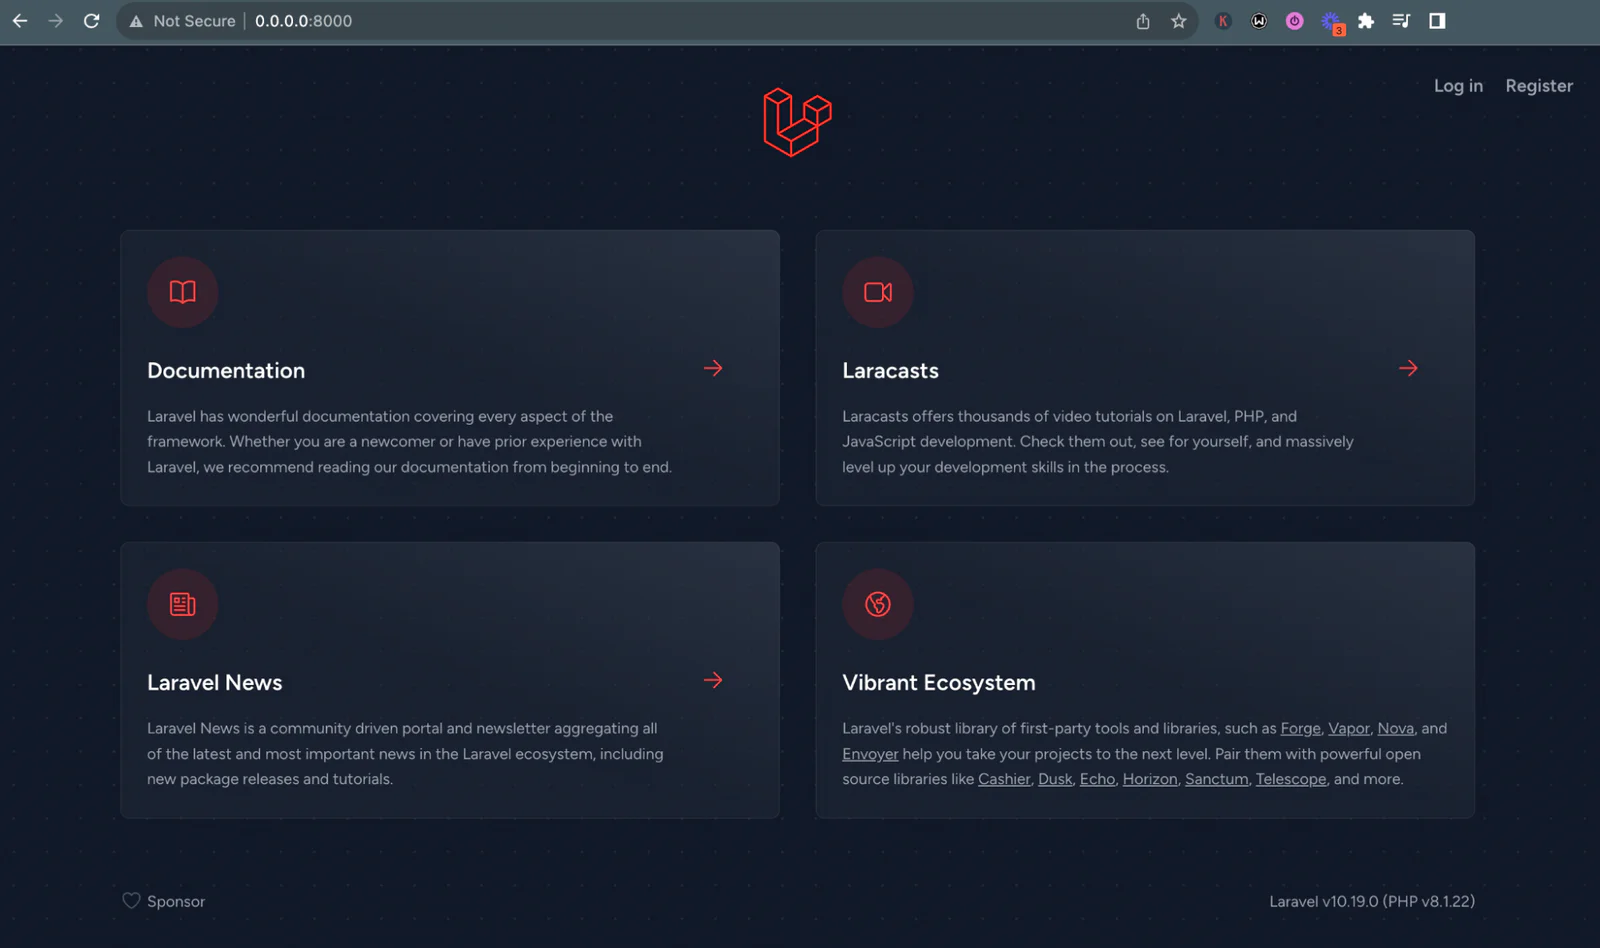
When that is done, serve the application and view it in your browser to be sure everything works. Let's do that using the command below.

php artisan serve

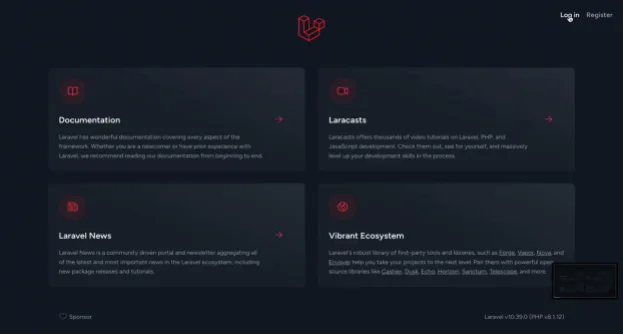
The application will be available on http://127.0.0.1:8000/, or another port if the aforementioned is already in use by another application. Your screen should look just like the image below.

Add authentication with Laravel Breeze

Let's implement an Inertia.Js authentication flow using Laravel Breeze. To get started, install Laravel Breeze using the command below in a new terminal tab or window.

composer require laravel/breeze --dev

Now, run the following commands to scaffold the authentication layer.

php artisan breeze:install
php artisan migrate
npm install
npm run dev

When running the breeze:install Artisan command, you will be prompted to choose between the Vue or React frontend stacks. Please choose "Vue with Inertia".

Subsequently, the Breeze installer will ask whether you would like "Inertia SSR" or "TypeScript" support. For this tutorial, select the "Inertia SSR" option. 

Now, visit the '/register' route and register as a new user to ensure that the registration feature works.

Install the Twilio PHP Helper Library

Now we have authentication, let's proceed to add 2FA using the Twilio Verify API. First, we need to install the Twilio PHP Helper Library using the Composer command below, in a new terminal tab or session.

composer require twilio/sdk

Once the installation process is complete, for better organization and easy access, let's insert our Twilio details into our .env file. Simply add these lines to the end of your .env file:

TWILIO_ACCOUNT_SID="<<TWILIO_SID>>"
TWILIO_AUTH_TOKEN="<<TWILIO_TOKEN>>"
TWILIO_VERIFICATION_SERVICE_TOKEN="<<TWILIO_VERIFICATION_SERVICE_TOKEN>>"

To set up the Twilio helper library in our application, grab your Account SID, Auth Token from the Account Info section of the Twilio Console. Then, replace <<TWILIO_ACCOUNT_SID>>, and <<TWILIO_AUTH_TOKEN>> in the .env file respectively, with these credentials.

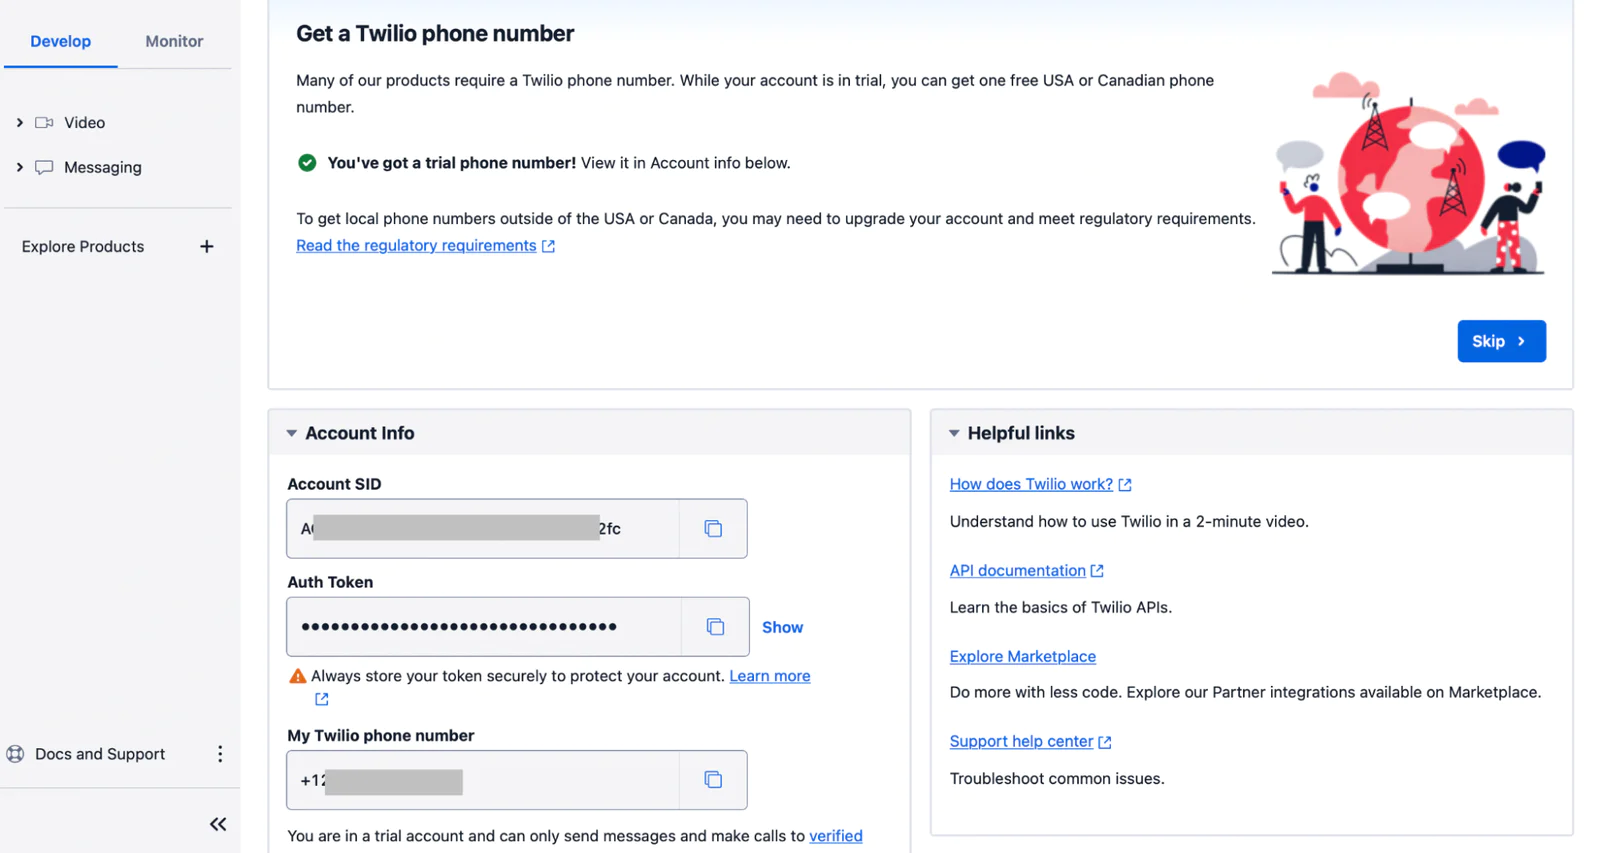
As for <<TWILIO_VERIFICATION_SERVICE_TOKEN>>, we will generate this from our Twilio Console dashboard in the next section.

Create a Verification Service

Before sending out verification codes using the Twilio Verify API, The first step is to create a verification service. A verification service is a collection of basic settings used to create and confirm verifications. This includes things like the name displayed in verification messages (except in countries with brand restrictions) and the length of the verification code.

We can create a verification service via the Twilio Verify API or the Twilio Console. For this tutorial, we will use the Twilio Console for simplicity. 

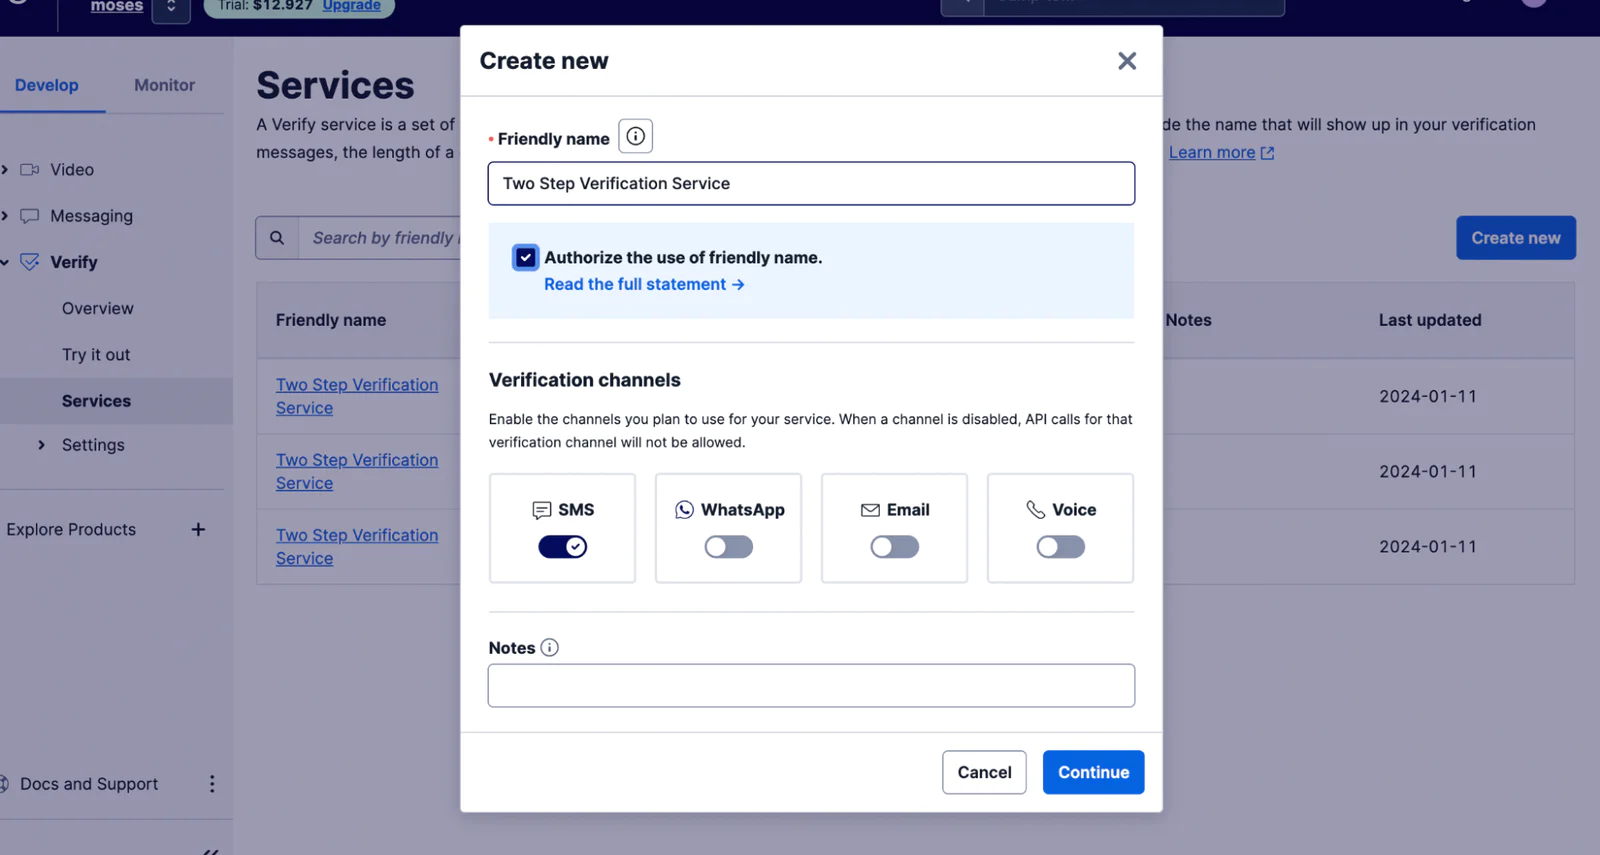
Once you log into your dashboard, navigate to Explore Products > Account security > Verify. Click the Create New button. Your screen should look like the one below. Fill out the form and click Continue, then click Continue again to enable Fraud Guard.

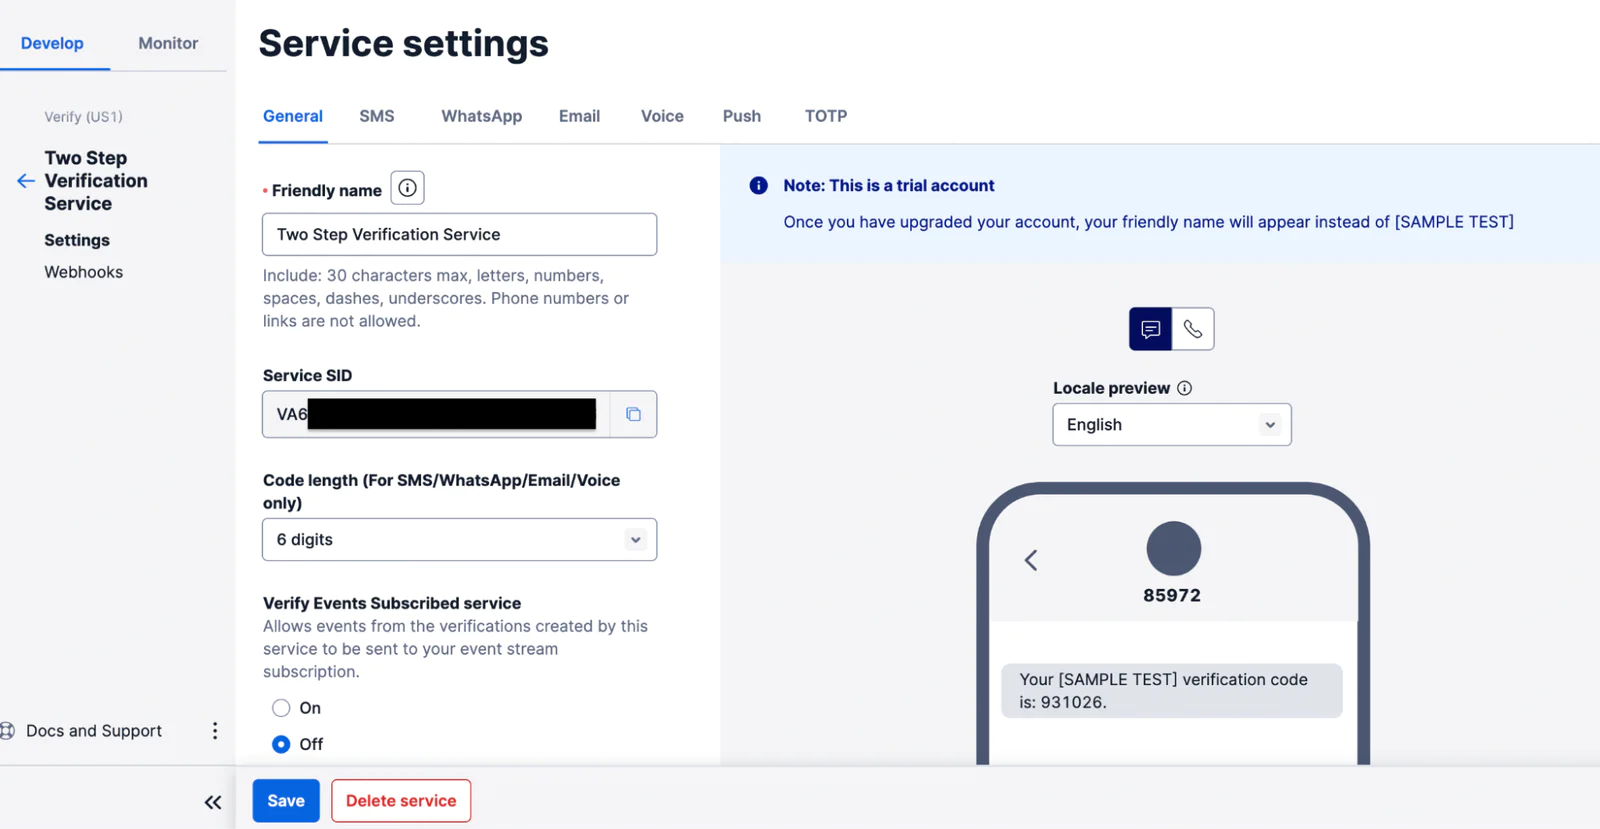
Then, grab the Service SID and, in your .env file, replace  <<TWILIO_VERIFICATION_SERVICE_TOKEN>> with the value.

Implement Two-Factor Authentication

Now that our Twilio Verification Service is ready, let's modify the current authentication to add Two-Factor Authentication to it. First, we need to add a phone number section to our Register.vue file, and to modify the users table migration file to add a column for storing the user's phone number. 

To do that, open resources/js/Pages/Auth/Register.vue and modify the content of the file to match the code below.

<script setup>
import GuestLayout from '@/Layouts/GuestLayout.vue';
import InputError from '@/Components/InputError.vue';
import InputLabel from '@/Components/InputLabel.vue';
import PrimaryButton from '@/Components/PrimaryButton.vue';
import TextInput from '@/Components/TextInput.vue';
import { Head, Link, useForm } from '@inertiajs/vue3';

const form = useForm({
   name: '',
   email: '',
   phone: '',
   password: '',
   password_confirmation: '',
});

const submit = () => {
   form.post(route('register'), {
       onFinish: () => form.reset('password', 'password_confirmation'),
   });
};
</script>

<template>
   <GuestLayout>
       <Head title="Register" />

       <form @submit.prevent="submit">
           <div>
               <InputLabel for="name" value="Name" />
               <TextInput
                   id="name"
                   type="text"
                   class="mt-1 block w-full"
                   v-model="form.name"
                   required
                   autofocus
                   autocomplete="name"
              />
               <InputError class="mt-2" :message="form.errors.name" />
           </div>

           <div class="mt-4 flex gap-6">
               <div>
                   <InputLabel for="email" value="Email" />
                   <TextInput
                       id="email"
                       type="email"
                       class="mt-1 block w-full"
                       v-model="form.email"
                       required
                       autocomplete="username"
                  />
                   <InputError class="mt-2" :message="form.errors.email" />
               </div>

               <div class="">
                   <InputLabel for="phone" value="Phone number" />
                   <TextInput
                       id="phone"
                       type="number"
                       class="mt-1 block w-full"
                       v-model="form.phone"
                       required
                  />
                   <InputError class="mt-2" :message="form.errors.phone" />
               </div>
           </div>

           <div class="mt-4">
               <InputLabel for="password" value="Password" />
               <TextInput
                   id="password"
                   type="password"
                   class="mt-1 block w-full"
                   v-model="form.password"
                   required
                   autocomplete="new-password"
              />
               <InputError class="mt-2" :message="form.errors.password" />
           </div>

           <div class="mt-4">
               <InputLabel for="password_confirmation" value="Confirm Password" />
               <TextInput
                   id="password_confirmation"
                   type="password"
                   class="mt-1 block w-full"
                   v-model="form.password_confirmation"
                   required
                   autocomplete="new-password"
              />
               <InputError class="mt-2" :message="form.errors.password_confirmation" />
           </div>

           <div class="flex items-center justify-end mt-4">
               <Link
                   :href="route('login')"
                   class="underline text-sm text-gray-600 hover:text-gray-900 rounded-md focus:outline-none focus:ring-2 focus:ring-offset-2 focus:ring-indigo-500"
               >
                   Already registered?
               </Link>

               <PrimaryButton class="ms-4" :class="{ 'opacity-25': form.processing }" :disabled="form.processing">
                   Register
               </PrimaryButton>
           </div>
       </form>
   </GuestLayout>
</template>

We added a form field to the existing form to accept the user's phone number during registration. Let's now add code for validating and saving this value in the database. 

Open app/Http/Controllers/Auth/RegisterUserController.php and modify the file, like so.

<?php

namespace App\Http\Controllers\Auth;

use App\Http\Controllers\Controller;
use App\Models\User;
use App\Providers\RouteServiceProvider;
use Illuminate\Auth\Events\Registered;
use Illuminate\Http\RedirectResponse;
use Illuminate\Http\Request;
use Illuminate\Support\Facades\Auth;
use Illuminate\Support\Facades\Hash;
use Illuminate\Validation\Rules;
use Inertia\Inertia;
use Inertia\Response;

class RegisteredUserController extends Controller
{
    /**
     * Display the registration view.
     */
    public function create(): Response
    {
        return Inertia::render('Auth/Register');
    }

    /**
     * Handle an incoming registration request.
     *
     * @throws \Illuminate\Validation\ValidationException
     */
    public function store(Request $request): RedirectResponse
    {
        $request->validate([
            'name' => 'required|string|max:255',
            'email' => 'required|string|lowercase|email|max:255|unique:' . User::class,
            'phone' => 'required|max:255|unique:' . User::class,
            'password' => ['required', 'confirmed', Rules\Password::defaults()],
        ]);

        $user = User::create([
            'name' => $request->name,
            'email' => $request->email,
            'phone' => $request->phone,
            'password' => Hash::make($request->password),
        ]);
        event(new Registered($user));
        Auth::login($user);
        return redirect(RouteServiceProvider::HOME);
    }
}

After that, modify the $fillable array in app/Models/User.php to match the following.

protected $fillable = [
    'name',
    'email',
    'phone',
    'password',
];

We also need to add a column in the database for the user's phone number. Create a migration to update the user table using the command below.

php artisan make:migration add_phone_number_to_user_table --table=users;

Open the new migration file (located in database/migrations and ending with _add_phone_number_to_user_table.php) and modify the contents with the code below.

<?php

use Illuminate\Database\Migrations\Migration;
use Illuminate\Database\Schema\Blueprint;
use Illuminate\Support\Facades\Schema;

return new class extends Migration
{
    /**
     * Run the migrations.
     */
    public function up(): void
    {
        Schema::table('users', function (Blueprint $table) {
            $table->string('phone')->after('email');
        });
    }

    /**
     * Reverse the migrations.
     */
    public function down(): void
    {
        Schema::table('users', function (Blueprint $table) {
            //
        });
    }
};

Run the migration after saving the file using the following command.

php artisan migrate

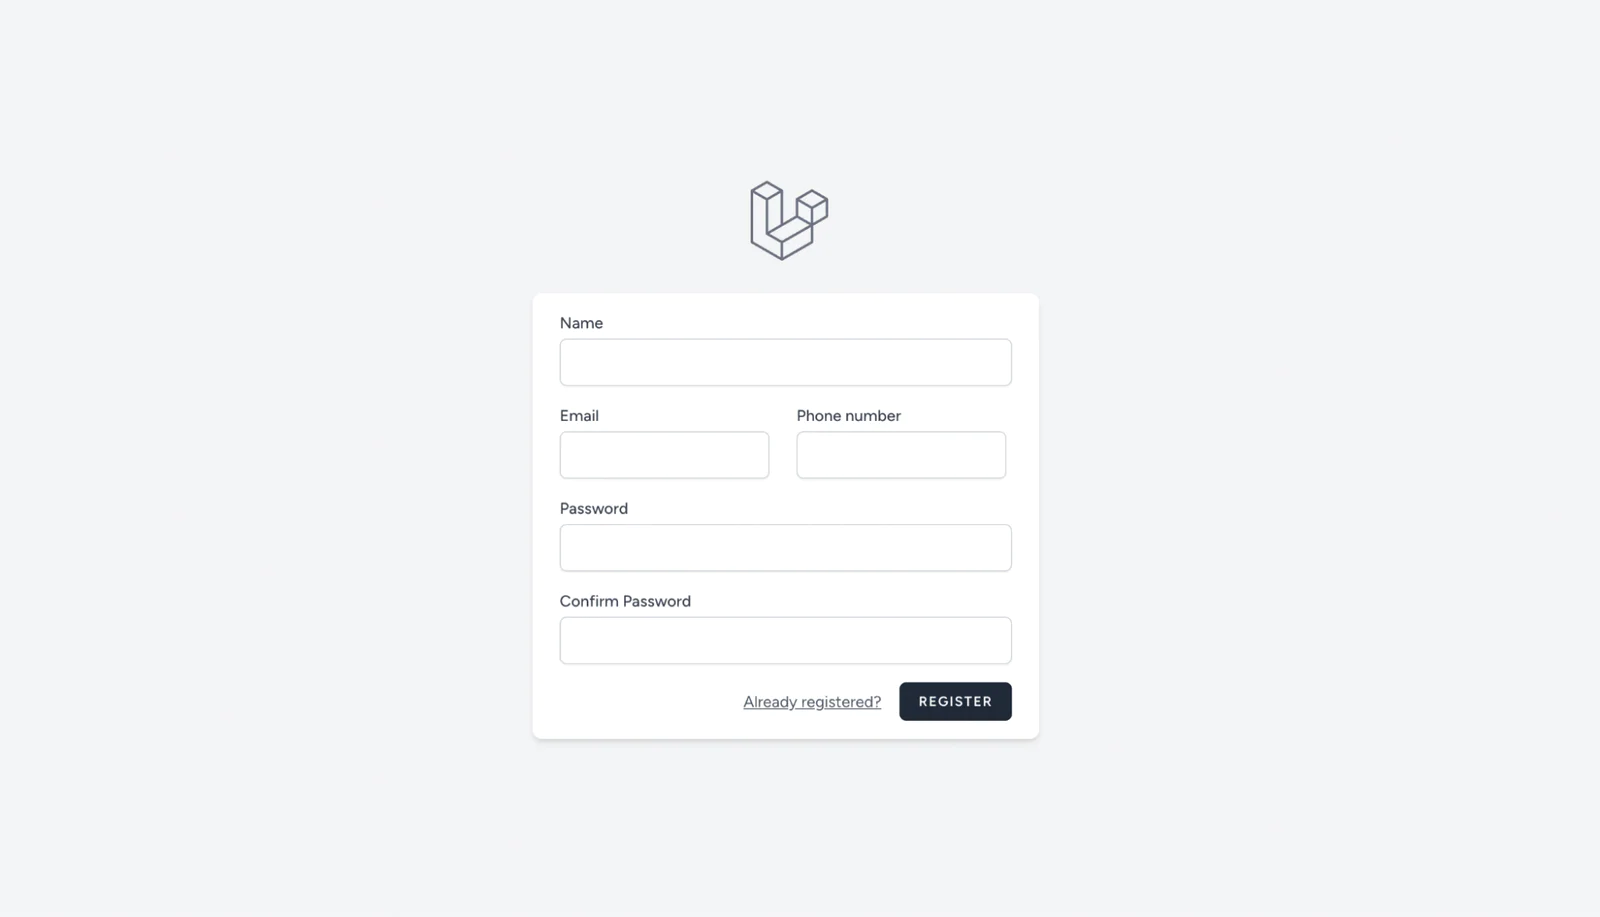
Now, your register page (http://localhost:8000/register) should have a field for a phone number like the image below, and your users should be able to register with their phone number.

Phone numbers must be entered in the registration form with the country code but without a plus sign. The plus sign will be appended to the code. For example, a USA phone number should be typed as  133XXXXXXXX, not  +133XXXXXXXX  or (133) XXX‑XXX

Add a phone verification Trait

Let's implement the logic for sending verification tokens to the user's phone and checking the verification token. We will create a Trait for this to keep things simple and maintainable. In app/Http, create a new folder named Traits; in that folder, create a new file named TwoFactorAuthenticationTrait.php. Add the following code to the file.

<?php

namespace App\Http\Traits;

use Twilio\Rest\Client;

trait TwoFactorAuthenticationTrait
{
    protected $twilioSid;
    protected $twilioAuthToken;
    protected $twilioVerificationServiceToken;
    protected $twilio;

    public function __construct()
    {
        $this->twilioSid = env("TWILIO_ACCOUNT_SID");
        $this->twilioAuthToken = env("TWILIO_AUTH_TOKEN");
        $this->twilioVerificationServiceToken = env("TWILIO_VERIFICATION_SERVICE_TOKEN");
        $this->twilio =  new Client($this->twilioSid, $this->twilioAuthToken);
    }

    public function sendVerificationToken($userPhoneNumber)
    {
        $verification = $this->twilio->verify->v2->services($this->twilioVerificationServiceToken)
            ->verifications
            ->create("+".$userPhoneNumber, "sms");
        session(['phoneVerified' => $verification->status]);
        return redirect()->route('phone.verify')->with('message', 'OTP sent');
    }

    public function checkVerificationToken($userPhoneNumber, $code)
    {
        $verification = $this->twilio->verify->v2->services($this->twilioVerificationServiceToken)
            ->verificationChecks
            ->create(
                [
                    "to" =>"+". $userPhoneNumber,
                    "code" => $code
                ]
            );
        session(['phoneVerified' => $verification->status]);
        return true;
    }
}

Our sendVerificationToken() method sends the verification code to the provided phone number. After sending the code, it updates the status of phoneVerified in the session. This will be very useful when we create our middleware later. After this, it redirects to the verification page. Let's create that next.

Add the phone verification file screen

Let's create a new controller for the 2FA logic using the command below.

php artisan make:controller TwoFactorAuthenticationController

Then, update our newly created controller to match the following.

<?php

namespace App\Http\Controllers;

use Illuminate\Auth\Events\Validated;
use Illuminate\Http\Request;
use Inertia\Inertia;
use App\Http\Traits\TwoFactorAuthenticationTrait;

class TwoFactorAuthenticationController extends Controller
{
    use TwoFactorAuthenticationTrait;

    public function index()
    {
        return  Inertia::render('Auth/TwoFactorAuthentication');
    }

    public function verifyCode(Request $request)
    {
        $validate = $request->validate([
            'code' => 'required'
        ]);
        try {
            $this->checkVerificationToken(auth()->user()->phone, $request->code);
            return redirect()->route('dashboard');
        } catch (\Exception $e) {
            dd($e);
        }
    }
}

In the controller above, we have two methods, index() and verifyCode(). The index() method returns the Vue.js file for the verifying OTP page. We will create that file next. The verifyCode() method uses the checkVerificationToken() method from our TwoFactorAuthenticationTrait to verify the code entered by the user. This method is called when the user submits the verification form. More on that shortly. 

For now, let's create the verification page. In resources/js/Pages/Auth, create a new file named TwoFactorAuthentication.vue. Then, add the following to the created page.

<script setup>


import { computed } from 'vue';

import GuestLayout from '@/Layouts/GuestLayout.vue';

import PrimaryButton from '@/Components/PrimaryButton.vue';

import TextInput from '@/Components/TextInput.vue';

import { Head, Link, useForm } from '@inertiajs/vue3';


const props = defineProps({

    status: {

        type: String,

    },

});


const form = useForm({

    'code':''

});


const submit = () => {

    form.post(route('phone.verify.code'),

    {

        onFinish: () => form.reset('password'),

    });

};


const verificationLinkSent = computed(() => props.status === 'verification-link-sent');

</script>


<template>

    <GuestLayout>

        <Head title="Phone Verification" />

        <div class="mb-4 text-sm text-gray-600">

            Verify your phone number to continue!

        </div>

        <div

            v-if="$page.props.flash.message"

            class="p-4 mb-4 text-sm text-green-700 bg-green-100 rounded-lg dark:bg-green-200 dark:text-green-800"

            role="alert"

        >

            <span class="font-medium">

                {{ $page.props.flash.message }}

            </span>

        </div>

        <form @submit.prevent="submit">

            <div>

                <InputLabel for="code" value="code" />

                <TextInput

                    id="code"

                    type="text"

                    class="mt-1 block w-full"

                    v-model="form.code"

                    required

                    autofocus

                    placeholder="Enter otp"

                />

                <InputError class="mt-2" :message="form.errors.code" />

            </div>


            <div class="mt-4 flex items-center justify-between">

                <PrimaryButton :class="{ 'opacity-25': form.processing }" :disabled="form.processing">

                Verification Code

                </PrimaryButton>

                <div class="flex gap-1">

                    <Link

                    :href="route('phone.verify')"

                    method="post"

                    as="button"

                    class="underline text-sm text-gray-600 hover:text-gray-900 rounded-md focus:outline-none focus:ring-2 focus:ring-offset-2 focus:ring-indigo-500"

                    >Resend code</Link

                    >

                    <Link

                        :href="route('logout')"

                        method="post"

                        as="button"

                        class="underline text-sm text-gray-600 hover:text-gray-900 rounded-md focus:outline-none focus:ring-2 focus:ring-offset-2 focus:ring-indigo-500"

                        >Log Out</Link

                    >

                </div>

            </div>

        </form>

    </GuestLayout>

</template>

Add Flash Message support

Let's add a little configuration here to enable the form above to display a flash message once the OTP is sent. Inertia.js flash message configuration is done in app/Http/Middleware/HandleInertiaRequests file. Replace the share() method in that file with the code below.

public function share(Request $request): array
{
    return [
        ...parent::share($request),
        'auth' => [
            'user' => $request->user(),
        ],
        'flash' => [
            'message' => session('message')
        ]
    ];
}

The next thing is to create route links for displaying this page and verifying the code. To do that, add the following to the routes/web.php file.

Route::middleware(['auth'])->group(function () {
    Route::get('verify-phone', [\App\Http\Controllers\TwoFactorAuthenticationController::class, 'index'])->name('phone.verify');
    Route::post('verify-code', [\App\Http\Controllers\TwoFactorAuthenticationController::class, 'verifyCode'])->name('phone.verify.code');
});

Add the ability to send an OTP

To send our OTP and display the verification page, we need to call the sendVerificationToken() method in our TwoFactorAuthenticationTrait.php file which we created earlier.

It is common to have the OTP page display right after a user logs in with email. To follow that convention, we need to call the sendVerificationToken() method right after a user logs in. Our login logic can be found in app/Http/Controllers/AuthenticatedSessionController.php file. Let's modify the file's content like so.

<?php

namespace App\Http\Controllers\Auth;

use App\Http\Controllers\Controller;
use App\Http\Requests\Auth\LoginRequest;
use App\Http\Traits\TwoFactorAuthenticationTrait;
use Illuminate\Http\RedirectResponse;
use Illuminate\Http\Request;
use Illuminate\Support\Facades\Auth;
use Illuminate\Support\Facades\Route;
use Inertia\Inertia;
use Inertia\Response;

class AuthenticatedSessionController extends Controller
{
    use TwoFactorAuthenticationTrait;
    
    /**
     * Display the login view.
     */
    public function create(): Response
    {
        return Inertia::render('Auth/Login', [
            'canResetPassword' => Route::has('password.request'),
            'status' => session('status'),
        ]);
    }
    
    /**
     * Handle an incoming authentication request.
     */
    public function store(LoginRequest $request): RedirectResponse
    {
        $request->authenticate();
        $request->session()->regenerate();
        return $this->sendVerificationToken(auth()->user()->phone);
    }
    
    /**
     * Destroy an authenticated session.
     */
    public function destroy(Request $request): RedirectResponse
    {
        Auth::guard('web')->logout();
        $request->session()->invalidate();
        $request->session()->regenerateToken();
        return redirect('/');
    }
}

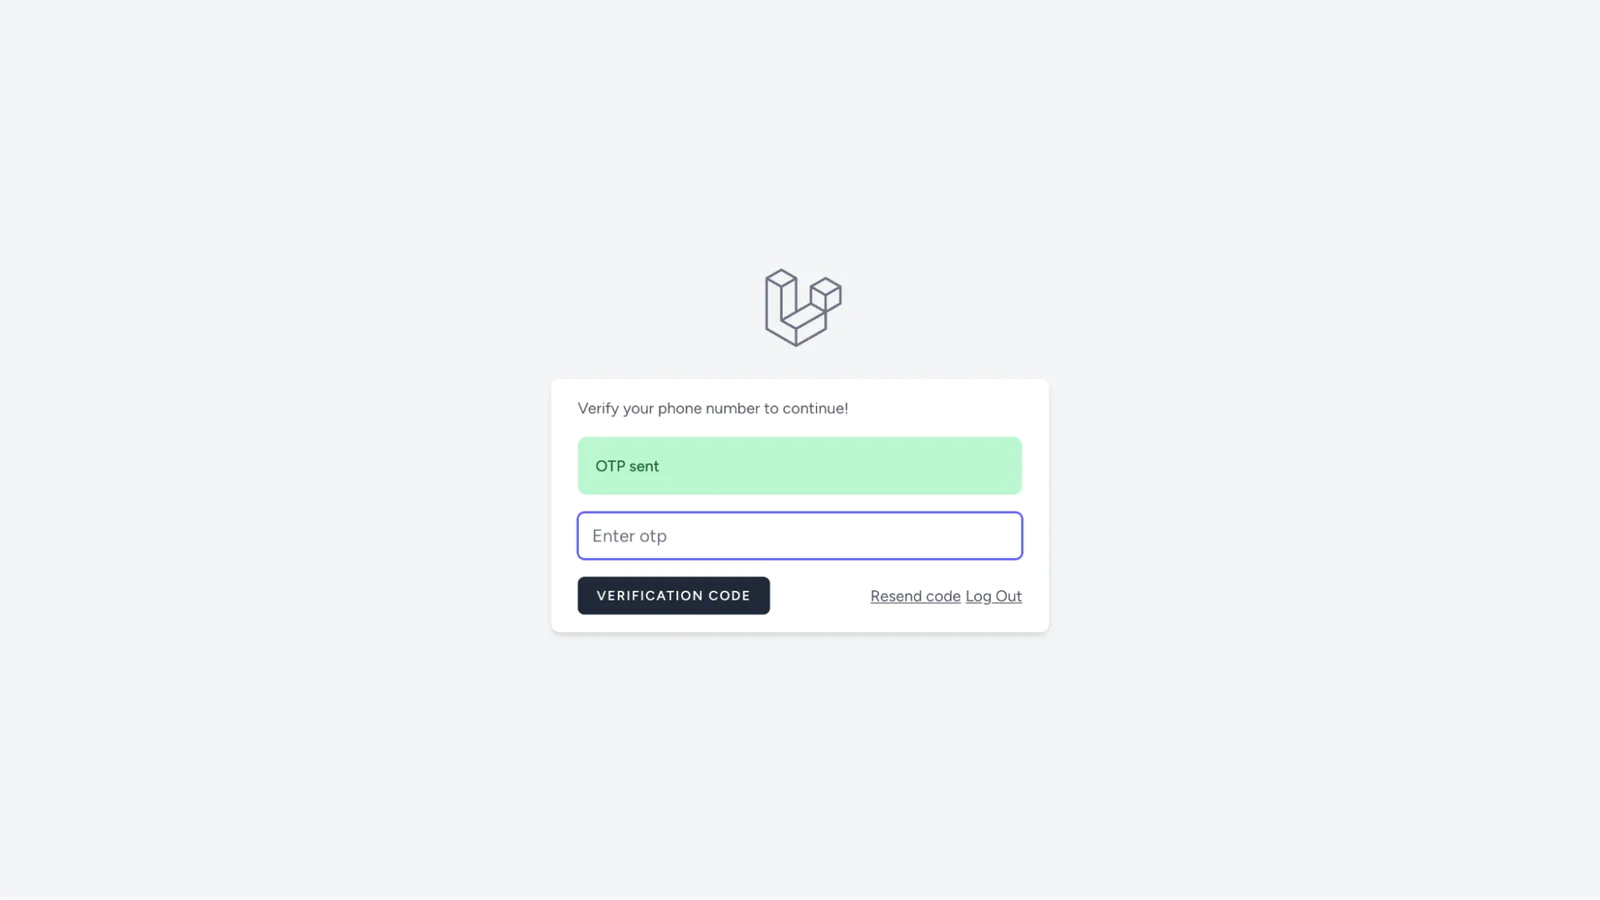
At this point, a user will be redirected to the verification page right after login, receive an OTP on their registered phone number, and be able to verify the code using the verification form. The OTP verification page should look like the image below.

Add security middleware

Our application is almost done. Let's add a middleware to prevent access to other pages without entering the OTP code. This will redirect a user back to the verification page as long as they are not verified. 

To achieve this, we will use the Session helper function in Laravel. Let's create our middleware using the command below.

php artisan make:middleware TwoFactorAuthenticationMiddleware

Then, replace the content of the new file (app/Http/Middleware/TwoFactorAuthenticationMiddleware.php) with the code below.

<?php

namespace App\Http\Middleware;

use Closure;
use Illuminate\Http\Request;
use Symfony\Component\HttpFoundation\Response;

class TwoFactorAuthenticationMiddleware
{
    /**
     * Handle an incoming request.
     *
     * @param  \Closure(\Illuminate\Http\Request): (\Symfony\Component\HttpFoundation\Response)  $next
     */
    public function handle(Request $request, Closure $next): Response
    {
        if ($request->session()->get('phoneVerified') === "pending") {
            return redirect()->route('phone.verify');
        }
        return $next($request);
    }
}

Here, we simply check the session value for phoneVerified. If it's set to pending, it means the user's phone has not been verified and it should redirect the user to the phone.verify route. The session value is either pending or approved. This value is then retrieved from the Twilio Verify API response. The session is updated in the TwoFactorAuthenticationTrait.php file as we mentioned earlier.

Register Middleware

The next step is to register the middleware in our application Kernel.php file. In app/Http/Kernel.php, add the code below to the protected $middlewareAliases array.

protected $middlewareAliases = [
    'auth' => \App\Http\Middleware\Authenticate::class,
    'auth.basic' => \Illuminate\Auth\Middleware\AuthenticateWithBasicAuth::class,
    'auth.session' => \Illuminate\Session\Middleware\AuthenticateSession::class,
    'cache.headers' => \Illuminate\Http\Middleware\SetCacheHeaders::class,
    'can' => \Illuminate\Auth\Middleware\Authorize::class,
    'guest' => \App\Http\Middleware\RedirectIfAuthenticated::class,
    'password.confirm' => \Illuminate\Auth\Middleware\RequirePassword::class,
    'precognitive' => \Illuminate\Foundation\Http\Middleware\HandlePrecognitiveRequests::class,
    'signed' => \App\Http\Middleware\ValidateSignature::class,
    'throttle' => \Illuminate\Routing\Middleware\ThrottleRequests::class,
    'verified' => \Illuminate\Auth\Middleware\EnsureEmailIsVerified::class,
    'phone.verify' => \App\Http\Middleware\TwoFactorAuthenticationMiddleware::class,
];

Add middleware to routes

One last thing we need to do is to add this middleware to every relevant route in the application. Replace the content of routes/web.php with the code below.

<?php

use App\Http\Controllers\ProfileController;
use App\Http\Controllers\TwoFactorAuthenticationController;
use Illuminate\Foundation\Application;
use Illuminate\Support\Facades\Route;
use Inertia\Inertia;

Route::get('/', function () {
    return Inertia::render('Welcome', [
        'canLogin' => Route::has('login'),
        'canRegister' => Route::has('register'),
        'laravelVersion' => Application::VERSION,
        'phpVersion' => PHP_VERSION,
    ]);
});

Route::get('/dashboard', function () {
    return Inertia::render('Dashboard');
})->middleware(['auth', 'verified', 'phone.verify'])->name('dashboard');

Route::middleware('auth', 'phone.verify')->group(function () {
    Route::get('/profile', [ProfileController::class, 'edit'])->name('profile.edit');
    Route::patch('/profile', [ProfileController::class, 'update'])->name('profile.update');
    Route::delete('/profile', [ProfileController::class, 'destroy'])->name('profile.destroy');
});

Route::middleware(['auth'])->group(function () {
    Route::get('verify-phone', [TwoFactorAuthenticationController::class, 'index'])->name('phone.verify');
    Route::post('verify-code', [TwoFactorAuthenticationController::class, 'verifyCode'])->name('phone.verify.code');
});

require __DIR__ . '/auth.php';

Test Our Application 

Now we can test the application. When a user logs in, the user will be redirected to the OTP verification page. The OTP verification page should look like the image below.

Once the correct code is entered, the user will be redirected to the dashboard. If a wrong code is entered, the middleware prevents the user from accessing the dashboard. The short video below also demonstrates how the application works.

That's how to enhance Laravel security with Two-Factor Authentication using Inertia.js

In this tutorial, we walked through the process of implementing Two-Factor verification into a Laravel application using Laravel Breeze for the authentication scaffolding and the Twilio Verify API. 

We walked through the process by:

  • Scaffolding authentication in a Laravel application using Laravel Breeze, Inertial.js, and Vue.Js

  • Inject an OTP system into our authentication flow using Twilio Verify API 

  • Create a middleware to restrict access to the dashboard until a given phone number is verified.

The importance of Two-factor verification cannot be over-emphasized.  This article can be helpful even if you have an authentication system implemented from scratch. I encourage you to experiment with the code as much as you can. 

You can find the complete code on GitHub.

Moses Anumadu is a software developer and online educator who loves to write clean, maintainable code. I create technical content for technical audiences. You can find me here.