How to Upgrade Video Chat Application from Twilio to Zoom with Svelte and Go
Time to read:
How to Upgrade Video Chat Application from Twilio to Zoom with Svelte and Go
Hey there, great to have you again. A while back, I showed you how you can use Svelte and Go to build a video chat application with Twilio Video. However, Twilio Video is being discontinued, with End of Life (EOL) expected on December 5, 2024. Given that, current customers are being advised to migrate to Zoom Video SDK.
So, in this tutorial, I will walk you through the migration process, using the previous tutorial as a point of reference. At the end of this tutorial, you will have the same application, albeit with updated dependencies — and a video service with long term support.
Prerequisites
To follow this tutorial, you will need the following:
- A Zoom Video SDK account
- A basic understanding of Go and Svelte
- Go 1.22 or above
- npm; your Node version should be greater than 16.0
- Git
To get started, download a zip file with the previous application.
Upgrade the backend
The first step in the upgrade process is to update the environment variables, replacing the Twilio credentials with Zoom credentials. In the backend folder, create a new file named .env.local and add the following to it.
To get your Zoom credentials, go to the Zoom App Marketplace, sign in with your Video SDK account, hover over Develop, and click Build Video SDK.


Then, scroll down to the SDK credentials section to see your SDK key and secret.


Then, update your .env.local file with the SDK Key and SDK Secret keys copied from the console.
After that, remove the Twilio Go Helper Library by running the following commands.
Like Twilio Video, Zoom’s Video SDK works with a JWT, which also has to be generated on the backend. To generate it, you will use the jwt-go package. Install it by running the following command.
Next, update the code in helper/token.go to match the following:
There are two key changes in this new version of the code. First, the JWT generation is handled by go-jwt instead of twilio-go. Second, the user identity is returned in addition to the signed JWT. This is because you will need the identity on the frontend to join a video session.
Now, in main.go, in the project's top-level directory, update the roomHandler() function to match the following code.
Since the GenerateToken() function now returns two values, an extra variable is added for the user identity. This is added to the response for use on the frontend.
And…that’s it for the backend! It's now up to date. So, start it by running the following command:
Update the frontend
Next, in a new terminal tab or session, head over to the frontend folder, in the project's top-level directory, to finish up.
Let's start with a bit of housekeeping. Migrate your code to the latest Svelte version with the following command:
Press the (y) key to proceed if you get the following message.
You will be asked a further series of questions, which you should answer as shown below.
Now, remove the twilio-video package by running the following command:
Then, install the Zoom Video Toolkit using the following command:
Next, update the code in src/Helper.js, to match the following.
The revised connectToRoom() function replaces the previous implementation with the Zoom implementation. An extra parameter named sessionClosedHandler is added. This is a callback function used to update the application when the Zoom session ends. Also, the notify() function is enhanced to display error notifications and not just success notifications.
The last thing you need to do is update the <script> tag in the src/App.svelte component to match the following:
Here, you made four changes:
Add the CSS import for the Zoom UI toolkit
Add a new function named
leaveSessionHandler(), which resets the value ofhasJoinedRoomto false — allowing the user to join another sessionAdd
leaveSessionHandleras the third parameter to theconnectToRoom()functionIn the event of an error when connecting to the room, the
notify()function is used to display an error message
And that’s it for the frontend! Run the frontend using the following command.
Test the upgraded application
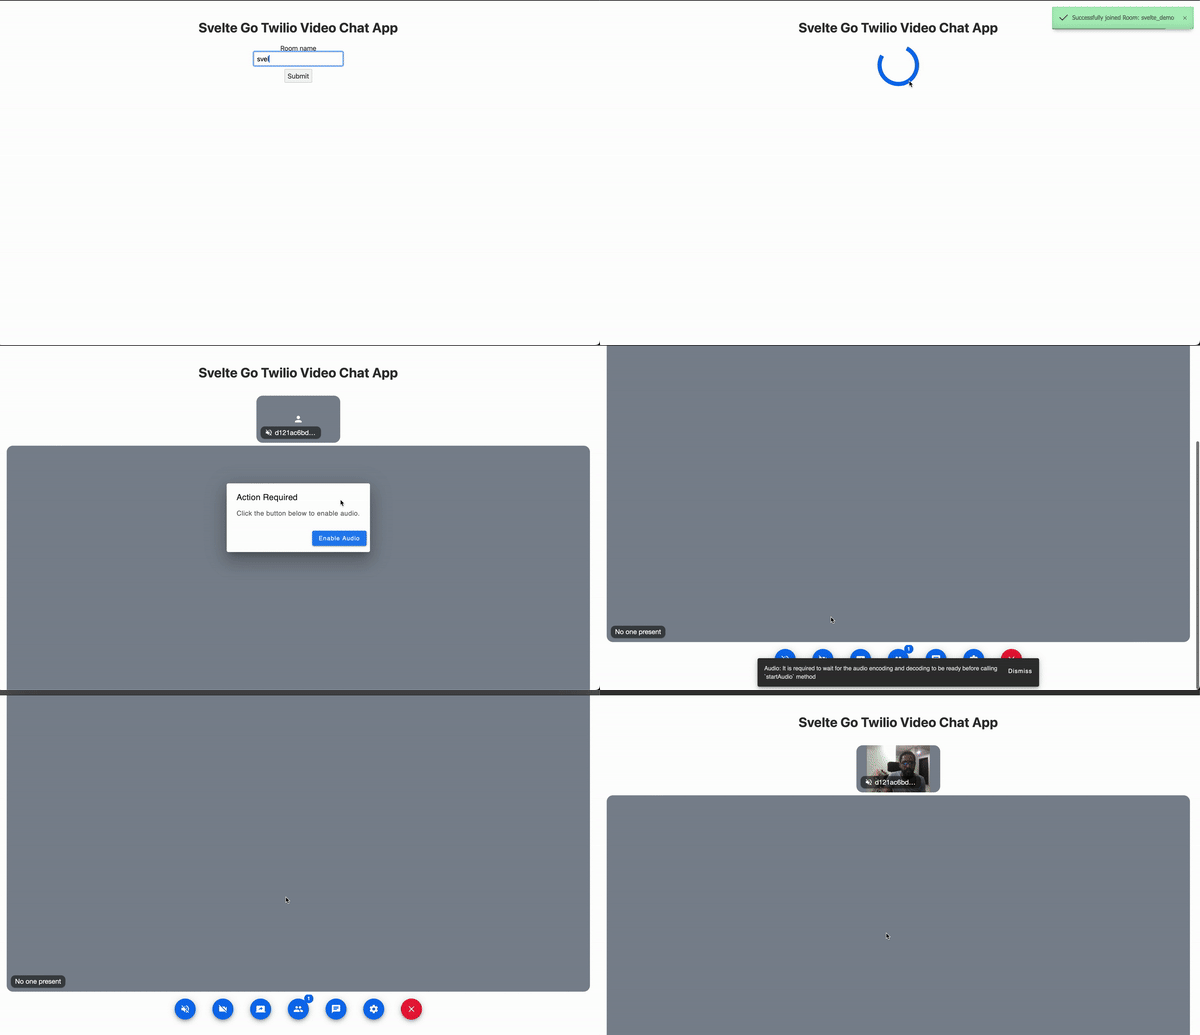
By default, the application will be running on port 8080. Opening it in your browser of choice, it should work similar to the recording below.


The app is now upgraded
There you have it. You’ve successfully upgraded from Twilio to Zoom Video in your Svelte/Golang application. Because of their similar APIs, you were able to transition seamlessly from Twilio Video to Zoom Video — only having to change the code for JWT generation.
You can review the final codebase for this article on GitHub, should you get stuck at any point. I’m excited to see what else you come up with. Until next time, make peace not war ✌🏾
Joseph Udonsak is a software engineer with a passion for solving challenges — be it building applications, or conquering new frontiers on Candy Crush. When he’s not staring at his screens, he enjoys a cold beer and laughs with his family and friends. Find him at LinkedIn, Medium, and Dev.to.
Related Posts
Related Resources
Twilio Docs
From APIs to SDKs to sample apps
API reference documentation, SDKs, helper libraries, quickstarts, and tutorials for your language and platform.
Resource Center
The latest ebooks, industry reports, and webinars
Learn from customer engagement experts to improve your own communication.
Ahoy
Twilio's developer community hub
Best practices, code samples, and inspiration to build communications and digital engagement experiences.


