Symfony 3 and FOS User Bundle: Customizing Users
Time to read:
September 06, 2017
Written by
This post is part of Twilio’s archive and may contain outdated information. We’re always building something new, so be sure to check out our latest posts for the most up-to-date insights.
User handling is a fundamental part of a ton of web projects. This post will walk through how to customize Friends of Symfony (FOS) User attributes and forms in a Symfony 3 project.
By default FOS Users only have username, email, and password attributes. If you want to add more information like an address or phone number to your users there are several steps you’ll need to take which are described here.
The FOS User bundle also comes with some handy forms for user registration, login, and profile editing. These forms do not contain any styling information, and will not automatically incorporate any custom attributes you add to the User entity. How to overcome these obstacles is also detailed here.
Assumptions
This post will assume you have already set up some things:
- LEMP or equivalent development environment with
- global install of Composer
- Symfony 3 Project with FOS user bundle installed and setup
Expanding the User Entity
Open up src/AppBundle/Entity/User.php. The @ORM annotations tell Symfony’s default ORM, Doctrine, how to update the schema the database is built from.
Define a new class attribute, phoneNumber, including @ORM annotations to inform the database schema. Add Validator/Constraints to the use statements to define form validation using annotations as well.
Symfony validation groups allow different subsets of attributes in a class to be validated by passing the name of a group as an option to the form validator. Only attributes in the group passed to the validator will have their validation assertions checked.
The FOS User we’re extending has placed attributes into the validation groups: Registration, Profile, ResetPassword, and ChangePassword. Only the password fields need to be validated when resetting or changing the password, so phoneNumber is only assigned to the Registration and Profile validation groups.
Create Getters and Setters
Later when creating and updating Users, you will need to be able to access the phoneNumber attribute and any others we create in future. The User class will need public methods called “getters and setters”.
These methods are easy enough to type out, but it can become tedious and many IDEs will have a built in way to generate them. For example, in PHPStorm you would place your cursor in your User class after the __construct method, then from the Code menu select Generate, and then choose “Getters and Setters” from the menu that appears.
This is what your getter and setter will look like for the phoneNumber attribute:
Update the Schema
The additional attribute we’ve added will need to have a corresponding structure in our database. To have Doctrine generate table structures based on ORM annotations, run the following command from your project root:
php bin/console doctrine:schema:update —force
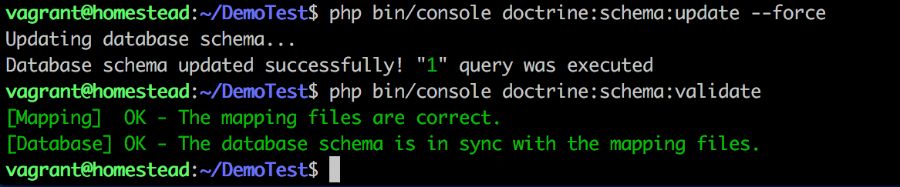
Doctrine provides another useful command which will both check your mapping for errors and also check your current database structure to see if it matches.
php bin/console doctrine:schema:validate
If you run the validate command after the update command, your console output should look something like this:
Using the mysql shell, SequelPro, PHPMyAdmin, or another database interface of your choice, you can visually confirm that the fos_user table in your project database now contains a phone_number column.
Update User Forms
The User class has been expanded, but the registration form, edit profile form, and the view profile page will not include our new phoneNumber attribute without some additional work.
Create New Form Types
In the src/AppBundle directory, create a new folder named Form. Create two new php files in your new directory: RegistrationType.php and ProfileType.php containing a RegistrationType class and ProfileType class respectively.
Both of these new classes will be in the AppBundle namespace, extend AbstractType, and implement the methods: buildForm(), getParent(), and getBlockPrefix().
Here’s what your RegistrationType will look like when complete:
Notice how it adds phoneNumber to the FormBuilderInterface instance in buildForm().
ProfileType will be almost the same, except the class name will change, getParent() will return FOSUserBundleFormTypeProfileFormType, and getBlockPrefix() will return app_user_profile.
Update Config
To make use of the new form types you will need to add information on them to your configuration files.
Add the following under “services:” in app/config/services.yml:
In app/config/config.yml you’ll need to add registration and profile config to the end of your existing fos_user config. Once added, the whole fos_user config should look like this:
Override Templates
You’ve added the new phoneNumber attribute to the registration and edit profile forms, but it still will not appear when viewing a user’s profile.
Additionally, all the FOS User bundle forms are completely unstyled and thus are not ready to mesh with the rest of the project.
These issues are fixable using Symfony’s handy bundle template overriding and Twig template inheritance.
Create a base template.
Open up app/Resources/views/base.html.twig – the default base template for your project. The blocks defined in this template can be overridden by other twig files which extend this one, so this is a great place to put things like styles and javascript that you want to be universal to all pages in your project.
Add some content to the stylesheets block:
This brings in some basic style options from bootstrap and adds one small custom class style for use later.
Add some content to the javascripts block. This brings in some bootstrap javascript that works with bootstrap styles:
Now these styling options will be available in any twig template which starts with:
To add styles to forms automatically, open app/config/config.yml and add the form_themes option to the existing twig config:
Create overriding templates directory structure.
Incorporating third party bundles into a Symfony project is a great way to add functionality without reinventing the wheel. Visually, it’s still important for a project to present as a cohesive set of pages, and not a hodge podge of stitched together components.
This can be accomplished by leveraging Symfony’s option to override bundle templates.
To override any or all of a bundle’s templates in Symfony, create a directory inside your project’s app/Resources directory with the same name as the bundle’s main classname.
If any files and folders inside the new directory match those in the bundle’s Resources directory, the new files will be used instead of the bundle’s version.
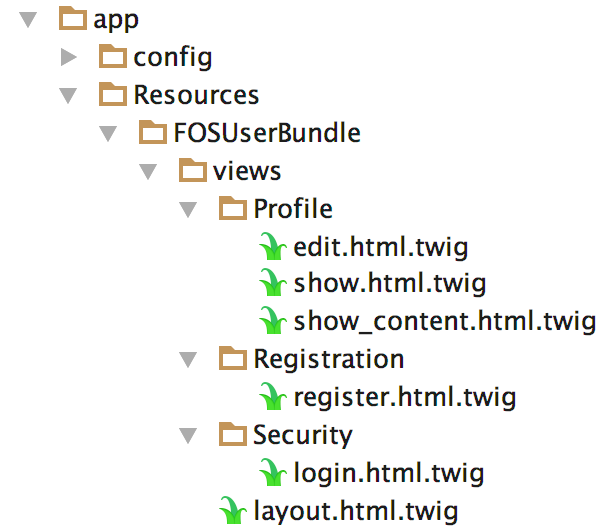
So that you can modify the existing FOS User bundle template content rather than starting from scratch, create the following directories and copy the FOS User bundle templates ( vendor/friendsofsymfony/user-bundle/Resources/views) we want to modify into them:
create app/Resources/FOSUserBundle/views
- place a copy of layout.html.twig into the new directory
create app/Resources/FOSUserBundle/views/Profile
- place a copy of Profile/edit.html.twig into the new directory
- place a copy of Profile/show.html.twig into the new directory
- place a copy of Profile/show_content.html.twig into the new directory
create app/Resources/FOSUserBundle/views/Registration
- place a copy of Registration/register.html.twig into the new directory
create app/Resources/FOSUserBundle/views/Security
- place a copy of Security/login.html.twig into the new directory
Once the targeted vendor files have been copied into the new folders, your directory structure will look like this:
Merge the base and layout templates.
From app/Resources open up the base project template, views/base.html.twig, and the base FOS User template, FOSUserBundle/views/layout.html.twig.
There are several pieces of layout.html.twig that we might want to have throughout our site. Moving them into base.html.twig accomplishes this.
FOS User bundle’s layout includes conditional authentication text and links at the top of each FOS User bundle page. To make that content part of every project page, just inside base.html.twig’s body block, create a navbar component that contains the conditional login / logout options and greeting:
Then remove that content from layout.html.twig
After the new navbar, create a div with the “jumbotron” class you customized earlier. Inside the new div, add new “name” and “content” Twig blocks. Between those tags, copy in the messaging content from layout.html.twig
Delete that messaging content from layout.html.twig
Now that the dynamic content from layout.html.twig has been moved into the project’s base template, all it needs to do is extend that base template and state where to place the fos_user_content block. After all the other content has been removed, your template will look like this:
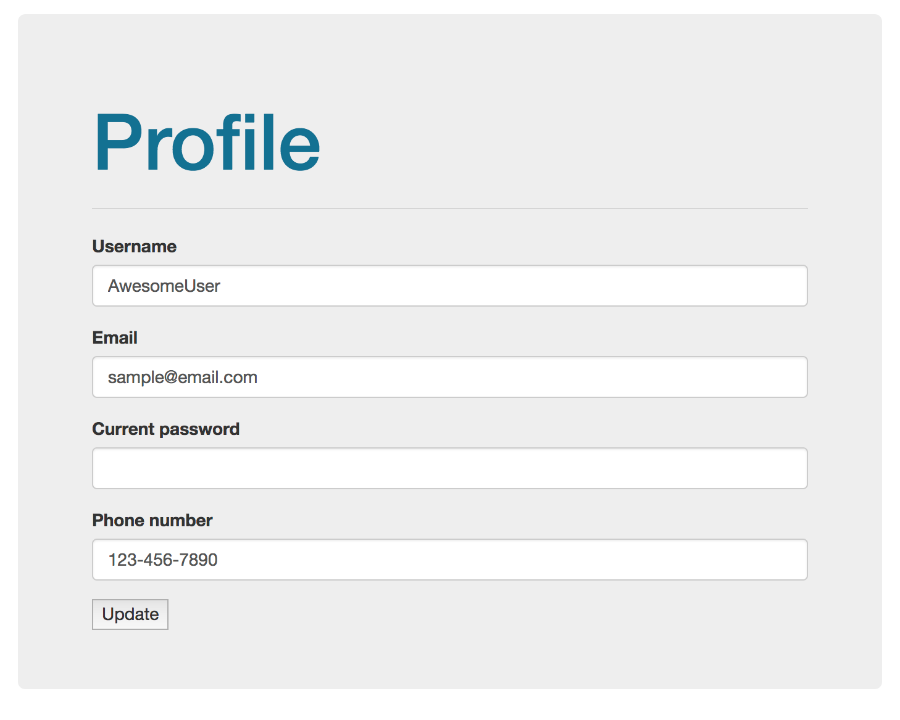
Update the Profile
Symfony’s Twig templates allow for multi level inheritance. Use this to create a profile.html.twig which fills in the name block we created earlier:
Open up
Profile/edit.html.twig and
Profile/show.html.twig and update them, replacing the current
extends tags with:
{% extends "@FOSUser/Profile/profile.html.twig" %}
Open up Profile/show_content.html.twig and add a line to display the new phoneNumber:
Registration and Security
Open up
Registration/register.html.twig and
Security/login.html.twig
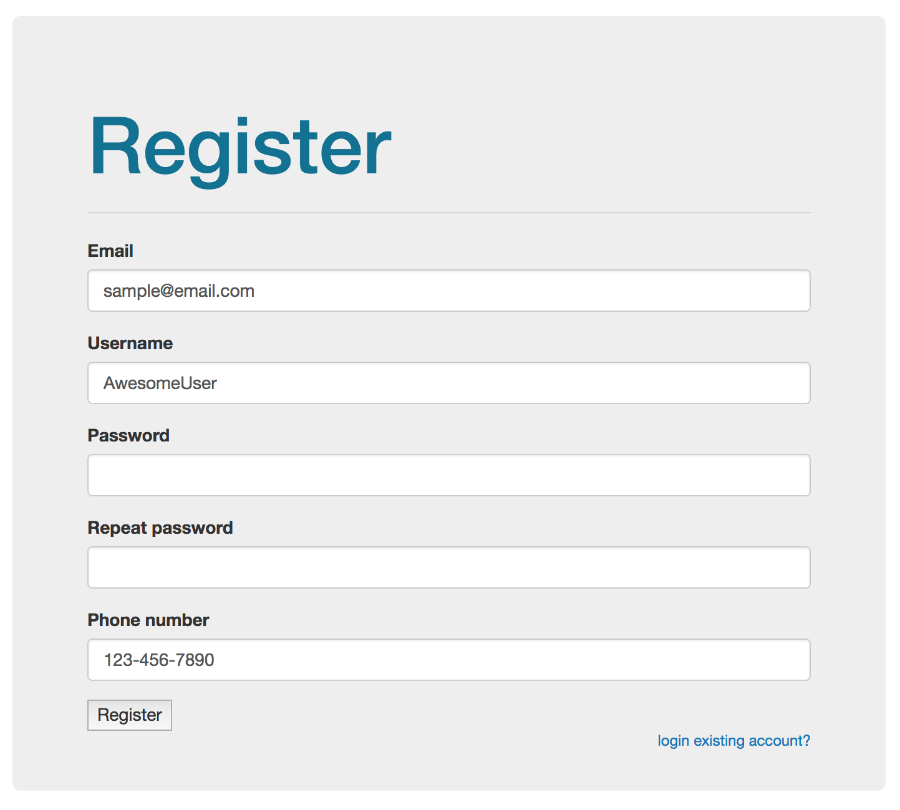
Add and fill in the name block for each. Add a link under their included content so that a user can easily switch between the register and login forms.
The final register.html.twig will look something like:
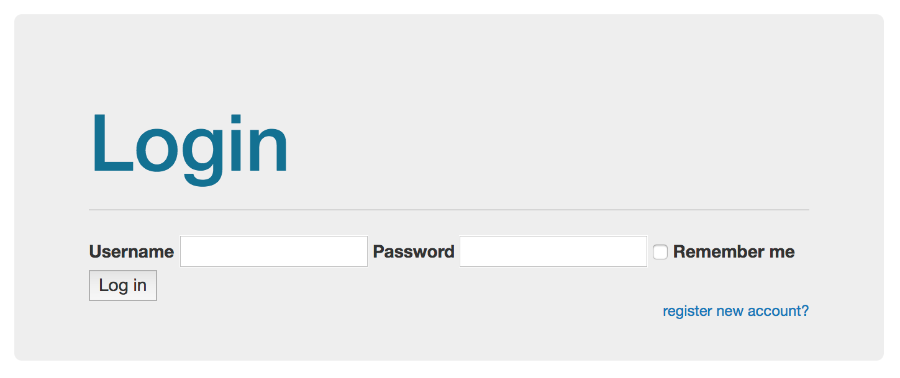
The final login.html.twig will look something like:
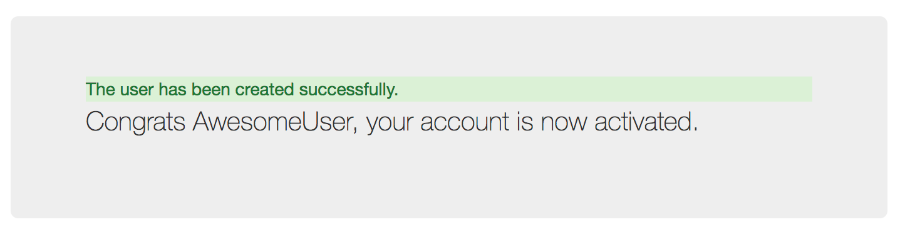
Success!
Congratulations, you now have a functional, if content-free, Symfony 3 application! Check out the registration process and navbar access to login, logout, and edit profile:
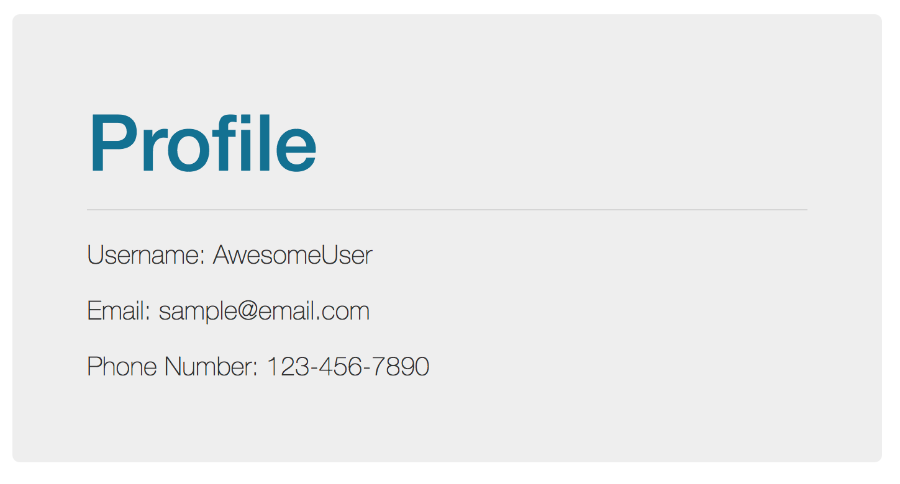
Now you have custom Users! Above we expanded FOS User bundle User and forms, created a simple universal style for the project, then overrode FOS User templates to modify their content and look to match.
Using the same techniques you practiced here, you will be able to add attributes to FOS User bundle Users to suit your project’s needs, and incorporate FOS User forms and pages into any Twig templated project.
Are you building something awesome for users with Symfony? Have suggestions for Symfony howtos you’d like to see? I want to hear about it!
- Email: mstaples@twilio.com
- Twitter: @dead_lugosi
- Github: mstaples
Related Resources
Twilio Docs
From APIs to SDKs to sample apps
API reference documentation, SDKs, helper libraries, quickstarts, and tutorials for your language and platform.
Resource Center
The latest ebooks, industry reports, and webinars
Learn from customer engagement experts to improve your own communication.
Ahoy
Twilio's developer community hub
Best practices, code samples, and inspiration to build communications and digital engagement experiences.