Two-Factor Authentication with Authy, Crystal, and Amber
Time to read:
May 07, 2020
Written by
Reviewed by

Crystal is a powerful up-and-coming language which boasts a Ruby-like syntax but with the speed of C. You may have seen a few Crystal posts on the Twilio blog before written by Twilio’s own Phil Nash.

This blog post will cover how to secure a Crystal web application by adding two-factor authentication (2FA) using Authy. The finished source code can be found on GitHub.
Crystal is a newer language which is evolving quickly, so it's important to note that the code in this post is on Crystal version 0.34.0 and Amber version 0.34.0.
Setting Up
The first step before diving into this post is to install/understand a few things:
- Crystal
- Amber Framework - Several Crystal web frameworks are starting to pop up. This post will focus on Amber. Amber’s goal is to make building Crystal web applications fast, simple, and enjoyable.
- PostgreSQL - Amber supports Postgres, MySQL, and SQLite. This post will use Postgres. macOS users can run
brew install postgresqlto install. - MVC - Amber follows the typical model-view-controller design pattern. It's helpful to have a basic understanding of this when working with this framework.
Check that Crystal and Amber were both successfully installed by running crystal -v and amber -v respectively in a terminal.
After installing Postgres, ensure that it’s running locally with this command:
If an error regarding a missing Postgres user occurs, it can be fixed with the createuser command (source):
Replace the last argument in the command above with the desired username.
Finally, log into Twilio and navigate to the Authy Console. Create a new Authy application and make note of the Production API Key, which will be used in the next section.

Getting Started With Amber
Although Amber is a relatively young framework it comes with a ton of helpful boilerplate and a powerful CLI. This saves work later on when setting up users and authentication.
First, configure the amber environment by setting the AMBER_ENV environment variable to development. This can be done either by running export AMBER_ENV=development in a terminal or just adding AMBER_ENV=development to your bashrc/bash_profile.
Next, generate a new project via the Amber CLI and cd into it. The project can be given any name but this post will use "authy-example":
Amber must be configured with a few custom settings so that the app can use Twilio credentials. Open the config/environments/development.yml file and add the Authy Production API Key generated in the previous section:
IMPORTANT: Make sure that this file is not committed to any public source control applications, such as GitHub, so that your Twilio/Authy credentials are not exposed publicly.
Adding User Support
In its current state this app doesn't do anything more than serve static assets like HTML files. It's time to add some additional functionality for the user to interact with.
Since the goal of this post is to showcase 2FA, there needs to be some concept of a user account that can be logged into.
Start by creating a development database which will be used to persist data within the app:
This will create a new Postgres database with the naming convention of app name + Amber env (authy_example_development in this case).
Then run the following command to automatically generate models, views, and controllers while also running the necessary migration to create/edit Users needed to sign into the app:
That's all there is to it! The code generated by the previous command will be altered throughout the rest of this post to support 2FA.

Running an Amber App
Now is a good opportunity to play around with the app in its current state before proceeding to the Authy portion of this post.
Amber apps can be started via the amber watch command.
Note: There may be an error similar to Unhandled exception: (no message) (DB::ConnectionRefused) don’t panic. This occurs because the watch command also runs any tests in the /spec directory when spinning up the app, and the amber db create command from earlier did not automatically create a test DB. This error can be ignored or silenced by connecting to Postgres with the psql command and running CREATE DATABASE authy-example-test.
Amber will watch for changes to any of the project's files (similar to tools like Node's nodemon) so the application can be left running through the rest of this post.
Once the app is running, navigate to localhost:3000 in a web browser and try creating and signing in/out of users.
Adding Authy Support
In order to expand this application to support 2FA we need to modify the login workflow generated above and add a few new functions to reach the Authy API. This involves the following steps:
- Update the User model to support the fields necessary for 2FA.
- Add additional form inputs to the user view.
- Create helper functions to hit the necessary Authy API endpoints.
- Add a
/verifyendpoint that validates the Authy 2FA code sent to the user.

Update the User Model
The User model needs to be updated to account the additional fields needed for 2FA. Open authy-example/src/models/user.cr and add the following three columns:
The trailing ? signifies that the field is optional. The phone_number and country_code fields need to be optional for now because any previously created users would raise Nil field errors since they were created before those fields existed.
Now that the model has the necessary fields, a migration is required so that the Users table in the Postgres database accurately reflects the model. Amber uses a tool called micrate to handle migrations. Generate a new migration with the following command:
The command above will create a file with a timestamp followed by _alter_user.sql in the db/migrations/ directory. Open this file and add the following:
Run this new migration using the same command from earlier:
Adding Authy Fields to the User View
The next step is to update to sign up flow so that it accepts the new fields added to the User model. Open src/views/user/new.slang and add the following two inputs:
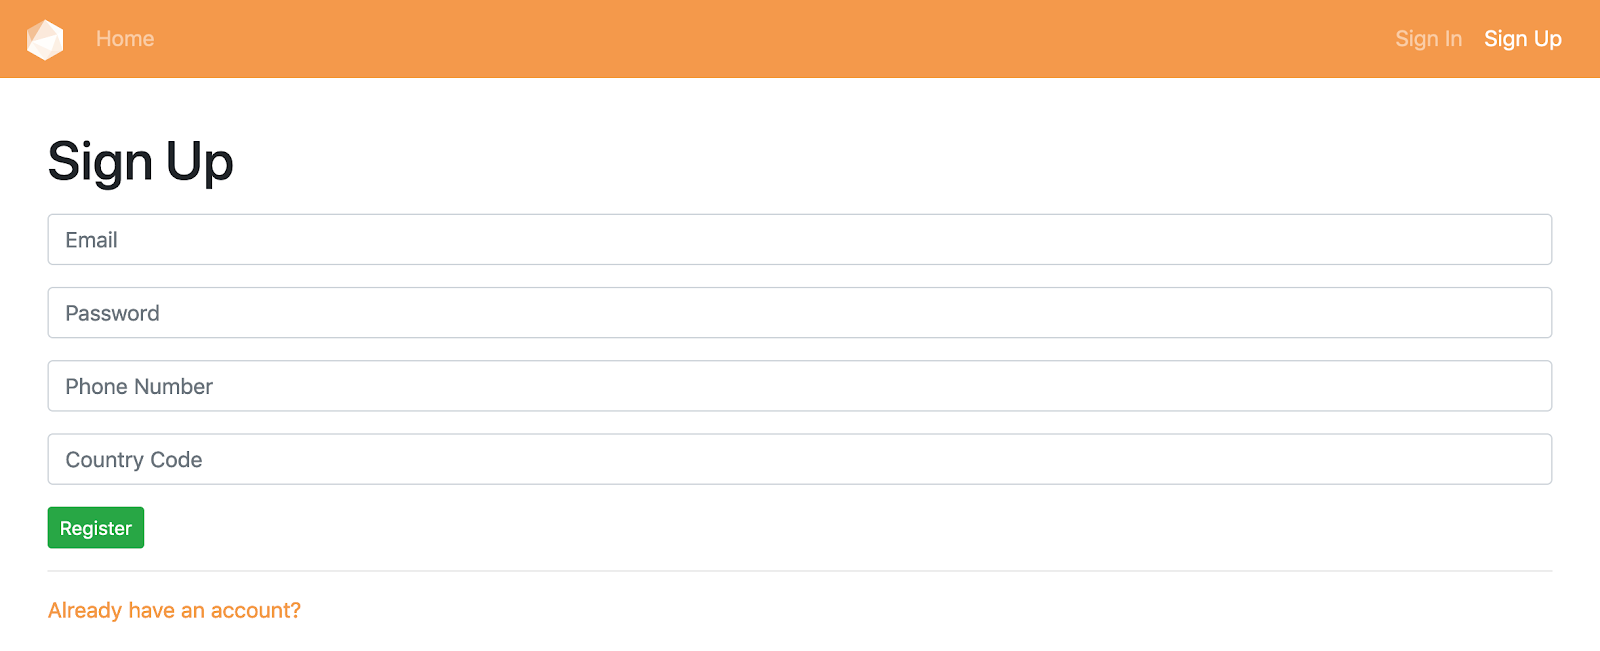
It won't win any design awards, but it works.
Making Authy API Requests
Since Crystal is a newer language with a smaller community than languages like Python or JavaScript, there is not currently an official Twilio helper library for Crystal. Fortunately, this is not a problem because Twilio's REST API supports all the necessary Authy interactions. These endpoints will be reached using Crystal’s native HTTP library.
Create a new directory called src/helpers and add a new file to it at src/helpers/authy.cr. Add the following three functions to this file:
The functions above may seem like a lot for Crystal newcomers, but there's nothing too crazy going on in them:
create_authy_usercreates a new Authy user and returns its ID.send_OTPsends the user a one-time password using their Authy ID.verify_authy_tokenverifies the one-time password that the user submits.
The next section will make use of all these new functions.
Adding the /verify Endpoint and Hitting Authy
This last section is the most involved and it's best to break it down into a few smaller steps. In order to add a new endpoint to the application, a number of files need to be created/updated. More specifically:
- New routes must be added to handle GET and POST requests to the new endpoint.
- The user controller needs additional logic and a proper redirect.
- A new controller and view are needed so that the user can submit the 2FA code.
- The session controller needs a redirect to the new view.
Start by opening /config/routes.cr, which is used to determine how to handle incoming requests, and adding new routes to handle GET and POST requests to /verify:
The two lines above are telling the application that GET requests to /verify should be handled by the verify method in the UserController controller and POST requests should be handled by the verify method in the VerifyController. Currently, the UserController has no verify method and the VerifyController doesn't even exist yet. Now is a good time to create those.
Open src/controllers/user_controller.cr and add/modify the following:
Additionally, replace the entire create method with the one below
The code above updates how user objects are created so that the phone_number and country_code fields are set if they are passed in on the form.
Last, replace the user_params method with the one below, which includes the two new fields sent from the form:
The next step is to add the VerifyController that the new /verify route is expecting. Create a new file in src/controllers/verify_controller.cr and add the following:
The controller above will be used to validate the users 2FA code by calling the verify_authy_token helper function that was created earlier. If the 2FA code is valid then a session is created with the user's ID and with is_verified set to true.
Note: The reason that tmp_user_id is used here is because the SessionController is already using a variable named user_id to determine if a user is signed in. Without the distinction of tmp_user_id the app would consider the user to be logged in before they have entered a 2FA code, which is incorrect.
The fourth step of this section is to add the view for the user to enter their 2FA code after they login/register. Create a new file in src/views/user/verify.slang and add the following:
The form above contains one input named authy_token. Upon form submit that value is sent as a query parameter to the VerifyController that was created just before this step.
Now that the view (verify.slang) and controller (verify_controller.cr) are in place there needs to be a way to reach them. This will be done via a redirect in the existing session controller. Open src/controllers/session_controller.cr and replace it all with the code below:
The controller above will be hit whenever the user attempts to log in. It starts by authenticating the username and password and then checks if that user has a phone number and country code configured on their account. If they do not, it will simply create a session but with is_verified set to false. Otherwise, it will call the send_OTP helper function and redirect to the new /verify endpoint to await 2FA verification.
Although not used anywhere in this example app, setting is_verified on the session demonstrates one method to ensure that the user can only take certain actions if they log in with 2FA, e.g. accessing a particular page or making changes to a particular model.
Testing the Finished App
With the Amber app running and a phone in hand the final step is to test the entire user creation and login flow.

Register a new user with a valid phone number and country code. The /verify page should load and Authy will send a push notification with the 2FA code. Remember that a phone number can only be associated with one Authy ID per app so it might be necessary to remove the user from the Authy Dashboard while testing in case something goes wrong.

Enter the 2FA code and it should redirect to the home page with the user now signed in and the Successfully logged in! flash message displayed.
Note: If a user does not have the Authy app installed on their phone then an SMS message will be sent instead of a push notification.
Congrats, your Amber application is now more secure thanks to two-factor authentication from Authy!
Additional Steps (Optional)

The goal of this post was to get a minimal working example of 2FA with Amber, but there are plenty of additional checks and features that can (and should) be built into this app.
If you wish to explore Amber further, consider implementing the following on your own:
- Store the number of login attempts on the session and add a redirect back to the verification page so the user can retry 2FA submission.
- Add unique constraints and validation for
phone_numberandcountry_codeto the registration page. - Allow users to change phone numbers on the
/profile/editpage and verify the new number with the existing Authy logic. - Add error handling for any Authy interactions.
Closing Thoughts

Amber comes with a lot of awesome features built-in and this blog post only really touches on authentication. If you found this framework exciting I encourage you to explore further and see what you can build!
Since Amber and Crystal are rapidly evolving, it may be tougher than usual to find answers/solutions if you get stuck. I found the Amber Gitter chat-room as well as the Crystal Gitter chat-room to be extremely responsive and encouraging. The Crystal community is very new but very approachable and I'm excited to continue working with it.
Thanks for reading! If you come across any issues or questions, please reach out to me on Twitter or GitHub.


Related Resources
Twilio Docs
From APIs to SDKs to sample apps
API reference documentation, SDKs, helper libraries, quickstarts, and tutorials for your language and platform.
Resource Center
The latest ebooks, industry reports, and webinars
Learn from customer engagement experts to improve your own communication.
Ahoy
Twilio's developer community hub
Best practices, code samples, and inspiration to build communications and digital engagement experiences.