Build a Custom Video Chat App with React and Twilio Programmable Video
Time to read:
December 07, 2020
Written by
Reviewed by

In this article you’re going to build a group video chat web app with React and Twilio Programmable Video. Video chat is a great way to keep in touch with your friends, family, and colleagues, and with this post you’ll learn the basics of how to build a custom video chat app that’s perfect for you.
Prerequisites
- A Twilio account
- A Twilio phone number
- A GitHub account if you would like to deploy your React app to GitHub Pages
The project described in this article has two parts:
- A React.js frontend
- A backend written with any language or platform.
The backend will be used to generate an Access Token which grants authorization to users of the app, while the frontend handles all the video chat logic using Twilio Programmable Video’s JavaScript SDK. Building the backend won’t be covered in this post, but Node.js users can review these thorough instructions for generating an Access Token .
Build the client
Clone the React app
Clone the skeleton React app which will contain several starter files and a .css file:
Change the working directory to your new React project, twilio-video-starter-kit, and install the dependencies listed in the provided package.json file by running the following command:
This project uses node-sass, which was included in the package.json file for you.
The final package to install is twilio-video:
Now that the installs are done, you should take a moment to explore the /src folder inside twilio-video-starter-kit. There are several files inside src, but the ones to pay attention to are:
- App.js
- Room.js
- Participant.js
- Track.js
These are your four component files; you’ll be editing these directly as you move through this article.
Details on the app’s structure
The App component is the top most component in your app. This component controls what the user sees when they land at your app and it handles the user driven actions of joining and leaving the room. It has one child component: Room.
The Room component is the container for all the unique participants in the video room. It also listens for new remote participants coming or existing remote participants leaving. It can have one or more child Participant components.
Next, the Participant component manages the given participant’s audio and video tracks. Each of these tracks are represented via child Track components.
Finally, the Track component is responsible for attaching and rendering the track it receives as props.
Build out the App component
You’ll start with the App component.
Open the file named App.js inside the src folder in the twilio-video-starter-kit repository that you cloned. This file houses the code for the App component, the primary component of your application. In this component you’ll build functionality to control whether or not the user sees the lobby screen (where they can enter their name and join the video room), or whether they see the room itself.
It also is responsible for initiating the connection to Twilio and creating the video room.
At the top of the file you’ll see a couple of imports and then a shell for a class named App.
Your first step is to import the Twilio JavaScript SDK. You’re going to need one specific export from the Twilio package: connect. Add the following highlighted line:
The constructor() method
Now it’s time to initialize the App component with some initial state by creating a constructor method. The constructor method is the first method called when a new component is created.
To create a constructor method, add the following code inside the App class:
The default identity state is an empty string. This identity will be added by the user when they type their name in.
The default room state is null. When the user presses the Join Room button, they will be connected to the video room. Upon connection, Twilio returns a room object, and this room is stored in the component’s room state.
When the room state is null, it means the user is not part of a video room and they will be shown the lobby screen. When they enter a room, this state will change, triggering a rerender. At that point, because the room state will no longer be null, the user will see the video room screen.
Join the room
Next you’ll add the method responsible for joining the room. This is the method that will be called when the user clicks the Join Room button.
Beneath your constructor() method, inside the App class, add the following code:
joinRoom() is an async function that fetches an Access Token and uses the Access Token to connect to a room. That means you’ll need an endpoint that will return an Access Token before your client can connect to a room. This post focuses on the client-side aspect of building a video chat app with Twilio, so it won’t cover generating an Access Token, but if you’re not sure how, you can follow the instructions in this Generate an Access Token post. Once you have your endpoint, head back here.
Awesome, now that your Access Token endpoint is ready to go, be sure to correct the fetch URL on line 3 in the code above to reflect your unique Access Token endpoint.
Return to the lobby
As a follow up to the joinRoom() method, you’ll create a returnToLobby() method. Add the following code right below the joinRoom() method inside the App class:
This method sets the room state back to null, triggering a rerender. This will result in the user seeing the lobby screen once again. The returnToLobby() method is invoked when the user clicks the Leave Room button. This button is a child of the Room component, not the App component, but don’t worry, you’ll learn about how this works later in the post.
The render() method
Next you’ll build the render() method. This method uses the value of the component’s room state to conditionally render either the lobby screen or the video room.
You’ll build this method piece by piece. Start by adding the following code beneath the returnToLobby() method, inside the App class:
This code creates the render() method, and returns from it a <div> element with the class name app. Inside this <div>, the code checks to see if the room state is null. If it is null, the method adds a <div> called lobby, with an <input> field for the user’s identity and the Join Room button inside.
If it’s not null, and there is a connected room, then it adds the Room component with two props: returnToLobby, which is the returnToLobby() method you created earlier, and room, which is the actual room object returned from Twilio.
The reason you’re passing the App component’s returnToLobby() method as props to the Room component is so you can call that method from within the Room component (when the user clicks Leave Room). Data flows down in React by default, but this is how you can “lift state”, or communicate upwards from a child component to its parent component.
Before moving on, be sure to import the Room component at the very top of this file:
Creating a ref
With the basics of your render() method in place, you’re going to need to expand it a little bit to make it fully functional.
The provided CSS indicates that all text on the lobby page will be centered. When the user clicks into the input field to enter their name, the cursor will be centered inside the placeholder which is a little odd looking. So instead, when someone clicks into, or focuses, on the input, you’ll want the placeholder text to disappear.
You can implement this by adding an onClick() attribute to the <input> element in your render method.
Now you’ll need to build that method: removePlaceholderText().
In between the returnToLobby() method and the render() method, add the following code:
This method changes the placeholder text on something called this.inputRef.current to an empty string. To make this method work, you’ll need to bind the JavaScript keyword this, but hang tight, you’ll do this at the end of this section.
this.inputRef.current is a reference to something called a ref in React. Refs allow you to directly access a DOM element created by the current component. this.inputRef is the reference to the ref itself, and the .current property is the DOM element.
To create this ref and bind it to the <input> element, you’ll need to make two minor changes.
First, create the ref by adding the highlighted line to your constructor method:
Then, back in your render() method, edit the <input> element again to bind the ref:
There are still a few more steps until you’re done with the render() method, and thus the entire App component, but don’t worry, the App component is the most complex of this project.
Binding the identity state
The primary requirement to get an Access Token is to provide it with an identity. In this case, the identity is provided by the user, and this is a must-have. If the user clicks the Join Room button before entering an identity, you’ll have a problem on your hands!
To remedy this, you’ll want to disable the Join Room button until the user has typed something in the input field.
At the top of the render() method, before the return, add the highlighted line:
This line creates a variable called disabled, which is a boolean flag. If the identity state is empty, meaning the user hasn’t typed anything, then the value is true. Otherwise, the value is false.
Now, edit your <button> element inside the render() method so it has a disabled attribute whose value is equal to this flag.
You’re getting close now!
A moment ago I mentioned that if the identity state is empty it’s because the user hasn’t typed anything. This is because you’re going to create a two-way bind between the value of the <input> field, and the value of the identity state.
As the content of the <input> field changes, so will the value of the identity state, by way of an onChange() attribute added to the <input> element. Everytime this state is updated, the component will rerender and whatever was typed will disappear. This creates a bad experience for the user. To fix this, you’ll bind the value of the <input> element to the identity state.
To tie this all together, add a new method called updateIdentity() below the removePlaceholderText() method:
Then edit the <input> element in your render method one more time:
Finally, like mentioned earlier, bind the special JavaScript keyword this to your new methods so that you can use this appropriately inside each method. To do this, at the end of your constructor method, before the closing curly brace, add the following code:
Congratulations, you finished building the App component! Now it’s time to move on to the Room component.
Build out the Room component
Save and close your App.js file and open the file called Room.js located inside the src folder.
The constructor method()
Inside the Room class, add a constructor method:
This method initializes the Room component with one piece of state: remoteParticipants. This value is an array of participants derived from the participants key on the room object passed to this component as props. Typically when building React apps, you don’t want to derive state from props, but you’re doing this for two valid reasons:
1) to set a default state that you’ll change later as participants come and go
2) because the format of the participants key is a map object, which isn’t the easiest to iterate over.
In this case, you’re changing the format from a map object to an array of participant objects.
After initializing state, you’re binding the keyword this to a component method called leaveRoom(), which is the method that calls the returnToLobby() method this component receives as props.
Add event listeners to componentDidMount()
Below the constructor method create a new method called componentDidMount(). This is a special React lifecycle method that is called only when the component mounts initially, and not again. For that reason, it’s a good place to make network requests or add event listeners, which is exactly what you’re going to do:
Every time a new remote participant joins or leaves the room, a connection event is emitted that you’re listening for in this component.
When a new participant connects, you’re given access to that participant through the event listener. You’ll add that participant to the remoteParticipants state by way of a method you’ll add shortly called addParticipant().
Likewise, when a remote participant disconnects, you’ll have access to that participant and can remove them from the remoteParticipants state.
Additionally, componentDidMount() adds an event listener on the window itself. If the user (the local participant) closes the browser window, before the window unloads, it will remove the participant from the room.
Add the following method below componentDidMount() to ensure that this disconnection also happens when the component unmounts:
The addParticipant and removeParticipant methods
Below the componentWillUnmount() method, add the following two methods:
These methods are responsible for updating the component’s remoteParticipant state every time a remote participant connects or disconnects. These changes to the state will trigger a rerender of the component, at which time the new participant will either be visible on screen or will be removed.
The leaveRoom() method
When the Room component’s leaveRoom() method is called, the local participant is first disconnected from the room. This disconnection emits an event which is picked up by every other running instance of the app.
That means that if you’re using the app to chat with some friends on other devices, and you click the Leave Room button, all your friends will experience a rerender and you’ll no longer be visible to them.
After this, the App component’s returnToLobby() method is called, which sets its room state back to null. This means that the local user will experience a rerender, and they will now once again see the lobby screen instead of the video room.
To add the leaveRoom() method to the Room component, copy the following code and paste it right before the closing brace of the Room class:
The render() method
Below the leaveRoom() method, still inside the Room class, copy and paste the following code for the render() method:
This method renders the local participant first, so the user is always the first participant displayed in the video room, and then maps over the remoteParticipants array to render each remote participant.
The render() method references the Participant component, so be sure to import that component at the very top of the Room.js file:
Build out the Participant component
The Participant component is responsible for rendering the different tracks published by each participant and listening for new track subscriptions.
Open up the file called Participant.js inside the src folder.
Like the last two components you’ve worked with, there are some initial imports at the top of the file, and the shell of the relevant class, in this case, Participant.
You’ll also begin editing the Participant class by creating a constructor method.
The constructor() method
Add the following code inside the Participant class to create it’s constructor method:
This code initializes the Participant component’s state with any existing published tracks owned by that participant.
For the local participant, this will be the audio and video tracks that were automatically published when they joined the room. For any remote participants that were already in the room when the local participant joined, this will also include their audio and video tracks.
Any tracks belonging to new participants, however, won’t be available to any other participants until they subscribe to the new participant’s tracks. This subscription happens automatically, and when it does, it emits an event which you’ll have to listen for in all the components representing remote participants.
Add event listeners to componentDidMount()
To add this event listener, create a componentDidMount() method beneath the constructor method:
This code states that if the current component is not for the local participant, then it should add an event listener for track subscriptions. Anytime someone subscribes to this user's tracks, the track will be accessible and added to the component’s track state. This causes a rerender, after which the tracks will be available to the app for rendering.
Add tracks to the component state
Below the componentDidMount() method, add the addTrack() method that handles this state updating:
The render() method
For the final component method, copy and paste the code for the render() method below the addTrack() method:
To complete the Participant method, be sure to import the Track component that’s included in the render() method at the top of the Participant.js file:
Build out the Track component
You’re coming down the home stretch now! The last thing you have to do is build out the track component, which is responsible for attaching every individual track to the DOM. The Track component receives a track object as props.
Open the file called Track.js inside the src folder.
Inside the file you’ll see some imports and the shell of the Track class.
Your first order of business is to add a constructor method.Inside the Track class, copy and paste the following code:
Like what you did in the App component, you’re creating a ref in the Track component as well. This is because you’ll need to have access to the DOM element created by this component in order to attach the track.
Below the constructor method, add the componentDidMount() method:
This method checks to make sure that the value of track from props is not null, and if it’s not, then it uses the ref to attach the track object’s associated audio or video element to the DOM.
The render() method
And finally, build the render() method! Below the componentDidMount() method, add the render() method for the Track component:
Congratulations, you’ve finished coding the app!
Test your work
Save and close all your files. In your command prompt, navigate to your project’s root folder, twilio-video-starter-kit. If you’ve been following along from the beginning, you should already be there.
Before proceeding, make sure your backend code, where you generate your access token, is also running.
Run the following command to start your local React server:
Once your app is running, head to your browser and visit localhost:3000 (or whatever your port is).
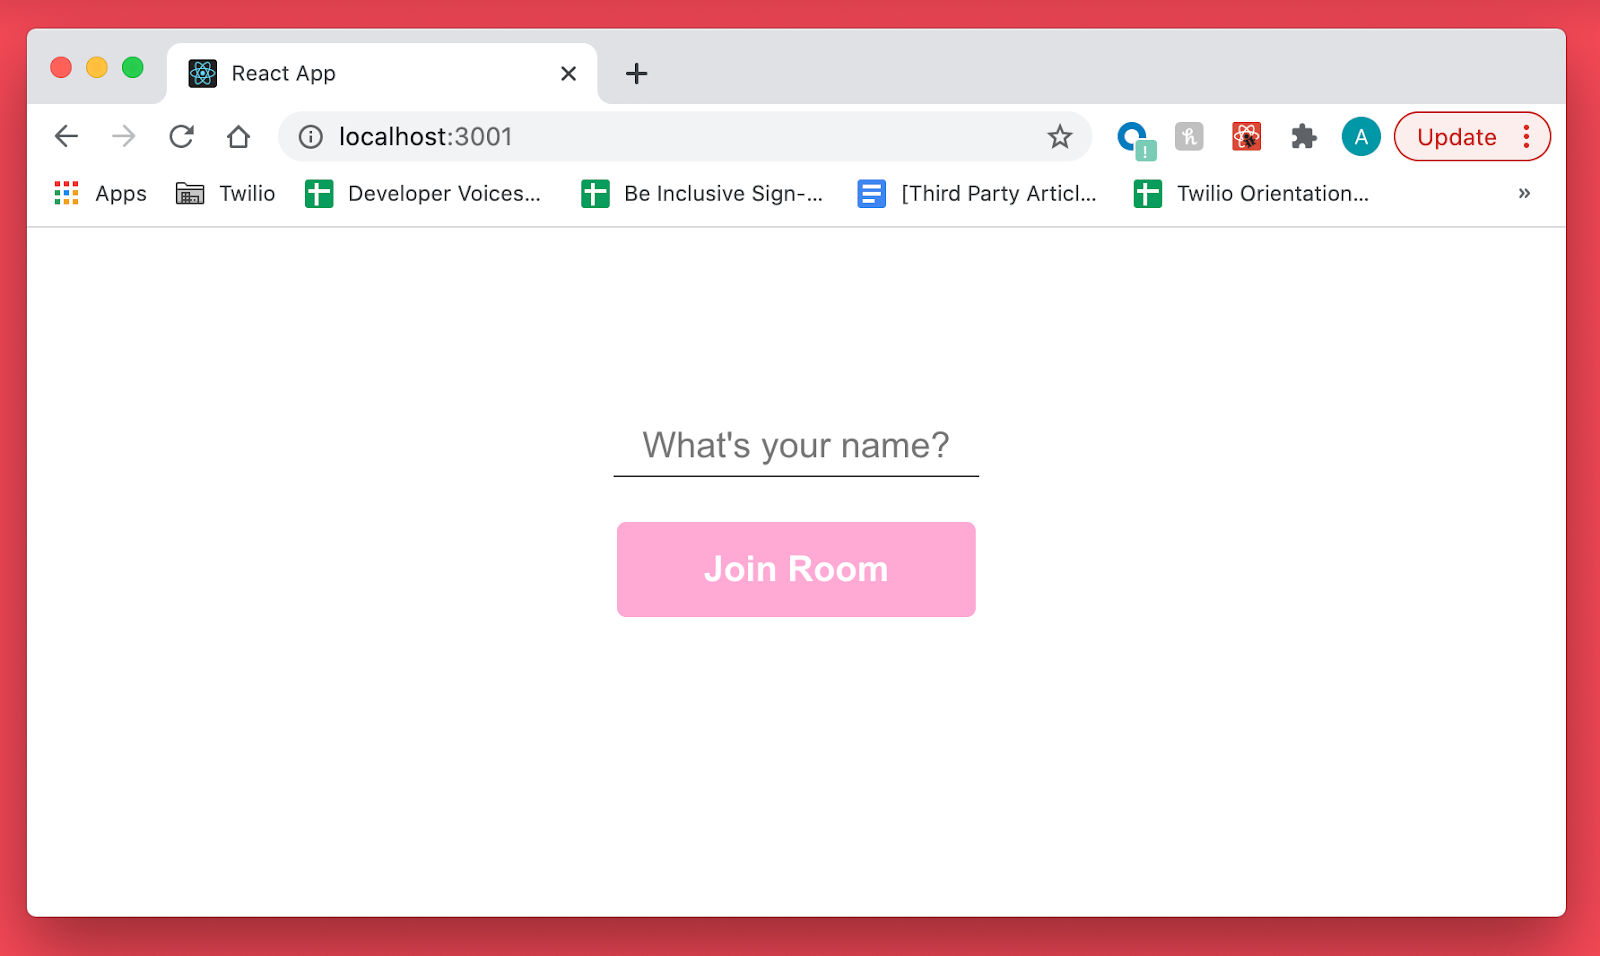
You’ll see the app’s lobby:
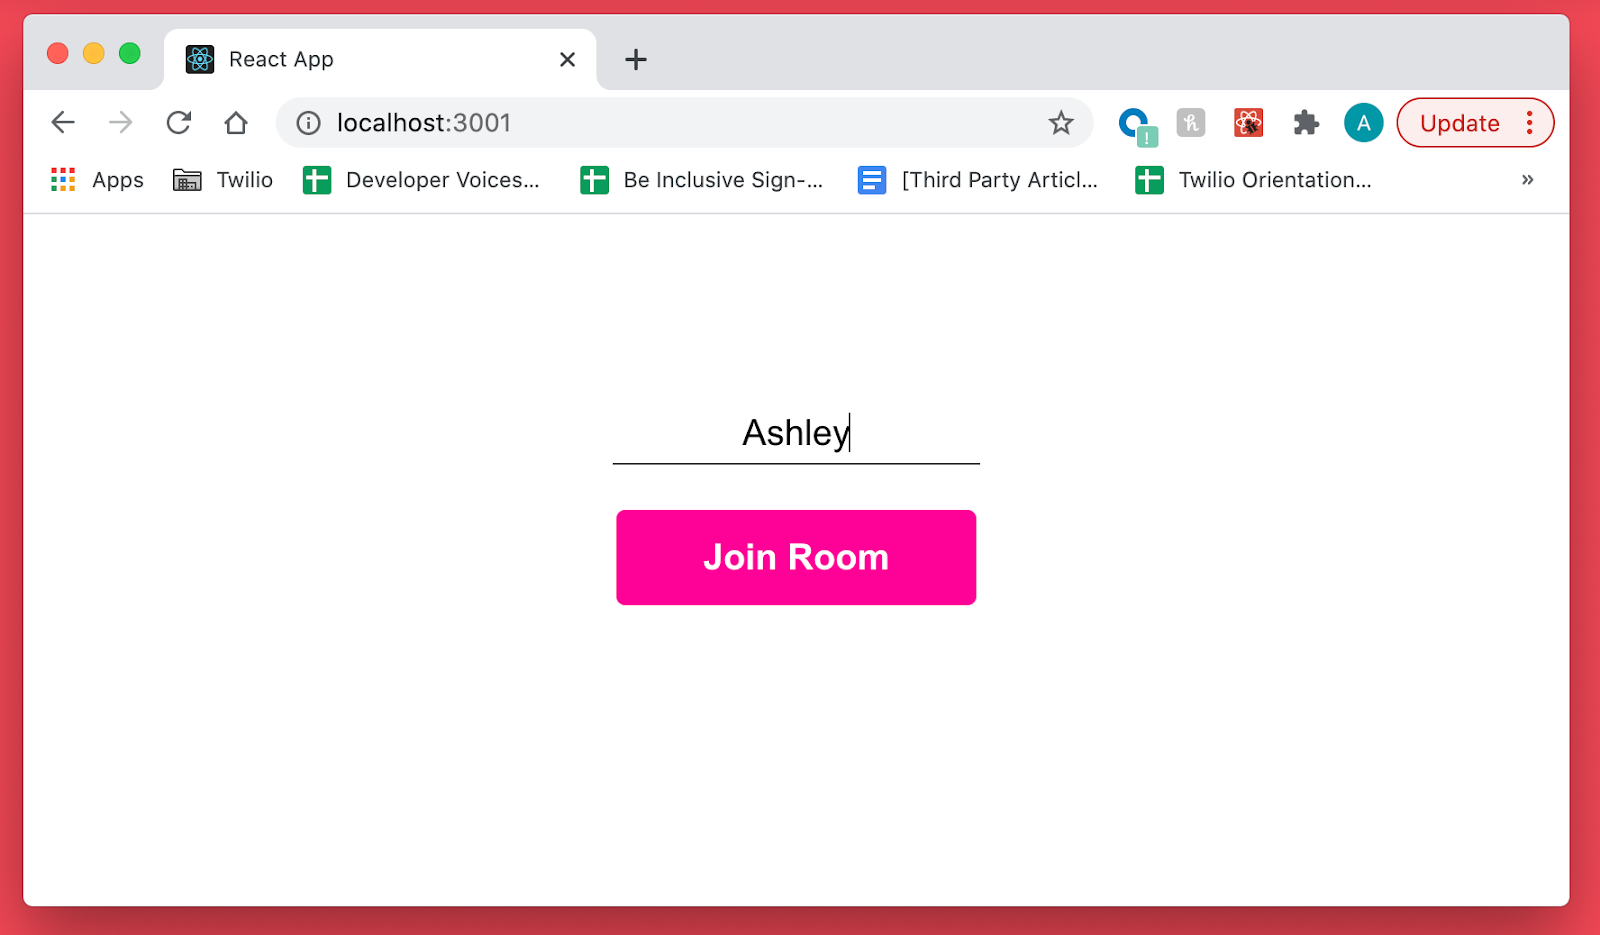
Start typing your name and you’ll see that the Join Room button becomes enabled:
Click Join Room to enter the video room. You’ll see yourself on camera!
Open a new tab in your browser and visit localhost:3000 (or whatever your port is) again. This time, enter a different name in the input field, and then click the Join Room button.
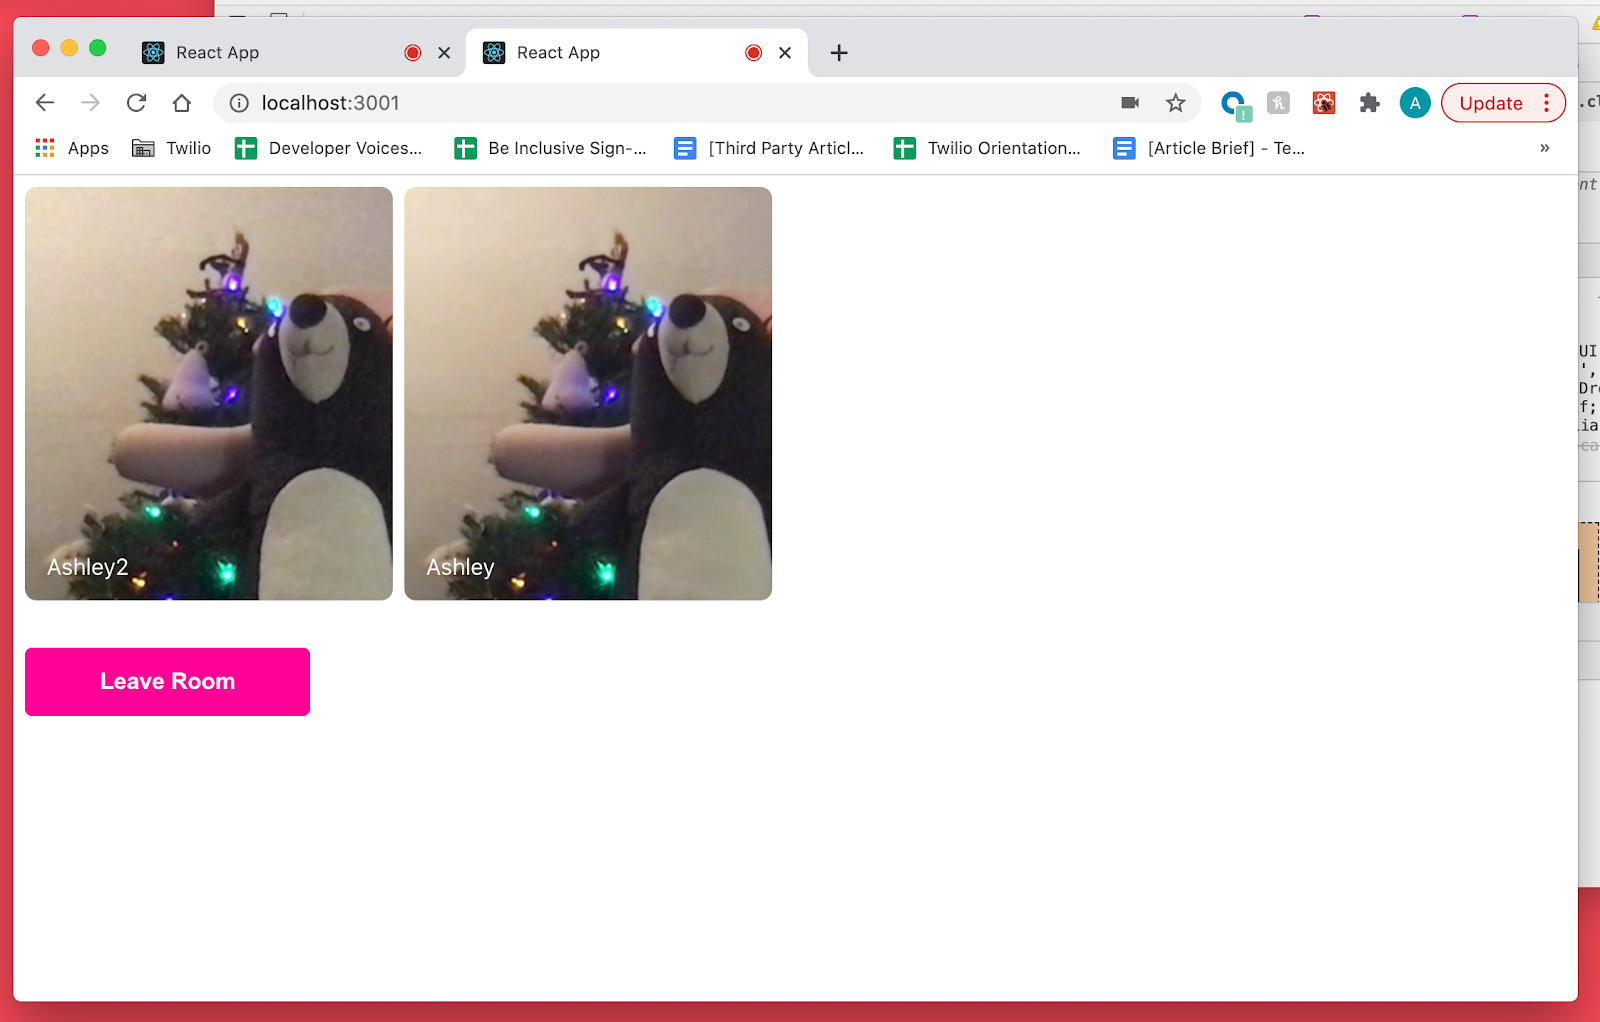
Click the Leave Room button in either tab to return to the lobby screen. Switch tabs to see that the participant has left the chat.
Conclusion
In this article you learned how to build a basic React video chat app using Twilio Programmable Video. I hope you learned more about some of the nuances of React and how to integrate Programmable Video into your applications.
To increase the cute factor of your video app, add a cute virtual mirror. Let me know on Twitter what you’re building!
Ashley is a JavaScript Editor for the Twilio blog. To work with her and bring your technical stories to Twilio, find her at @ahl389 on Twitter. If you can’t find her there, she’s probably on a patio somewhere having a cup of coffee (or glass of wine, depending on the time).


Related Resources
Twilio Docs
From APIs to SDKs to sample apps
API reference documentation, SDKs, helper libraries, quickstarts, and tutorials for your language and platform.
Resource Center
The latest ebooks, industry reports, and webinars
Learn from customer engagement experts to improve your own communication.
Ahoy
Twilio's developer community hub
Best practices, code samples, and inspiration to build communications and digital engagement experiences.