Display Incoming Calls in Real-Time Using Twilio Sync and Laravel
Time to read:
June 09, 2021
Written by
Reviewed by

Twilio Sync provides you with a set of intuitive APIs that let you synchronize application state across mobile apps and websites in real-time. Some example use cases are:
- Real-time dashboard charts
- Broadcast notifications to users in real-time
- Real-time collaboration software such as Google Docs
In this tutorial, we’ll build a dashboard that displays certain information in real-time whenever a call is placed to your Twilio phone number with Laravel.
Prerequisites
To complete this tutorial, you will need the following:
- A free Twilio account and a Twilio phone number. If you use this link to register, you will receive $10 credit when you upgrade to a paid account
- PHP version 7.4 or higher (ideally version 8)
- Laravel 8
- Composer
- ngrok. This will make the development version of our application accessible over the Internet.
Create a Laravel application
There are multiple ways to set up a new Laravel project. For the sake of this tutorial, however, we’ll be using Composer.
To do so, run the following command in your terminal, which will create the project for us in a new directory named twilio-sync.
Next, we need to add the Twilio SDK Library to interact with the Twilio REST API. To do so, change to the new directory and install the package by running the following commands:
Create a Twilio service configuration
To get started with Twilio Sync, there are a couple of Twilio credentials you’ll need. Firstly, we need a Twilio Sync Service SID. A service is the top-level scope of all other Sync resources such as Maps, Lists, and Documents.
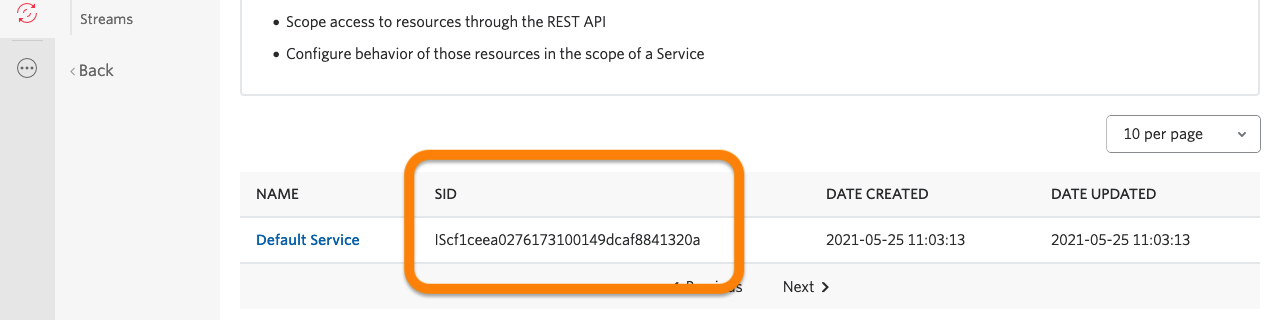
Log in to your Twilio Console and on the left sidebar, under “All Products & Services > Runtime > Sync”, within the Sync sidebar on the left-hand side, select "Services".
You can either create a new service or use the default service that comes with every Twilio account. For this tutorial, we’ll be using the default service. Copy the SID in the SID column.
Note: If you're using the Beta Console, Click on "Explore Products" in the left-hand sidebar, then click "Sync" under "Developer tools", and then click "View Sync Services". To create a service, click "Create new Sync Service", enter a value for "Sync Service friendly name", and click "Create". Once the new Sync Service is created, copy the Service SID listed in the right-hand side sidebar.
Head back to the root of your project’s directory and open .env in your preferred text editor and add the Twilio Service SID as a TWILIO_SERVICE_SID variable, as in the example below.
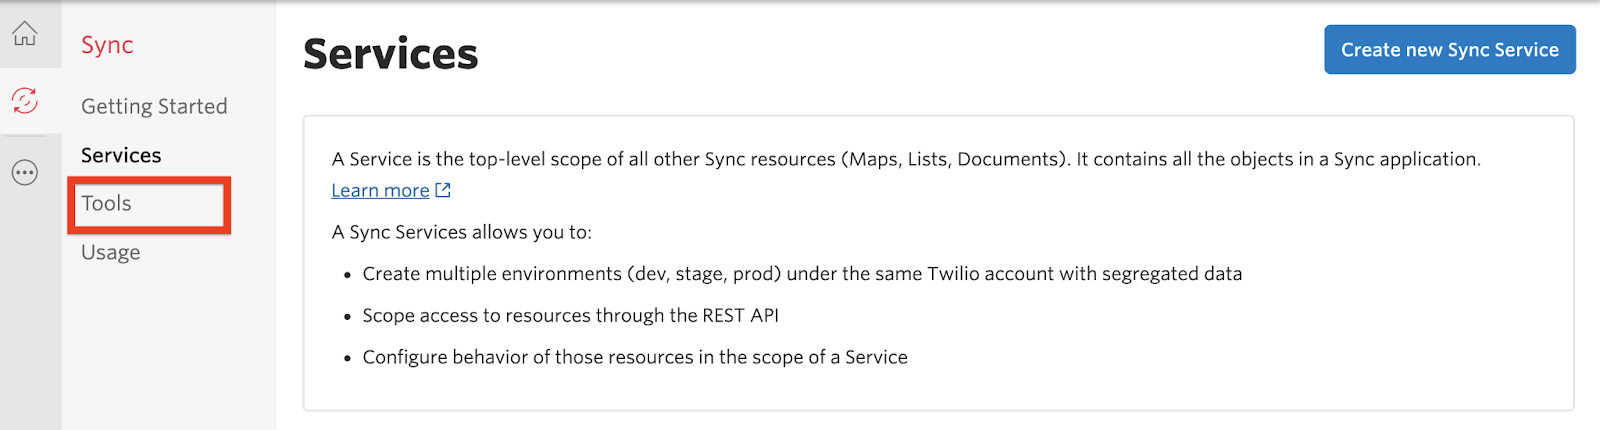
Next, we need to generate an API Key. This API Key will be used to generate an Access Token, which will eventually be used by Twilio’s Real-Time Communication Javascript SDK. Head back to the "Sync" left sidebar section, and then select "Tools".
Note: in the Beta Console, you can find it under "Account (in the top right-hand corner) > API Keys".
If you've never created an API Key before, you will see a "Create new API Key" button. Otherwise, if you already have created one or more API Keys, you will instead see a red "+" button to add a new one.
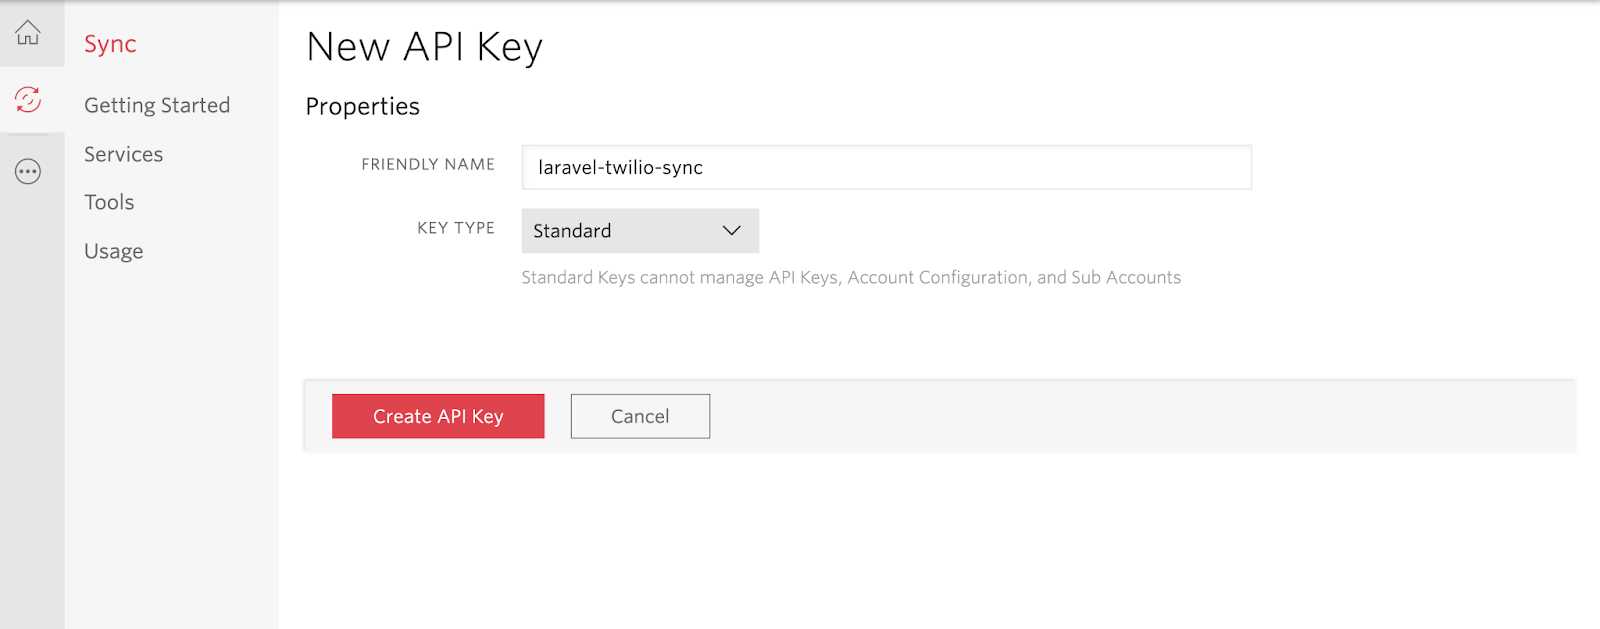
Click the red "+" to create a new API Key. Enter a friendly name for the API Key. I named mine "laravel-twilio-sync". Select "Standard" as the "Key Type" and then click the "Create API Key" button. This will generate an API Key and Secret for you.

Copy the SID and SECRET values to the .env file as the values for the TWILIO_API_KEY and TWILIO_API_SECRET variables respectively, which you can see in the example below
Note: Don’t forget to replace "xxxx" with their actual values. Also, don't navigate away from this page before you've added both values to .env as the secret is only shown once.
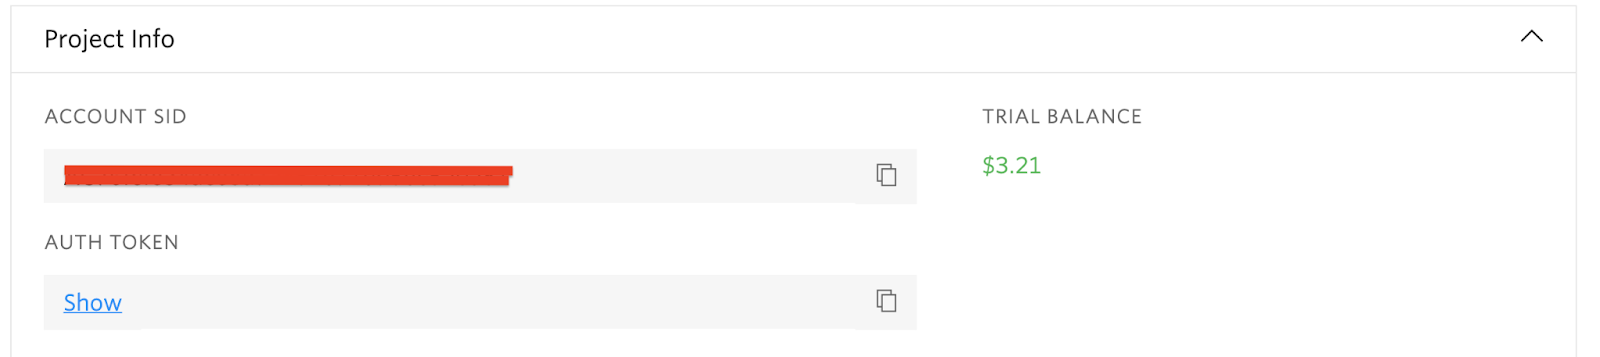
Finally, in addition to the Sync Service SID and API Key, you’ll also need your Account SID along with the Auth Token to authenticate against the Twilio REST API. These credentials can be obtained from the Twilio Console.
Add these credentials to the .env file, following the example below
Next, open config/services.php and add the following array to the end of the array returned in the file, so that the application can use the environment variables which we just defined.
Create a voice controller
From the terminal, run the following command to create a new controller named VoiceController.php in app/Http/Controllers.
With the file created, replace the class' code with the code below.
This is quite a long code example, but we will go over what’s happening so that you fully understand what's going on.
At the top of the file, we’ve imported all the major dependencies our project needs.
The incomingVoiceCalls() function will be called every time our Twilio number receives a phone call. The function creates an array with the following keys:
callSid- A 34 character, unique ID assigned by Twilio for the call.from- The phone number initiating the phone call.to- The phone number to which the call is placed to, which in this case will be our Twilio Phone number.
These are the details that will be displayed on our dashboard and are all obtained from the payload of the webhook POST request that will be sent by Twilio.
The $twilioClient variable is a reference to the Twilio API client which allows us to work with Twilio’s REST API.
$twilioClient->sync->v1->services(config('services.twilio.service_sid')) is a reference to the Sync Services API client object which allows us to work with the information we want to share with the dashboard.
To share the information about incoming SMS messages we’ll use a “Sync List '', which is an ordered collection of individual JSON objects. Each JSON object is referred to as a Sync List item and can be up to 16KB in size.
The expression syncLists('twilio_incoming_voice_calls')->syncListItems->create($data) creates a Sync List item containing the data array we created at the beginning of the function under a Sync List with a unique name of twilio_incoming_voice_calls.
It’s important to note that at this point, the Sync List hasn’t yet been created and would be created on the client side.
Using Twilio Markup Language (TwiML), which is an XML-based language and with the help of the VoiceResponse class from the Twilio SDK we send a response back to the caller.
The generateToken() function is used to generate an Access Token for the Twilio SDK on the client side. Depending on your particular use case, some sort of authentication will need to be in place for this endpoint.
To do this you might use your existing login system or any other mechanism you find suitable for securing your applications. If you don’t need to protect the endpoint, you can assign a temporary identity for the user.
In our case, the client will send a username in the query string. If the client fails to provide a username, an exception is thrown. Next, a grant associated with our Sync Service is created and added to an Access Token.
The Access Token is initialized with the Twilio Account SID and the API Key and Secret, and is also given an identity value set to the provided username. The endpoint then returns the access token to the caller.
Add the required routes
Open routes/web.php and add the following code at the end of the file.
Note: make sure that you also include the use statement for the VoiceController, which you can see below.
For the dashboard route, since we only care about returning a dashboard view, which we shall be creating shortly, we can make use of the Route::view() method. The Route::view method accepts a uri as its first argument and a view template name as its second argument.
Disable CSRF verification
Because Twilio has no way to obtain a CSRF Token from our application, it’s important we disable CSRF verification for the "/incoming/voice/call" endpoint we added earlier. The VerifyCsrfToken middleware is used for validating all tokens. Luckily, the middleware accepts an except array that accepts a list of endpoints to disable CSRF verification for.
Open app\Http\Middleware\VerifyCsrfToken.php and add the route we created earlier to the except array, as in the example below.
Build the frontend
In the resources/views directory create a new file named dashboard.blade.php and add the following code to it:
Here, we’ve defined an HTML layout with an HTML table and included Bootstrap, jQuery and the Twilio Sync SDK for Javascript. We’ve also included a link to dashboard.js which we'll create next.
In resources/js create a new file named dashboard.js. Add the code below to the file.
The fetchAccessToken() uses jQuery to make an Ajax request to the backend and obtain an Access Token. The initializeSyncClient() function is then called. Within this function, a Twilio.Sync.Client object is instantiated by passing in the Access Token to authenticate.
Let’s further break down the initializeSyncClient() function to understand what’s happening there.
The twilio_incoming_voice_calls Sync List is obtained. If the Sync List doesn’t already exist at this point, it will be created.
All the existing items contained within the List are then iterated over and accessed with the list.getItems() method. Each of the items is appended as a new row to the HTML table using the addRowToTable() function.
Next we subscribe to the receive updates any time the Sync List receives new items. The handler for this event appends the data contained within each item as a new row to the HTML table as well.
Build the frontend code
With the source version of the frontend code completed, we need to build the runtime version, using Laravel Mix that comes bundled with Laravel. To do that, we first need to update webpack.mix.js to include resources/js/dashboard.js when building the frontend code.
To do that, update the file so that the call to mix at the end of the file looks like the code below.
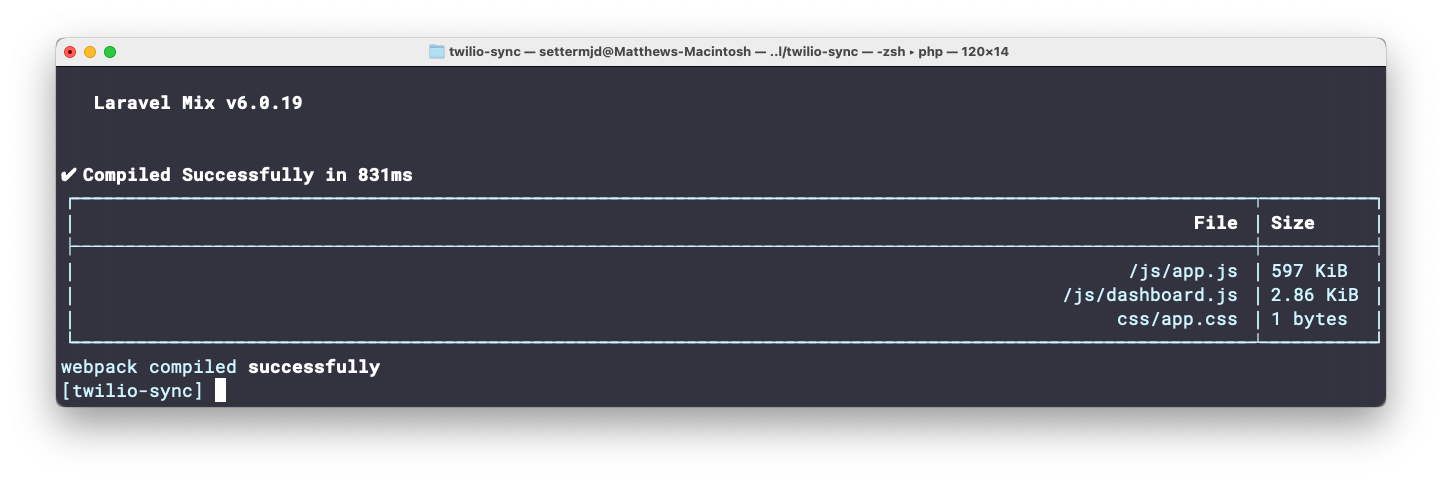
Then, after saving the file, in the root directory of the project, run the following command.
On success, you will see output similar to that in the image below, where you'll see all of the files that were built and their resultant sizes. You can find them in the css and js directories under public.
Set up Ngrok
We need a way to expose our application to the internet so that Twilio can send Webhook notifications to our application. Using ngrok, we can set up a public URL to enable access to our application over the internet.
First, though, start our Laravel application by running the following command.
This will start a development server at a specific port on your local machine. Take note of the port as it will be printed to the terminal once the server starts running. Next, open up another terminal and run the following command:
Note: if you're using Linux or macOS, you can background the artisan process before running the command above by pressing Ctrl+z and then bg. If you're using Microsoft Windows, however, you'll need to run the command in a new terminal window.
This will display a UI in your terminal with your new public URL and other information, as you can see in the screenshot below.
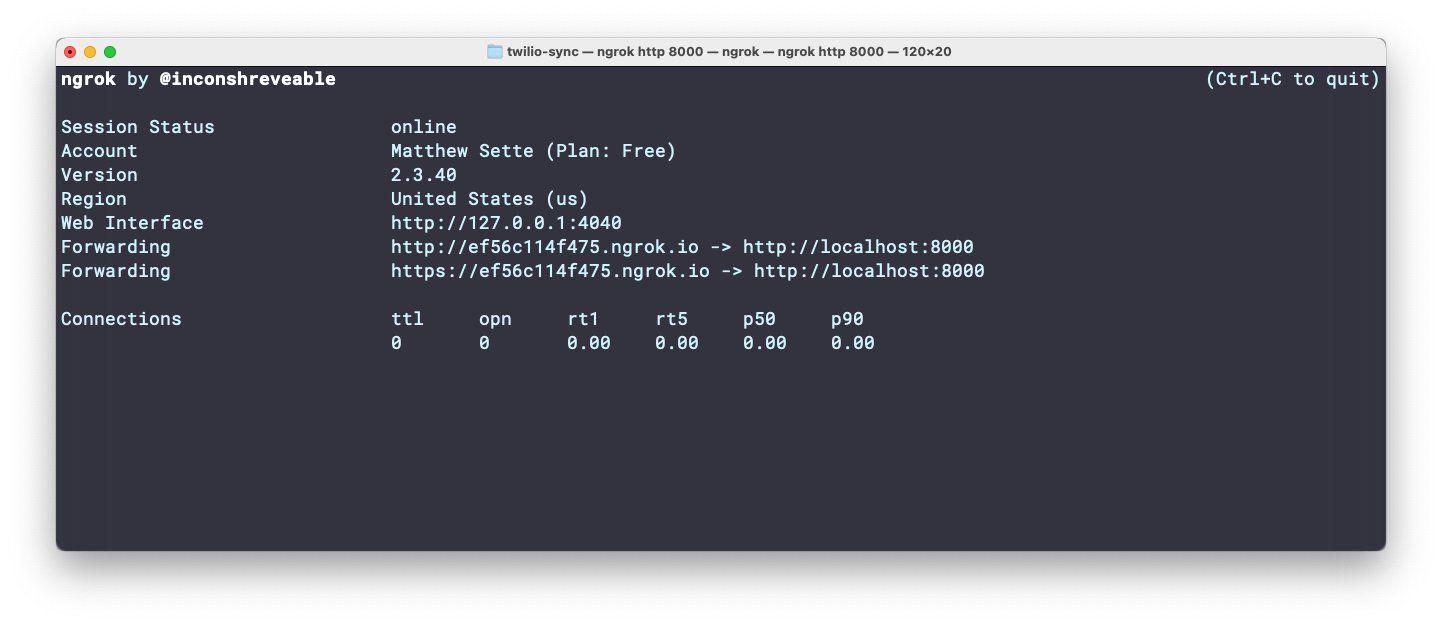
Note: Copy the HTTPS "Forwarding" URL as we’ll be making use of it shortly.
Update your Twilio account
Head back to the Active Numbers section on your Twilio console and select your Twilio phone number. You’ll be presented with a screen that shows you details about the phone number. Under the "Voice & Fax" section, append the ngrok URL we noted earlier with "/incoming/voice/call" and then paste it in the "A CALL COMES IN" field.
Ensure the request method is set to HTTP POST and then click the "Save" button at the bottom of the page to save the settings. This is the endpoint Twilio will send a request to whenever a call is placed to our Twilio number.
Note: You can also set the ngrok URL from the command line using the Twilio CLI. First, you need to retrieve the phone number's unique SID. Do this by running the following command:
Then, run the command below, after replacing PNxxx with the phone number's SID that you just retrieved, and http://xxx with the Ngrok URL and path.
Test the code
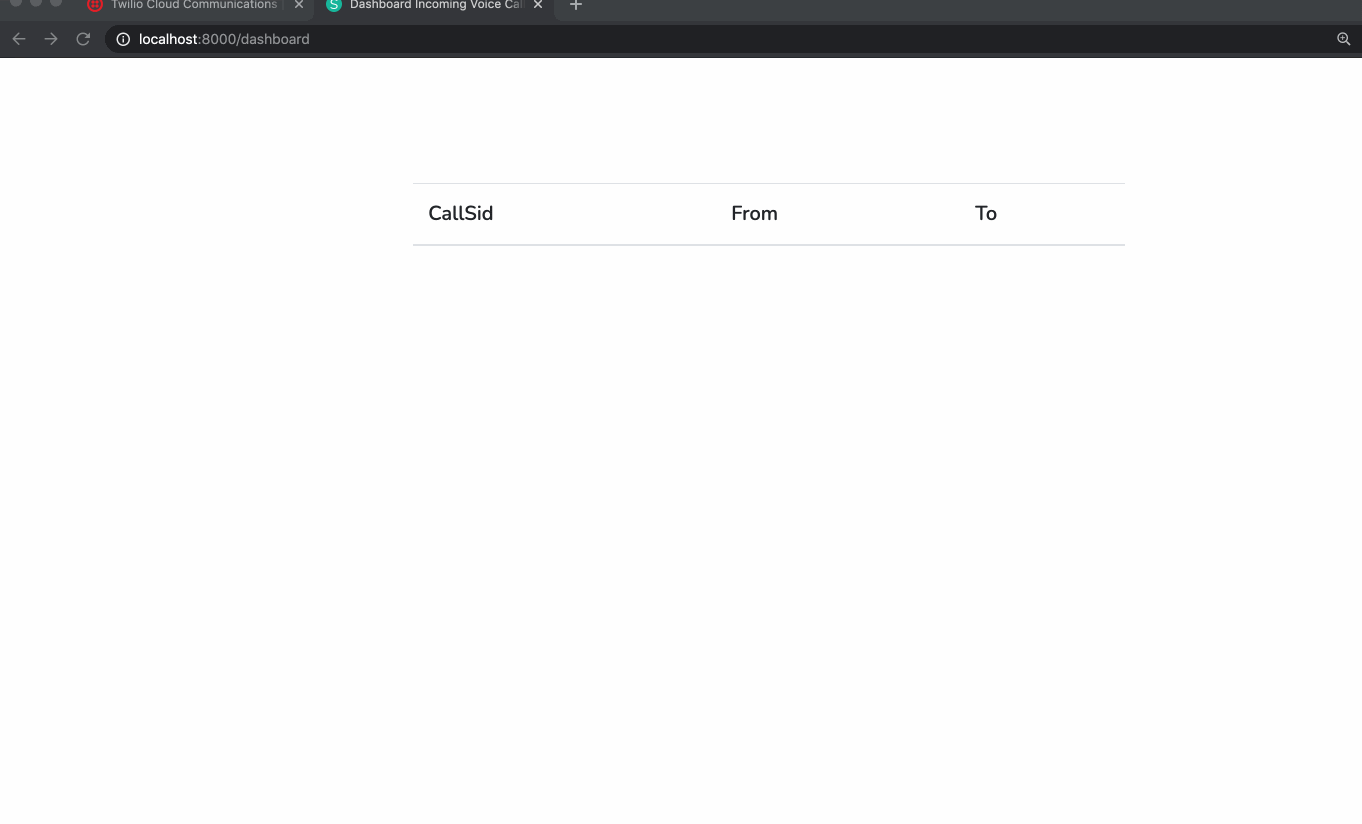
To test that the code works, open http://localhost:8000/dashboard in your browser, and then place a call to your Twilio Phone number. After you make the call, you should see a record be dynamically added to the calls table, as in the animation below.
That's how to display incoming calls to your Twilio phone number in real-time using Twilio Sync and Laravel
In this tutorial, using Twilio Sync we’ve seen how we can display certain information whenever a call is placed to your Twilio Phone number in real-time. This tutorial can serve as a starting point for you if you’re looking to incorporate real-time functionalities powered by Twilio Sync within your applications.
Dotun is a backend software engineer who enjoys building awesome tools and products. He also has a passion for technical writing. Some of his favorite programming languages and frameworks include PHP, Laravel, NestJS, and Node.
Website: https://dotunj.dev/
Github: https://github.com/Dotunj
Twitter: https://twitter.com/Dotunj_
Related Resources
Twilio Docs
From APIs to SDKs to sample apps
API reference documentation, SDKs, helper libraries, quickstarts, and tutorials for your language and platform.
Resource Center
The latest ebooks, industry reports, and webinars
Learn from customer engagement experts to improve your own communication.
Ahoy
Twilio's developer community hub
Best practices, code samples, and inspiration to build communications and digital engagement experiences.