Build a Two-way Customer Support System with SMS and Slack using Symfony Notifier
Time to read:
August 28, 2020
Written by
Reviewed by

Businesses across the internet interact with millions of customers every day. Providing customers with a positive experience helps to build a strong brand image and increases their trust. Reliable, fast, and helpful customer support is a key component of great customer service and it all starts by providing a convenient and simple way to get in touch. Just as crucial is the need to provide your customer support team with the tools they need to assist your customers.
In this tutorial, we’ll build an application that forwards incoming SMS in real-time and allows us to reply directly from a Slack channel using Twilio, Slack, and the Symfony framework.
In doing so, you’ll see the Symfony Notifier Component in action and understand how to leverage it’s abstraction to communicate between the customer and your support staff through different communication channels. Finally, we’ll look at how to react to incoming SMS and Slack messages using webhooks, and proxy the messages between the two platforms.
Prerequisites
To complete this tutorial you will need the following:
- A free Twilio account
- Ngrok installed locally
- Access to a Slack organization, with permission to create bots
- The Symfony binary installed locally
You will also need an active Twilio phone number with SMS capabilities. If you don't already have a phone number you can purchase one here.
Create a New Symfony Application
To begin we will create a new Symfony project. We'll be using the Symfony binary to generate the project for us, so if you don't already have it installed, you can follow the installation instructions from the Symfony documentation. Once you have the Symfony binary installed, run the following command in a terminal:
We will also install the Twilio PHP SDK, Symfony Notifier Component, Symfony Slack Notifier Adapter, Symfony Twilio Notifier Adapter, and Guzzle packages for later use. Run the following command in a terminal:
When prompted, run the library recipes to create the necessary files. Once the files are created, start the symfony server by running the following command in a terminal:
You’ll also need to expose your Symfony application to the internet so that Twilio and Slack can communicate back to the application using Webhooks. In a separate terminal create a new ngrok tunnel by running the following command:
If successful, you should see the ngrok session information as well as a forwarding URL like so:

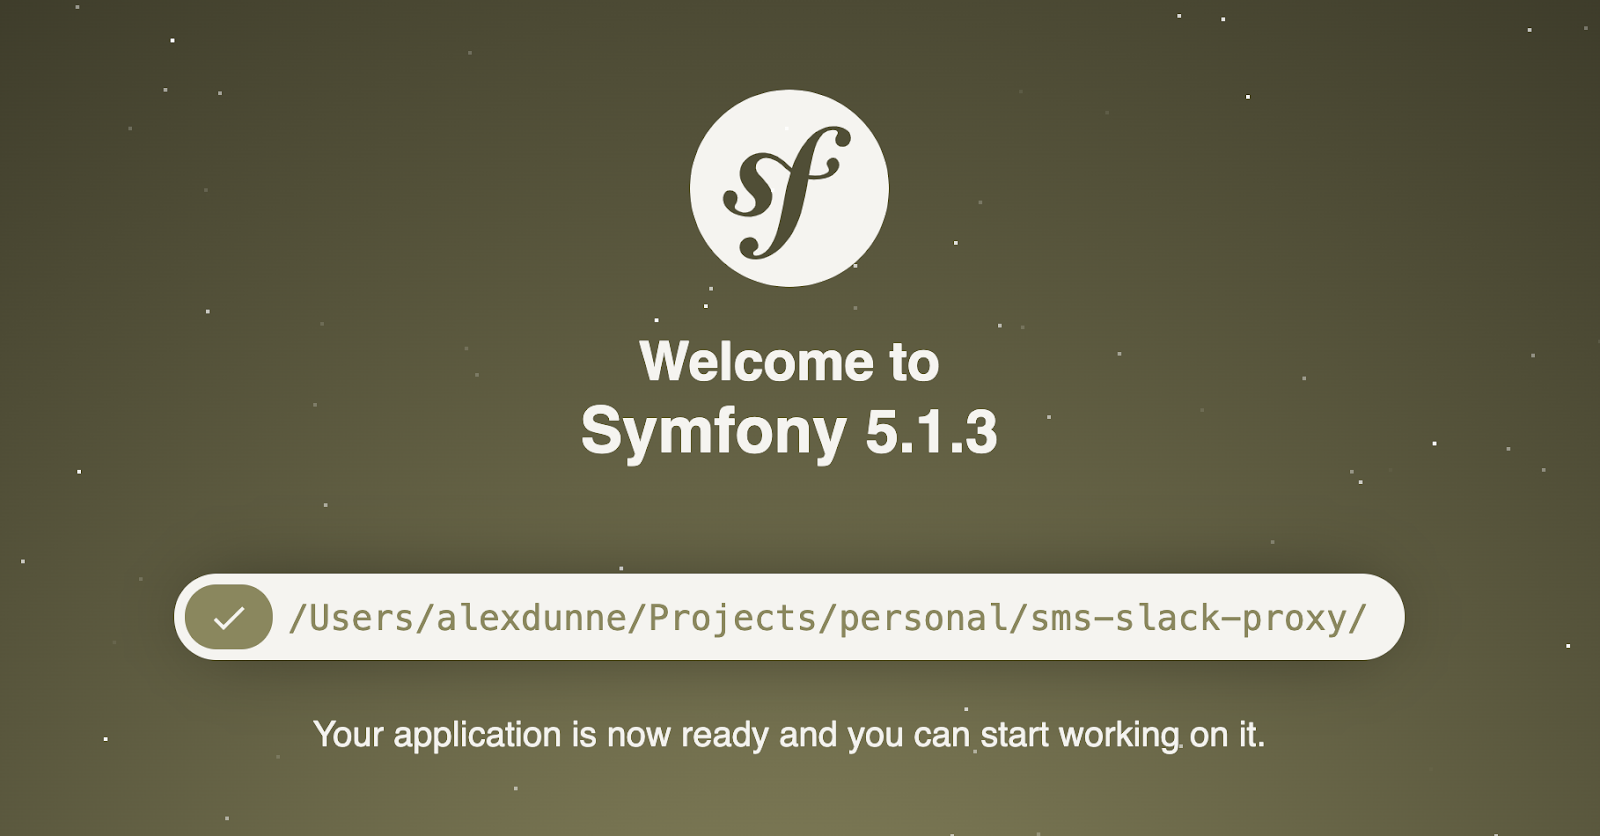
Double check everything is working by visiting the URL displayed in your terminal. If successful, you should see the default Symfony landing page.
Finally, before continuing, create a .env.local file using the following command:
By default, Symfony provides a .gitignore file with .env.local as one of the entries. This file is where we will store our environment-specific values including secret API keys such as our Twilio and Slack credentials.
Setting Up Twilio
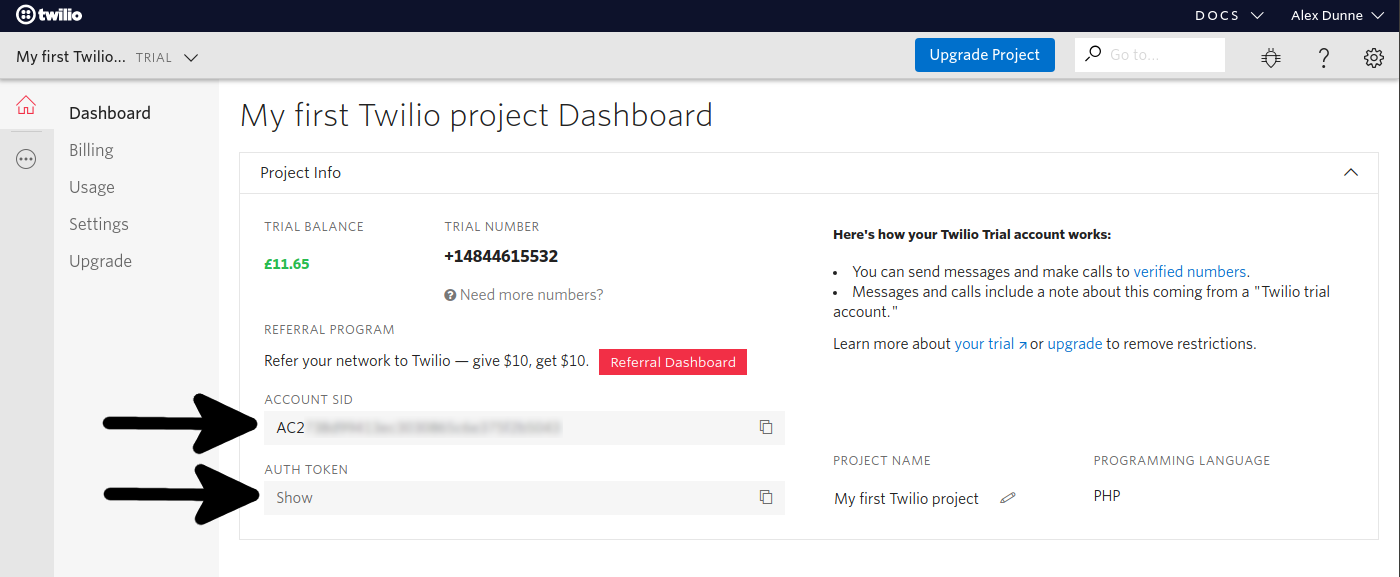
Before we can start communicating with Twilio, we first need to fetch our Twilio credentials. If you haven't already registered for an account, you cancreate a new account here. Twilio will also provide you with free credits to test the API. Once you have logged in, navigate to the dashboard and you will see your Account SID and Auth Token.
You will also need an active phone number with SMS capabilities. If you don't already have a phone number you can purchase onehere.
We now have all of the data required to communicate with Twilio. Copy your Account SID, Auth Token, and phone number to the .env.local file we created earlier as follows, replacing the values accordingly:
Setting Up Slack
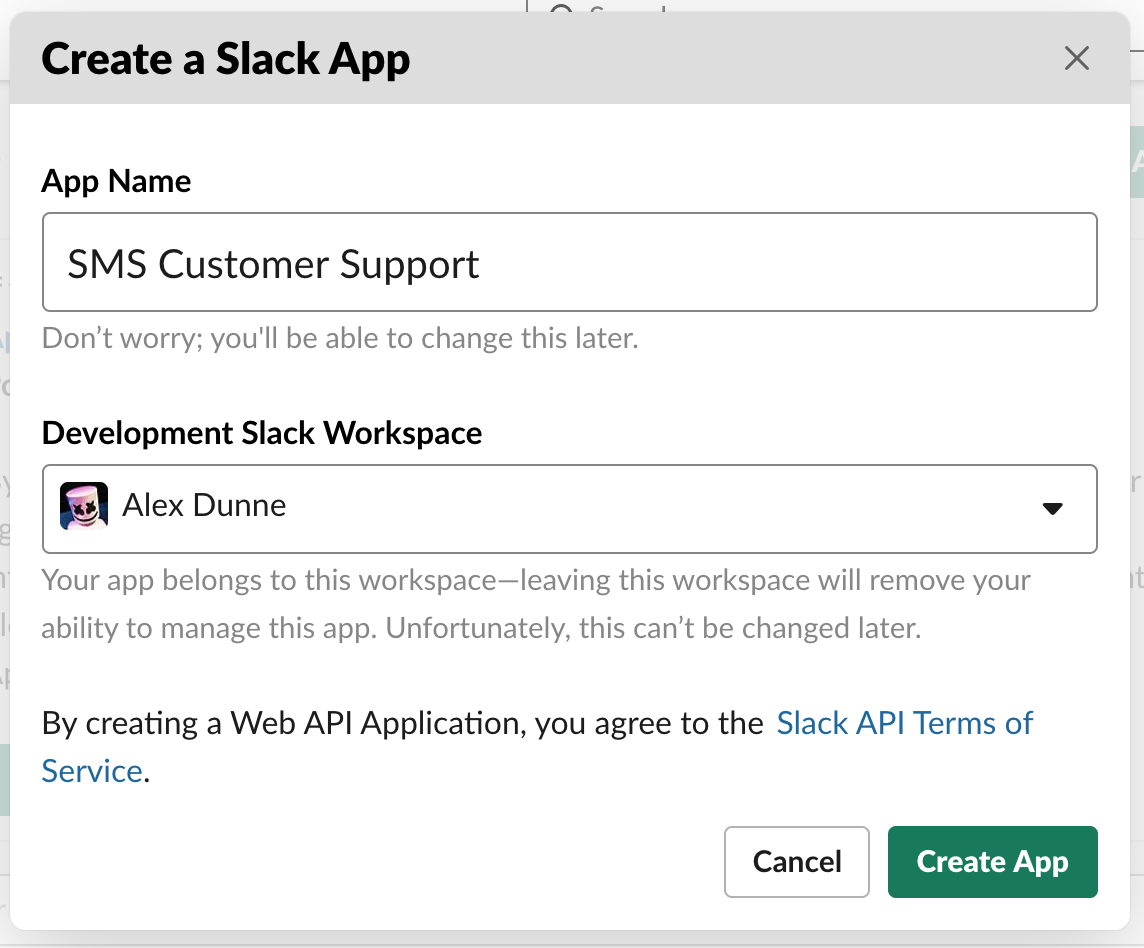
Head over to https://api.slack.com/apps?new_app=1 and create a new Slack App. Give the App a descriptive name, something similar to “SMS Customer Support”, and select the Workspace you want to add the App to.
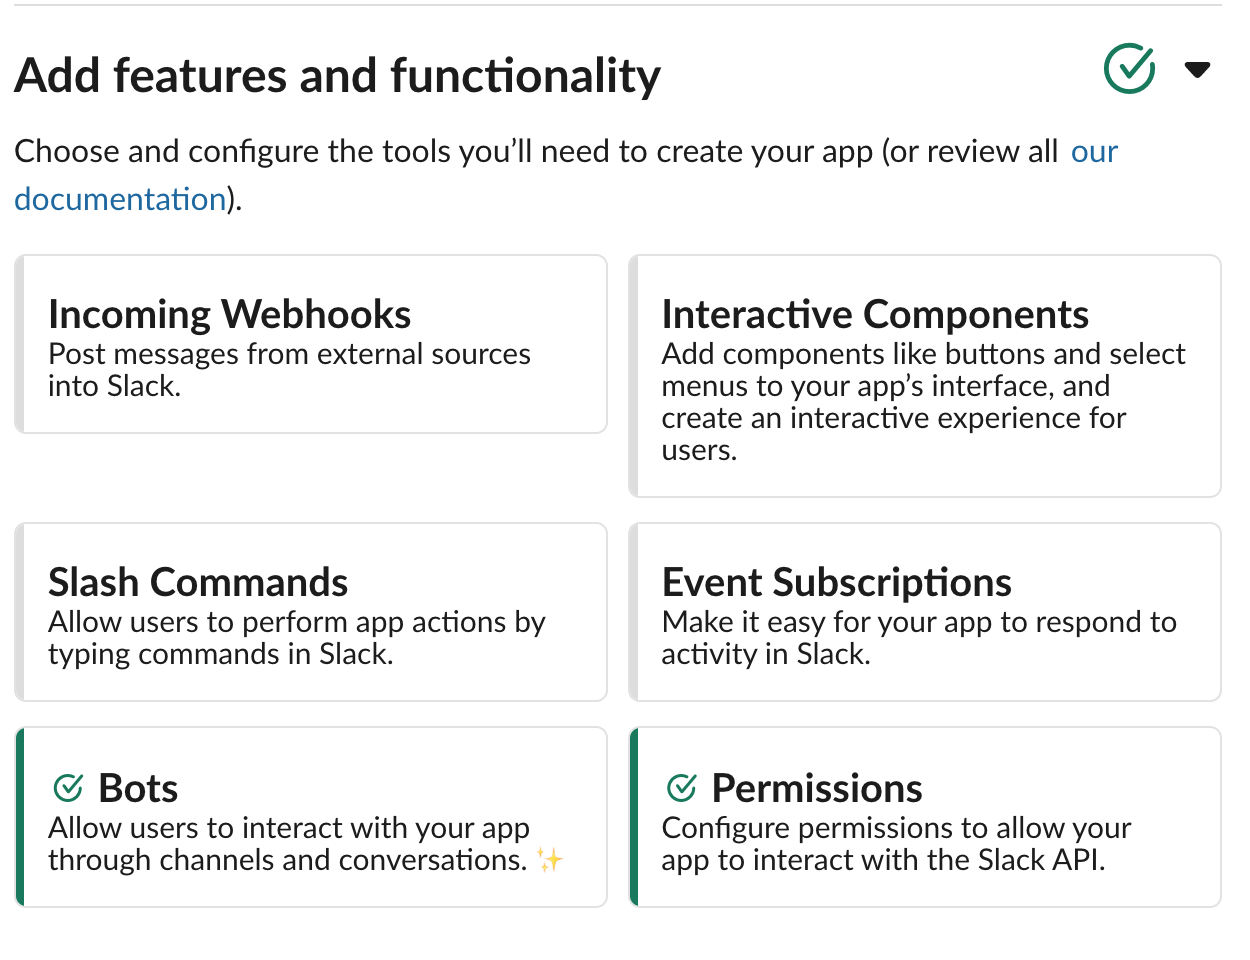
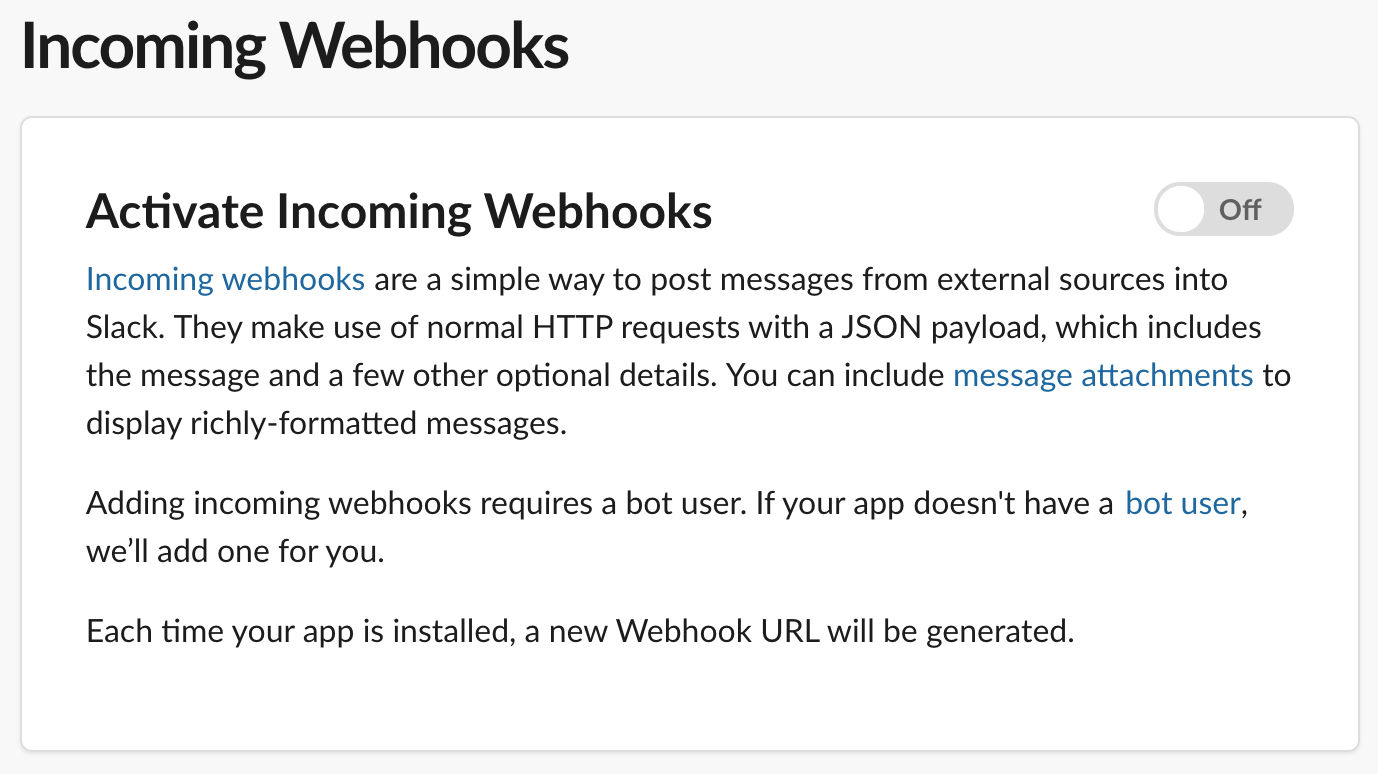
Once the Slack App is created, select the Incoming Webhooks option and toggle the Activate Incoming Webhooks checkbox.
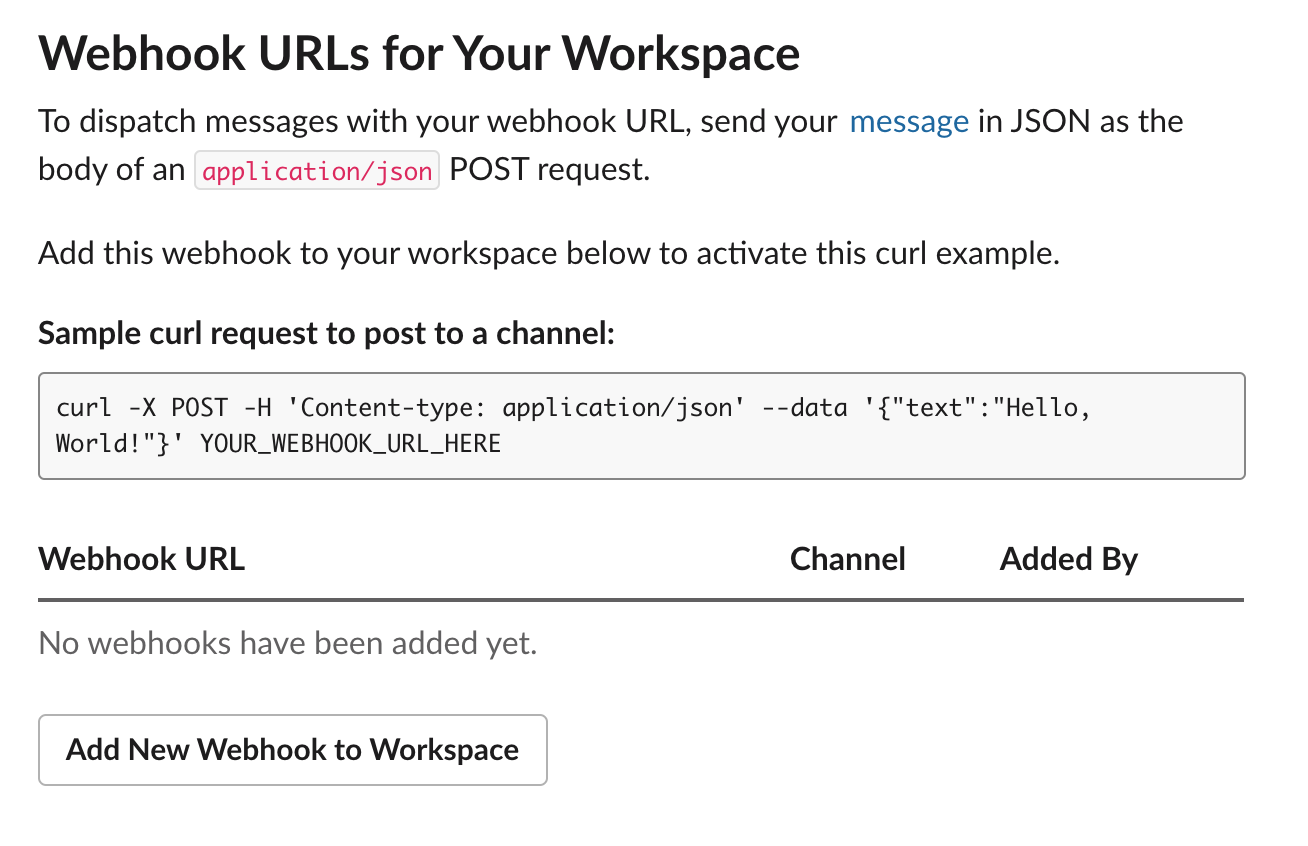
Now press the Add New Webhook to Workspace button at the bottom of the page:
Select the channel you want to receive customers' questions on. I'm going to be using a “customer-support” channel
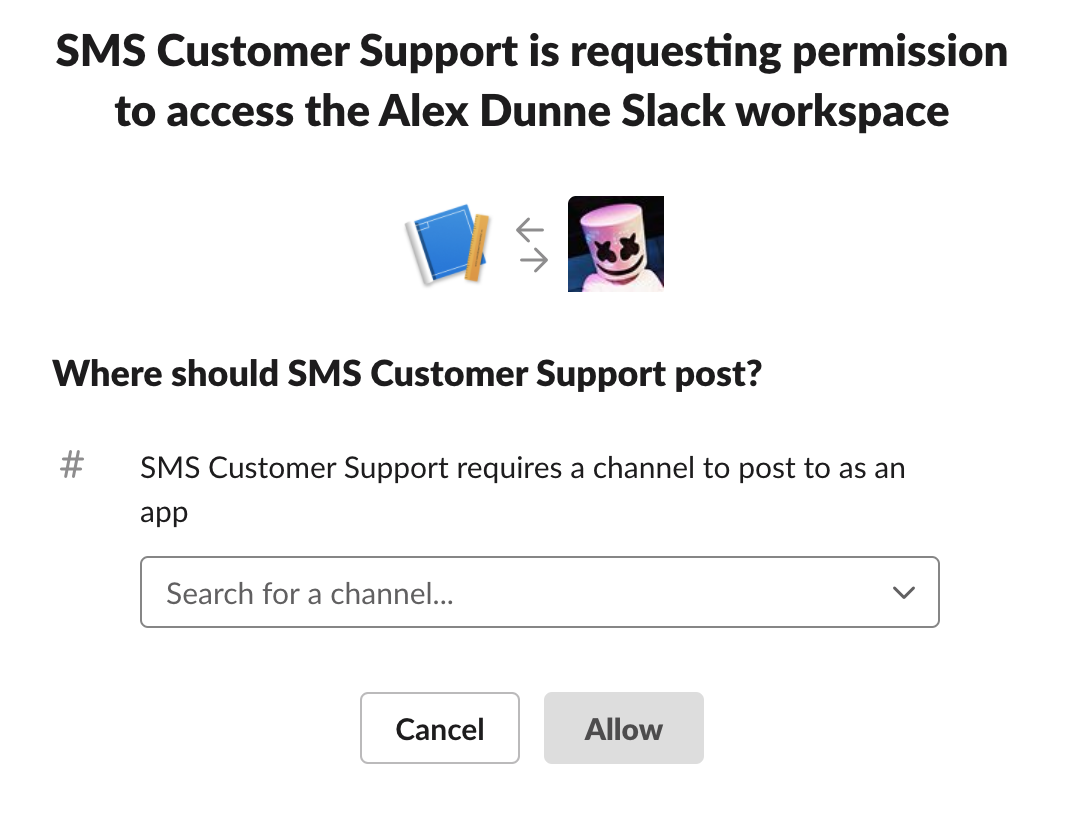
Press Allow to give the Slack App permission to the selected channel and subsequently generate a new Webhook URL.
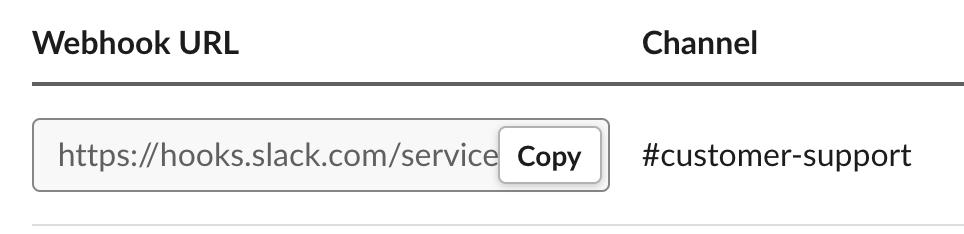
Copy the provided Webhook URL and replace https://hooks.slack.com/services with slack://default. Add this value to the .env.local file like so:
Configure the Symfony Notifier Component
Configuring the Symfony Notifier is super easy thanks to the library contributors doing a lot of the heavy lifting for us. Update the config/packages/notifier.yaml file with the following content:
You’ve just configured two different types of channels; SMS and chat. There are four different types of support channels and each one integrates with different platforms. Alongside the SMS and chat channels you’ve already discovered, there is also the email and browser channel. The Notifier component provides a powerful abstraction layer over each of the different channel types, allowing you, the developer, to interact with external messaging services with minimal effort.
Handling Inbound SMS Messages
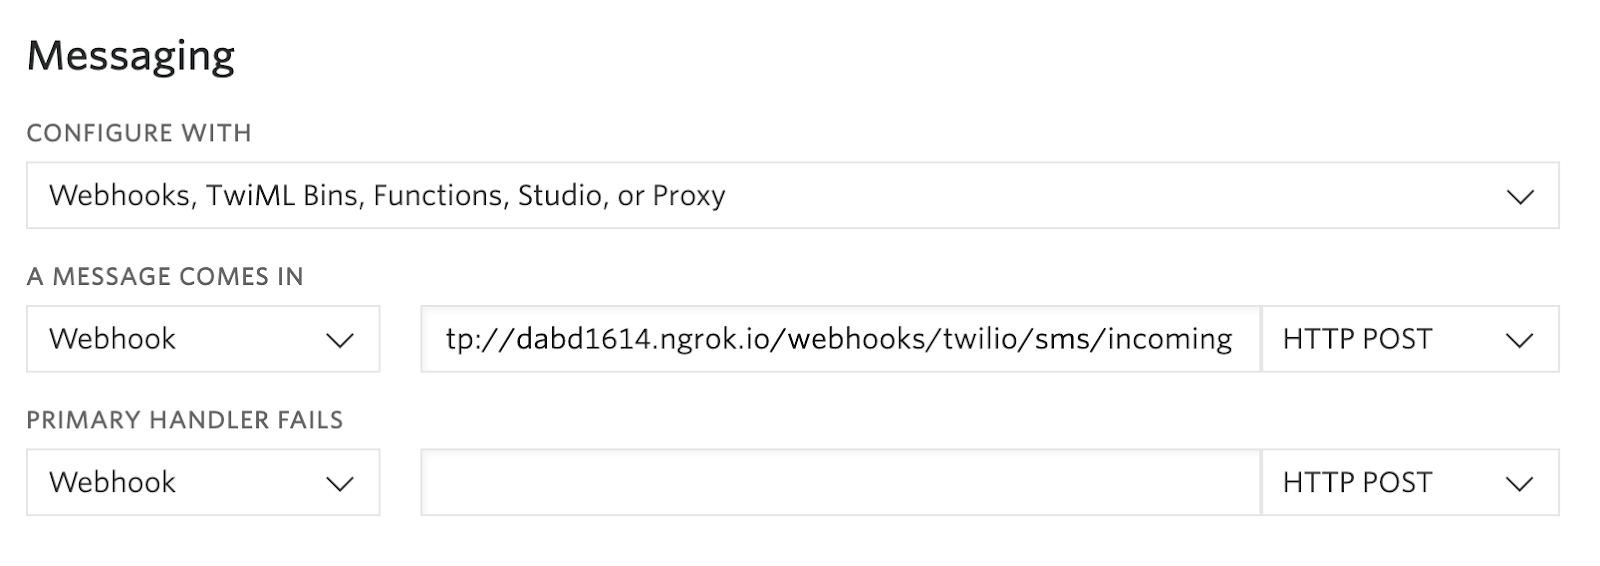
Navigate to the Twilio phone number details page for the phone number you’re using in this project. Scroll down to the Messaging section within the Configure tab and change the dropdown for A MESSAGE COMES IN to “Webhook.” Within the adjacent text field, add the value http://xyz.ngrok.io/webhooks/twilio/sms/incoming, ensuring that you change the xyz.ngrok.io URL to match the one in your terminal.
Now create a route and return a simple TwiML response to verify that the configuration works. Create a new file in the src/Controller directory titled TwilioWebhookController.php and add the following content:
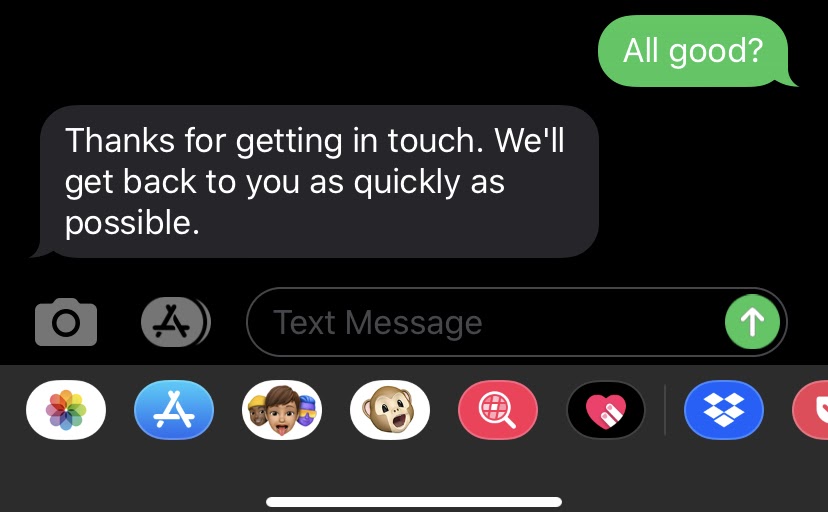
Try sending an SMS message to your Twilio phone number to ensure everything is configured correctly.
Forwarding SMS Messages to a Slack Channel
With the Twilio Webhook setup complete, we can move on to proxying the message into the customer support Slack channel to be picked up by your customer support team. Update the TwilioWebhookController.php file like so:
Let’s review these changes. Firstly, you’re extracting the From and Body from the request payload. These values are provided by Twilio and correlate to the phone number and message content of the received SMS message respectively.
With these values, you then construct a new Notification using the customer’s phone number as the subject and the message body as the content of the notification.
You can also see that we provided [‘chat/slack’] as the second parameter to the Notification constructor. This is the channel parameter. This parameter accepts an array of channels to send the message through. By supplying multiple channels, the notification can be sent in parallel via different transport mechanisms. For example, if we wanted to send an SMS and an email when an order is confirmed, we could use [‘email’, ‘sms’].
It’s important to note that when using a Chatter channel you also have to supply the transport, such as [‘chat/slack’] or [‘chat/telegram’].
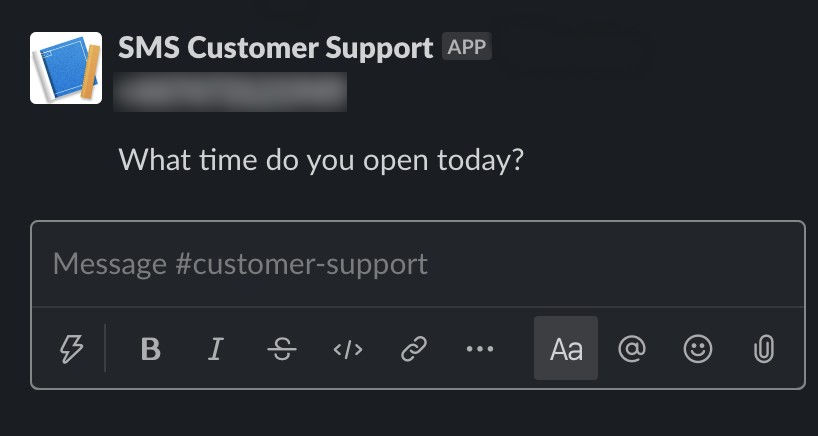
If you send an SMS message to your Twilio phone number, you should see the message appear in the Slack channel you selected earlier.
Responding to Customers from Slack
Great job! Your app is now proxying customer questions from Twilio into a Slack channel and can begin replying to customer questions.
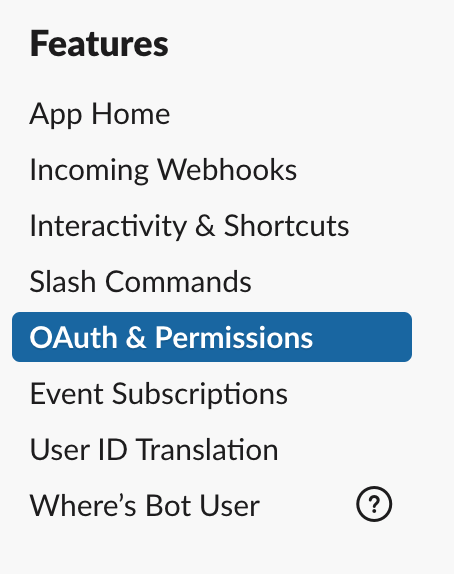
Head back over to your Slack App, navigate to Event Subscriptions and Enable Events. This can be found within the features sub menu of your App.
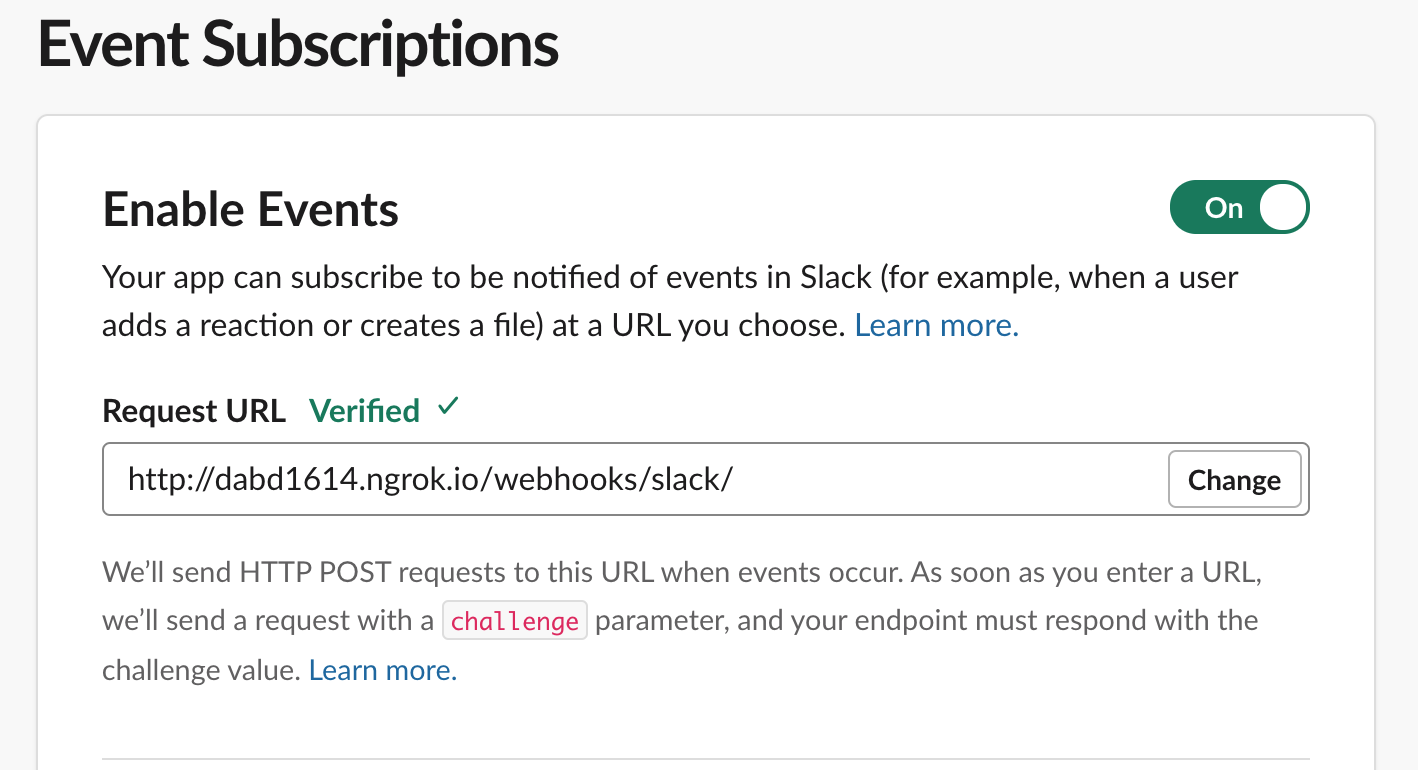
Your application requires verification before Slack will start posting events to your application’s webhooks. This ensures the app belongs to you, as you wouldn’t want personal chat messages going to other people!
The verification process involves Slack sending your API an HTTP request with a challenge string. In turn, they expect your API to return this challenge string back to them in the response to verify.
Create a new file named SlackWebhookController.php in the src/Controller directory with the following content:
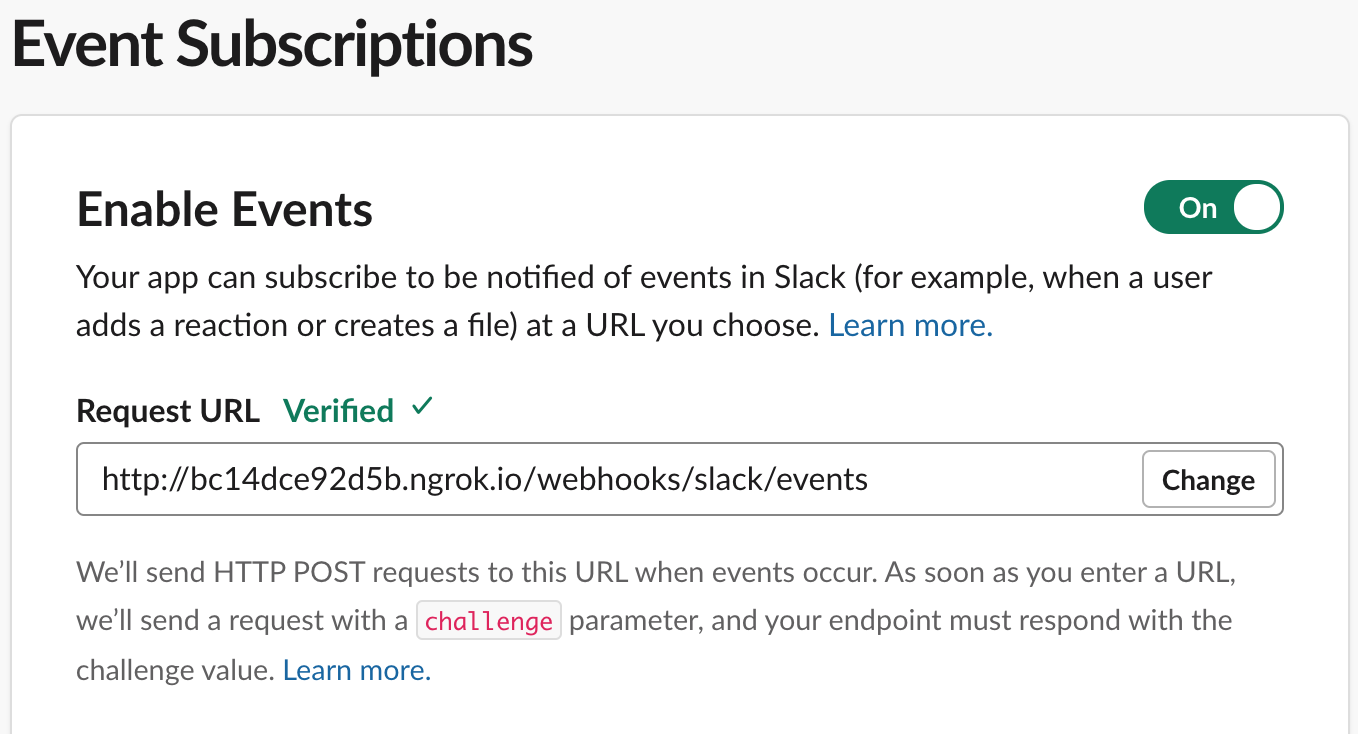
Go back to the Slack App web page and insert the following value http://xyz.ngrok.io/webhooks/slack/events into the Request URL field. Make sure that you replace the ngrok URL with the ngrok URL found in your terminal. Slack should automatically retry the verification and if successful, you will be greeted with a verified confirmation.
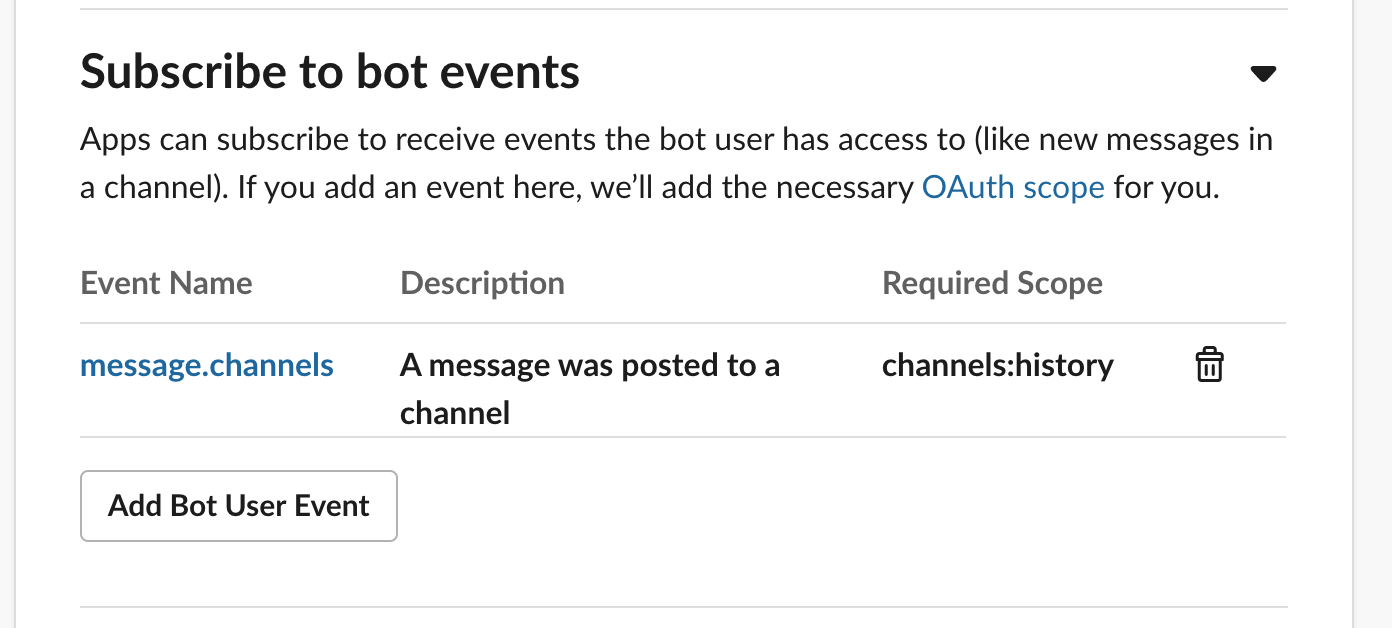
Open the Subscribe to bot events section and create a new Bot User Event for the message.channels events. By subscribing to this event, each new message the Bot has access to will be sent to the Request URL we configured above. This includes messages added by a person directly to the channel, replies to a thread, and even the bot messages that are proxying the customer's SMS messages.
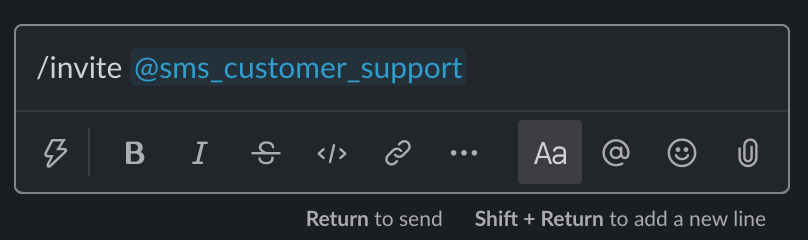
Press the Save Changes button at the bottom of the page and re-install your Slack App if prompted. Invite your Bot to the channel you selected earlier (e.g. #customer-support), if this wasn’t done for you automatically.
Forwarding Slack Messages to Customers
Now that we’ve told Slack what messages we’re interested in and where to send them, we can begin handling the responses from your customer support team. The responses to each customer query will be performed using Slack’s threading functionality. By doing so, we can avoid the possibility of a response in the main channel accidentally being sent to the wrong customer. Additionally, threading ensures that all information is nicely contained and isolated.
As we only want to handle messages that are a part of a thread, you need to filter out messages that aren’t threaded and also exclude thread parent messages.
Let’s do that now! Update the handleSlackEvent method in your src/Controller/SlackWebhookController.php file like so:
At this point, you’ve filtered out all messages that you’re not interested in and have extracted the response to the customer’s query.
Now we need to figure out which phone number to send the response to. Earlier, when proxying the messages from Twilio into Slack, you set the subject of the notification as the customer’s phone number. To access this, we need to communicate with Slack’s API to access the thread of messages the current response belongs to. By doing so, we can access the thread parent and in return, the customer’s phone number.
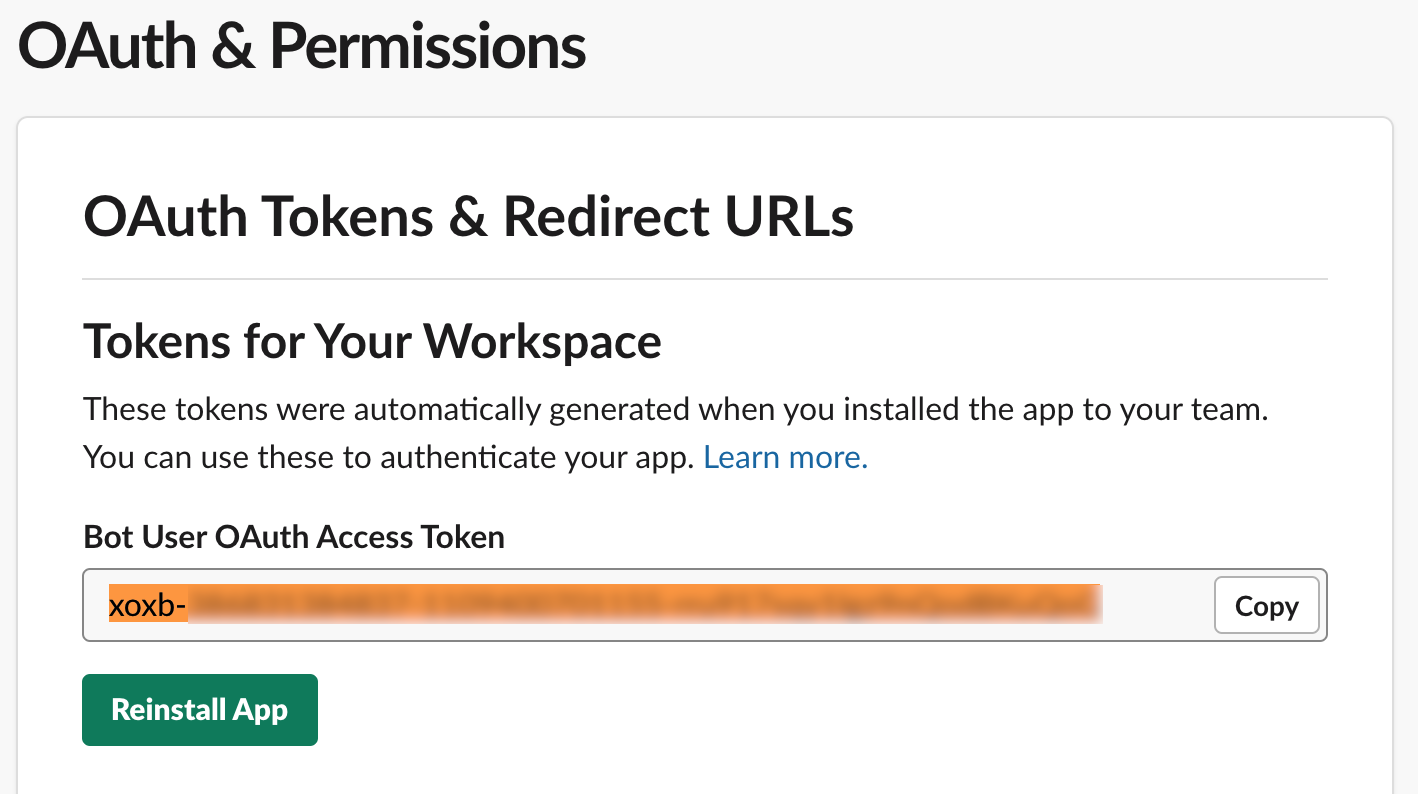
We’re now going to configure a new Guzzle client to interact with the Slack API. Before we do this, we need to acquire an access token and the channel ID for our #customer-support channel. To find your access token, head back to the Slack App page and select OAuth & Permissions within the Features menu.
On this page you’ll see a Bot User OAuth Access Token. Copy this value and add it to the .env.local file.
Next we need to find the channel id for your customer support channel. The easiest way to do this is to navigate to your Slack channel via a web browser.
Head to https://slack.com/intl/en-gb/ and press the Launch Slack button over at the top right.
Once loaded, navigate to your customer support channel (e.g. #customer-support). The URL is in the format https://app.slack.com/client/<team_id>/<channel_id>. Extract the channel id from the URL and add this value to the .env.local file like so:
With the access token and channel configured in your environment variable, you can now configure a Guzzle client to access the Slack API. Copy the following contents into your config/packages/eight_points_guzzle.yaml file
The above configuration creates a new Guzzle client instantiated with the Slack API base URL and the content type that the Slack API expects. The configuration also handles appending your Slack access token and channel id to each of the requests as query parameters.
Now, let’s build a thin wrapper on top of the client to encapsulate the data fetching. Create a new Service directory in the src directory. Inside the src/Service directory, create a new file named SlackApiClient.php and add the following:
The getConversationReplies method returns all of the messages of a thread for the given id. This also includes the parent message which holds the customer's phone number that we’re looking for.
Right now, Symfony cannot correctly autowire the GuzzleHttp\Client by itself, so we need to tell Symfony which Guzzle client to use. Add the following to your config/services.yaml file:
Head back over to the SlackWebhookController and use the SlackApiClient to extract the customer's phone number from the thread.
You can now use Symfony's Notifier Component and Twilio to send the support message response to the customer.
The Notifier Component provides three different Recipient types:
NoRecipient- The default recipient if none are provided. This recipient can be used when no contact information about the user is required, such as flash messages for browser notifications.Recipient- One step up from theNoRecipienttype. This type contains an e-mail address which allows it to be used for email and browser notifications.AdminRecipient- The AdminRecipient can contain both an email address and a phone number, which means it can be used for all notifications. This is the Recipient type we are using as we need to provide a phone number to contact the customer.
Testing
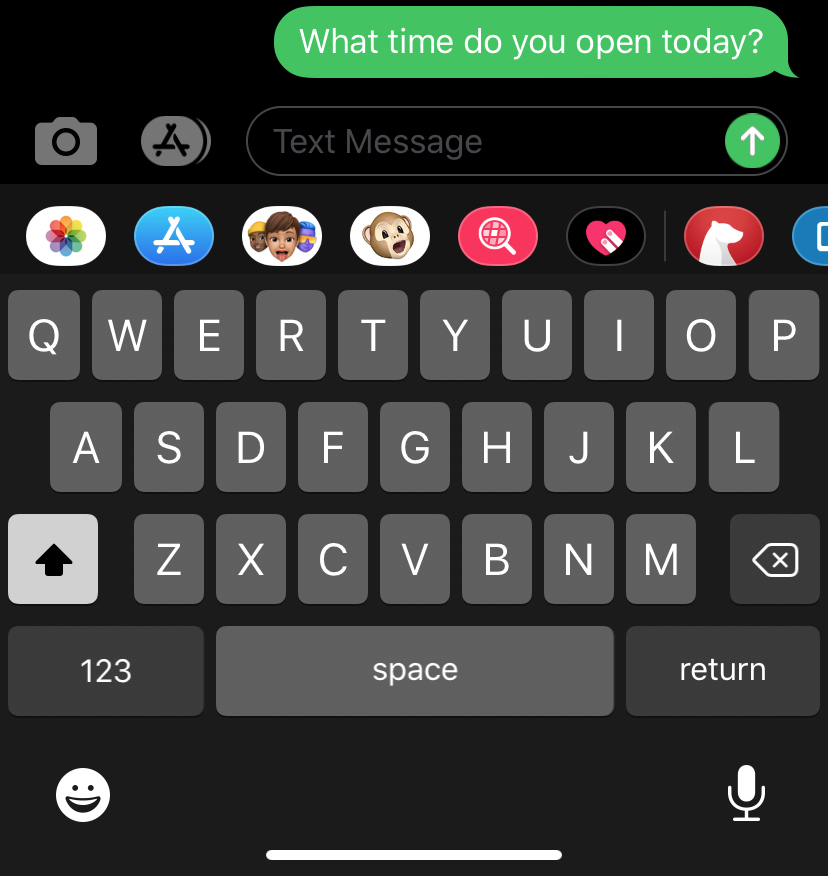
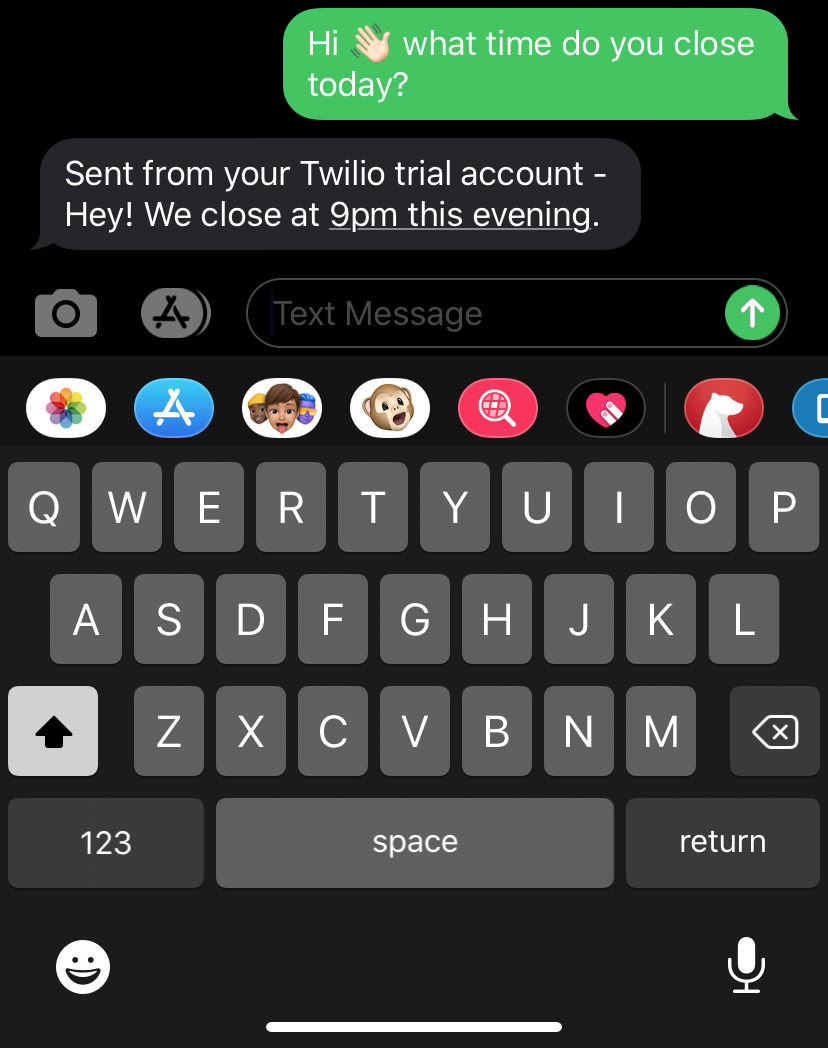
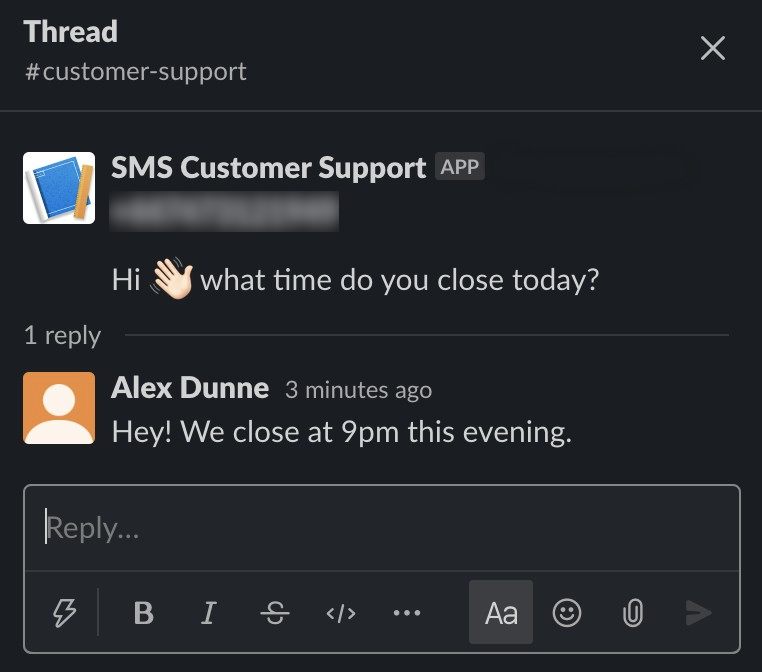
To test your application works correctly, try sending an SMS message to your Twilio phone number. Shortly after sending the message, you should see the proxied message in your selected Slack channel. Reply to the message by selecting the Reply in thread option. Shortly after, you should receive an SMS message with the response back to the device that sent the initial message.
Conclusion
Congratulations! You have successfully used Twilio’s Programmable SMS API and Slack’s API abstracted behind the amazing Symfony Notifier Component library to proxy messages from external users into a Slack channel. You should now understand how powerful this abstraction can be and also how easy Twilio makes it to add another form of communication into your applications.
There are multiple directions one could take this going forward. First and foremost, I’d recommend verifying the requests coming from Slack using the x-slack-signature, if you plan to use this in a production environment.Read more here.
Another, possibly more fun addition, would be to allow customer service team members to mark questions as answered using an emoji. Different emojis could semantically mean different things to your business. To get started you would need to listen for emoji events and in return, you could automatically send thank you messages to the customer based on the emoji used.
Alex Dunne is a Software Engineer based in Birmingham, UK. Often found experimenting with new technology to embrace into an existing well-rounded skill set.
- Twitter: @i_dunne_that
- Website: http://alexdunne.net/
- GitHub: https://github.com/alexdunne


Related Resources
Twilio Docs
From APIs to SDKs to sample apps
API reference documentation, SDKs, helper libraries, quickstarts, and tutorials for your language and platform.
Resource Center
The latest ebooks, industry reports, and webinars
Learn from customer engagement experts to improve your own communication.
Ahoy
Twilio's developer community hub
Best practices, code samples, and inspiration to build communications and digital engagement experiences.