Reduce Spam Registrations in WordPress with Verification Emails using Twilio Verify
Time to read:
It’s no secret to WordPress owners that the platform running their website and 35% of the Internet is a spam magnet. Its popularity has caused hackers to push the limits of their creativity, releasing spambots across a third of the Internet. This means that less-secure websites suffer from exploitations and data integrity issues.
Whether you are hosting your favorite cooking blog or The New York Times, your WordPress website needs extra prevention to stop fraudulent activity. That’s why we’re creating an email verification system and incorporate it directly into the WordPress user registration flow to reduce fraud. At the end of this tutorial, you will have a custom WordPress plugin that sends a secure email to every registrant before they can access their account.
Why Not Use WordPress’ Default Confirmations?
If you’re unaware, WordPress does include email confirmation for new registrations, but this alone doesn’t prevent skilled hackers from exploiting the other vulnerabilities and creating fake users.
Rolling out a trusted solution can provide the following benefits:
- Improved security and email deliverability by creating a link that can’t be spoofed
- Customized email templates for branding
- Flexible implementation that can also be used to to add email verification to other components such as forms or pages
Prerequisites
This tutorial will utilize Twilio Verify’s email functionality via SendGrid to provide email validation to your WordPress users. In order to get started, you will need to set up your Twilio and SendGrid accounts to create a verification service with your credentials.
After you create your Twilio Account, navigate to the console and save your Account SID and Auth Token to a safe place.

You will also need the following set up on your computer to begin:
- Composer globally installed
- A WordPress installation (Check out this tutorial that shows you how to set one up in 5 minutes)
Set Up the WordPress Plugin Directory
In your WordPress folder, create a new plugin directory named twilio-verify-email and add the main plugin file twilio-verify-email.php. Run the commands below to generate these components in your terminal:
Using your favorite IDE, create the file twilio-verify-email.php inside of the twilio-verify-email folder.
Now add the plugin header to make it discoverable by WordPress:
NOTE: To learn more about WordPress plugin development, visit the following link.
Create a SendGrid Key
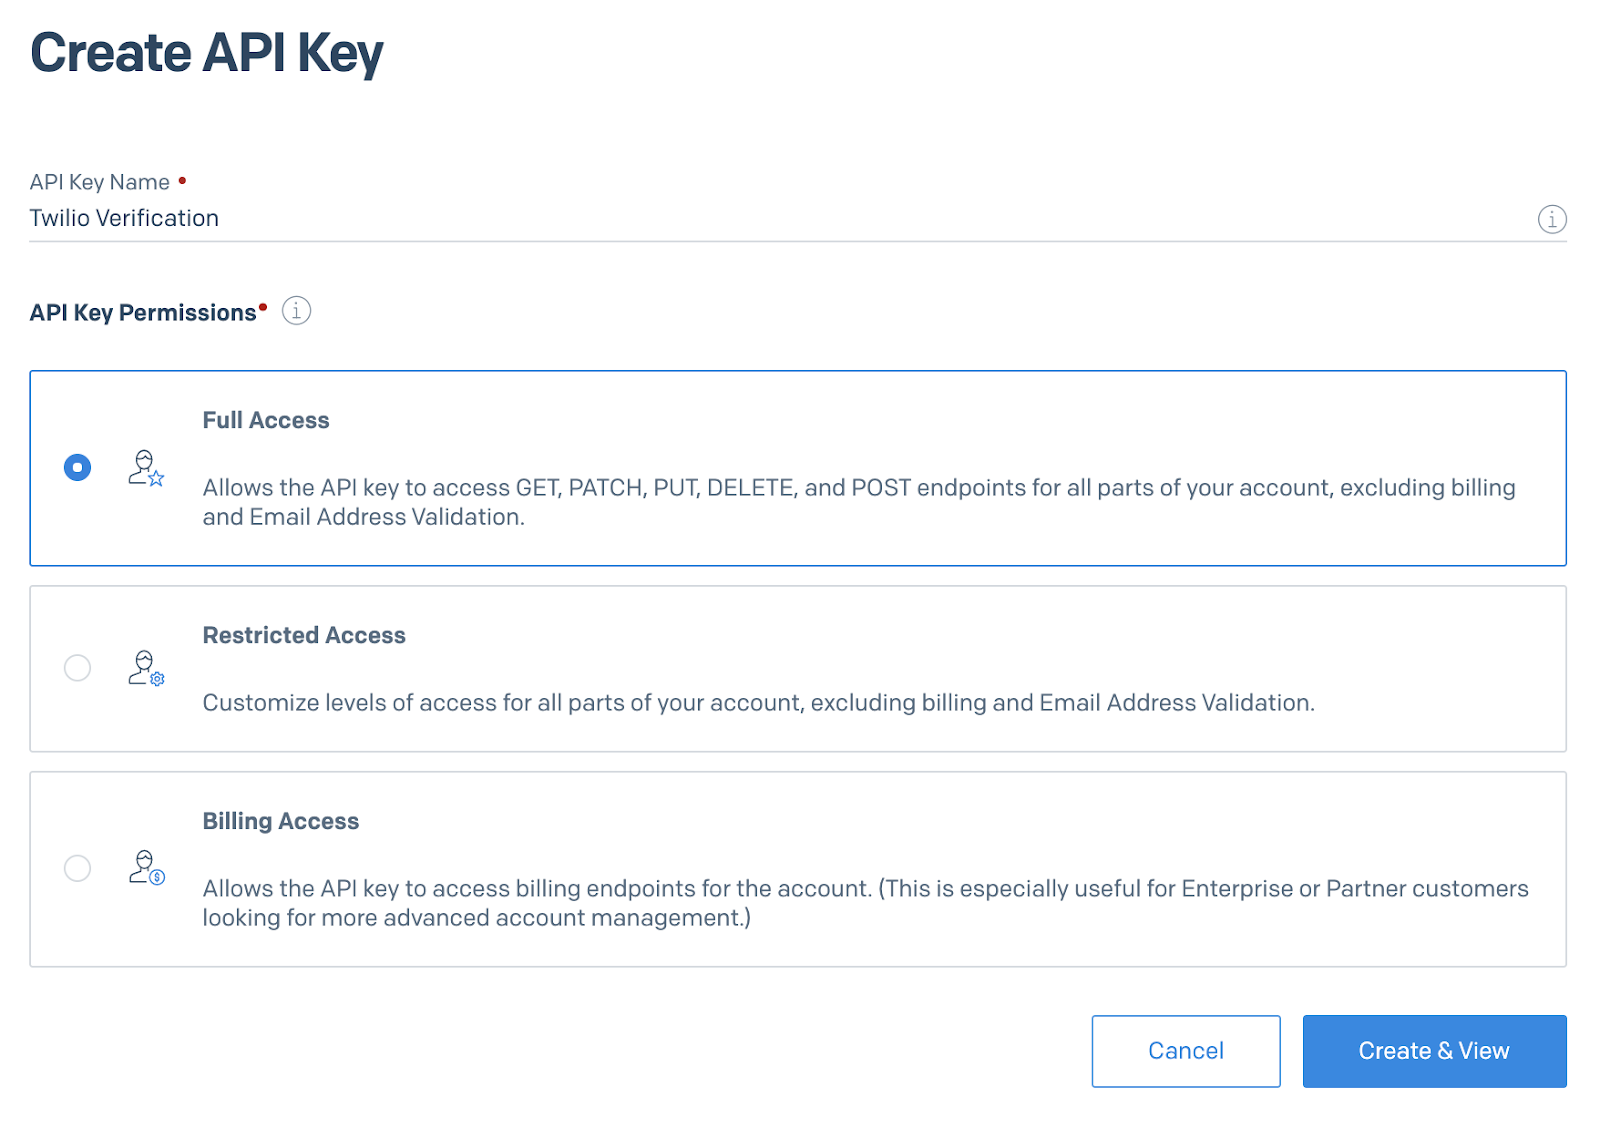
As with any API, you will need an API key to authenticate each request you make to SendGrid’s servers. Navigate to the SendGrid API Keys dashboard to create a new key with Full Access if you don’t already have one available.
Save the generated key to a secure location as we will need it later.
Set up Domain Authentication
Domain authentication shows email providers that SendGrid has your permission to send emails on your behalf. This is a major step in the fight against fraud as each email is written with your domain name, increasing trust on the recipient’s end.
You can set up domain authentication here.
For a more detailed explanation, SendGrid has created this informative tutorial, “How to set up domain authentication”.
Create a Dynamic Email Template
Now that the plugin directory has been created and your domain is authenticated, we are ready to set up the verification service. The first requirement is to create the dynamic email template that will be sent to our users.
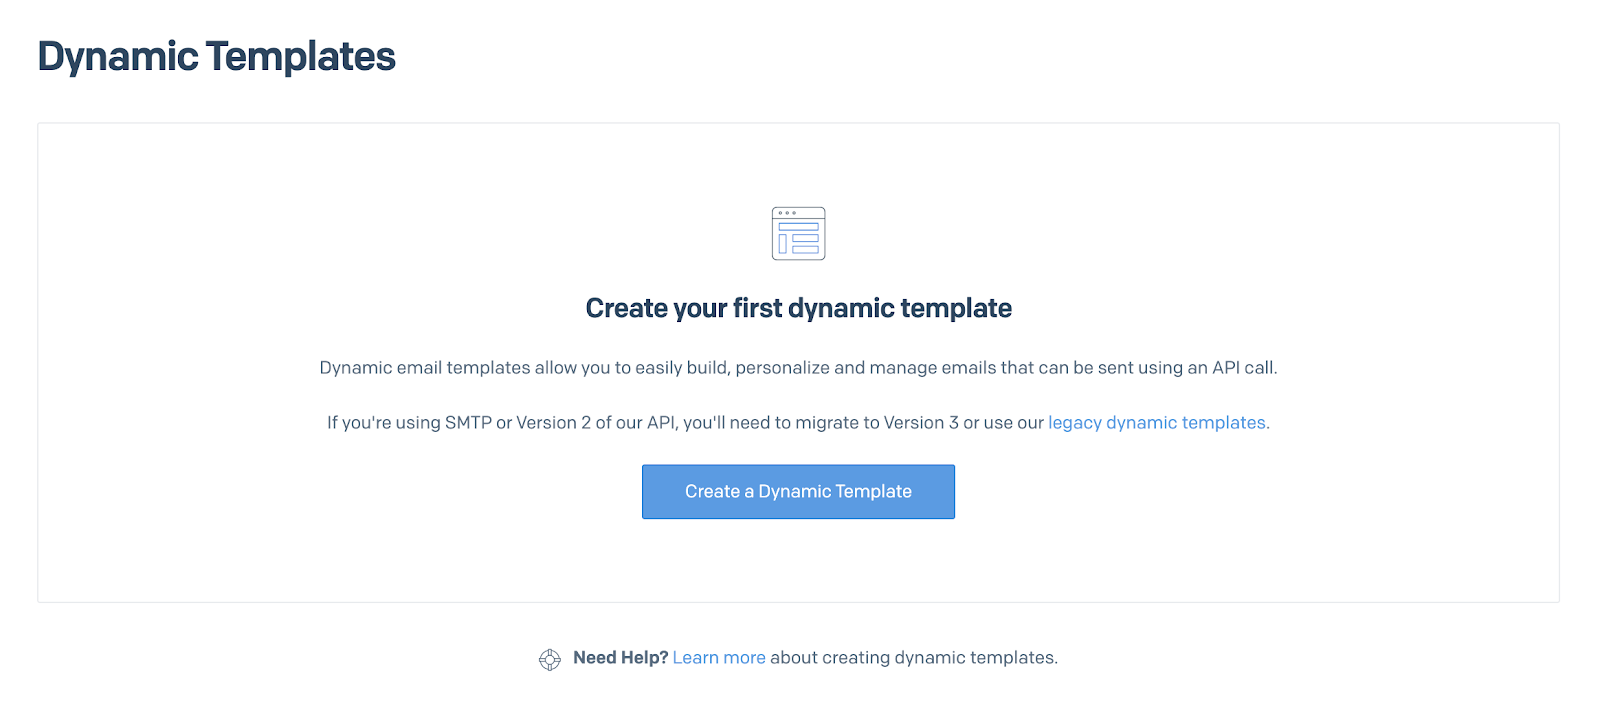
In your SendGrid account, navigate to the Dynamic Templates screen and select the “Create a Dynamic Template” button.
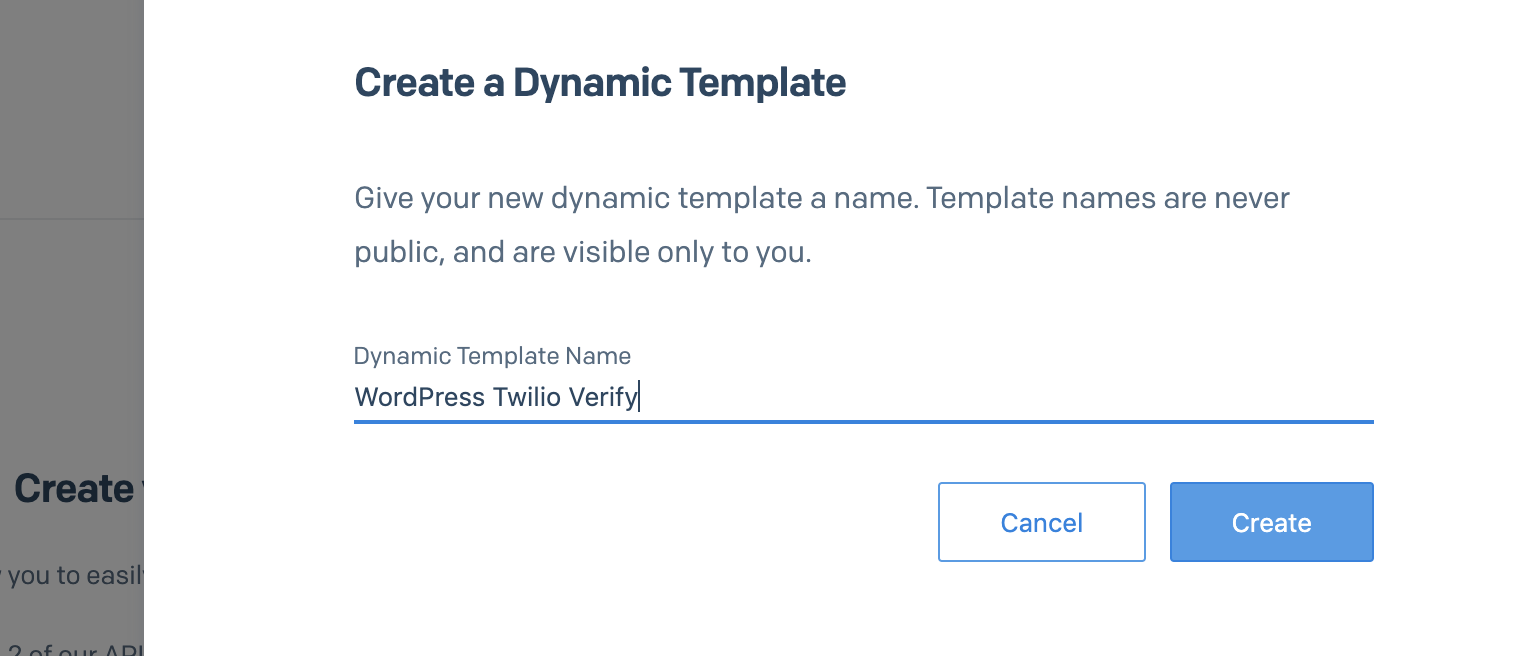
Name your template “WordPress Twilio Verify” and select the newly created row to reveal the Template ID. Copy the value and save it in a secure place for later.
After the template has been created, you will need to add the contents by clicking on the “Add Version” button as shown below.

This action will redirect you to the menu to “Select a Design”. Choose “Blank Template” followed by “Code Editor” to insert custom HTML as the design template.

Copy and paste the following code into the editor as shown in the screenshot below:
NOTE: You will need to replace the localhost URL with your production one upon deployment.

Observe that the mustache template {{twilio_code}} will be replaced dynamically with the verification code automatically generated by Twilio Verify.
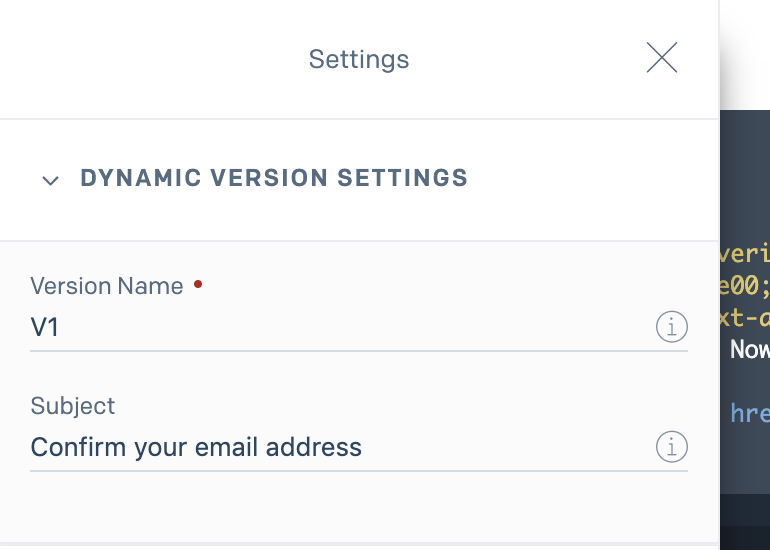
Expand the “Settings” tab to define the Version Name and email Subject. Label them as “V1” and “Confirm your email address” respectively.
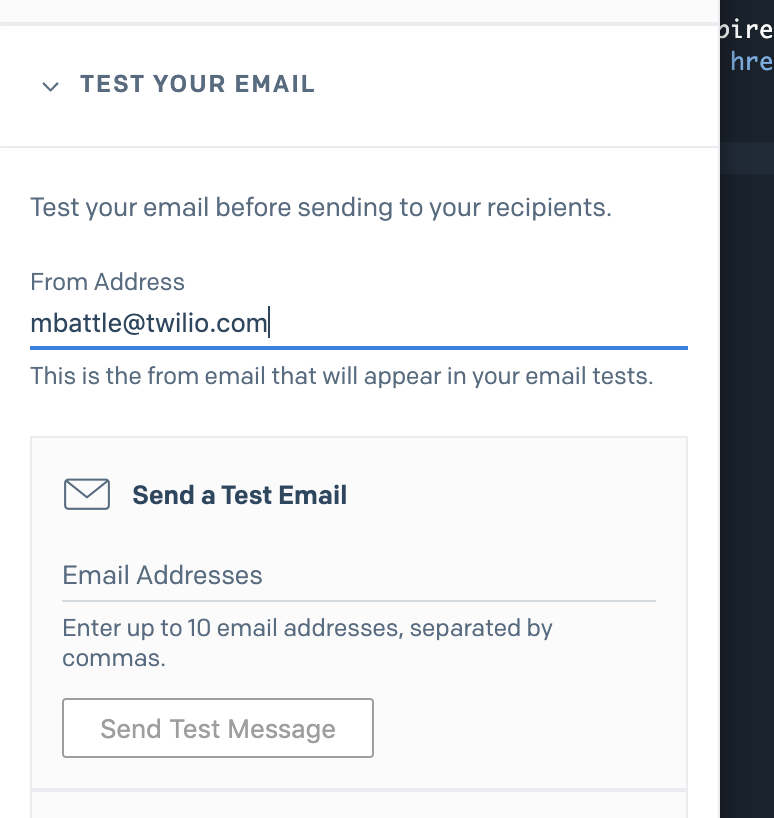
Save these settings, expand the Test Your Email section and send a test message.
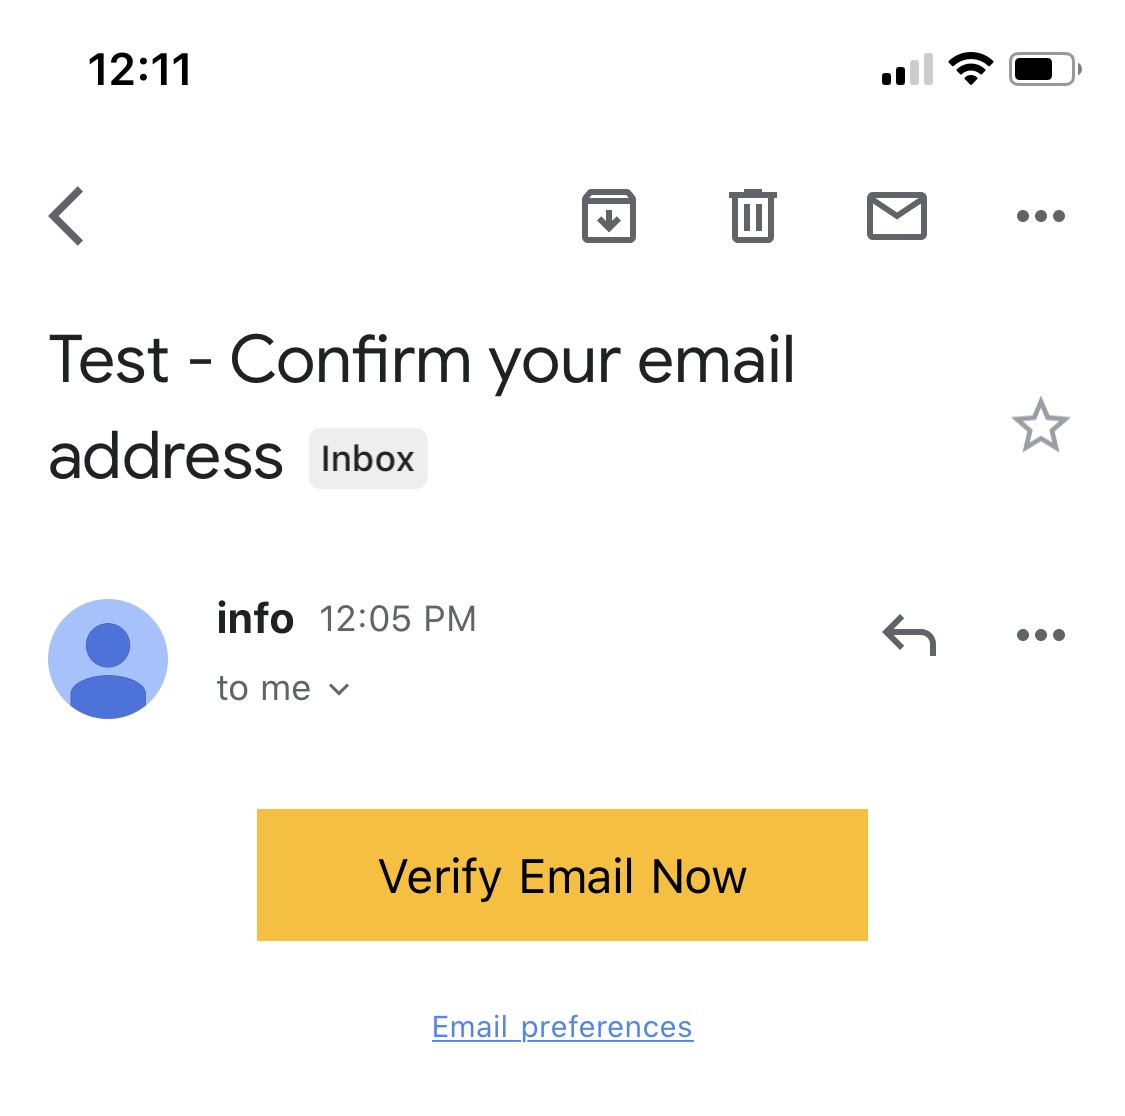
Here's a sample test message:
Create a Twilio Verify Service
The template we just created will not work by itself. It needs what we call a “verification service” to be sent to the user.
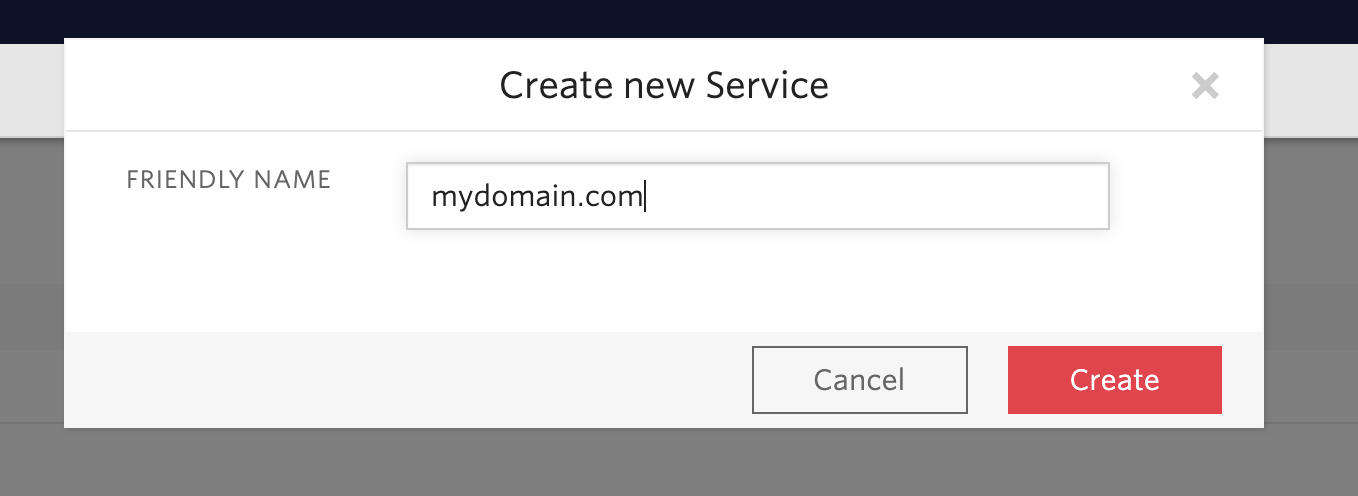
Create a new Twilio Verify service and define the Friendly Name as your website name.
Create an Email Integration
Now that the verification service has been created, we need to define the type of integration our plugin will use. Twilio Verify supports fighting fraud via SMS, phone, and email. As noted earlier, we will be creating an email integration.
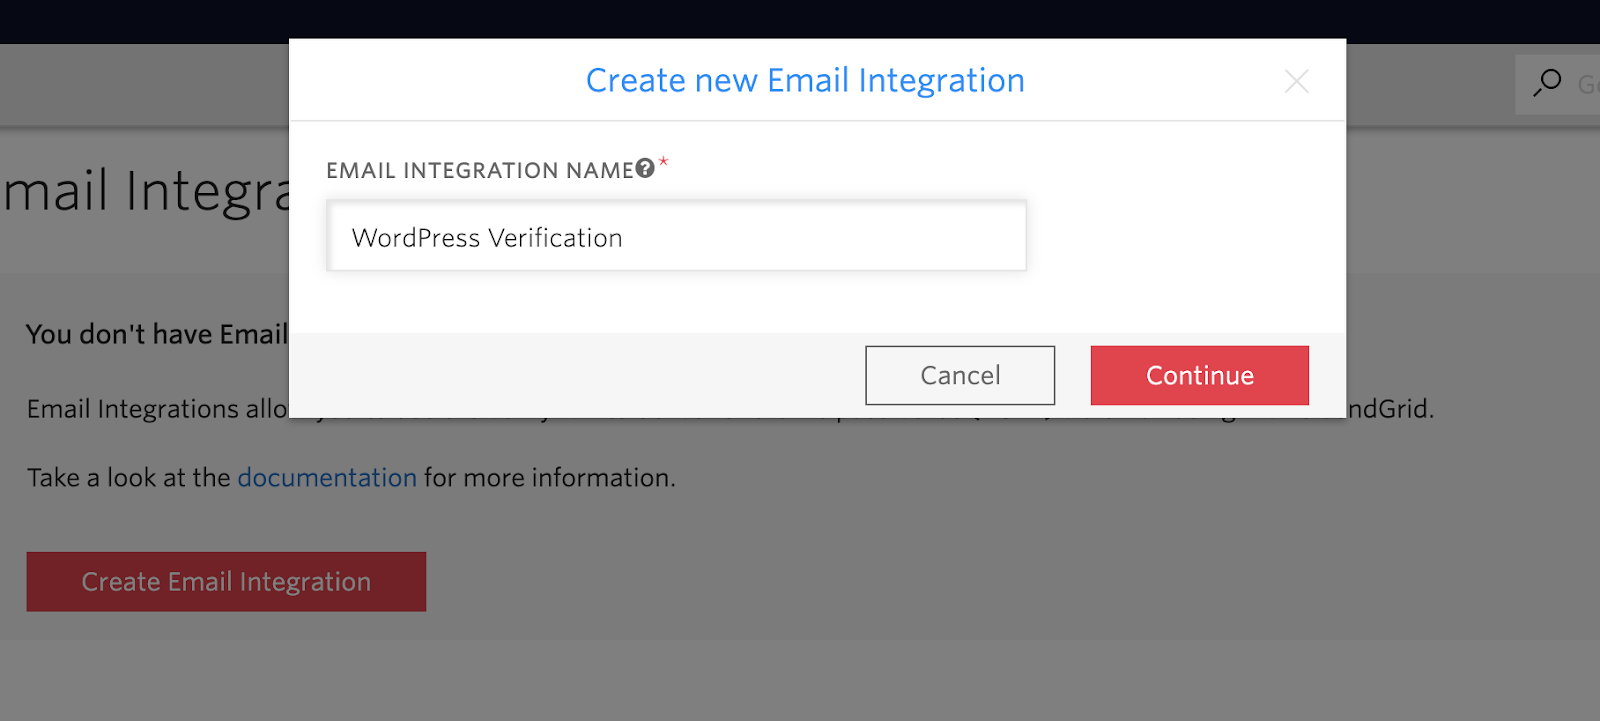
Create a new Twilio Email Integration and define the Email Integration Name as “WordPress Verification”.
You will now paste the SendGrid API key and Dynamic Template ID previously saved, along with your email address and name into the corresponding fields as shown in the screenshot below:
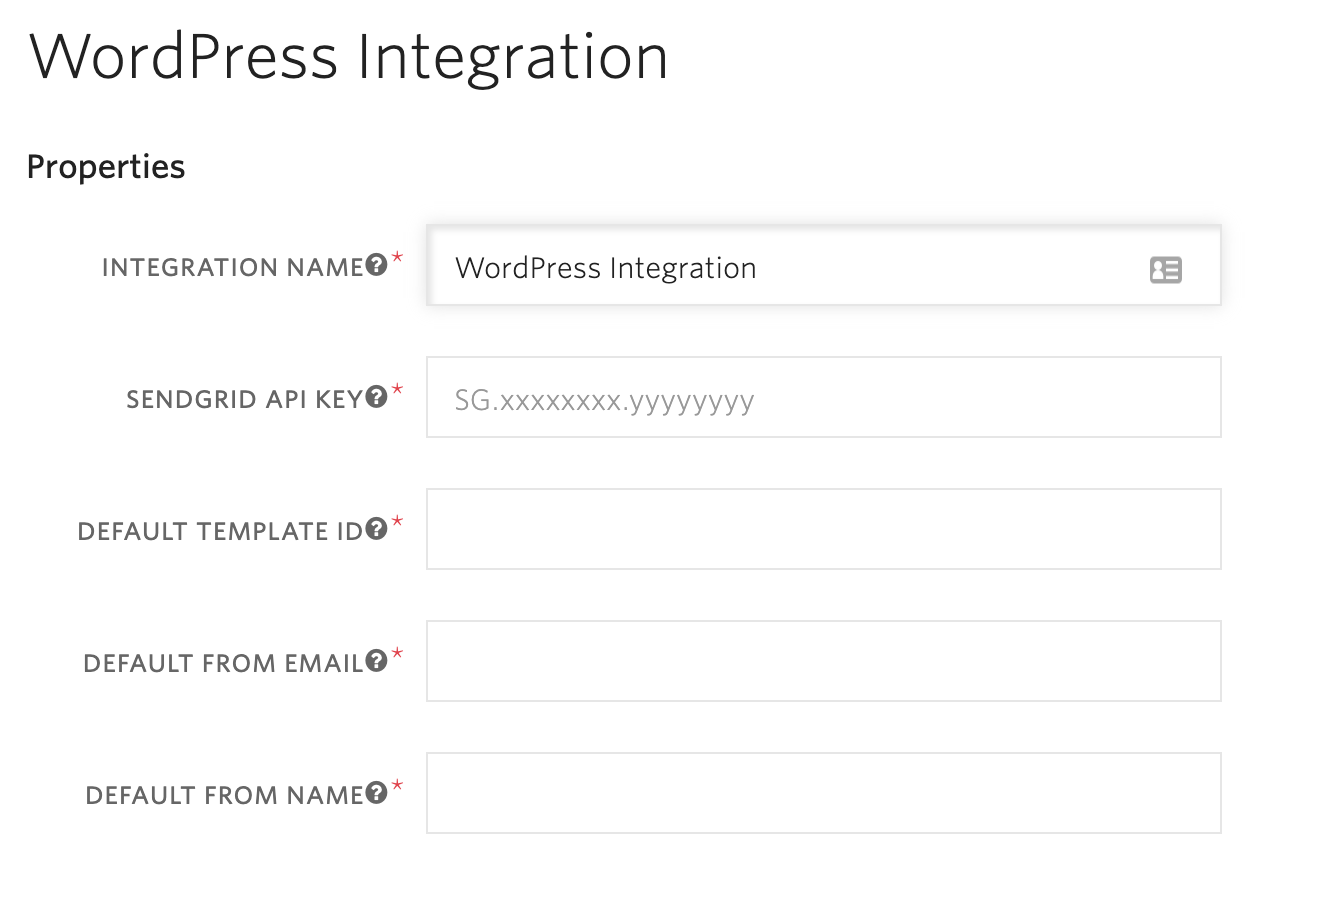
NOTE: The “Default From Email” has to be an email address verified in your SendGrid account during domain authentication.
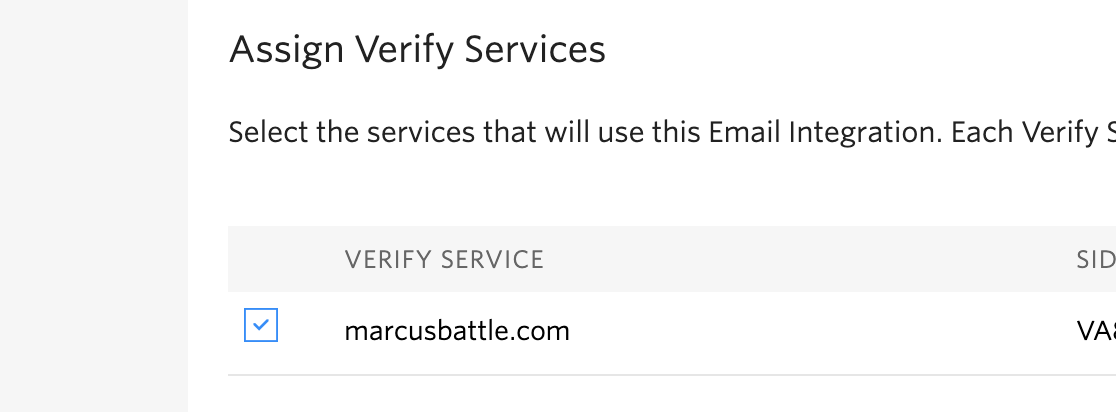
After completing the form, the integration has to be assigned to a Verify service. Select the Verify service that will use the integration, and save.
Create the WordPress Plugin
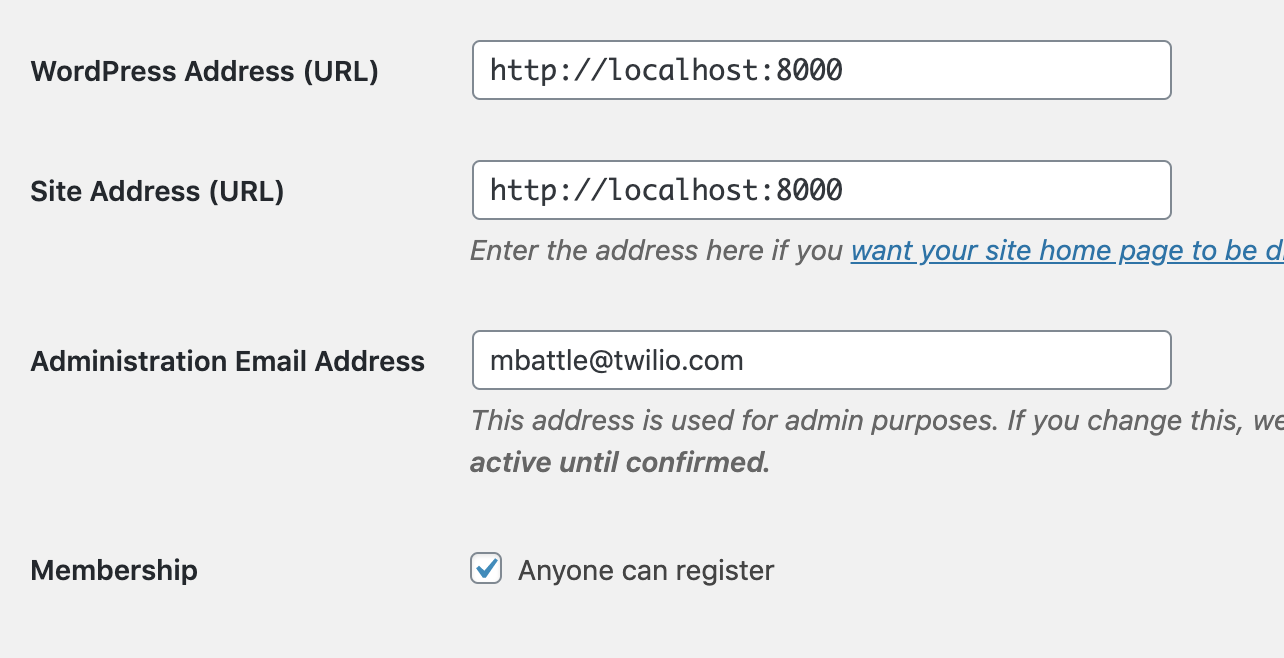
Before we write any code, we’ll need to enable user registration on our WordPress site. Login to your website and navigate to the General Settings page. Check the box under Membership labeled, “Anyone can register”.
The registration link will now be visible on the login page.
NOTE: You will need to logout to view the login page.
Override the wp_new_user_notification Function
WordPress allows you to override core functionality as long as the function is defined in wp-includes/pluggable.php, also known as a pluggable function.
The function responsible for sending the default email confirmations in WordPress is wp_new_user_notification(). Because this method is pluggable, it is conditionally called. This means that if we define a function with the same name in our plugin, the core function will never be called. Our function will be “plugged in”. Add the following code to twilio-verify-email.php:
Add the Twilio PHP SDK
Our plugin will need to connect to the Twilio SDK to process our requests to Twilio Verify. We can add it using Composer.
In your terminal, navigate to the /wp-content/plugins/twilio-verify-email folder in your WordPress install and run the following command:
NOTE: When prompted with the No composer.json in current directory message, input n to generate a new composer.json file in the plugin directory.
Add your Twilio Credentials
The primary purpose of this tutorial is to increase the security of your WordPress installation. To support this paradigm, we won’t be hardcoding our credentials within the plugin, nor inputting them into the database for potential exploitation.
We will utilize environment variables to generate secure, server-side credentials and load them into our plugin. To support a custom dotenv variable, we will utilize the popular phpdotenv package. Add it using the following command:
Now create a new .env file in the plugin directory and add the following variables with your credentials:
If you've misplaced them, your Twilio Account SID and Auth Token can be retrieved from the console.
Add Code to Send Email Verification
Next, replace the code in our plugin with the following:
The changes we made above:
- Loaded the packages that we installed via Composer
- Loaded the dotenv credentials for use by the plugin
- Initialized a new Twilio Client to send the verification email
- Updated the
wp_new_user_notificationfunction to send the email to the newly created user
Verify the Code
Once the email arrives in the user’s inbox, it will include a redirect link to /verify-email/?token=CODE.
We will now write a custom redirect using the template_redirect hook to process that code, and complete the user’s registration. In our twilio-verify-email.php file, add the following code:
This code generates a new Twilio Client responsible for validating the token provided from our email. Once that token is verified, the user is redirected to the password generation form to create their new WordPress password!
Add Error Handling
Any good developer knows that conditions aren’t always perfect and errors will happen. It is possible that the user could take longer than the allotted 30 minutes to verify their email address. Or, a spoofing attempt could be made by using the knowledge of the link to generate a fake code.
In the event that cases such as these occur, the twilio_verify_trigger_expired_error function will be called to load a WordPress error into the login form.
Duplicate Logic for Resetting the Password
We’re almost at the end but there’s one case we still need to account for; password resetting. We would only have completed half of the solution by providing verification for new users and not for resetting passwords.
To do so, we’ll just exploit the retrieve_password_message hook to intercept a request to reset the password. This will allow us to cancel the default behavior and call the wp_new_user_notification function we defined earlier.
Testing
Now that all of the code has been written, we can test the email verification.
Navigate to the plugin menu of the WordPress Admin dashboard, activate the plugin Twilio Verify Email, and register a new user.
Conclusion
Congratulations! You have successfully replaced the entire WordPress email confirmation process with your own custom, secure solution.
If you would like to extend this further, I would recommend looking into also using SMS and voice verification during the login/registration process.
Marcus Battle is Twilio’s PHP Developer of technical content where he prompts and rallies PHP developers to build the future of communications. He can be reached via:
- Email: mbattle@twilio.com
- Twitter: @themarcusbattle
- Github: https://github.com/themarcusbattle
Related Posts
Related Resources
Twilio Docs
From APIs to SDKs to sample apps
API reference documentation, SDKs, helper libraries, quickstarts, and tutorials for your language and platform.
Resource Center
The latest ebooks, industry reports, and webinars
Learn from customer engagement experts to improve your own communication.
Ahoy
Twilio's developer community hub
Best practices, code samples, and inspiration to build communications and digital engagement experiences.


