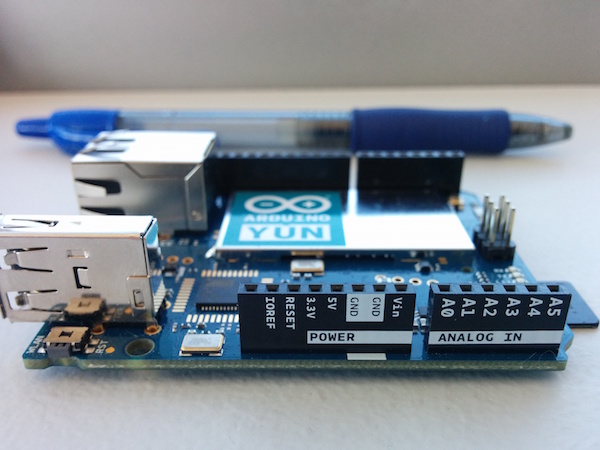
How to Send SMS And MMS From Your Arduino Yun
Time to read:

The Arduino Yun has built-in WiFi and a second microprocessor which runs Linux. That means that you can write programs in your favorite scripting language and interact with APIs directly from your Arduino.
In this tutorial, we’ll learn how to send SMS and MMS from our Arduino Yun using Python and Twilio. By the end we will:
- Install pip and the Twilio Python helper library on the Yun
- Write a Python script to send SMS and MMS
- Send a text message from an Arduino program
Getting Started
This tutorial builds on our Getting Started with the Arduino Yun tutorial, which covers:
- How to format your SD card for use in the Yun
- How to upgrade to the latest version of OpenWRT-Yun
- How to install the Arduino IDE
- How to run your first sketch on the Yun
Assuming you’ve completed those steps, this tutorial on sending text messages should take about 15 minutes. The ingredients you’ll need are:
- Arduino Yun (~$75 at Spark Fun or Ada Fruit)
- microUSB cable (~$5)
- microSD card (~$5)
To get started, sign up for a free Twilio account and buy an MMS enabled phone number:

Install pip on the Arduino Yun
In order to install the Twilio Python helper library, we’ll need to install a Python package manager called pip. SSH into your Yun (if you don’t know how to do this, check out our getting started guide).
From there:
And that’s it — now pip’s installed.
By default, pip would install Python packages to the Yun’s onboard memory. However, the official Arduino Yun docs have an ominous warning that says, “You’re discouraged from using the Yún’s built-in non-volatile memory, because it has a limited number of writes.” Let’s install the Twilio library to the SD card instead.
This requires three steps:
- Create a new directory on the SD card for our Python packages
- Set a PYTHONPATH to tell Python to look for packages there
- Force pip to install the Twilio library in our new directory
Plug a properly formatted SD Card into your Arduino (again, check out the Yun getting started guide if you need help with this), then create a new directory:
Now let’s edit our /etc/profile and set a PYTHONPATH so that Python will check our new directory for packages:
You’ll see several lines that start with export . Below those lines, then press i to enter insert mode. Then paste this:
Press esc to go back to command mode. Type :wq to save the file and quit vim. Then, from the command line, reload your environment by typing:
Finally, install the Twilio library to our python-packages directory:
Send SMS from your Arduino Yun
If you don’t already have a Twilio account, sign up now. You can do everything in this tutorial with the free trial.
We’re going to write a simple Python script to send a text message. There are two ways we could get this code on our Arduino:
- plug the SD card into our computer, write the code there using our favorite text editor, save it to the card and plug the it back into the Yun.
- Write the code directly on the Yun using Vim
For this tutorial, we’ll go with the latter.
First we need to make a directory for our Python code and navigate there:
Then create a new python script using Vim:
Once in Vim, press i to enter insert mode. Then include the Twilio python library:
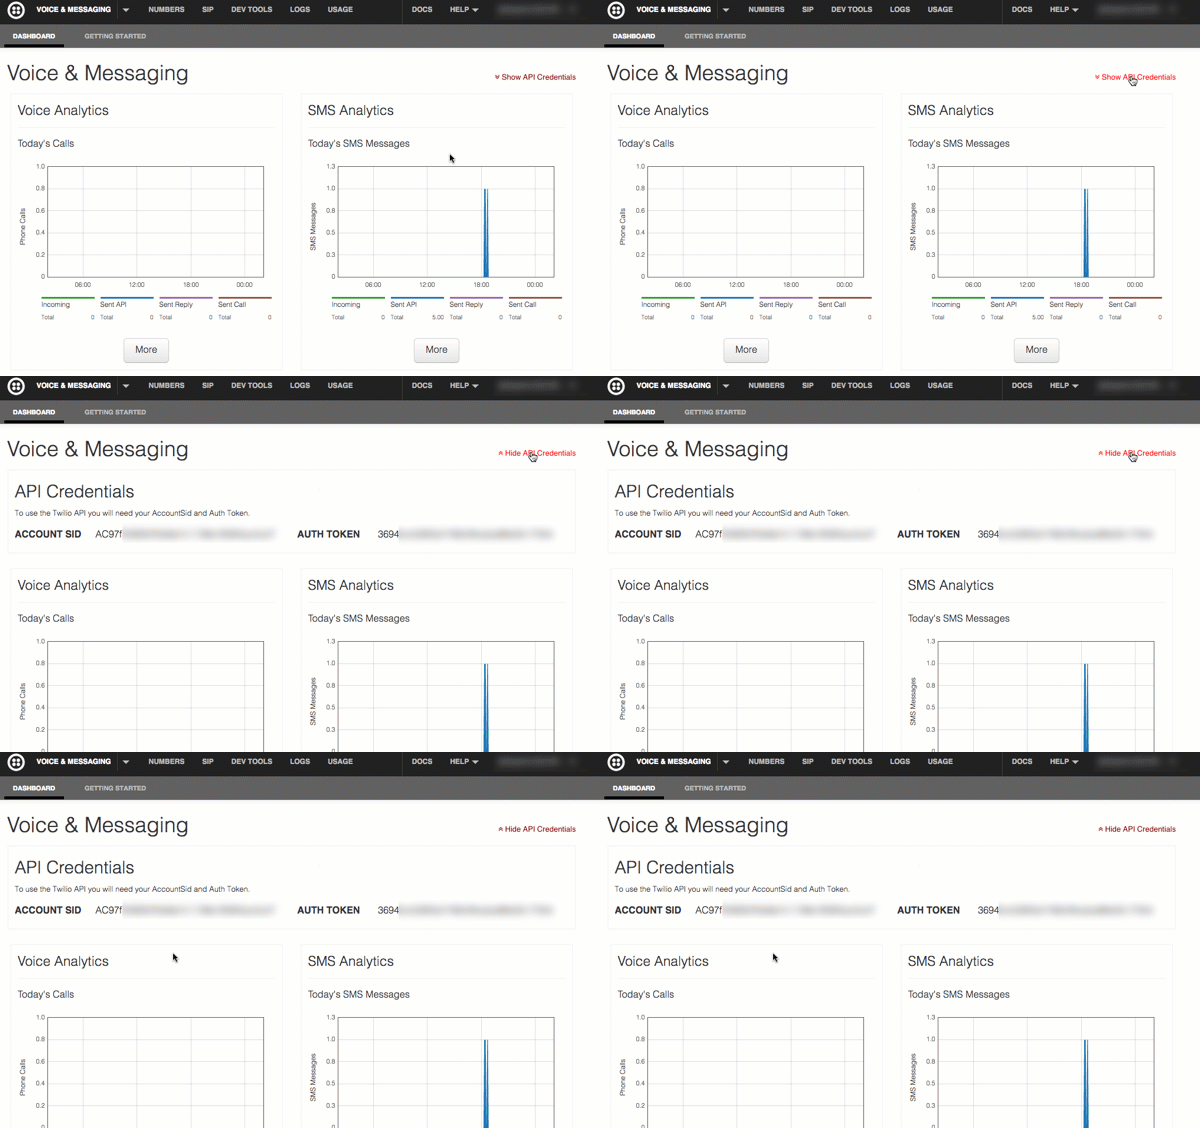
Next we need to set our Twilio credentials. In a browser, navigate over to your Twilio Dashboard, and click Show Credentials.

Copy these values into variables:
Then create variables for both the Twilio phone number you’ll be using for this project and your personal cellphone:
Create a REST client to connect with the Twilio API.
Once we’ve got our client, sending an SMS a simple exercise of passing a to , from , and a body to client.messages.create() :
Type :wq and press enter to save and exit. Then run our script:
If all goes well your phone should light up with a text message. If all doesn’t go well but Python didn’t give you an error message, check the Dev Tools under your Twilio Dashboard.
Chances are, you don’t want to edit the Python script every time you want to change the message body. Let’s modify the script to accept a message body from the command line parameter:
Open send-sms.py again and add this line to the top of your file:
Then change the line that sends the SMS to replace the hardcoded message body with the first command line argument:
Save and quit vim, then run your script again with the message body in quotes:
Send MMS from your Arudino Yun
Last year Twilio launched the ability to send picture messages, a.k.a. MMS. To send an MMS we need only to pass one additional parameter to the client.messages.create method: a media_url to tell Twilio where our picture is located.
For the sake of accurate file names, let’s make a copy of our script. Then open the file in vim:
We can use a couple of vim’s keyboard shortcuts to navigate to our special spot.
- Press shift-g to move to the end of the file
- Press $ to move to the end of the line
- Press i to insert text at the spot prior to the cursor
- Paste this code (make sure you get the preceding comma!):
So that whole line should look like:
Save and quit vim, and run your script with two parameters: one for the message body, the other with a url of an image you’d like to send. Here’s one of our puppy on the day we brought her home:
While you’re waiting for that picture to arrive on your phone, let’s chat about MMS.
First, MMS is a pretty slow way to send data and an image is a few orders of magnitude more data than 140 characters of text. It could take up to 60 seconds before you receive your picture.
Second, because MMS requires a publicly accessible url, it’s a non-trivial exercise to send an MMS with a picture that’s residing on your Yun. Two options are:
- Open a tunnel through your router to give your Arduino Yun a publicly accessible IP using a service such as Yaler.
- Upload your file to the cloud.
If that last method interests you, check out our tutorial on how to build a photobooth with an Arduino Yun, where we demonstrate how to upload pictures to Dropbox from your Yun.
Alright, hopefully by now your picture has arrived on your phone. Let’s play with some Arduino code.
Send an SMS from an Arduino Sketch
If all you wanted to do send an SMS, you wouldn’t need an Arduino. The reason we’re doing this on the Yun is so that we can do some hardware hacking along with our software writing. Let’s write an Arduino sketch that will run our text message sending Python script.
Open the Arduino IDE and create a new sketch.
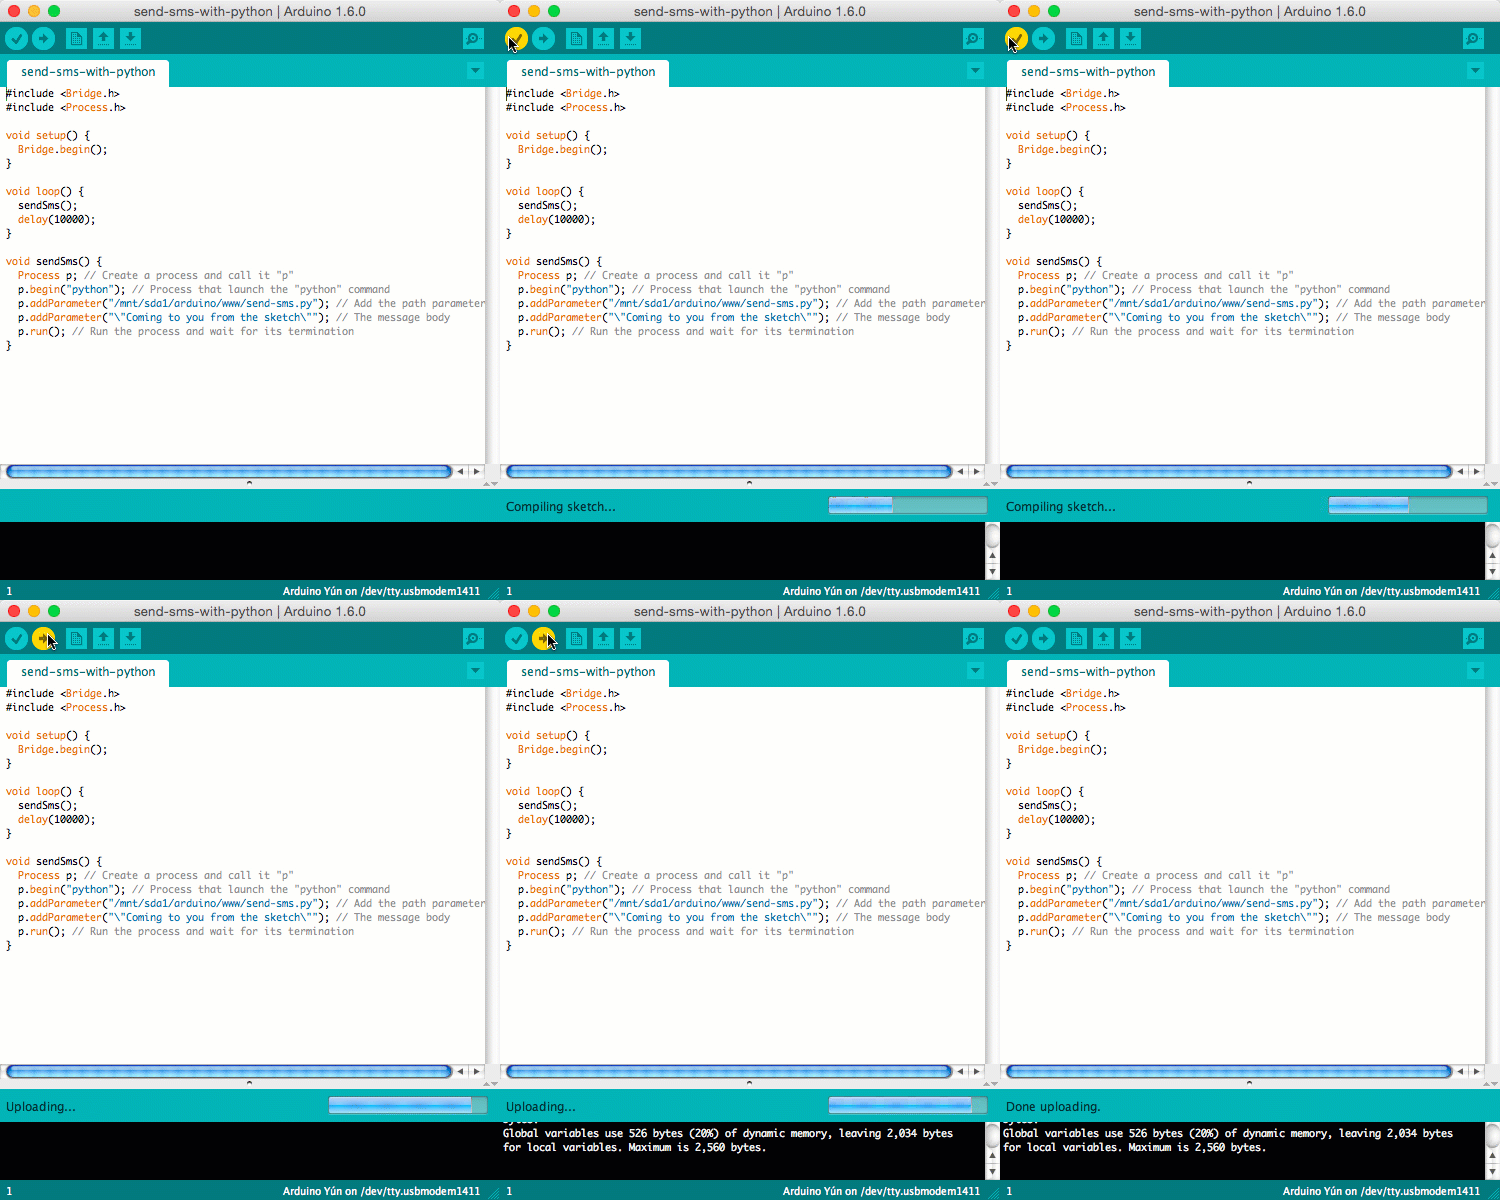
The Arduino Yun has two processors: the “Arduino chip” which controls the pins and interfaces with the hardware, and the “Linux and WiFi Chip.” These two chips communicate with one another via the Bridge library. The Process library is how we execute Linux commands from our Arduino code.
At the top of the sketch, include the bridge and process libraries:
Your sketch comes pre-populated with setup() and loop() functions. We’ll come back to those in a minute. First, let’s write the function to call our Python script. Add this to the bottom of your sketch:
Now back to our setup() and loop() . The setup() runs one time after you upload the sketch to your Arduino. Ours is pretty simple — we’re just going to initiate the Bridge.
Our loop is pretty simple too. We’ll call our sendSms() function, then wait for 10 seconds.
Click the checkmark in the top left corner to verify your script. Then click the upload button to send your script to the Arduino Yun.

Shortly after you do that, your phone will light up with a text message. Then another. Then another. Once you’ve had enough, comment out the sendSMS line in the sketch and re-upload it to your Yun.
Next Steps
Now you’ve got an Arduino sketch that can trigger a Python script that can send a message to the 6.8 billion cellphones of the world. What does one do with that kind of power?
Perhaps you could:
- Use environmental sensors to alert you when the temperature in the fridge rises above a certain temperature
- Build security system that texts you when motion is detected in your house
- Hook up a webcam and have your dog send you selfies by hitting a big red button
Also, if you’re looking to go further with the Yun, check out how to:
Also, check out some of our IoT Quickstarts for working with Twilio Programmable Wireless and Twilio’s Sync for IoT.
Whatever you build with your Arduino Yun – or something else – I’d love to hear about it. Leave me a message in the comments below, drop me an email at gb@twilio.com or hit me up on Twitter.
Happy Hacking!
Related Posts
Related Resources
Twilio Docs
From APIs to SDKs to sample apps
API reference documentation, SDKs, helper libraries, quickstarts, and tutorials for your language and platform.
Resource Center
The latest ebooks, industry reports, and webinars
Learn from customer engagement experts to improve your own communication.
Ahoy
Twilio's developer community hub
Best practices, code samples, and inspiration to build communications and digital engagement experiences.


