Send SMS Messages from Your Rails 5 Application with Twilio
Time to read:
December 19, 2017
Written by

In the burgeoning world of coffee, there are many varietals of coffee roasts from many regions of the world. Your boss has tasked you to create an application for them to Create, Read, Update, and Destroy (CRUD) different coffee roasts. They have also informed you that they want to be notified via SMS every time a new coffee roast is added to their website in order to prevent their competitors from putting in fake coffee roasts.
Today, we will create a very basic Rails 5 CRUD app entitled “Coffee Roasts” that will notify your boss via SMS whenever a new coffee roast is added to our website using Twilio’s SMS API.
Initializing Our Rails Project
First, let’s ensure that you have Ruby, Bundler, and Rails installed in order to set up a new project:
While I don’t recommend this next step for normal development, there is a Rails generator to create an entire CRUD app with a single command:
From there, let’s run through the typical database setup:
Integrating Rails with Twilio
Twilio and the Ruby community have created a gem (library) to make integration with Twilio a breeze. Gems are simply thousands of lines of reusable code written by other developers to make your life easier. Gemfile is a Ruby file with a list of the gems required to run your application. Our Gemfile was automatically generated from the scaffold command we ran earlier to create our Rails app.
Let’s add the add the following line to our Gemfile in order to bring in Twilio’s functionality:
Let’s next run the following command to get the Twilio gem installed in our Rails app:
Signing up for Twilio
From there, let’s setup the configuration variables we’ll need for our app.
- If you don’t already have a Twilio account, sign up for a free trial. Make sure that the number you pick has SMS capabilities.
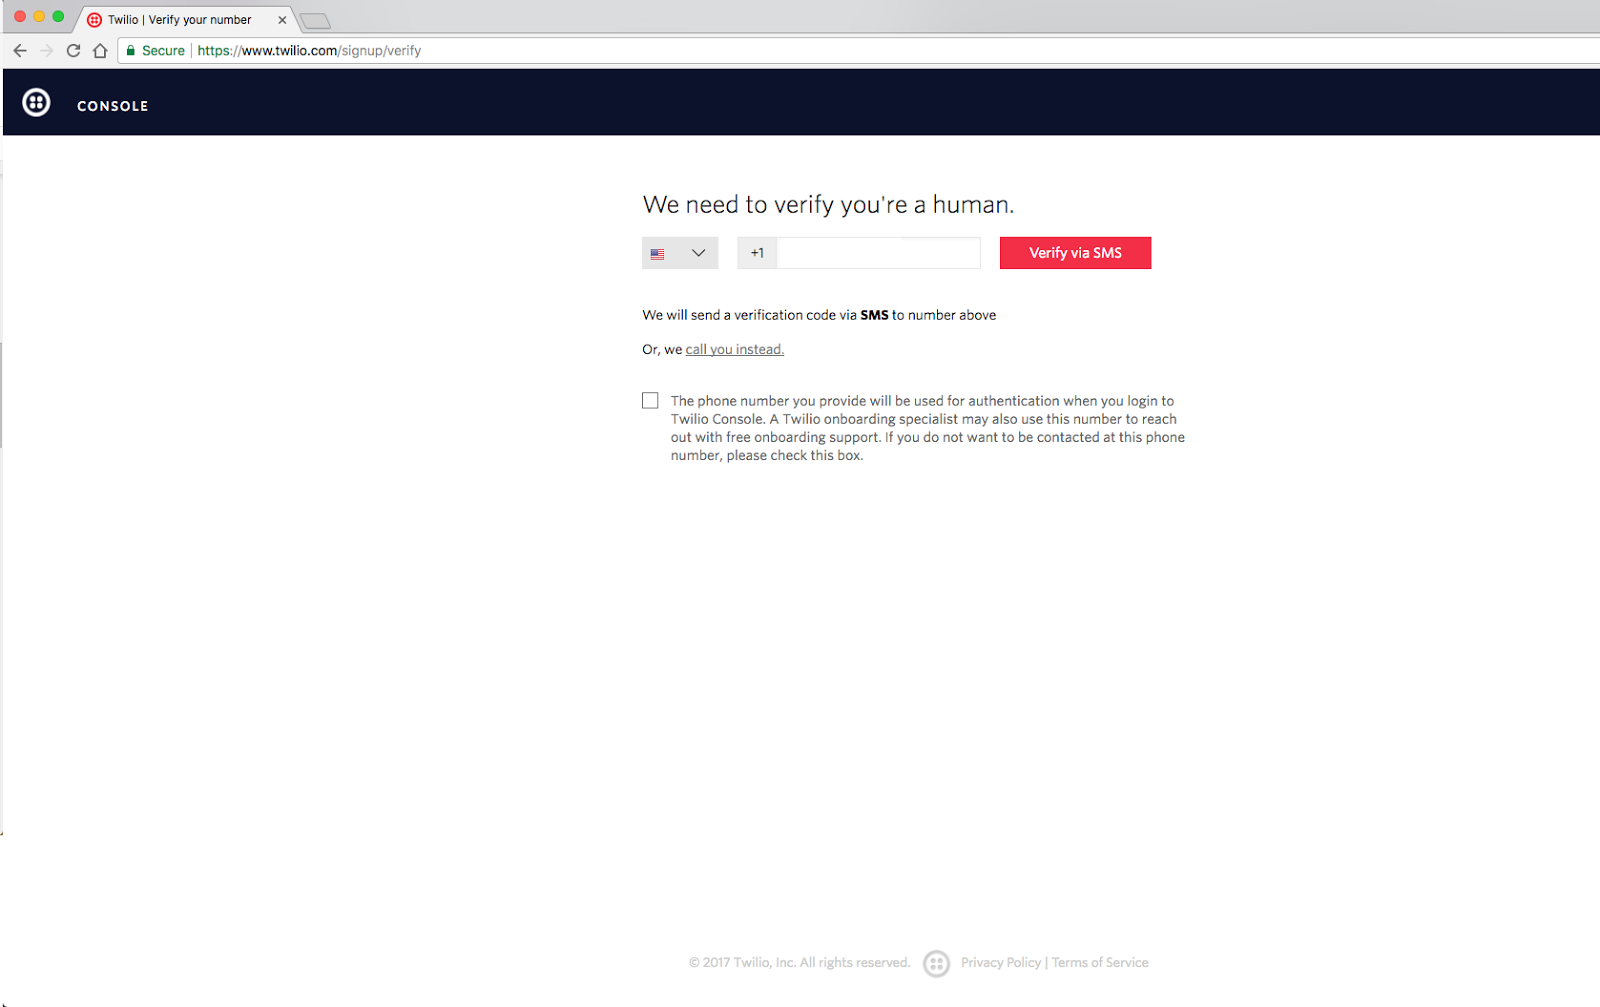
- After you sign up, Twilio will ask you to verify your personal phone number. With a free trial account, this is the only number you can send texts to, but that’s okay for this app.
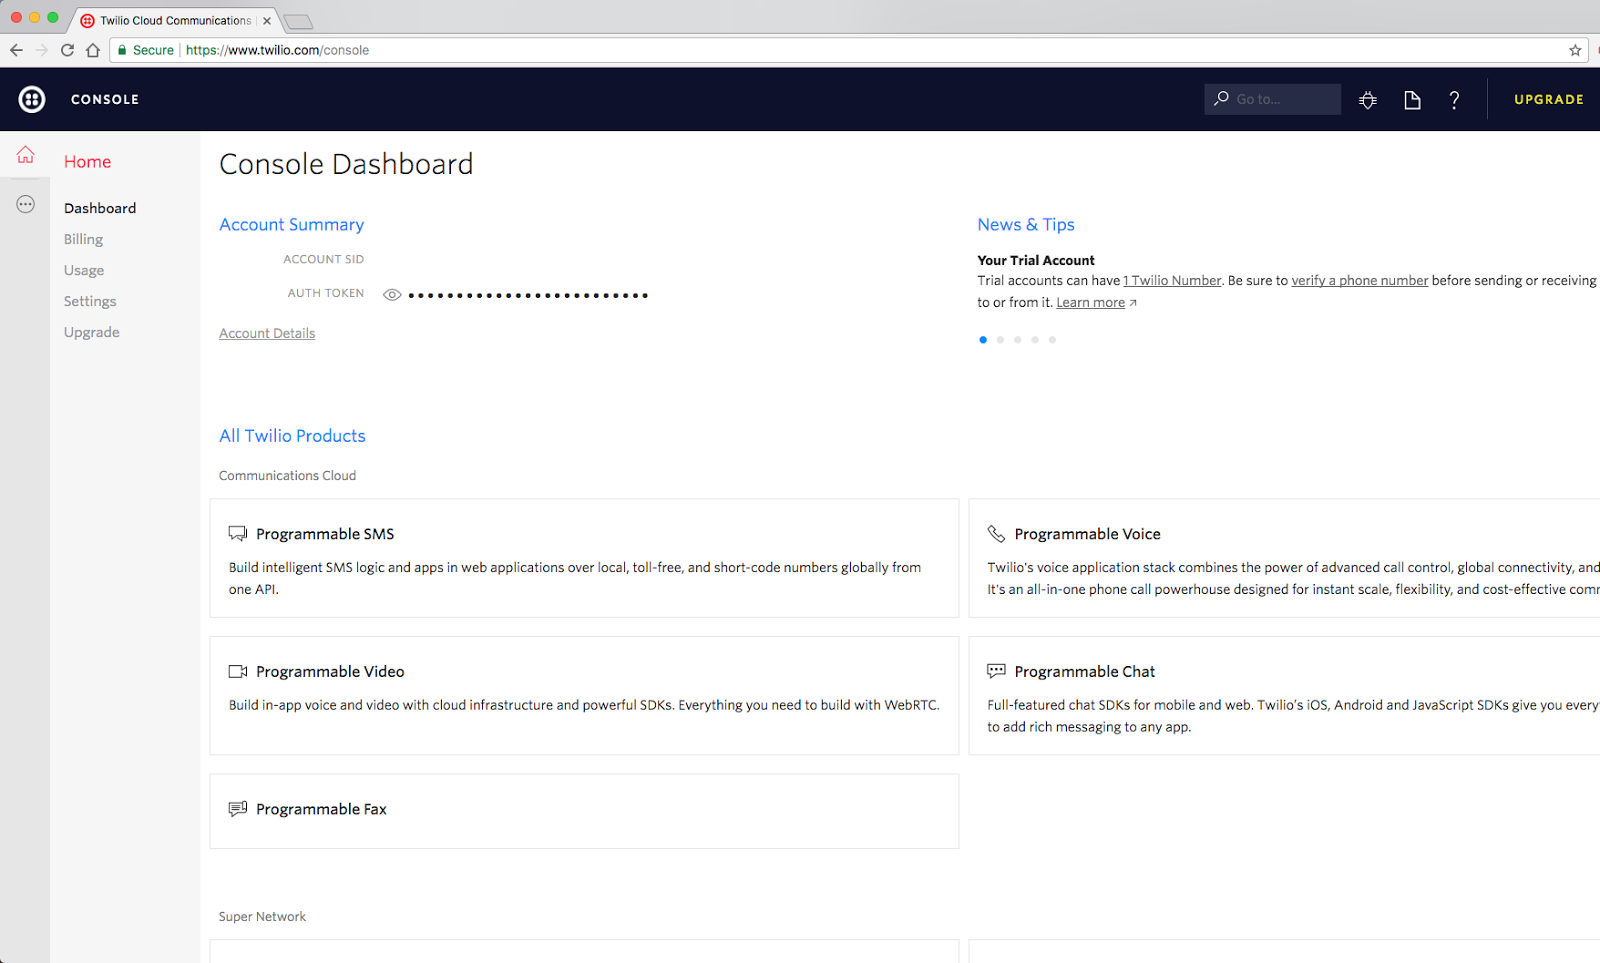
- Click the house icon on the top left corner of the Twilio Console. Keep track of your Account SID and Auth Token as we’ll need them later in our Rails setup.
Configuring our Application
Now that we’ve got our Account SID, Auth Token, and Twilio phone number, we’re going to add them into our config/secrets.yml file. It will look something like this:
Please note that you’ll need to add your country code in the twilio_phone_number. For example, if your number is “(312) 555-6677”, you’ll enter your phone number as “+13125556677”.
We need to configure our client by adding a Twilio initializer that will be automatically loaded with Rails. Create the file config/initializers/twilio.rb and add this code:
Before we start writing the code in our application, let’s test the integration in a console. Use bundle exec rails console to start a console and run the following:
If everything worked, you should receive a text message on the phone number you used to set up your Twilio account. That’s pretty impressive for so little effort!
Let’s Write Some Code!
Next, let’s add the text messaging code to a service object in our Rails application in app/services/twilio_text_messenger.rb:
Finally, let’s add that service object to our create method in app/controllers/coffee_roasts_controller.rb:
Running the Ruby App
And that’s it! To test this, start the server:
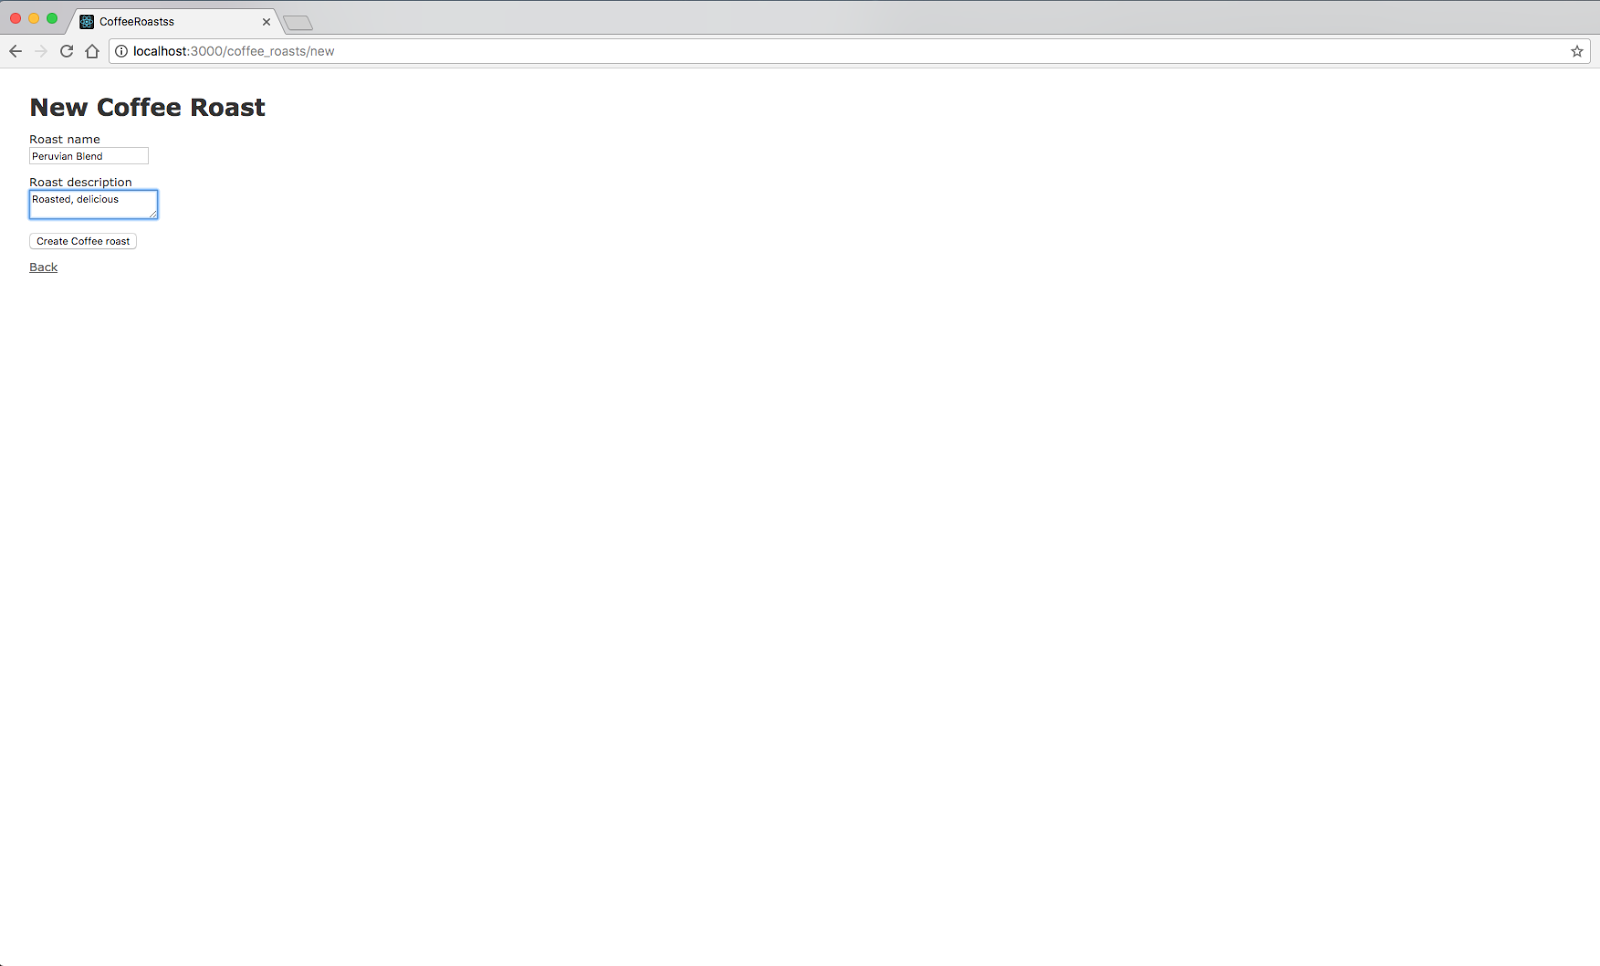
Visit localhost:3000/coffee_roasts/new, create a Coffee Roast and you should get a text message!
In less time than it takes for most people to search for the best taco in their area, we’ve created an entire Rails CRUD application that is able to send SMS text messages and protect the world from inferior coffee roasts. In the future, perhaps we could provide our ever-vigilant boss some extra features, like the ability to confirm whether or not a coffee roast can be entered into the database through text messages.
If you are a beginner looking to enter the world of coding and have any questions, or if you are just interested in talking further, I can be reached at JonYoungg@gmail.com. Happy Hacking!


Related Resources
Twilio Docs
From APIs to SDKs to sample apps
API reference documentation, SDKs, helper libraries, quickstarts, and tutorials for your language and platform.
Resource Center
The latest ebooks, industry reports, and webinars
Learn from customer engagement experts to improve your own communication.
Ahoy
Twilio's developer community hub
Best practices, code samples, and inspiration to build communications and digital engagement experiences.