Build a Serverless User Verification Service with Python, Twilio Verify and the Chalice Framework
Time to read:
October 06, 2020
Written by
This post is part of Twilio’s archive and may contain outdated information. We’re always building something new, so be sure to check out our latest posts for the most up-to-date insights.

Chalice is a Python Framework for writing, building and deploying serverless applications. It was built and is currently maintained by the team at AWS. Using familiar decorator-based syntax that is common within popular Python frameworks such as Flask, FastAPI, etc, Chalice is easy to get started with. In this tutorial, we’ll see how to deploy a Chalice application that integrates with the Twilio Verify Service to AWS Lambda.
The application that we’ll build exposes a set of API endpoints to send verification codes to phone numbers via SMS, and then verifying them once the user receives them and sends them back. This is useful in scenarios where you would like to add phone number verification or two-factor authentication to your application.
Technical requirements
To follow along, you’ll need the following:
- An AWS account. If you don’t have one, you can sign up here to enjoy a generous allowance during your first year.
- A free Twilio Account. If you use this link to register, you will receive $10 credit when you upgrade to a paid account.
- Python Development Environment
- A phone line
Creating a Python environment
Let’s create a directory where our project will reside. From the terminal, run the following command:
Next, cd into the project directory and run the following command to create a virtual environment.
To activate the virtual environment, run the following command:
If you are using a Windows computer, then the activation command is different:
Next, we’ll install all the dependencies our project will be needing:
- chalice: A Python web framework for writing serverless applications. This will provide us with a command line tool for creating, deploying and managing Chalice applications.
- twilio: Twilio’s helper library for interacting with the Twilio REST API.
Run the following command to install all of the dependencies at once:
Once this is done, you can verify that you have the Chalice CLI installed by running the following command within the project’s directory:
You’ll be presented with a list of commands that can be executed using the chalice command.
The next thing we’ll do is to make use of this command to create a new project:
This will create a new twilio_verify directory. cd into the directory, and you’ll notice that a couple of files have already been created for you. One of such files is the requirements.txt file, which will be used by Chalice to install our project dependencies when it’s being deployed. Open up the file, and add the Python Twilio helper library along with the version.
Note that we haven’t added Chalice itself as a dependency to the requirements.txt file. This is
because Chalice handles its own installation during deployment. Instead Chalice should be added to a requirements-dev.txt file since we need it during development.
Twilio Service Configuration
To work with Twilio Verify, you’ll need to create a verification service. Log in to your Twilio Console and on the left sidebar, click the “All Products & Services” button, scroll down to the “Engagement Cloud” section and then select “Verify”. Click the “Create Service Now” button to create a new Verify service.
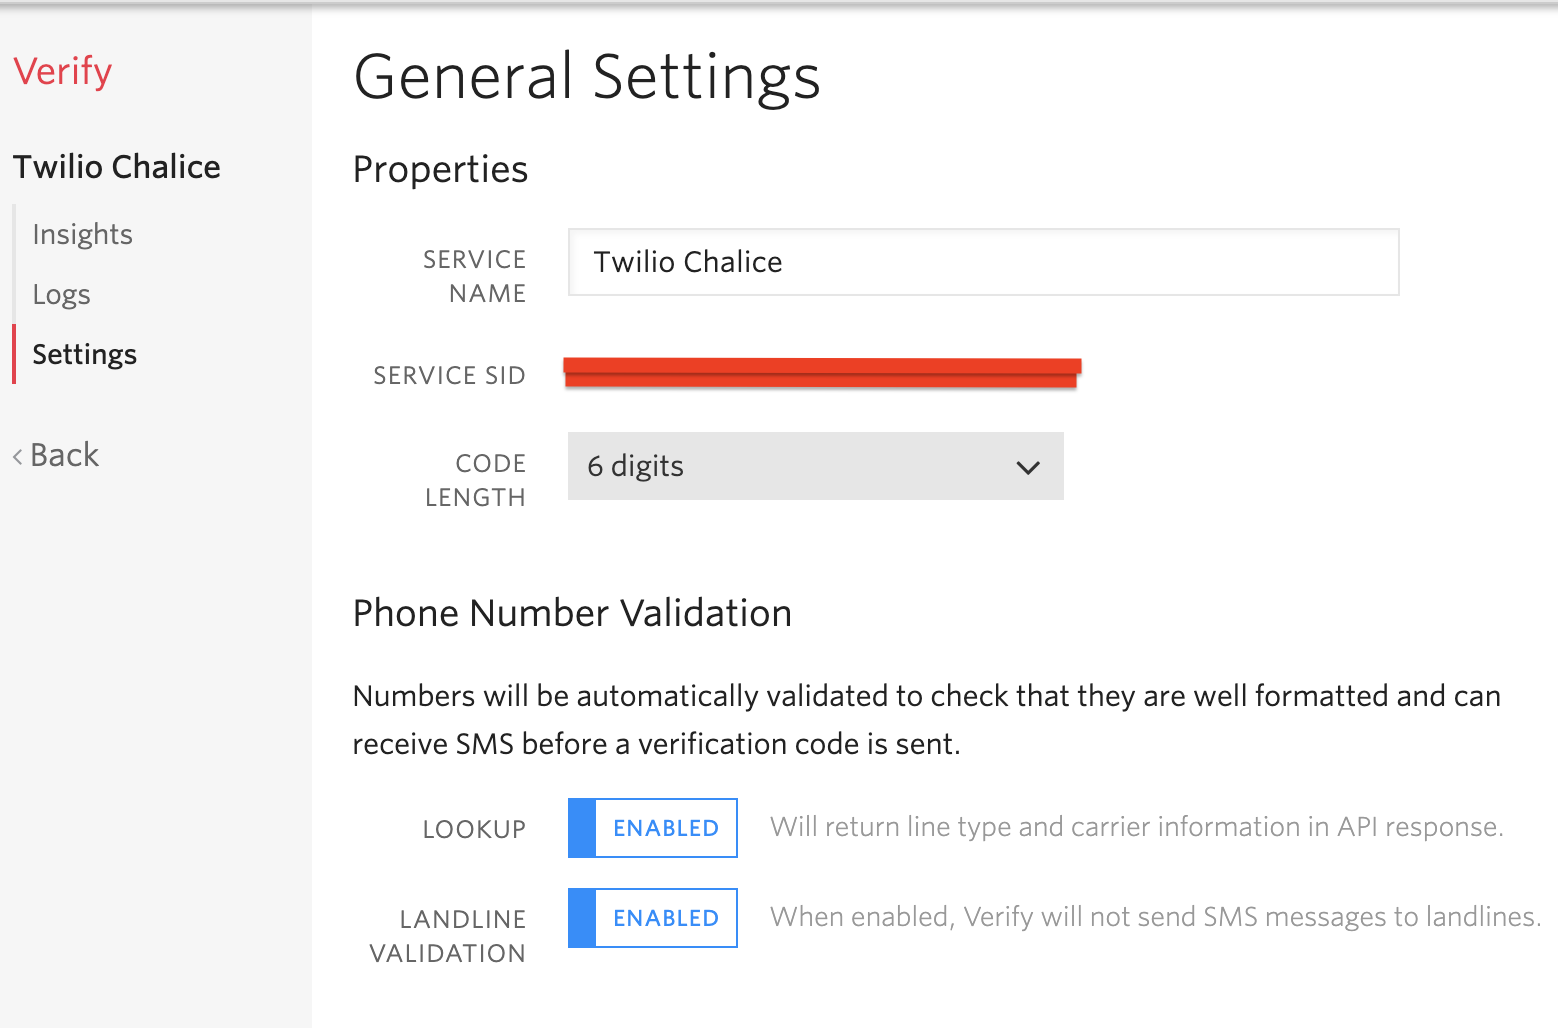
You’ll need to enter a friendly name for the service. In my case, I decided to name the service Twilio Chalice. It’s important to note that the name you choose will appear in the SMS messages that will be sent to users, and will also be spoken through a text-to-speech engine in voice calls.
Once the service is created you will see the General Settings screen for it. Take note of the “Service SID” that was generated for the service. The default Configuration Settings for the service should suffice for the rest of this tutorial.
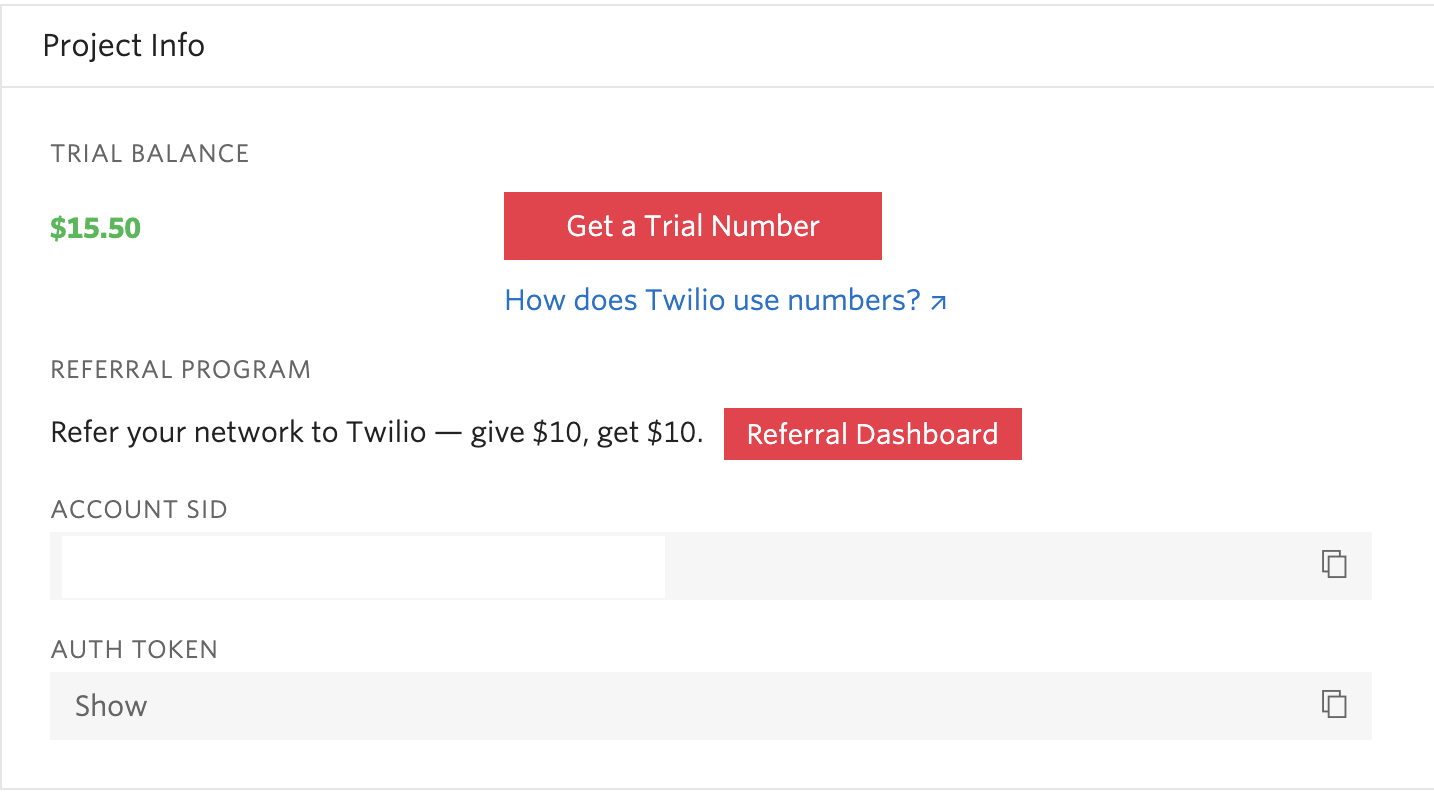
In addition to the Service SID, you’ll also need your Twilio SID along with the Auth Token to authenticate against the Twilio REST API. These credentials can be obtained from the Twilio Console.
Working with Environment Variables
Now that we’ve noted all the Twilio Credentials will be making use of, we need to add them as environment variables in our project.
Whenever a new Chalice project is created using the chalice new-project command, a .chalice directory is created. Within this directory, there’s a config.json file that you can use to set your environment variables as well as to control what happens during the deployment process.
Head back to the twilio_verify directory, and then open the config.json file located within the .chalice directory. You’ll notice that it’s been prefilled with some information already. Within this config file, you’re able to specify environment variables that should apply to only certain Chalice stages. You can read more about Chalice stages here. By default, a dev stage has already been added to the config.json file.
For this tutorial, we want the Twilio Credentials to apply to all stages. To do that, add an environment_variables object to the config.json file:
Don’t forget to replace “xxxx” with your actual Twilio credentials. Here’s what my config.json file looks like after adding the environment_variables object:
Sending the token to the user
In the app.py file located within the twilio_verify directory, replace the existing boilerplate code that was generated by Chalice with the following:
At the top of the file, we’ve imported the environ object from the os module to allow us to work with our environment variables.
- The
appvariable represents a Chalice application. - The
twilio_clientobject will be used for interacting with the Twilio API. TheTWILIO_ACCOUNT_SIDandTWILIO_AUTH_TOKENenvironment variables will be automatically used to authenticate against Twilio. verify_clientis a verification service instance we created by passing in theTWILIO_VERIFY_SERVICE_SIDfrom our environment variables.
Next, add the following function to the file:
Within the send_verification_token() function, the phone_number field is obtained from the current request using app.current_request.json_body which returns the parsed JSON body. The verification token is then sent to the phone number via the sms channel. Note that the client must provide the phone number in the E.164 format.
Verifying the token
Similarly, to verify the token we need to issue another call to the Twilio Verify API. Add the following function to the app.py file:
Here, the phone number and token are obtained from the request object. A verification check is then carried out by passing these values to the Verify service. The status of the verification can either be approved which means the token is valid or pending which indicates that the token is invalid.
Running Chalice Locally
To get started with running the project locally, make sure the virtual environment is still activated and you’re within the twilio_verify directory, and then run the following command:
This should expose a local test server listening on port 8000. Next, you can open up another terminal window and using curl we’ll make a POST request to the http://localhost:8000/send/token endpoint passing in the phone number as part of the request payload.
Make sure you use your own phone number in this command and you should receive a verification code via SMS. Here’s an example of the response received after making the request:
Next, we’ll make another curl POST request to the http://localhost:8000/verify/token endpoint to verify the token, passing in the phone number and the token as part of the request payload.
Here’s an example of the response received after verifying the token:
Deploying Chalice
Before we get started with deploying our Chalice application to AWS, we need to set up our project with the right credentials to allow access to AWS service. To do that, you can either create or use an existing user’s authentication credentials.
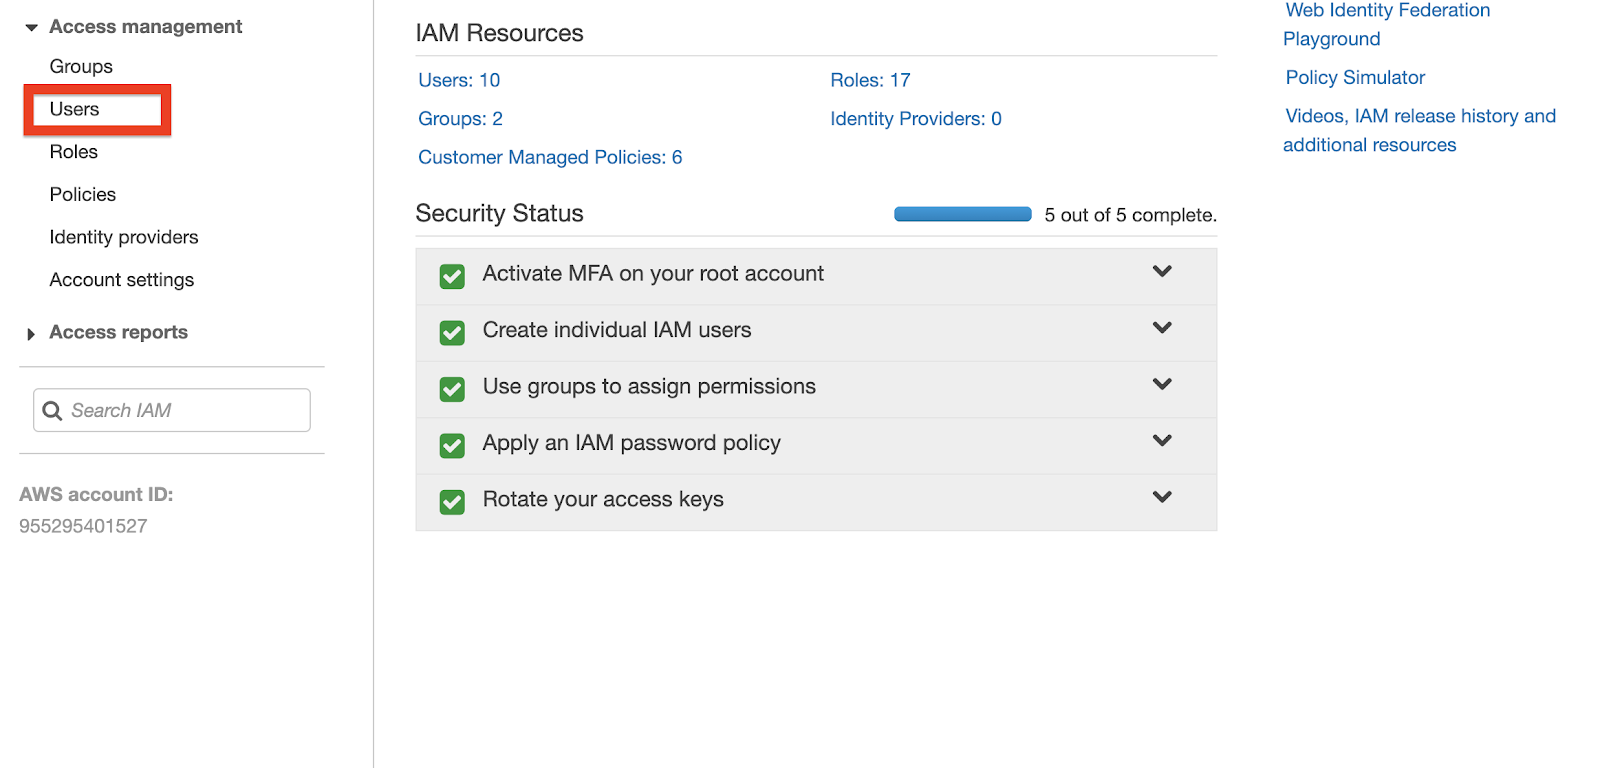
Head over to the IAM Console on your AWS Dashboard. Click “Users” under the “Access Management” section located on the sidebar to the left.
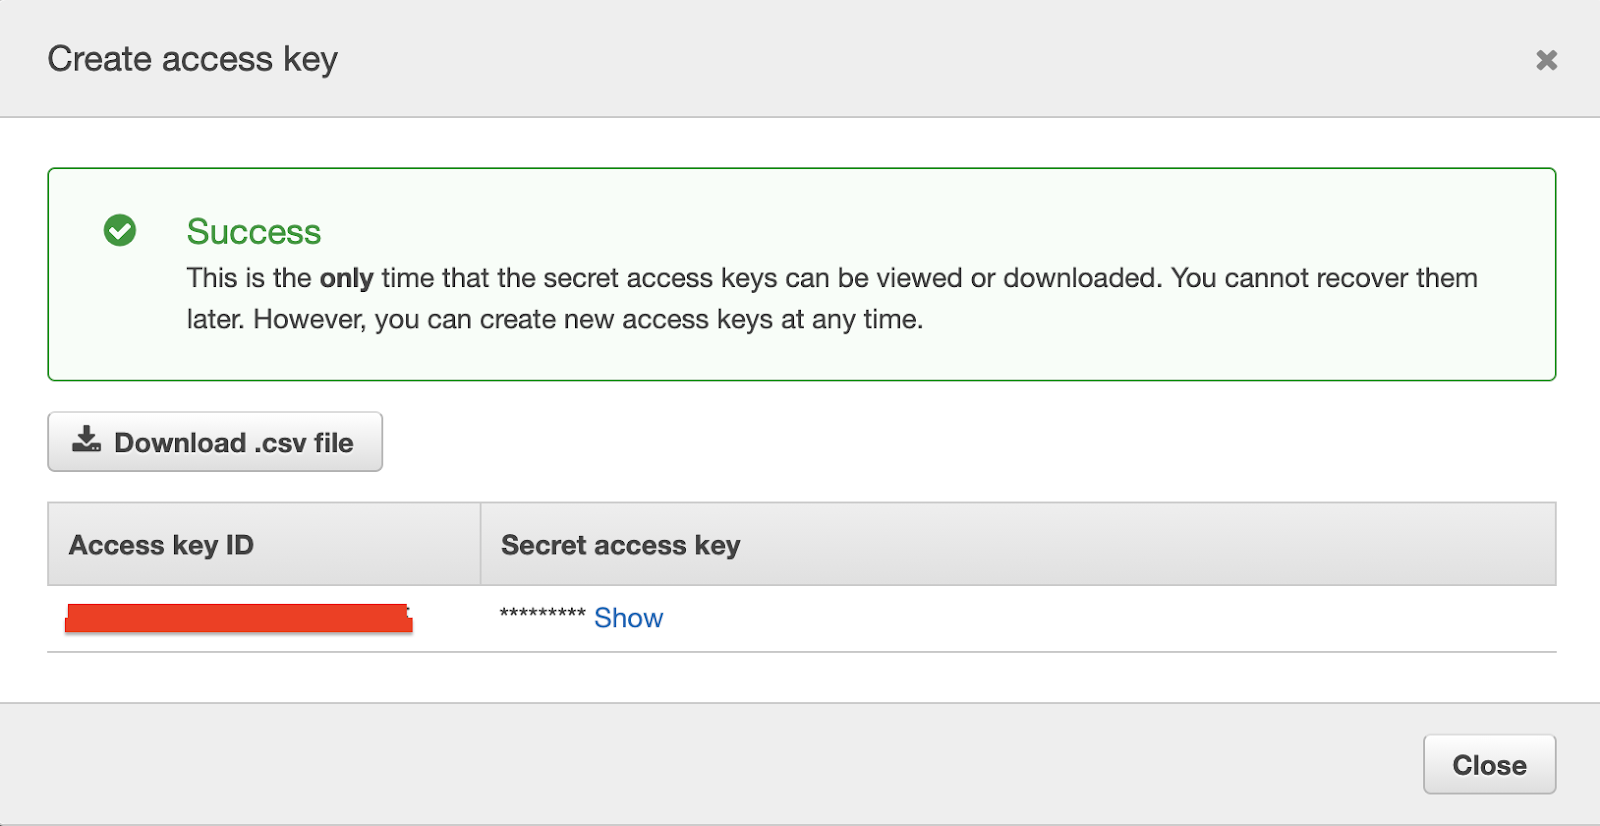
Select your user account and then click the “Security credentials” tab. Once you’re within the “Security credentials” tab, click the “Create access key” button.
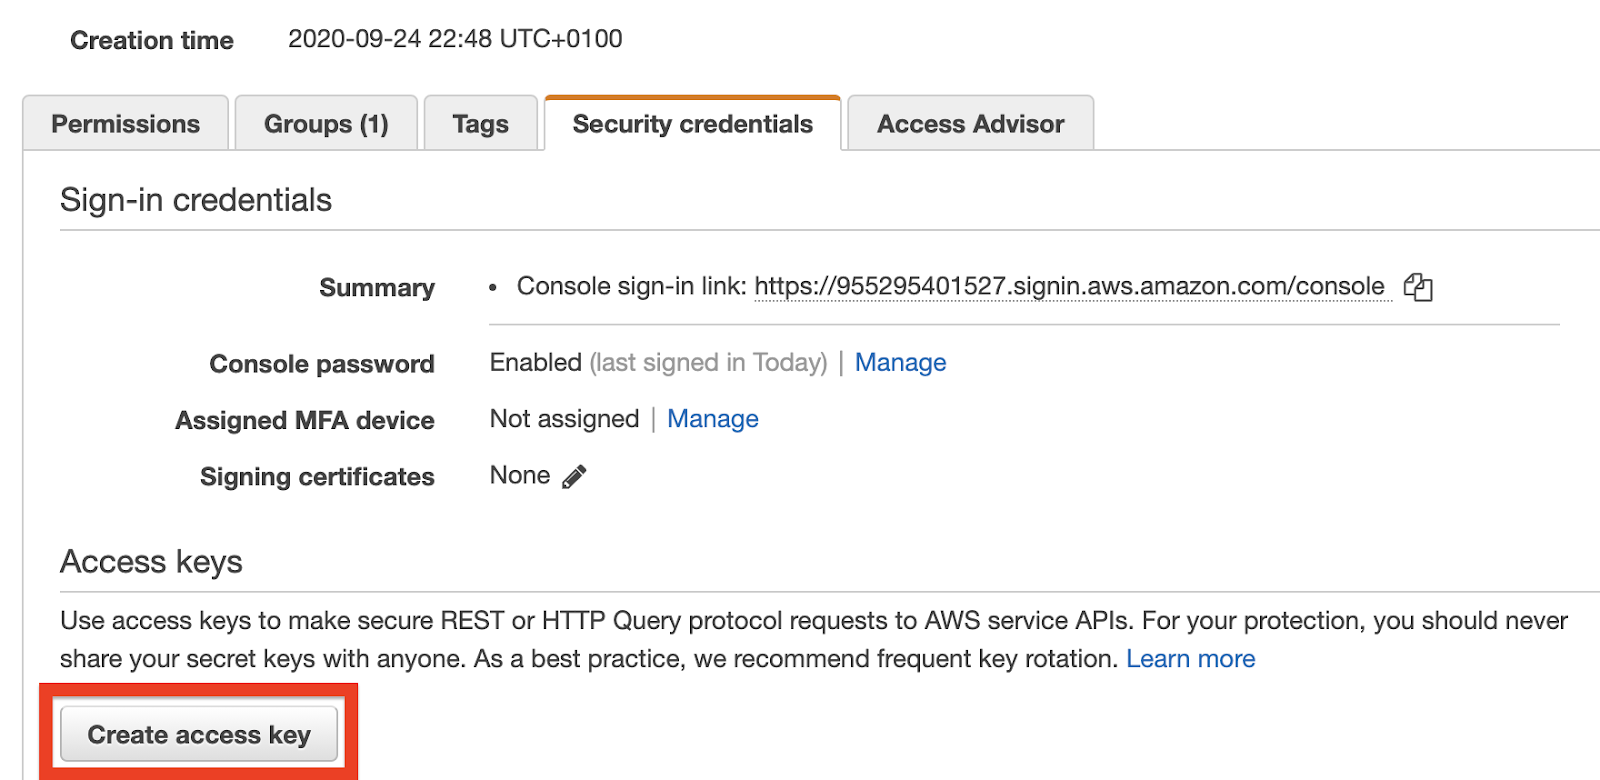
This will generate an Access Key ID along with a Secret Access Key for you. Take note of these values, as we’ll be making use of them shortly.
Deploying to Lambda
Before we’re able to deploy our application, we need to create a config file to store our AWS credentials. In a text editor, create a new file and paste the following code:
The region attribute sets the default region code for which the Lambda function should be executed in. This is important because Lambda functions are only available within the context of the selected region. You can find a list of all available regions here so you can choose the one closest to you.
If you’re using MacOS or Unix, save the filename and location as ~/.aws/config. If you’re using Windows, save the filename and location as C:\Users\<yourUserName>\.aws\config. Don’t include a file extension when saving the config file.
Head over to the terminal that has chalice local running and exit the server by pressing Ctrl-C. To deploy the application, run the following command:
Once the command has been successfully executed, you’ll have an API URL where your application is currently running.

Similarly, you can test this URL using curl just like we did when the application was running locally and everything should still work as expected.
However, it’s important to note that now that we’ve successfully deployed our application, our API endpoints are exposed and offer no form of authentication. If users with malicious intents discover these endpoints, they can generate unnecessary charges against your AWS account. To avoid this, Chalice provides support for multiple authorization mechanisms that can be configured on a per-route basis. You can learn more about how to add authorization to your Chalice application here.
Conclusion
In this tutorial, we’ve seen how to get started with the Chalice Framework and deploy an AWS Lambda function that integrates with the Twilio Verify service. We’ve also seen how to run Chalice applications locally, and how convenient it is to deploy them to AWS. The source code for this tutorial can be found here on Github.
There’s a lot more to what you can accomplish with Chalice. Check out these articles from the documentation for more information about this framework.
Dotun Jolaoso
Website: https://dotunj.dev/
Github: https://github.com/Dotunj
Twitter: https://twitter.com/Dotunj_

Related Resources
Twilio Docs
From APIs to SDKs to sample apps
API reference documentation, SDKs, helper libraries, quickstarts, and tutorials for your language and platform.
Resource Center
The latest ebooks, industry reports, and webinars
Learn from customer engagement experts to improve your own communication.
Ahoy
Twilio's developer community hub
Best practices, code samples, and inspiration to build communications and digital engagement experiences.