Implement a UI Dialpad for the JavaScript Programmable Voice Quickstart
Time to read:
September 28, 2022
Written by
Reviewed by
Ahoy there! Have you explored the Twilio Voice SDK JavaScript Quickstart? Are you now ready to learn how to use your SDK-powered app to interact with an Interactive Voice Response (IVR)? That is exactly what this blog post will cover – and by the end of it, you should be able to dial a number using your cursor, or interact with an automated IVR you have setup.
Solution: a UI dialpad for the Twilio JS Voice Quickstart
Our Quickstart does not contain a UI dialpad out of the box, nor does our SDK. The purpose of our Quickstart app is to familiarize yourself with placing and receiving calls via your web browser, and to give you a taste of what you can achieve using our SDK. Although the Quickstart wasn’t built to be a full production application, I will run through how you can change the UI to include a dialpad for further testing.
The main resource I will be using for the front end will be Azizur Rahman's repository on CodePen which shows off the source code needed to produce a modern looking dialpad. I will discuss how we can take advantage of this repository and include it in our quickstart application with some editing.
Prerequisites
- You have downloaded and installed our quickstart application successfully: https://github.com/TwilioDevEd/voice-javascript-sdk-quickstart-node
- You have already placed some test calls prior to this, and confirmed everything is operational.
If you have not already done this, please feel free to take a look at our blog post running over the deployment of your application.
HTML
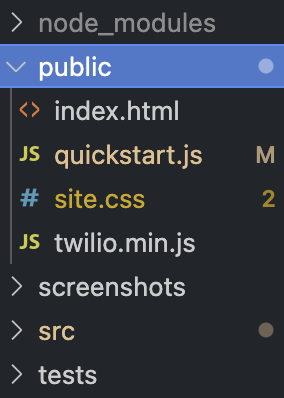
Inside the code editor of your choice, navigate to your file explorer (usually the left margin), and open up our main HTML file for our application. The location of this file can be found in your public folder here: voice-javascript-sdk-quickstart-node/public/index.html
Once open, at the very beginning of the file you will see the “header” section denoted by the <head> keyword. This is where we will declare the stylesheets and fonts we are going to use within our dialpad. All we need to do is include the following code within the header section of your application, just below <link rel="stylesheet" href="site.css" />:
Once we have done that, we need to include our dialpad as a whole. We are going to do this by changing the existing HTML document to include our various dialpad elements such as buttons to represent each number 0-9, letters of the alphabet on each of those numbers, and various icons to represent hanging up a call.
Regarding the layout of our HTML document, imagine a webpage broken up into 3 vertical columns or thirds. Each one of these will be used to house different UI elements. For our diapad, we'll include the dialpad in the center column.
If you scroll down a little in your HTML document, you should see a section exactly the same as the following:
<section class="center-column">
Navigate to line 25. Under this section is where we will include the code for our dialpad.
You will see some code in its place which will need to be replaced. This originally was used to capture the numbers, but as we are using a dialpad now, we will want to remove this. Replace all the code from the “center-column” class with the following snippet:
Once added to your HTML document, the full file should look the same as the following found on Github.
CSS
Open up the CSS file in our quickstart called site.css found at the following location: voice-javascript-sdk-quickstart-node/public/site.css
Once open, navigate your way down to the bottom of the file. You will see a section with the following comment: /* Other Styles */ Just above this, we are going to add in the styles for the hangup button with the following snippet of code:
Your CSS file should now look just like this:
Now, navigate to the very last line of your CSS file and hit enter. Proceed to then copy the following snippet and paste it into your CSS file at the very bottom. The snippet in question will look like this:
Once you have done that, your complete CSS file should now look like the complete source code found on Github.
Javascript/JS
To tie everything done so far together, we will need to provide our application with some logic to handle the dialpad inputs. This is where we will make use of JavaScript to interpret user interaction with the dialpad (such as button clicks).
To get started you will want to open up your JavaScript file within your quickstart application. At the beginning of file you will see the line:
const outgoingCallHangupButton = document.getElementById("button-hangup-outgoing");
Change this to the following to make it match our HTML element:
const outgoingCallHangupButton = document.getElementById("hangup");
Then scroll down the page a little more until you see where we declare our device and token variables:
Below these, you will see some space in the file. We will need to add one more variable here which we will then use as part of our dialpad. These will represent our call and call status for our application where we will set it to false to begin. You should have the following after adding the variable to your JS file:
Directly under this section in your JS file, you should see the following comment:
//Event Listeners
Underneath this is where we will add any listeners to our HTML elements, and in this case, as we are going to be utilizing a dialpad, we will need to place some onClick listeners underneath.
Currently our application only has one listener in place for outgoing calls, but we are soon going to change that. Navigate to where you see the following snippet underneath our Event Listeners comment. The code should look similar to this:
Now from the callButton.onclick = (e) down, highlight everything and paste in the following snippet. This will be our entire JS snippet for our dialpad, which allows it to actually function with user interaction:
Stop just before the line:
getAudioDevicesButton.onclick = getAudioDevices;
Tie the dialpad JavaScript together
Now that you have included the majority of our JS code, we need to add a few more lines to tie everything we just added together. Scroll down some more until you see a section with the comment heading:
At the bottom of this code block you should see the line
codecPreferences: ["opus", "pcmu"],
This is for our codecs used. Just underneath this, we will place the following snippet.
Then we need to scroll down to the following section:
In our first code block for outgoing calls, we need to include our call status variable so we can keep an eye on when a call is active/started. We are going to add the line:
callStarted=true;
In our next code block (which is used when the same outgoing call is disconnected or hung up), we will add our same callStarted variable but set this to false as the call is no longer in progress.
callStarted=false;
As a result, the two code blocks now should look like the following:
Last but not least, scroll down your JS file a little more until you see the comment:
//ACCEPT INCOMING CALL
Under this you will see a code block and function used to handle or accept an incoming call. When the call is accepted, our call is then seen as in-progress so we will need to update the boolean variable we already created. This function originally does not have our variable in use, so we shall include it at the end of this function, like so:
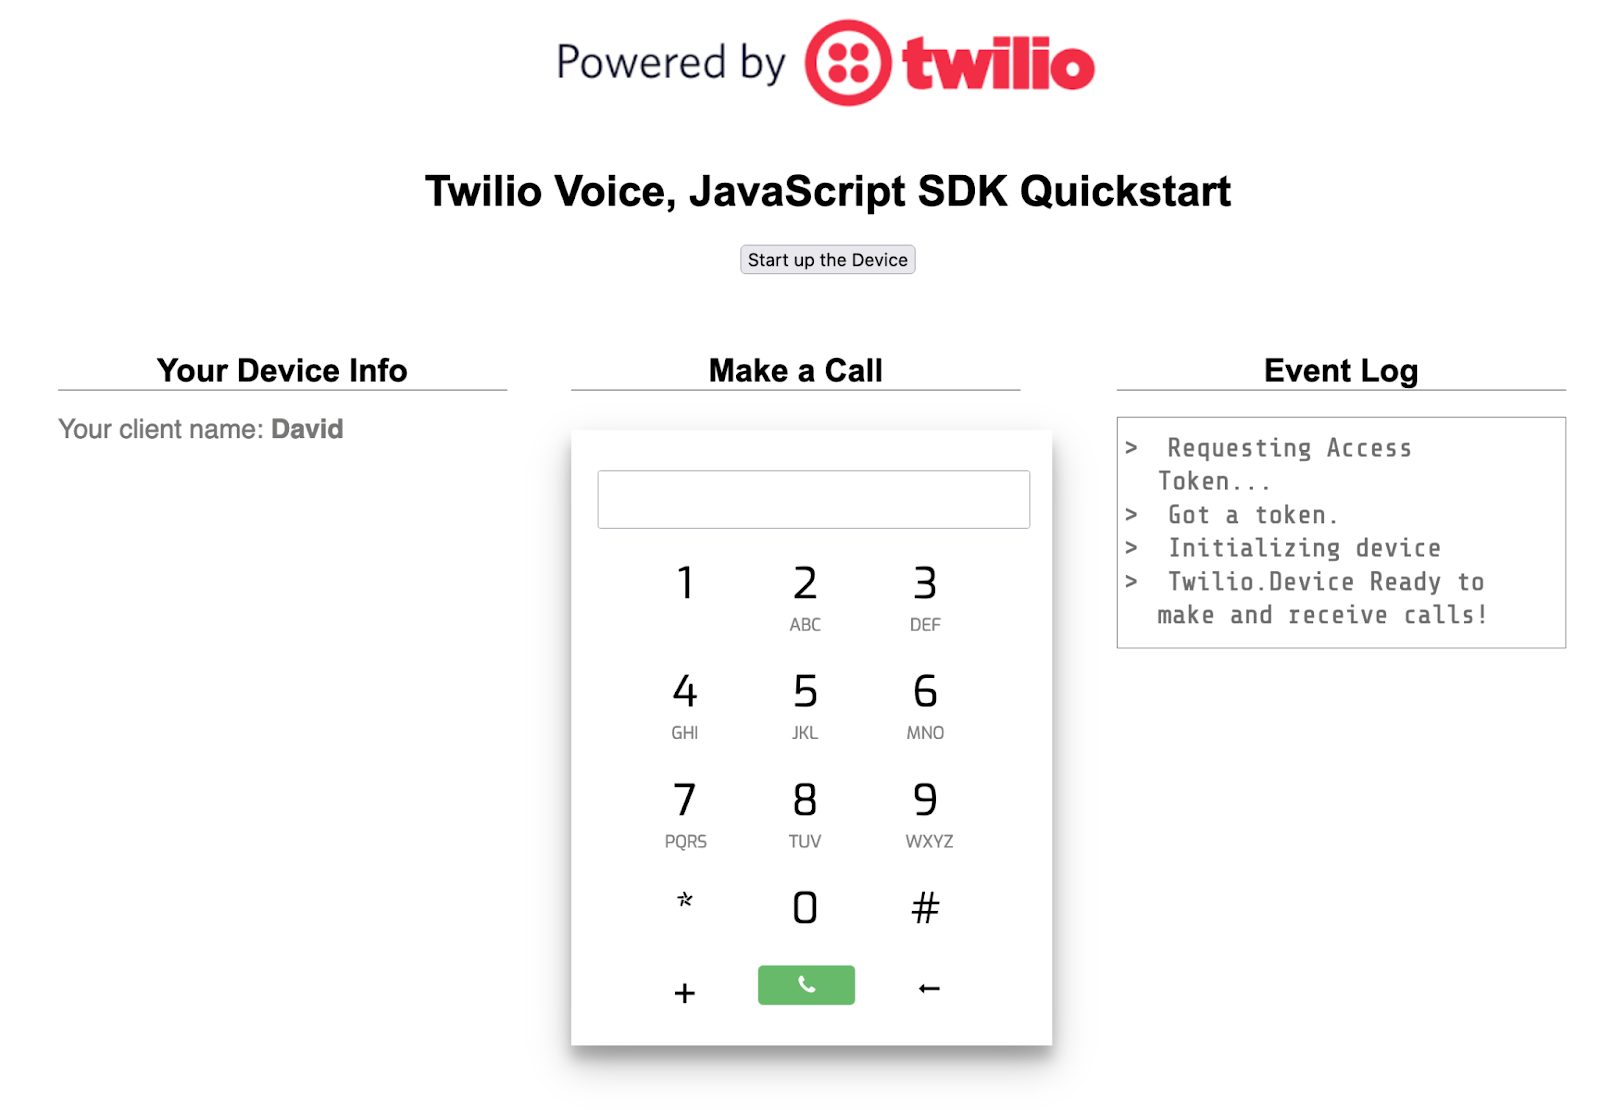
Once you have completed that, your JS file should now look just like the following found on my Github repository. Feel free to save your project and spin up ngrok and NPM to take a look at your new application.
If you need instructions on how to deploy this application, please see the repo above or check out our other blog post.
Adding a UI to the Twilio JavaScript Quickstart
Congratulations! You now have a working Twilio Programmable Voice Quickstart app, with a convenient UI tacked on.
I hope you found this content useful. We cannot wait to see what you build next!
David Dooley is a Developer Support Engineer at Twilio based out of Dublin. He’s very passionate about helping our customers achieve success with Twilio and loves to work on complex problems. He also enjoys educating others, hence this blog post. In his spare time he likes to dabble in crypto and is a strong believer in blockchain technology. He can be reached at ddooley [at] twilio.com.
Related Posts


Related Resources
Twilio Docs
From APIs to SDKs to sample apps
API reference documentation, SDKs, helper libraries, quickstarts, and tutorials for your language and platform.
Resource Center
The latest ebooks, industry reports, and webinars
Learn from customer engagement experts to improve your own communication.
Ahoy
Twilio's developer community hub
Best practices, code samples, and inspiration to build communications and digital engagement experiences.