How to Validate Phone Numbers using Python, Azure Functions and Twilio
Time to read:
February 20, 2020
Written by
This post is part of Twilio’s archive and may contain outdated information. We’re always building something new, so be sure to check out our latest posts for the most up-to-date insights.

Phone number validation is the process of verifying a phone number is valid and in the right format. It’s an important aspect and a popular measure for applications and services that deal with collecting phone numbers from users. In this tutorial we’ll use Python and Azure Functions to develop a simple serverless HTTP function that integrates with Twilio’s Lookup API to validate phone numbers.
Technical Requirements
To follow along, you’ll need the following:
- A Twilio Account. If you use this link to register, you will receive $10 credit when you upgrade to a paid account.
- An Azure Account
- Python 3.6 or Python 3.7 - At the time of writing this article, these are the Python versions, Azure Functions currently supports.
- VS Code - The Python extension for VS code needs to be installed as well.
Set up an Azure Function App
To get started, we need to create an Azure function app. There are different ways to go about this. You can do so through the CLI, VS Code or the Azure Portal. For this tutorial, we’ll be using the Azure Portal. Head over to the Azure Portal and sign in or create an account if you don’t already have one.
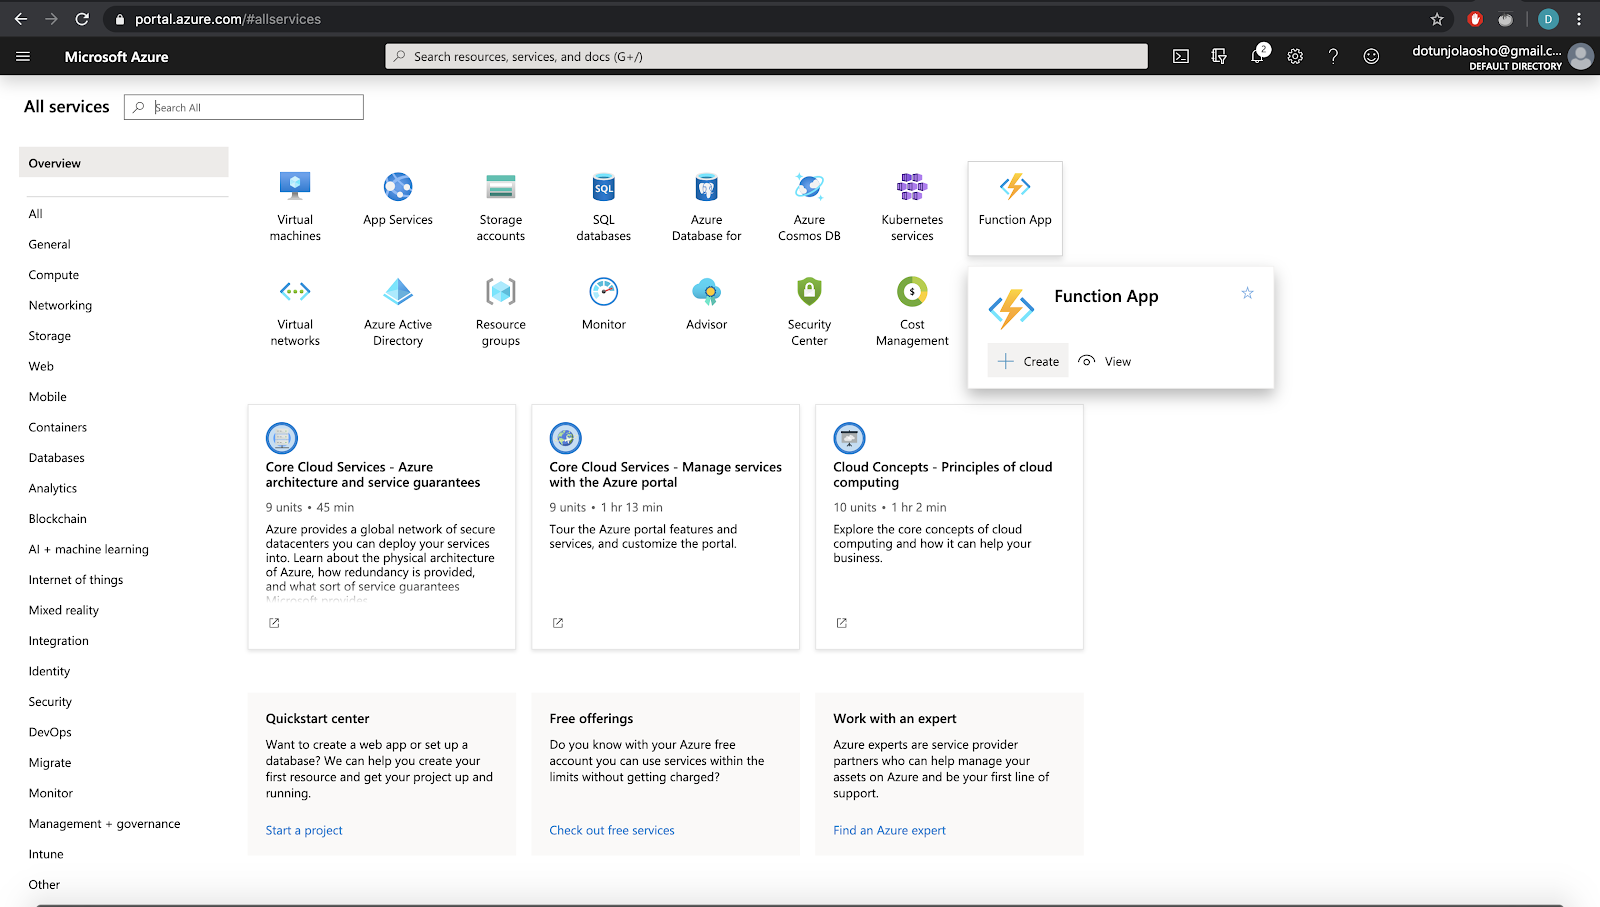
In your Azure portal, go to All services, wait for the “Function App” popup to appear and then select “Create”.
Next, you’ll be prompted with a screen similar to the one below:
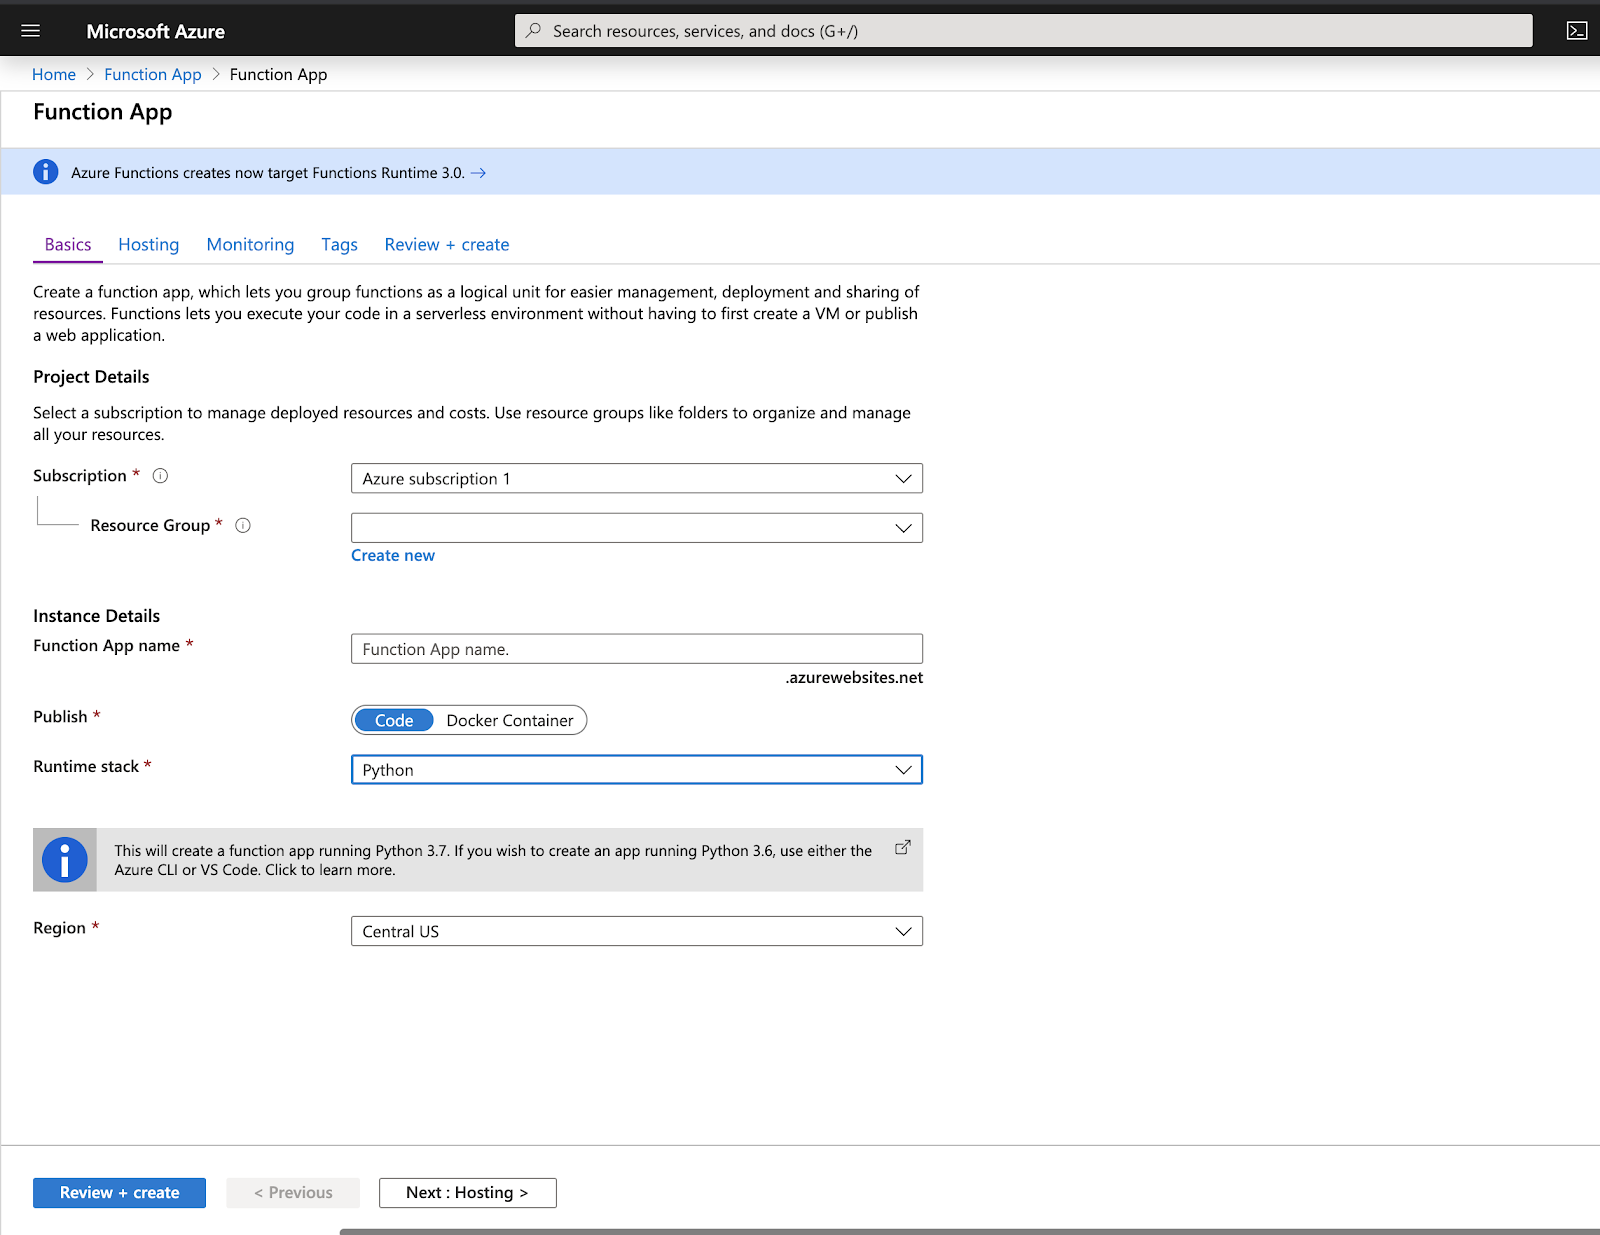
Pick or create a new resource group for your function app, select “Code” as the publish method and “Python” as the runtime stack. It is recommended to choose a region closer to where you are located. Click “Review + Create” to move on to the next step.
After Azure validates your information, you will be presented with a final confirmation page. Click “Create” and Azure will start creating the function app in the background.
Once this is completed, click on the “Go To Resource” button to start adding functions to the function app we just created.
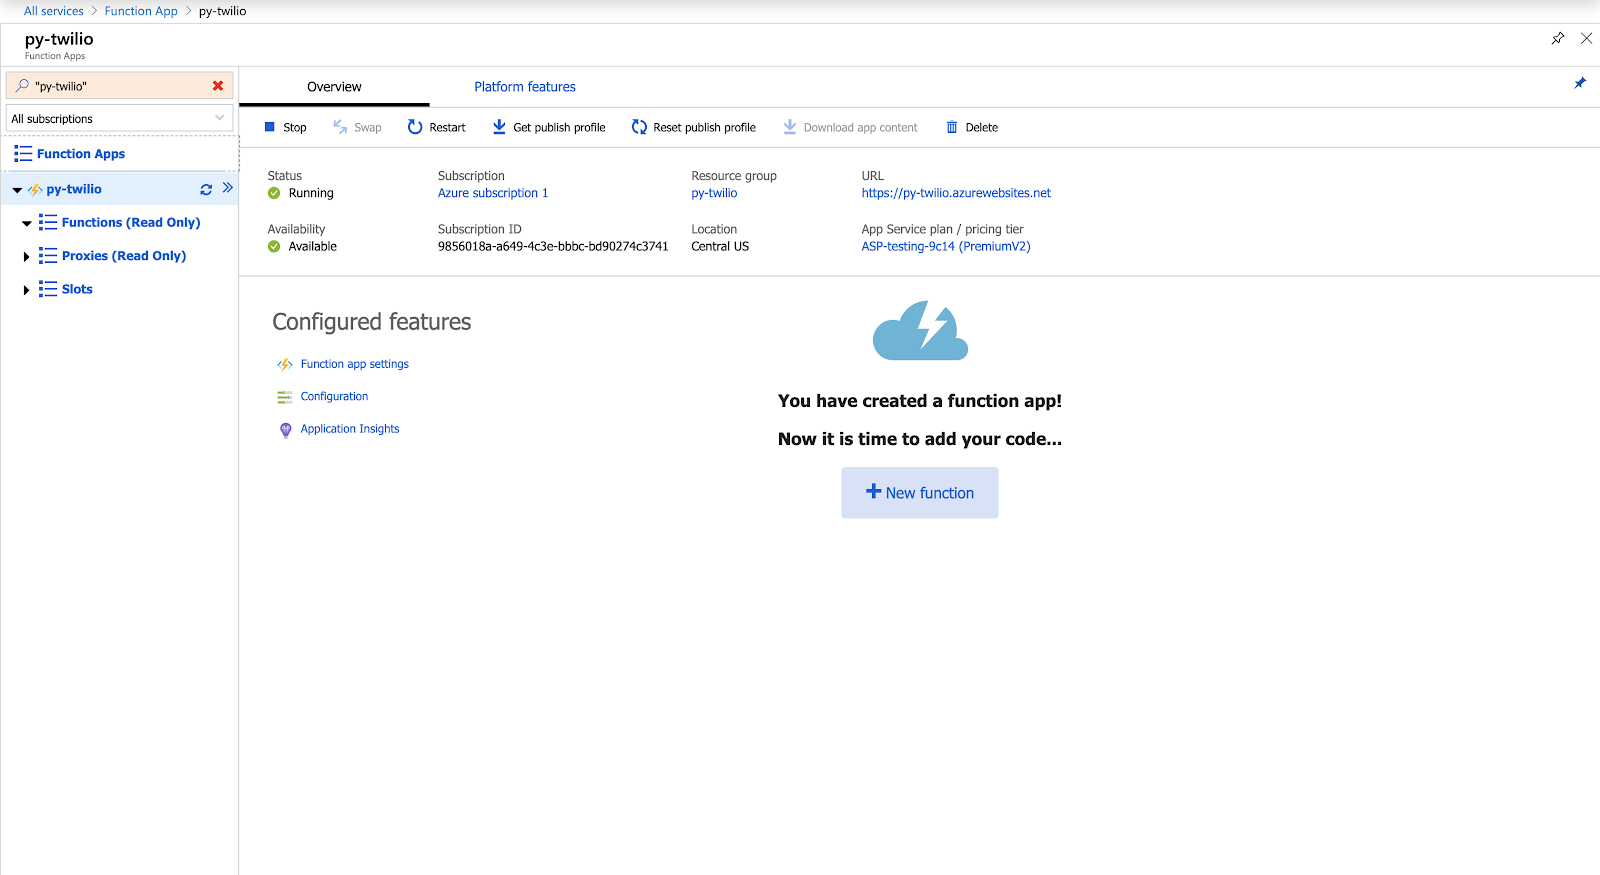
Click on “New Function”. You’ll be asked to choose a development environment and a deployment method. Select “VS Code” and “Direct Publish” respectively. Once you’re done, Azure will present you with a set of instructions on how to set up VS Code with Azure. You’ll need to have Node and npm installed, if you don’t already have them. You’ll also need to install the Azure Functions Core Tools package. This last package makes use of .NET Core, so you’ll need to install that as well. Finally, you need to install the Azure Functions extension for Visual Studio Code. Once you’re done following the set up instructions Azure presented to you, click the “Finish” button.
Creating a Python Environment
Create a directory for where your project will reside and open it up in VS code. Next, we’ll need to create an Azure Function using VS code. Use the keyboard shortcut command “Cmd + Shift + P” on Mac or “Ctrl + Shift + P” on Windows to show the command palette. Once the command palette opens up, Search for “Azure Functions” and click on “Azure Functions: Create Function”

This will prompt you with a warning that says “ The selected folder is not a function project. Create new project?” Go ahead and click “Yes”. Once you click “Yes”, provide the following information at the different prompts:
- Select a language for your function project - Choose “Python”.
- Select a Python Alias to create a virtual environment - Choose the location of your Python interpreter.
- Select a template for your project’s first function - Choose “HTTP trigger”
- Provide a function name - Give it the name of “twilio-validate”
- Authorization level - Choose Function

Once this is completed, this will create the project structure for our project, including a Python virtual environment, all in the directory we created earlier.
Setting up Twilio
Before we get started with writing the code to handle validation, we need to install the Twilio Python Helper library. We’ll be using pip, Python’s package installer to install it on our virtual environment.
Open a terminal window on your project directory and run the following command to activate the virtual environment:
If you are using a Windows computer, then the activation command is different:
Next, run the following command to install the Twilio library:
The project has a requirements.txt file, on which we need to add all dependencies of our project. This is so that it can also be installed when deploying the function to Azure. Let’s add the Twilio library we just installed at the bottom of the file:
Head over to your Twilio Console and take note of your Account SID and Auth Token. We are going to need these values to authenticate with the Twilio service.
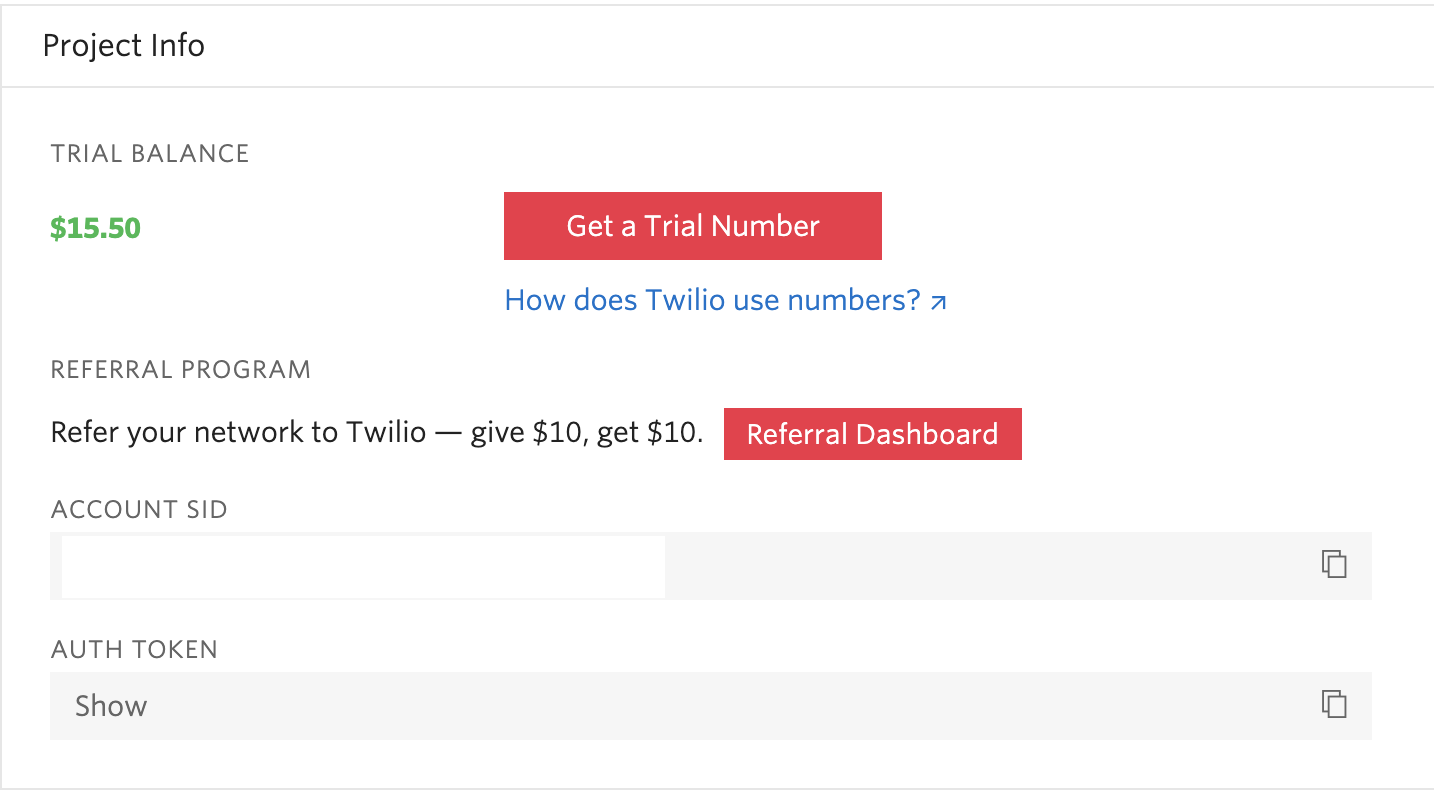
Add your Twilio Account SID and Auth Token to the local.settings.json file located at the root of your project. These settings will exist as environment variables in the context of the running function.
Validating Phone Numbers
Next, replace the content of the __init__.py file with the following code:
Let’s go through what’s happening in this block of code:
- We define a
mainPython function that receives afunc.HttpRequestobject and returns afunc.HttpResponse. - We obtain our Twilio credentials from the environment variables and then use them to authenticate the Twilio REST client.
- We expect a
phone_numberquery string to be a part of the URL. If nophone_numberquery string is specified, we return a response with a custom message and a status code of 400, the code for a “bad request” error. - If a
phone_numberquery string is present, within atry ... exceptblock, we use the Twilio REST client to carry out a lookup on the phone number that was passed, and also specify that we should fetch the carrier associated with this number. - If it’s a valid phone number, a successful response with the carrier information is returned to the client. Otherwise an exception is raised which is caught in the
exceptblock and then returned back to the client with a message and a status code of 400.
Testing Locally
When we created our project, a launch configuration file was also created for us at .vscode/launch.json which makes testing our project locally easy for us. All we need to do is press F5 or enable the debug explorer by clicking the “Debug” tab on the VS Code menu and clicking “Start Debugging” to start the project.

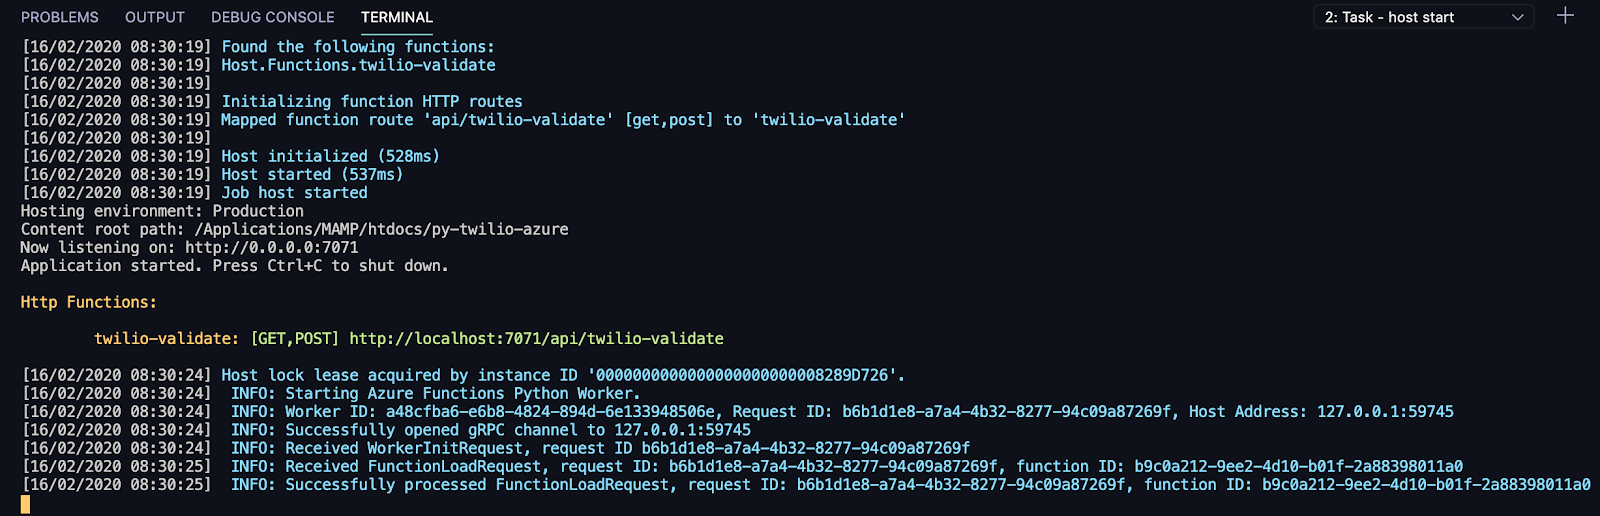
Once you start the debugger, the terminal shows some output from Azure Functions including the local URL at which we can access our function. (http://localhost:7071/api/twilio-validate)
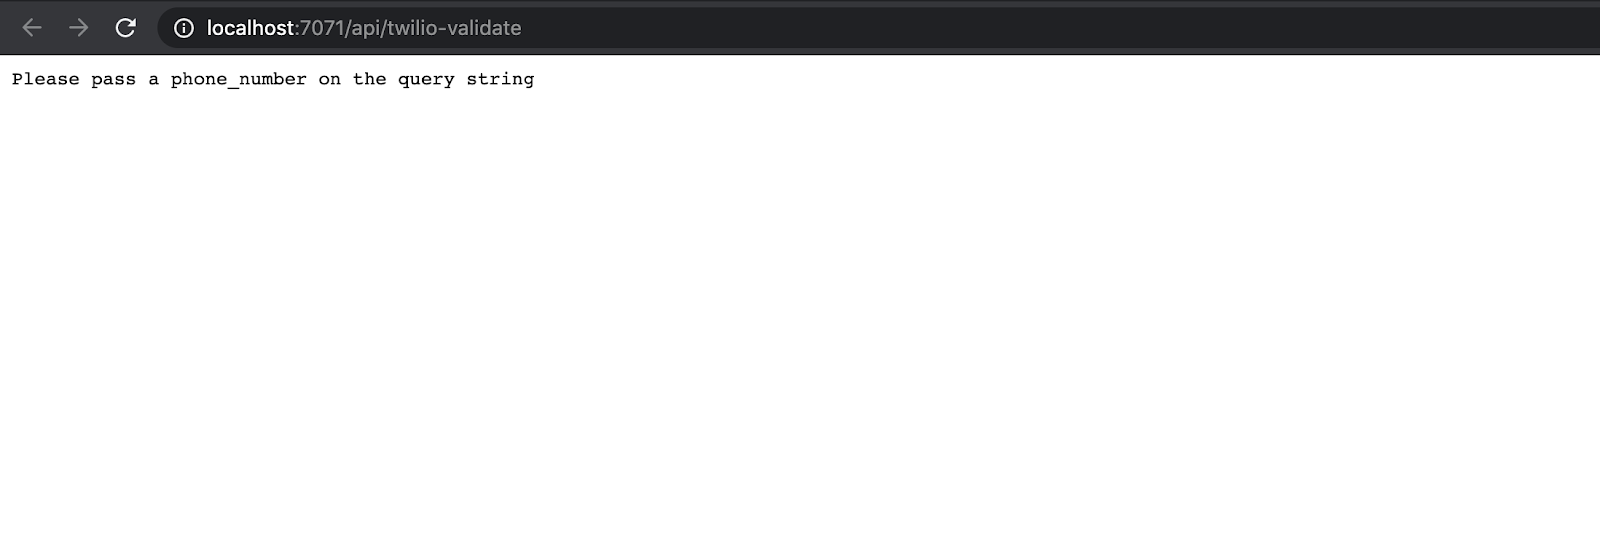
Open this URL in a browser and you should see the following message.
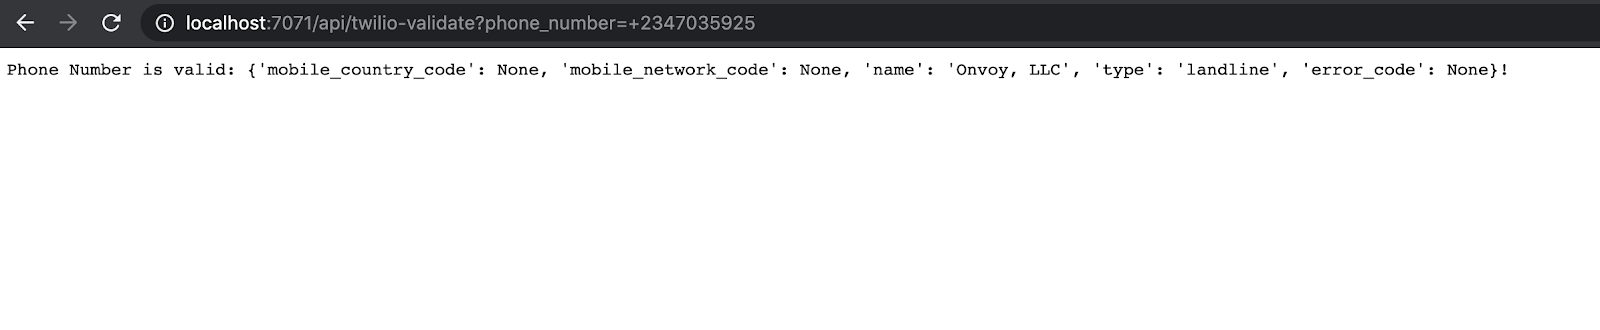
Next, try adding a valid phone_number to form a query string on the URL (http://localhost:7071/api/twilio-validate?phone_number=+2347035925). You should see carrier information for the number provided as in the screen below:
Deploy Function
To deploy our function, go to the Azure tab on VS code and select Deploy to Function App. You’ll need to sign in to Azure if you’re not already signed in.

You’ll be prompted to pick the Function App you want to deploy to. Select the one we created earlier.
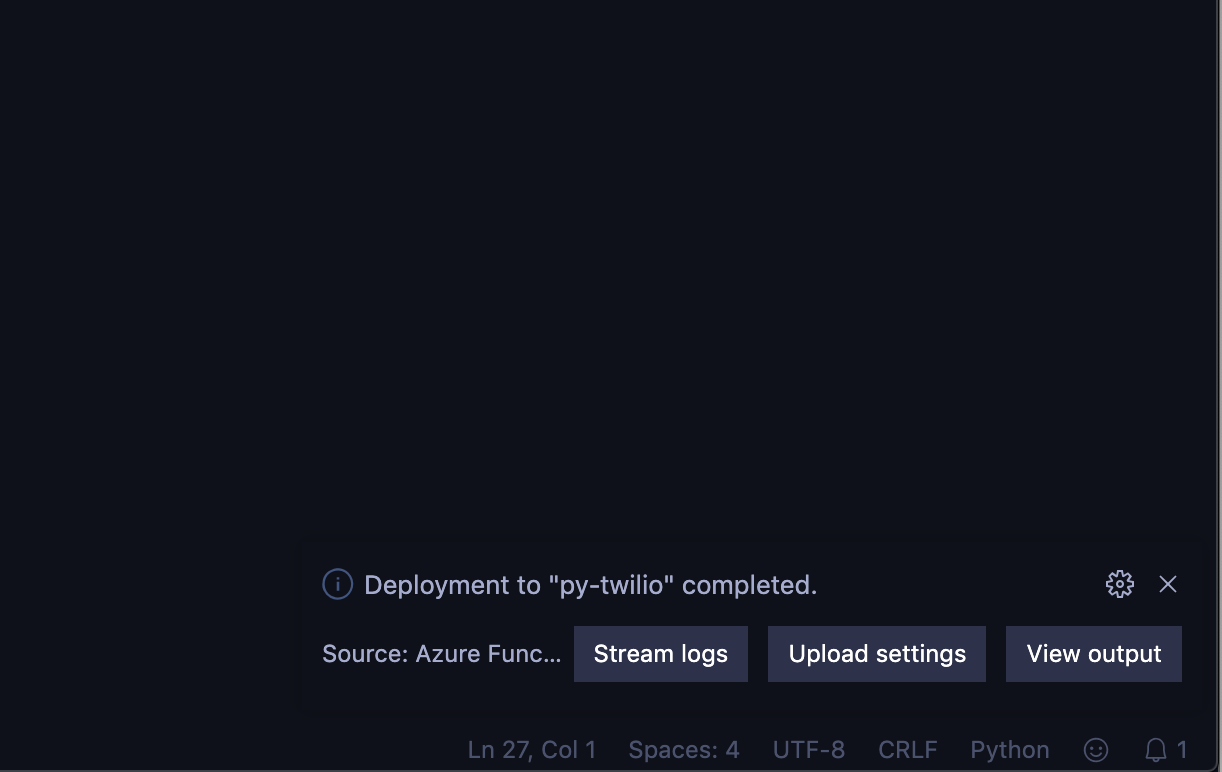
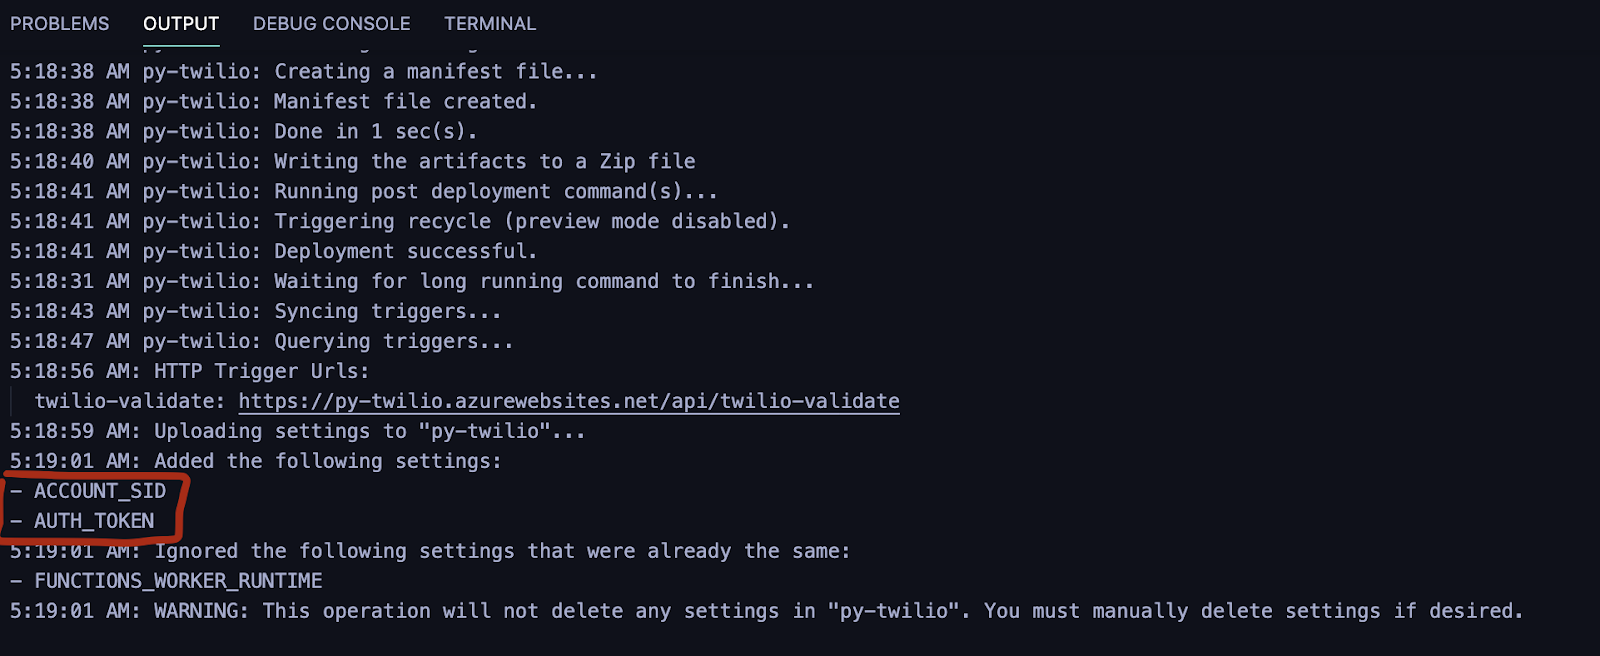
Once this is done, you’ll be asked if you want to upload your local settings to Azure, select “Upload Settings” as this is very important. This will upload the Twilio credentials we defined earlier as environment variables to the Function App.
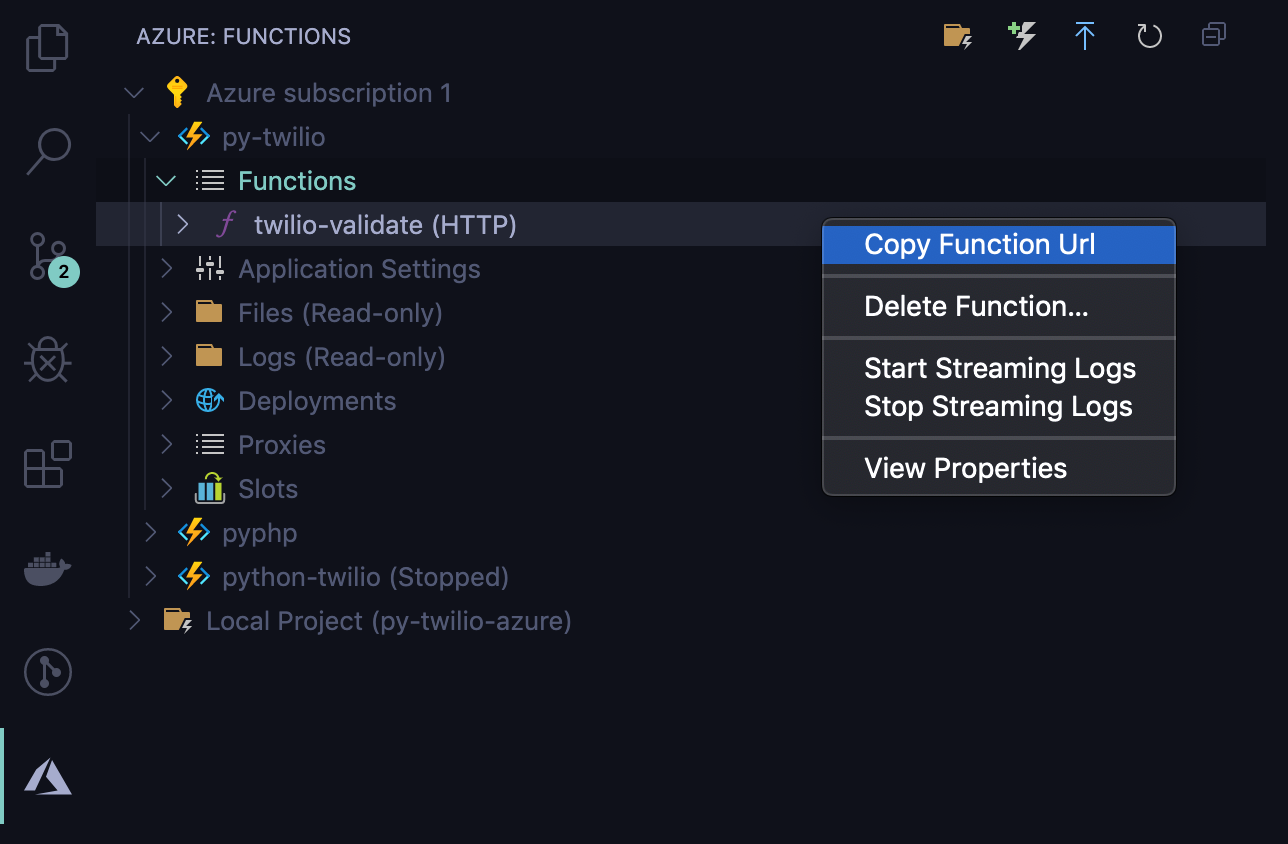
To obtain the URL at which our Function was deployed, go to the Azure tab on VS code, Select the Function App we created earlier so that a dropdown list shows. Click “Functions” and then right click on the twilio-validate function. You’ll see an option of “Copy Function Url”.
Once you’ve copied the URL, you can paste it in a browser. You’ll notice that a code query string has been appended to the URL with an API key. The “Function” authorization level we specified earlier while creating the function requires that an API key be present in the request. This makes it harder for unauthorized clients to access the function endpoints during development. However, this method of authorization is suitable only for development purposes and shouldn’t be used in production. To learn how to secure your HTTP Functions in production, you can read more here.
Conclusion
In this tutorial, using Azure Functions and a simple workflow coupled with VS code, we’ve seen how we can write, test and deploy serverless code for validating phone number inputs using Python and Twilio. The github repo for this tutorial can be found here.
Name: Dotun Jolaoso
Website: https://dotunj.dev/
Github: https://github.com/Dotunj
Twitter: https://twitter.com/Dotunj_


Related Resources
Twilio Docs
From APIs to SDKs to sample apps
API reference documentation, SDKs, helper libraries, quickstarts, and tutorials for your language and platform.
Resource Center
The latest ebooks, industry reports, and webinars
Learn from customer engagement experts to improve your own communication.
Ahoy
Twilio's developer community hub
Best practices, code samples, and inspiration to build communications and digital engagement experiences.