Everything You Ever Wanted to Know About Secure HTML Forms
Time to read:
September 30, 2017
Written by
This post is part of Twilio’s archive and may contain outdated information. We’re always building something new, so be sure to check out our latest posts for the most up-to-date insights.

Web authentication is a terribly fascinating subject. The landscape is constantly changing as web technologies progress. If you’re a new programmer, trying to learn the safest way to log a user into your website can be a daunting prospect because there’s just so much to learn.
Over the course of this four-part series, I’ll be walking you through everything you ever wanted to know about web authentication, one step at a time.
In this article, I’m going to teach you about the core of all web based authentication: something so fundamental many people disregard it: HTML forms.
HTML Forms
HTML forms are fascinating because without them, web authentication would never exist. HTML forms are the first critical component in making authentication happen: they collect user credentials and transmit them to a web server where the rest of the magic happens.
Before you can fully understand web authentication, you first need to thoroughly understand how to create and use secure HTML forms.
What Forms Do
The purpose of an HTML form is to transmit data to a web server.
While you can use forms for a variety of purposes in front end web apps, for instance collecting data via Javascript but not actually sending that data to a web server—their *purpose* is to transmit data from a user to a web server.
How Forms Work
Let’s take a look at a basic HTML page with a form that collects two pieces of information: an email address and a password.
If you open this page up in your browser, you’ll see two text boxes that accept input (an email address and a password, respectively), as well as a submit button:

As you can surmise from the code above, the source code for this form describes exactly what you’d expect to be on the page.
Each input element represents one type of user input. The type attribute of each input element describes what type of input will be accepted (in this case, textual input). Finally, for textual fields, the placeholder attribute allows you to specify a string that will be greyed out *inside* the input boxes to describe the field to a user.
Note that each of the input elements above are nested inside the form element. This detail is important, as the form only cares about input elements nested inside of it.
The “Submit” button triggers a submit action which tells the form to execute, and is the critical point at which any credentials typed into the input boxes in the form are then transmitted (usually over the internet!) to a web server.
This is a scary concept for a lot of developers to think about: when most users type their email and password into a web page, that information is being sent, in plain text, to a web server somewhere else in the world. We’ll get back to this later in the article.
Now that you’ve got a decent understanding of how forms work (they collect data from a user and send it to a server) at a superficial level, let’s talk about HTTP methods.
HTTP Methods
This is where things get interesting. The HTTP protocol which powers the internet allows you to make requests and receive responses.
When you send a *request* to a website to display a page, for example, the website will receive your request, then issue a *response*that your browser will display.
The import thing to know about requests is that you can make different *types* of requests. There are two main types of requests that the browser will make to a web server: GET requests and POST requests.
When a form’s submit button is clicked, and its data is sent to a web server, that request is made using an HTTP method. You can choose what type of request is made when a form is submitted by your browser: either GET or POST. Knowing what type of request to use in what situation is an important security and usability concern.
Let’s take a look at the GET and POST methods in more depth.
GET Requests
The GET request is by far the most common type of HTTP request. Whenever you type a URL into your browser and visit a website, you’re making a GET request.
A GET request tells a web server that you want to retrieve (GET) some data. If I go visit twilio.com in my web browser, my browser is issuing a GET request to www.twilio.com’s web servers. Those web servers will then load up the HTML contents of the Twilio website, and return it to my browser. My browser will then parse that HTML, and display it for me to see.
If you’re creating a form that collects user input in order to get information, then you’ll want to use a GET request.
A good example of a form that collects information in order to get information would be a search form. When you search for information, you’re typically asking to “get” information, and should therefore have your search form issue a GET request.
By default, all forms issue GET requests when submitted.
One caveat to keep in mind, however, is that browsers typically cache GET requests. This means that if you’re providing search for sensitive information, you may not want to use a GET request, as sensitive information might be cached.
POST Requests
When you need to send information from your browser to a web server, you’ll most likely want to use the POST request.
The POST request tells a web server that you want to send (POST) some data. If I’m building a login page (like the one shown earlier) that accepts an email address and password as input, then I’d want to use a POST request when submitting my form to signal to the web server that I’m sending it some data for consumption.
As I mentioned in the previous section, all forms send GET requests by default. If you wanted to modify the previous example page to submit a user’s email address and password via a POST request, you can use the method attribute on the form element like so:
If you aren’t sure what type of request to make, the safe option is to default to POST. POST requests provide some basic protection against browser caching of sensitive data, as well as reduce the odds that sensitive data is accidentally stored in server logs (due to typical web server logging policies, which is beyond the scope of this article).
Working With Form Data
Now that we’ve covered form usage on the front-end side, let’s talk about how you can use form data on your web server. After all, collecting data and sending it somewhere is great—but only if you can make use of it.
Whenever a form is submitted (be it via a GET or POST request), the form’s data will be transmitted to a web server. Depending on the method used, however, the form data will be available in a different way.
Let’s take a deeper look at how form data can be accessed.
Accessing GET Data
Go back to the first example in this article where I showed you a simple page containing a form that collected email and password information from a user, then sent it to a web server using a GET request.
If you open this example in your browser, fill in your email address and password, then click submit, you’ll notice that your page refreshes and your URL changes:

When a form is submitted using a GET request, the input elements in the form are collected, URL-encoded, and appended as query strings to the URL.
If you want to access this data on your web server, all you need to do is parse the data out of the URL to tell when you’ve received data, and what the data is.
As you can see from the image above, this is obviously not ideal for the sort of information being collected. Because I’m using a GET request here, all the sensitive information I just entered (my email address and password) are now clearly visible to me—and this is very bad.
Patterns like this are bad not only for security purposes, but also user experience. When a user enters sensitive information into a site, then sees it echoed back in a URL bar, a user’s first thought is that something bad has happened.
Which brings us to POST requests.
Accessing POST Data
Go back to the second example in this article, where I used a POST request to send the same email and password information to a web server. Open this example page up in your browser, and let’s see how it works.
To see how the data is sent from the browser to your web server when using Chrome, you’ll want to open the developer tools by clicking the Tools -> Developer tools menu option. Once this is open, fill in your email address and password, then submit the form.
If everything goes OK, you should see something like the following:
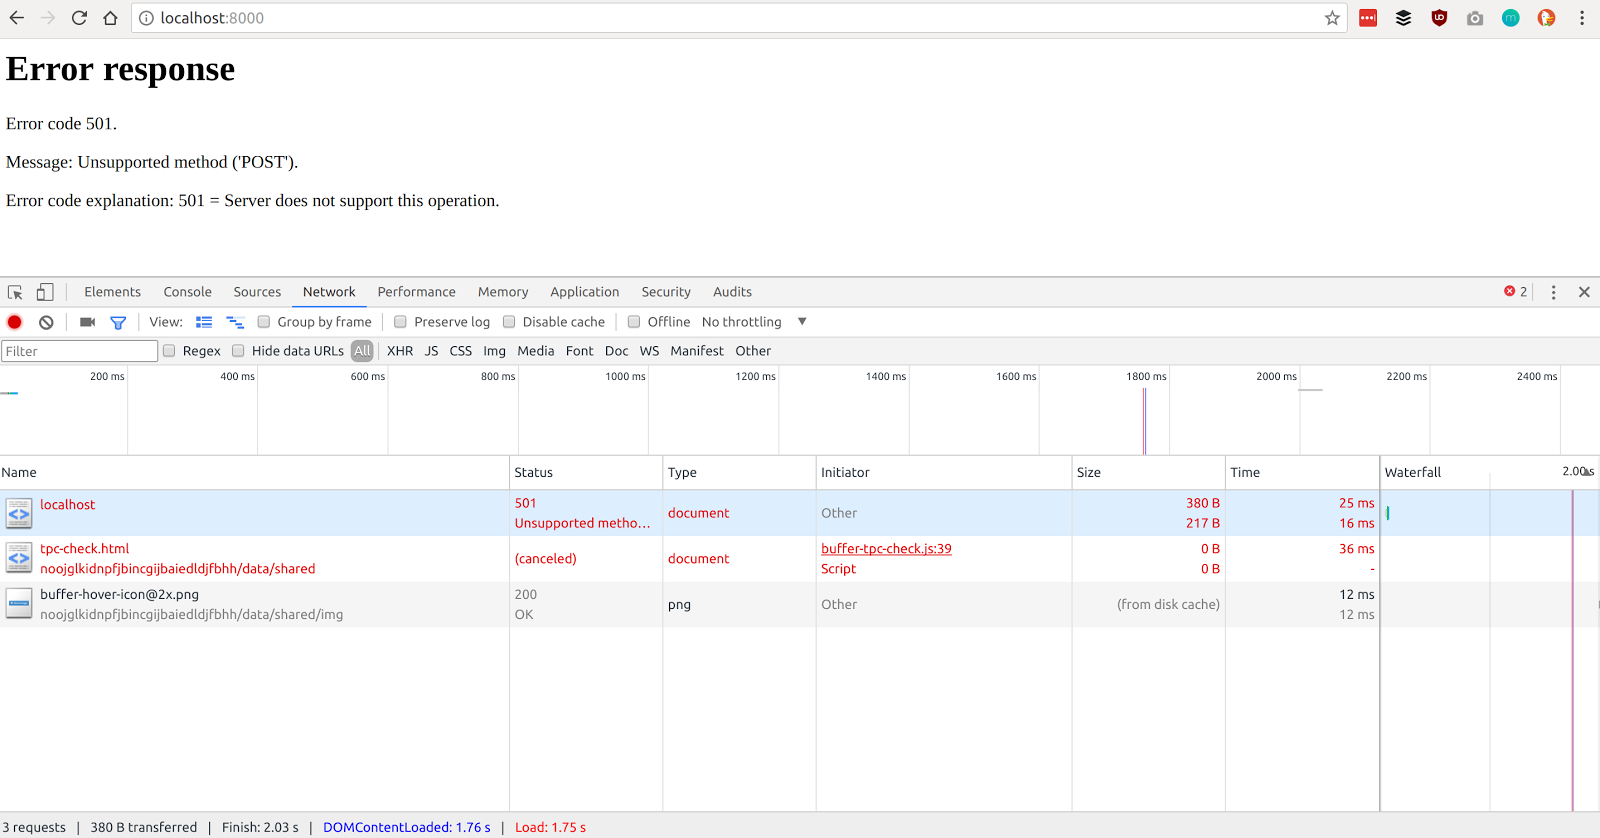
If you then click on the first request in the list (localhost), then a new menu will open which contains all of the detailed information about the POST request sent by the browser to the server.
This menu contains a lot of information, but if you scroll to the bottom of the menu, you should see the following:
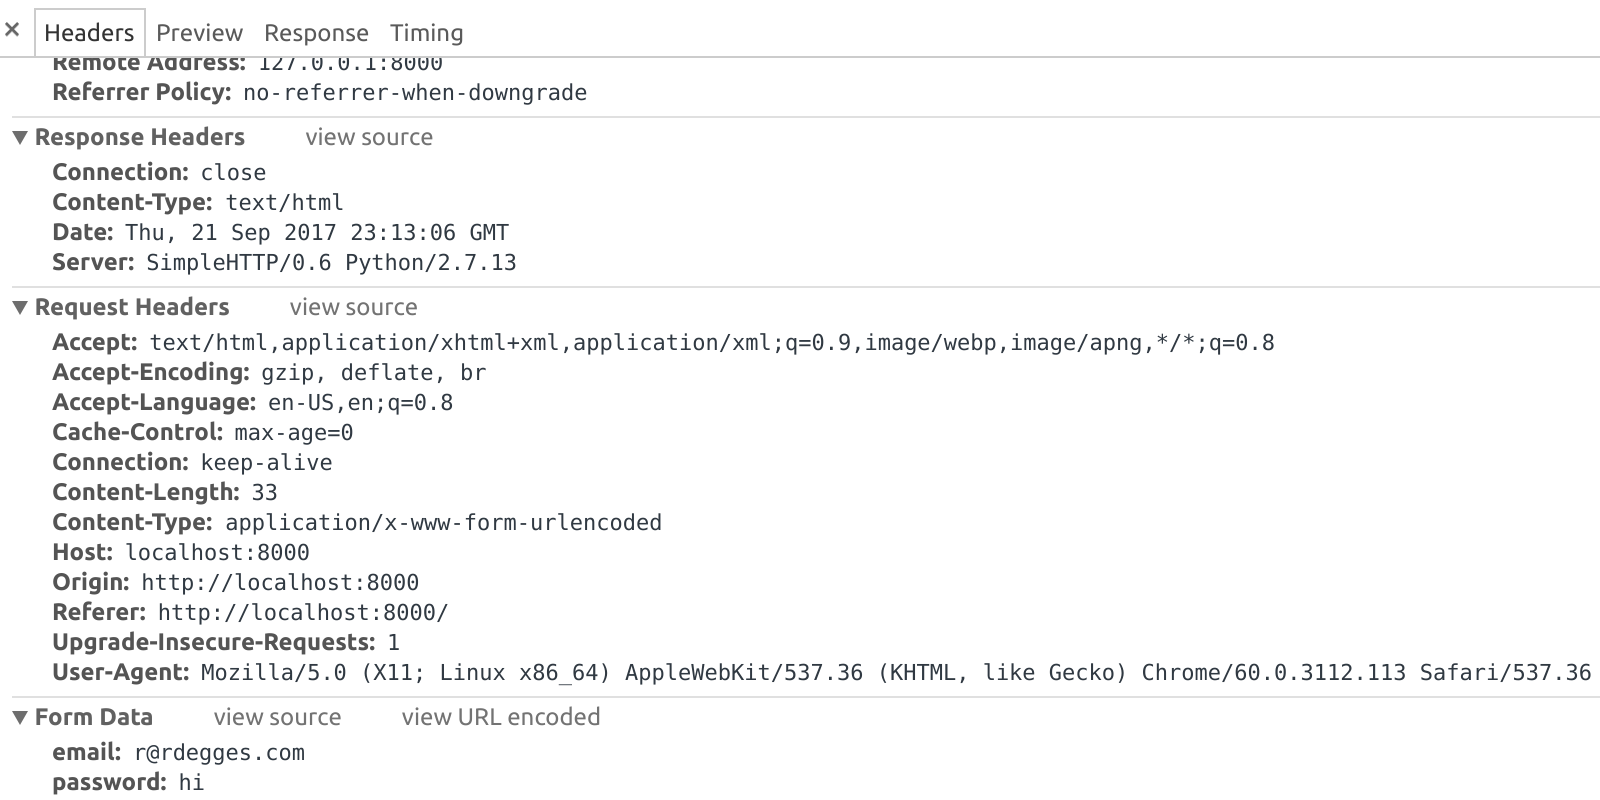
The important bit to look at is the Form Data. This shows what data was sent from the browser to the sever.
If you now click the view source button next to Form Data, you’ll see the raw data that was sent in the *body* of the POST request:

Now this looks familiar, doesn’t it? It certainly should! This is the same data that you saw embedded in the URL query string in the previous section, the only difference is that this time, the data is inside the *body* of the POST request.
All HTTP requests have multiple parts. There’s the:
- URL being requested
- The method (GET, POST)
- The *body* of the request (where this data is contained),
- And the headers of the request (metadata about each request which will be covered in more detail in a later part of this series)
Whenever data is sent to or from a web server, it is customary to put the data inside of the *body* section. This part of the HTTP request (or response) is meant for carrying data around.
When you view a web page, for instance, your browser sends a GET request to a website, and the website returns a response that contains the HTML for that webpage in the *body* of the request.
The same concept applies when using a POST request (which is meant for sending data, remember). Whenever a form is submitted using a POST request, all the data in the form is URL-encoded, then placed into the body of an HTTP request which is then sent off to the web server to be processed.
When you’re developing your server-side logic, you can retrieve the form data by looking at the body of the incoming request, and parsing out what you need.
Security
Now that you’re more familiar with the way forms work on both the front-end and back-end portions of your codebase, let’s talk about an important topic: security.
The goal of this series of articles it to teach you how secure web authentication works. And because authentication starts when a user enters their credentials into a browser, form security is obviously important.
So with that said, let’s take a look at some important things to remember when you’re using forms.
SSL
When you’re building any website, using SSL is mandatory.
Websites that aren’t secure (that don’t use SSL) pass everything between the browser and the web server in plain text. This means that any user attempting to log into your website, for instance, will be sending their email address and password over the public internet (through their ISP, and many other ISPs) to your website.
This is bad news because any party that passes the user’s login request along on its way to your website can easily view all of the data you’re trying to protect.
This is why SSL is important. Using SSL allows your users to *encrypt* all communication between their browser and your website in such a way that nobody else can see what’s going on.
Without SSL, *any* type of authentication you build (and all of the data that is sent to or from your website) will be insecure.
If you’re looking for a free and easy to way get SSL setup for your site, please take a look at Let’s Encrypt, a free service for generating SSL certificates.
CSRF
Another important security concern when building websites that contain forms is CSRF: Cross-Site Request Forgery.
If you Google CSRF, you’ll see lots of complicated explanations, but the gist of the idea is pretty simple: it can be really easy to trick people into doing things they don’t want to do. Preventing CSRF attacks means you’re stopping bad guys from tricking your users into doing things unintentionally.
I’ll give you an example.
Let’s say you’re logged into your banking website. Let’s also say that your banking website contains a page that lets you send money from your account to another person’s account (a la Venmo). Let’s also say that the form to send money looks like this:

If someone knows what this form looks like, they might be able to trick you into sending them money accidentally.
In this case, a bad guy could send you an email with some HTML inside of it that looks like this:
If you were to click that link (and are already logged into your bank account), then you’d essentially be submitting a transfer request to transfer $1,000,000 from your account into badguy@gmail.com’s account. Not cool.
The way you can prevent this sort of attack is by using a CSRF token and cookie.
The idea is pretty simple.
When a user first views the withdraw page of the website, you’ll generate a long random number and insert it into the HTML form as a hidden input field. You’ll also store that same long random number in a cookie called csrf which is returned to the browser.
When the user sees the withdraw page, nothing will have changed, but in the source code you’ll have this CSRF token in your form:
When the user submits the form to the server, your server will perform a quick check to ensure that the csrf data submitted in the form is identical to the csrf cookie value. If those two things are different, then it means the user didn’t view the withdraw form before submitting it, and must have been tricked!
Pretty neat, right?
In almost all web frameworks there are either built-in or readily available tools for automatically handling things like CSRF prevention. Being aware of the attack vector, however, is always good.
Building Secure Websites
Understanding how forms work, and how they transmit sensitive information to websites is the first step in understanding web authentication.
Please check back to read the future parts of this series where I’ll cover building a barebones website that stores users locally in a database.


Related Resources
Twilio Docs
From APIs to SDKs to sample apps
API reference documentation, SDKs, helper libraries, quickstarts, and tutorials for your language and platform.
Resource Center
The latest ebooks, industry reports, and webinars
Learn from customer engagement experts to improve your own communication.
Ahoy
Twilio's developer community hub
Best practices, code samples, and inspiration to build communications and digital engagement experiences.