How to Build a Single Send for Marketing Campaigns with Twilio SendGrid
Time to read:
July 21, 2023
Written by
")
Whether it's for promotional blasts, welcome emails, onboarding, or a variety of other things, marketing campaigns are one of the most common email use cases. Twilio SendGrid provides tools that make this seamless right out of the box with our Marketing Campaigns product.
Let's walk through the basics of sending marketing emails for whatever you may need, using the example of creating a campaign to let people know about the Mars Rover taking a selfie. If you do not already have one you should create a SendGrid account. For the purposes of this tutorial you can choose the free tier.
Creating a Single Send
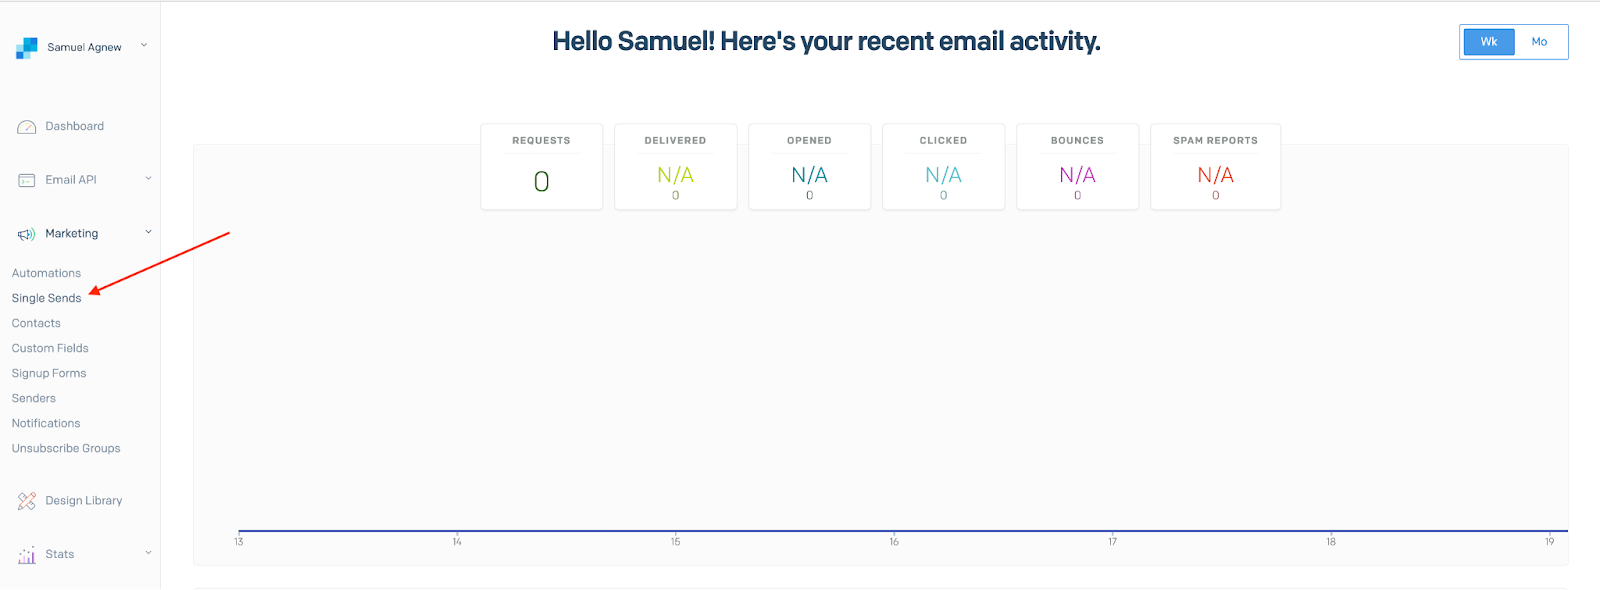
In your SendGrid Dashboard, click on "Single Sends" under the Marketing section
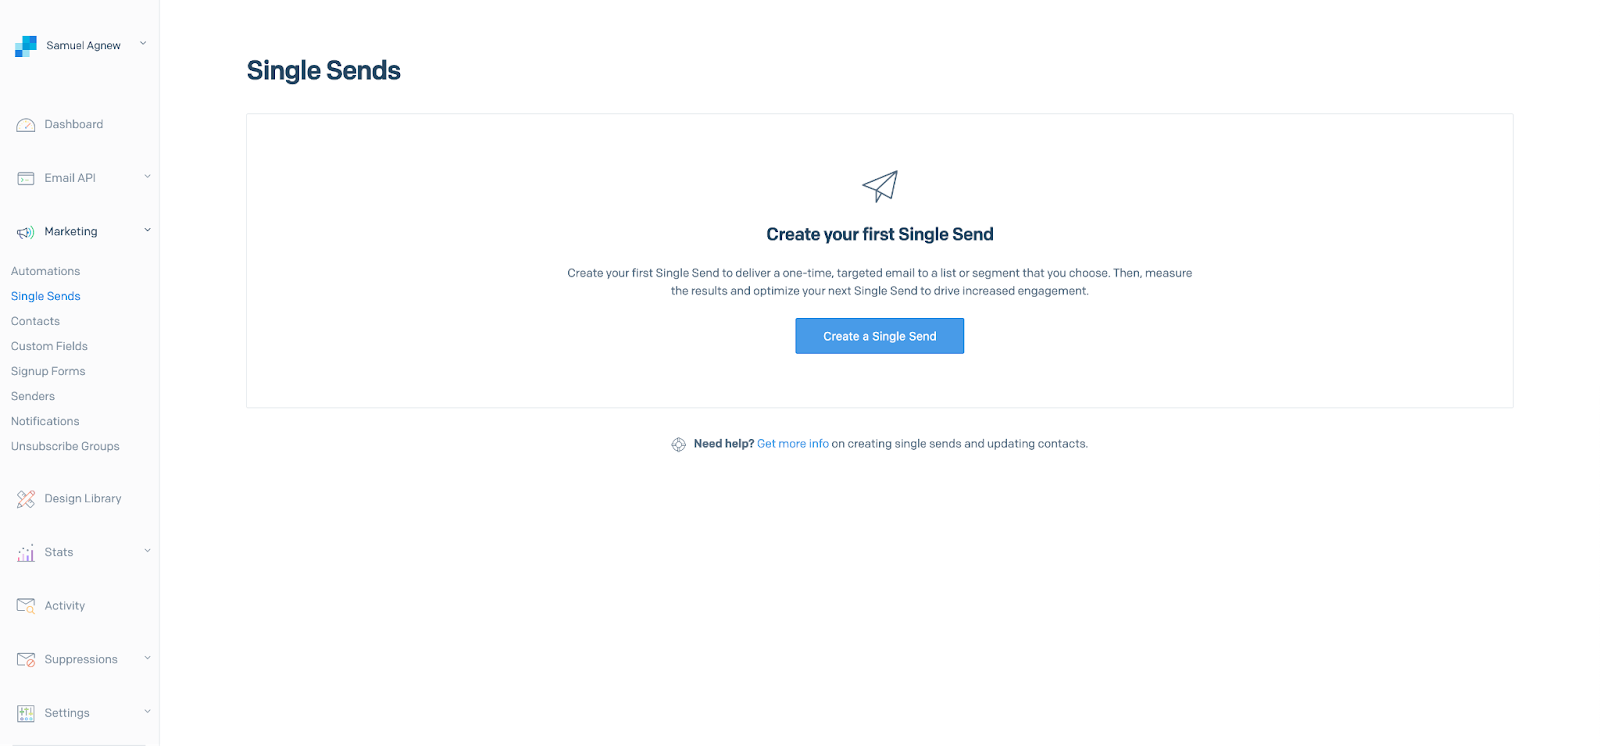
From here click to "Create a Single Send". If you haven't created any before you should see a screen like this.
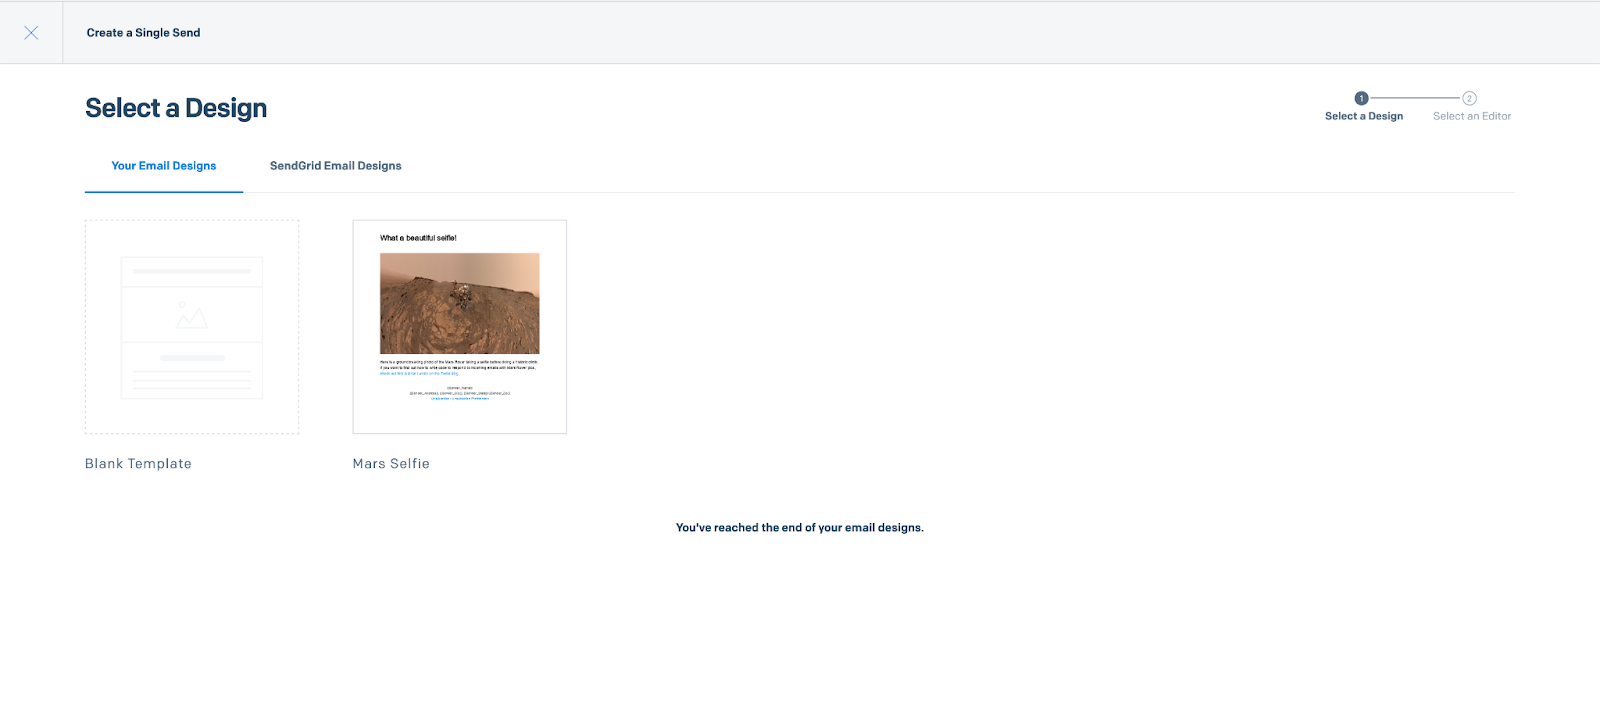
If you have already previously created an Email Design with the Design Editor, you can select that one to begin to modify it for this Marketing Campaign. If not, you can either click to create one from a blank template, or follow this tutorial to build one which will walk you through all of the relevant steps.
Modifying your Single Send
In the Design Editor you can configure how you want your marketing email to appear, and enter relevant information such as the subject, preheader, categories, and more.
Before you can send an email, you'll have to create a Sender. This requires you to enter things such as your contact information and mailing address, in order to comply with anti-spam regulations. If your email address matches one of your verified domains, then you don't have to validate that email address at this step. Here is another guide on domain verification, which is a step we highly recommend following.
You will also need contacts to send the email to. Here is an excellent guide on creating and managing contacts. For now, you can use this CSV template and replace the information with your own email address by uploading it to your contacts in your SendGrid dashboard.
Once you have a Sender and some contacts to send emails to, you can add these to your Single Send in the Design Editor as seen in the GIF below.
Sending your Marketing Email
You are now ready to send your email! Click "Review Details and Send" at the top right corner of the Design Editor and you should see the following screen. Make sure all of the information is correct and that your email looks satisfactory on Desktop and Mobile.

Once you confirm that everything is good to go, you can hit send and your email will go out to all of the contacts that you've selected!
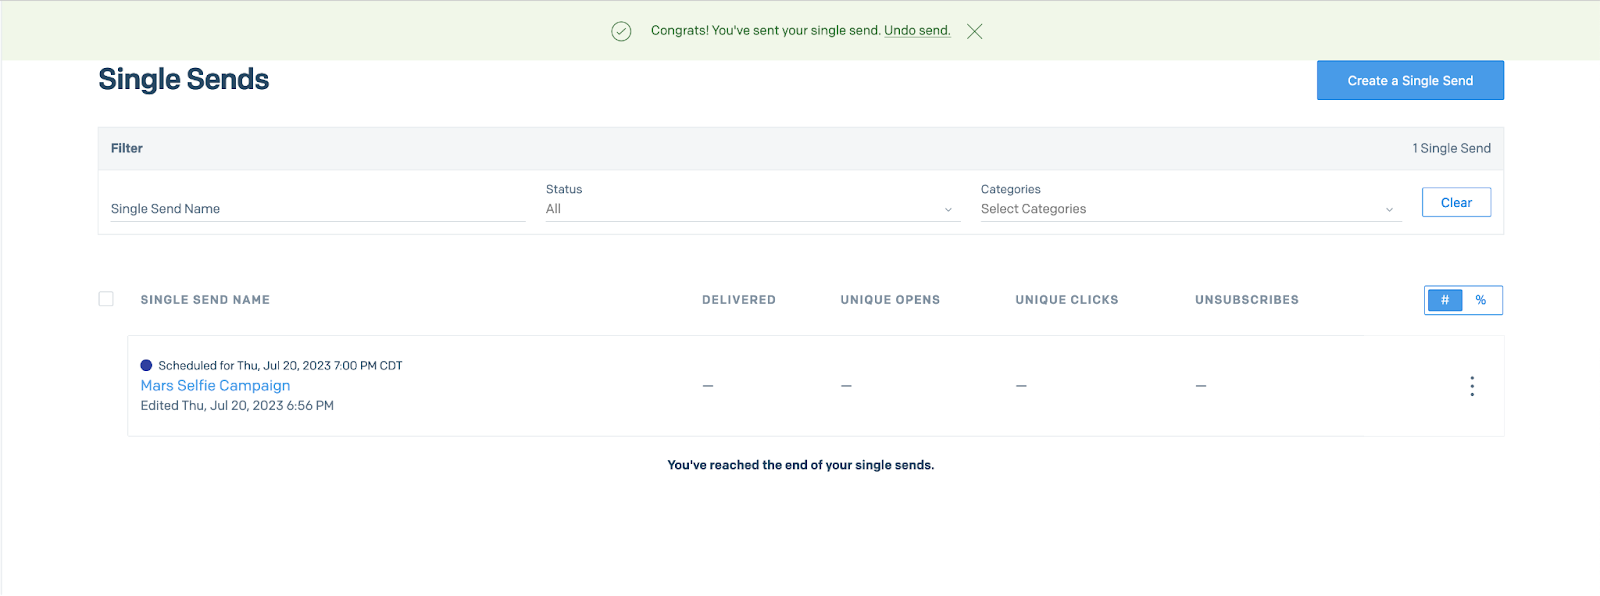
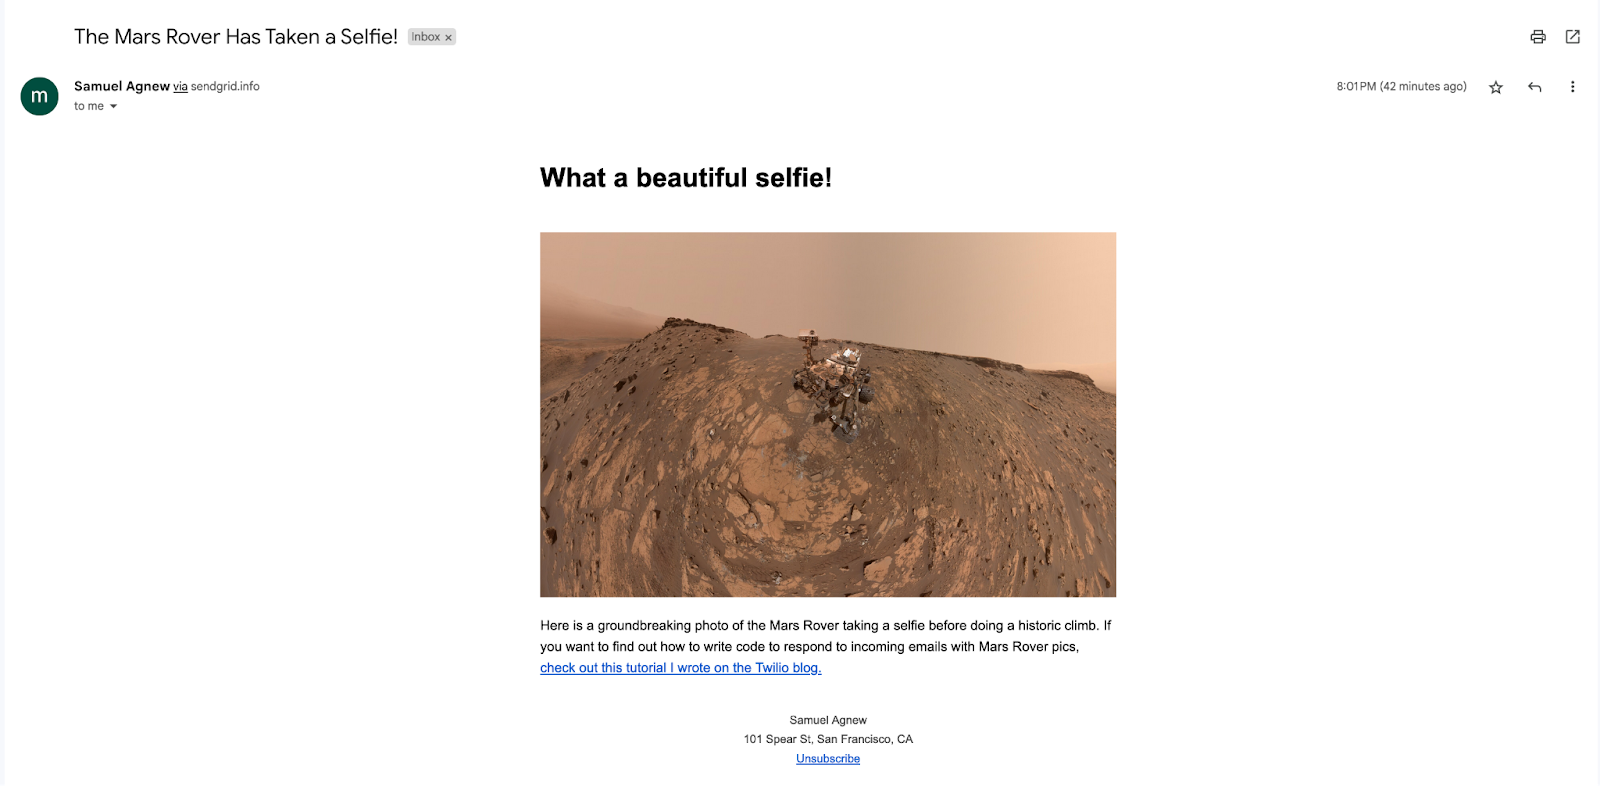
You should see your email in your inbox shortly! After this, you can create new versions of the template for different campaigns, as well as utilize SendGrid's A/B Testing resources.
Now that you're well equipped to use SendGrid for Marketing Campaigns, I can't wait to see what you build. Feel free to reach out for any questions, or to show off how you're using Dynamic Templates in your own projects.
- Email: sagnew@twilio.com
- Twitter: @Sagnewshreds
- Github: Sagnew
- Twitch (streaming live code): Sagnewshreds


Related Resources
Twilio Docs
From APIs to SDKs to sample apps
API reference documentation, SDKs, helper libraries, quickstarts, and tutorials for your language and platform.
Resource Center
The latest ebooks, industry reports, and webinars
Learn from customer engagement experts to improve your own communication.
Ahoy
Twilio's developer community hub
Best practices, code samples, and inspiration to build communications and digital engagement experiences.