Build a contact form with AWS Amplify that emails using AWS Lambda and SendGrid
Time to read:
February 02, 2023
Written by
Reviewed by

In this post, you will build a contact form that sends an email using AWS Amplify, AWS Lambda, and SendGrid. The email will contain the information from the form and is sent to an internal email address, making it easy to respond to the inquiry. AWS Amplify is a development platform for building scalable mobile and web applications. It enables developers to create, configure, and implement scalable backend services with just a few clicks. AWS Lambda is a serverless computing service that lets you run code without provisioning or managing servers. Twilio SendGrid is a cloud-based email service that allows you to send and receive emails without maintaining your own email server.
Prerequisites
You will need a free Twilio SendGrid account. Sign up for a SendGrid account here and send up to 100 emails per day completely free of charge. You will also need an AWS account.
Finally, you will need the following for your development environment:
- a .NET IDE (Visual Studio, VS Code with C# plugin, JetBrains Rider, or any editor of your choice)
- AWS Amplify CLI
- Node (version 14 or newer)
- NPM (version 5.2 or newer)
- React
You can find the source code of this tutorial in this GitHub repository.
Configure SendGrid
Configure a Single Sender in SendGrid
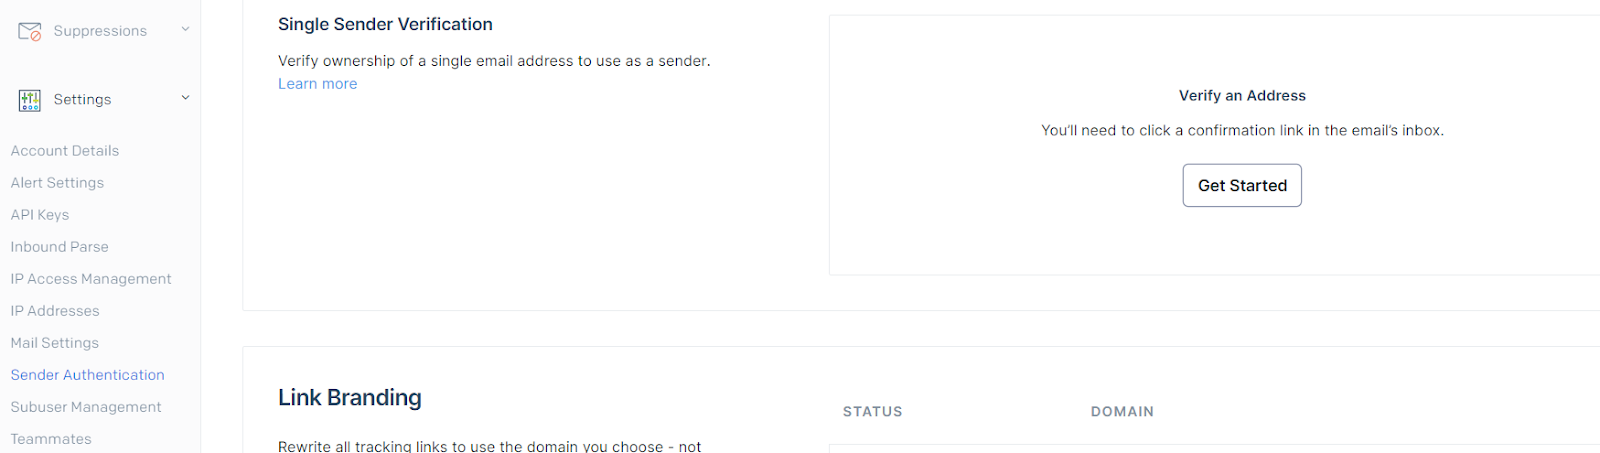
The information entered in the form that you will create later will be sent by email through Twilio SendGrid, and you need to verify ownership of an email address or domain so that the service can send messages on your behalf. To start quickly, you will use Single Sender Verification for this tutorial. This verifies that you own the email address to which the application will send emails. Single Sender Verification is great for testing purposes, but it is not recommended for production.
To do this, go to the Sender Authentication option, and then in the Single Sender Verification section, select Get Started.
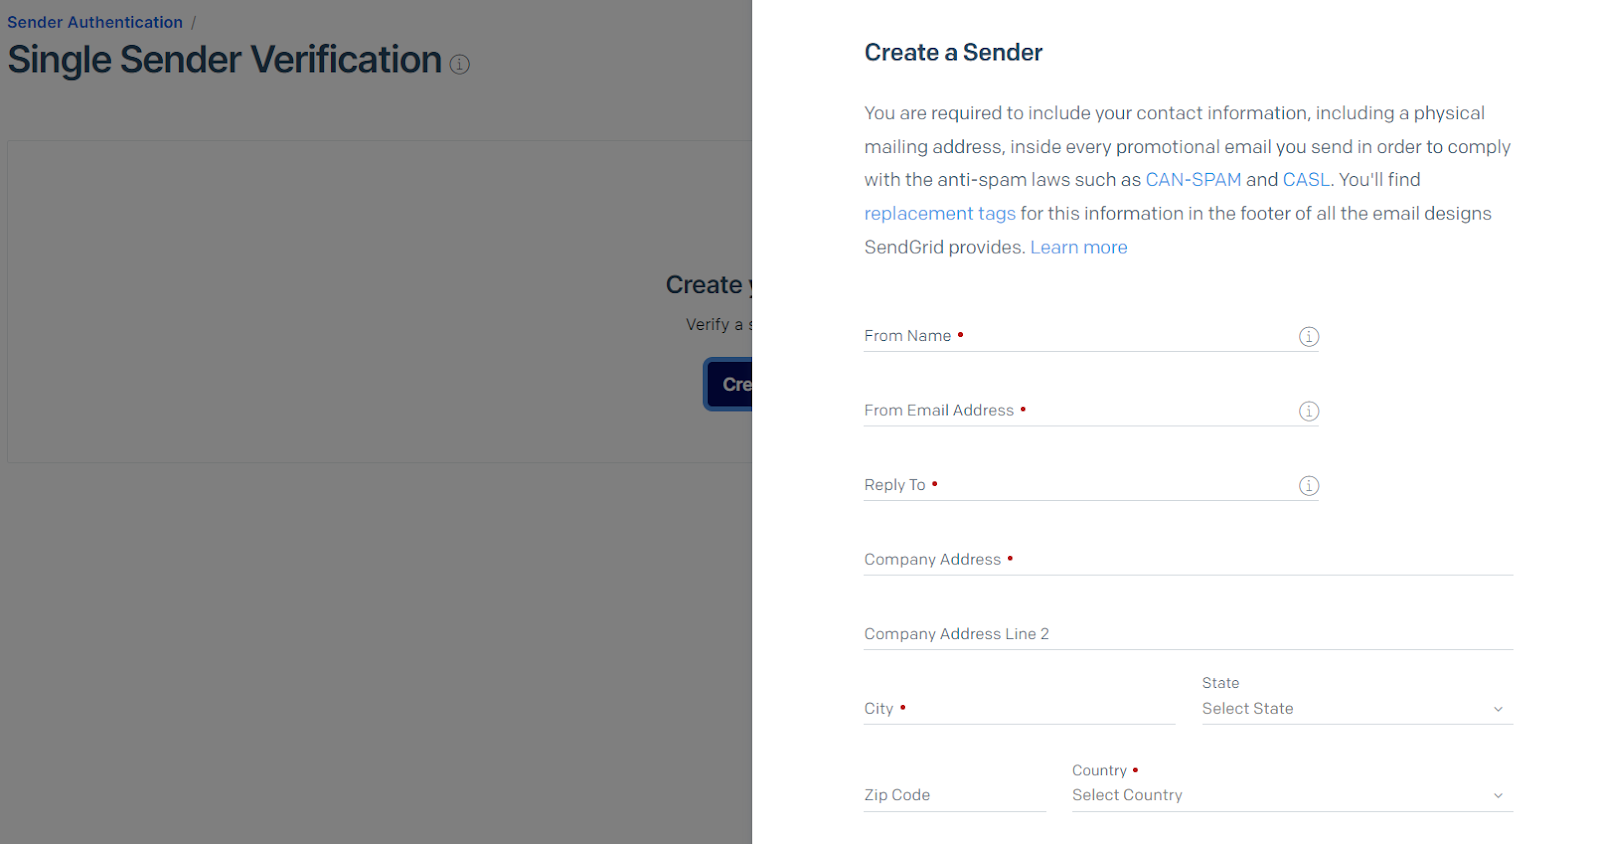
Complete the form, specifying in the From field the email address that you will send the emails from. It must be an email address that you have access to because you will receive a verification email.
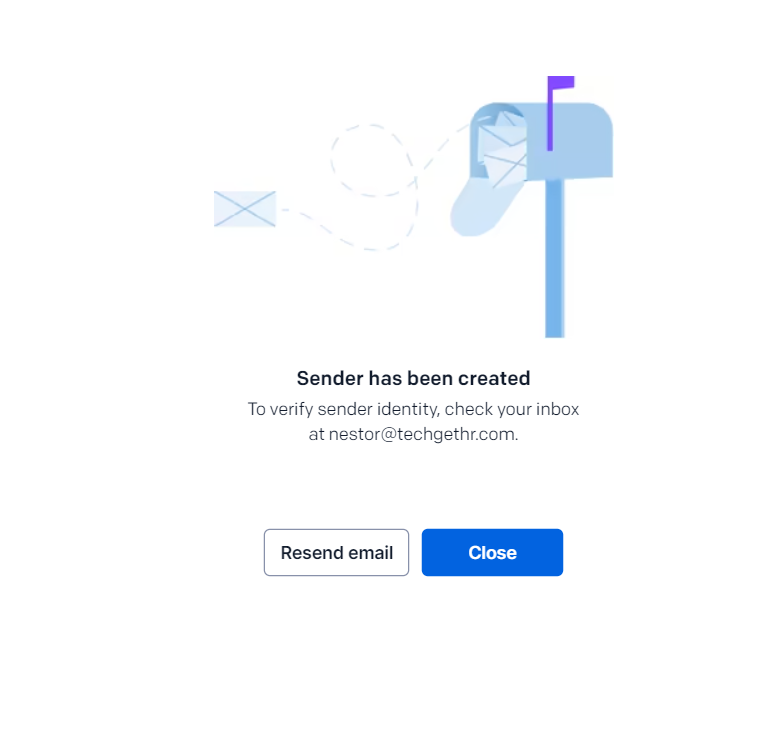
After creating the sender, you will receive an email to confirm your ownership of the specified email address.
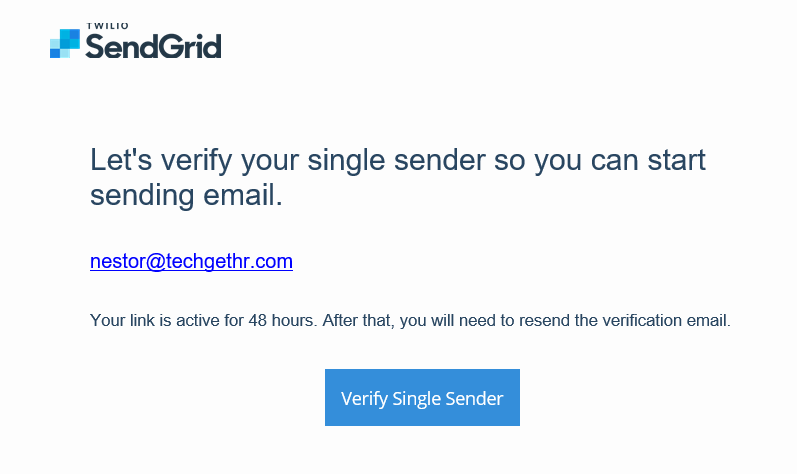
An email will arrive in a few seconds or minutes with a link that you must access to confirm and verify your ownership of the existing email box. Find the email and click Verify Single Sender.
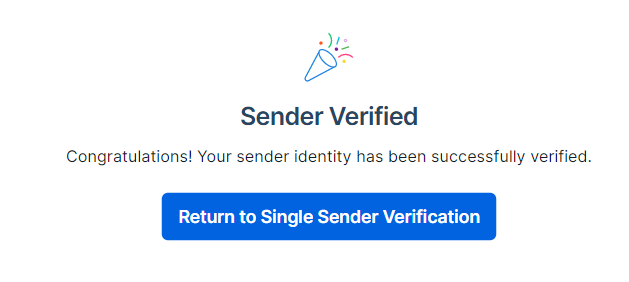
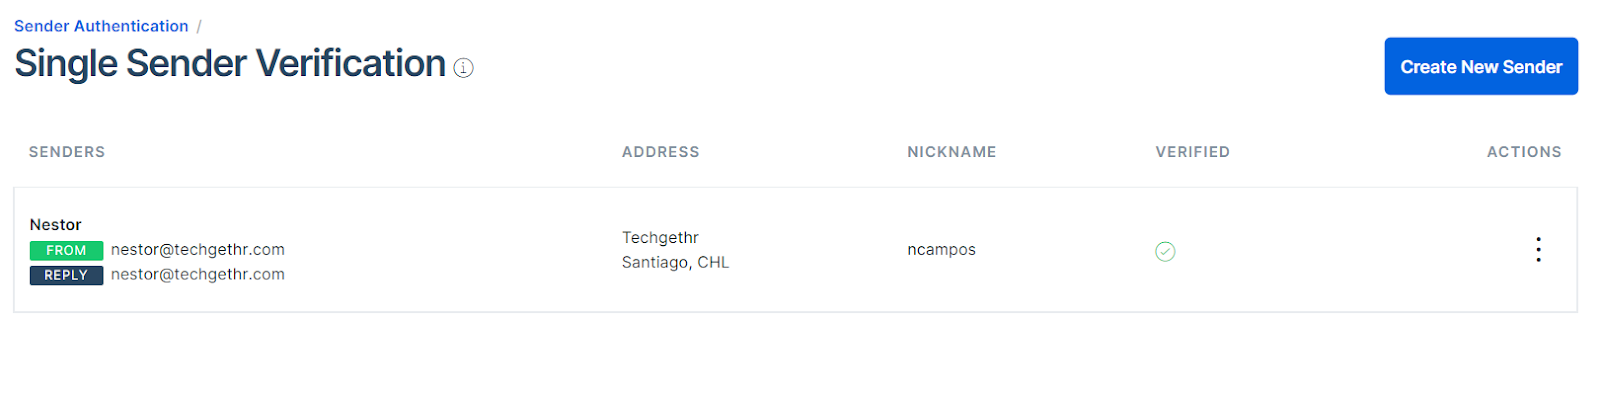
When verifying the email address through the link you received, you will see a confirmation page, and later you will be able to see in the Sender list that your email address is verified and ready to send emails from SendGrid.
Create an API Key
You'll need to create an API key to send emails with Twilio SendGrid.
First, access your SendGrid account and navigate to the API Keys page under Settings.
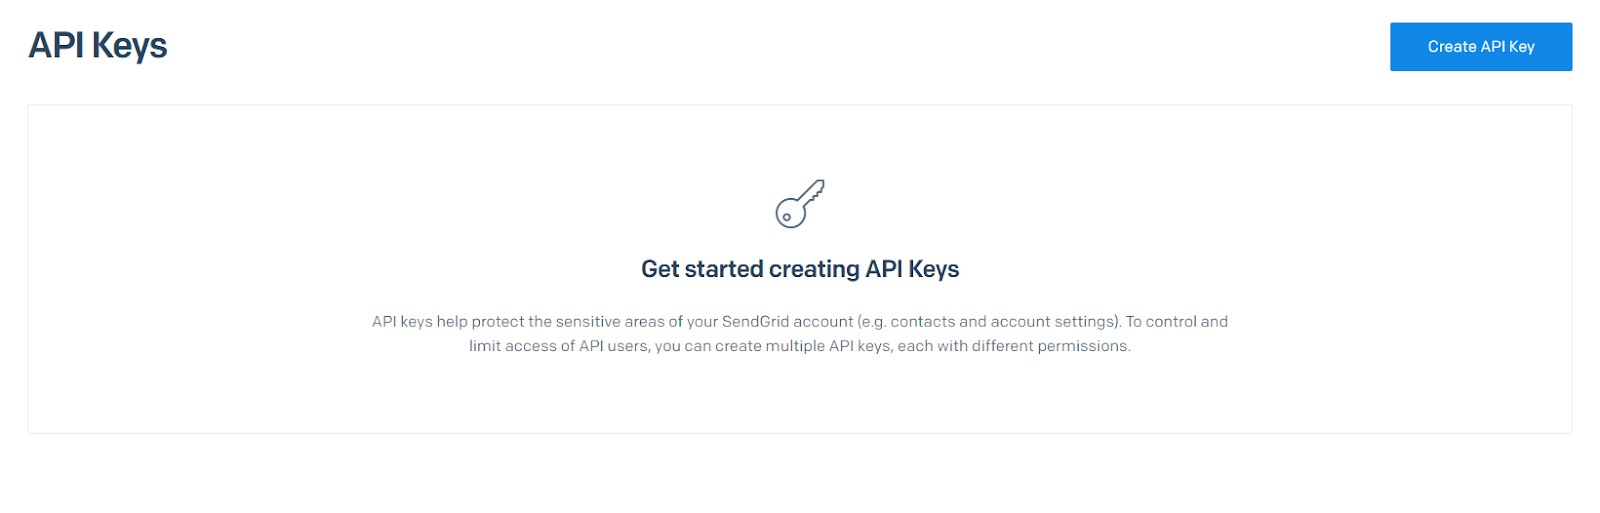
Next, click Create API Key, and in the displayed form, enter a name to distinguish it from other keys for other projects, and give it Restricted Access with only Mail Send permissions.

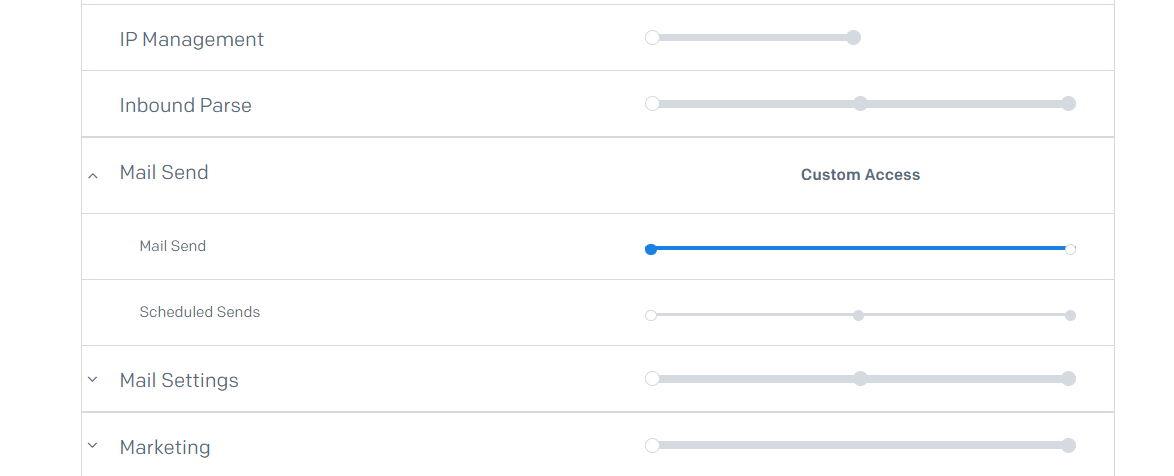
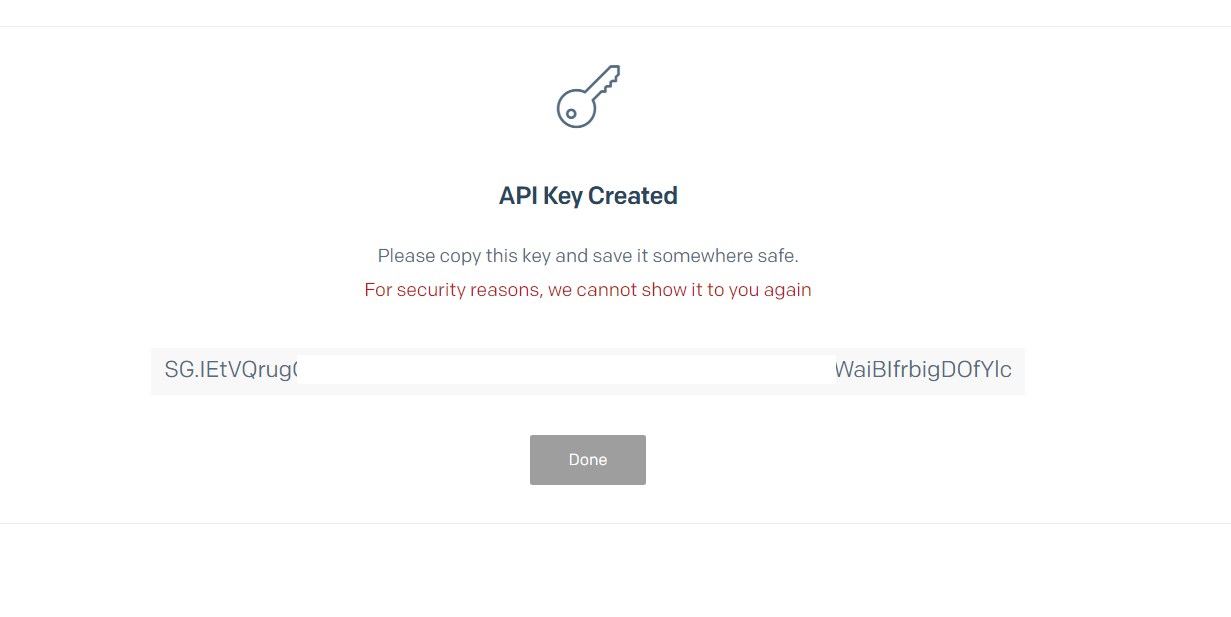
Scroll to the bottom of the form and click Create & View. On the next screen, you will be presented with the API Key that you must copy (you will use it later for the project).
Create an AWS Amplify App
Now, you'll need to create an AWS Amplify app. First, sign in with your account to the AWS console.
Once in the AWS console, enter the text "AWS Amplify" in the search box, and click on the AWS Amplify option.
You'll see a page describing AWS Amplify and everything you can do. On that page, scroll to the bottom to see the available options.
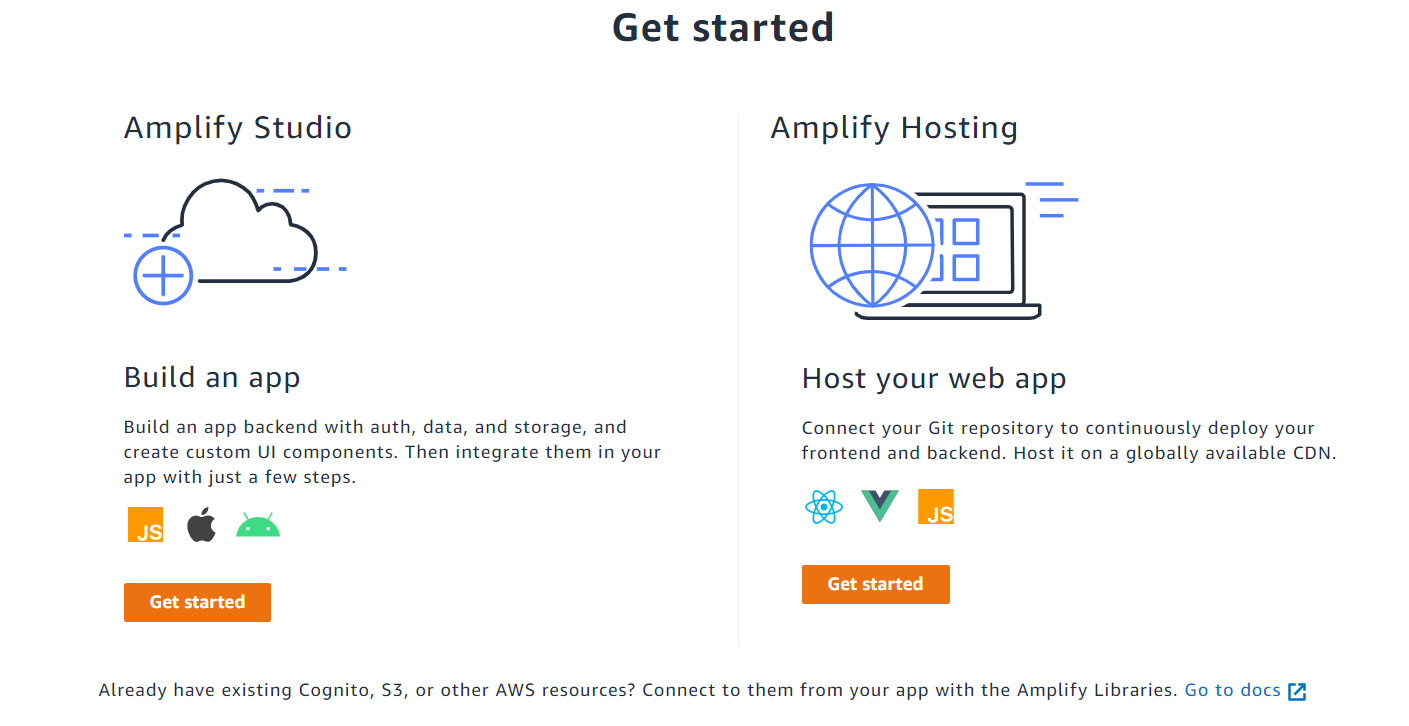
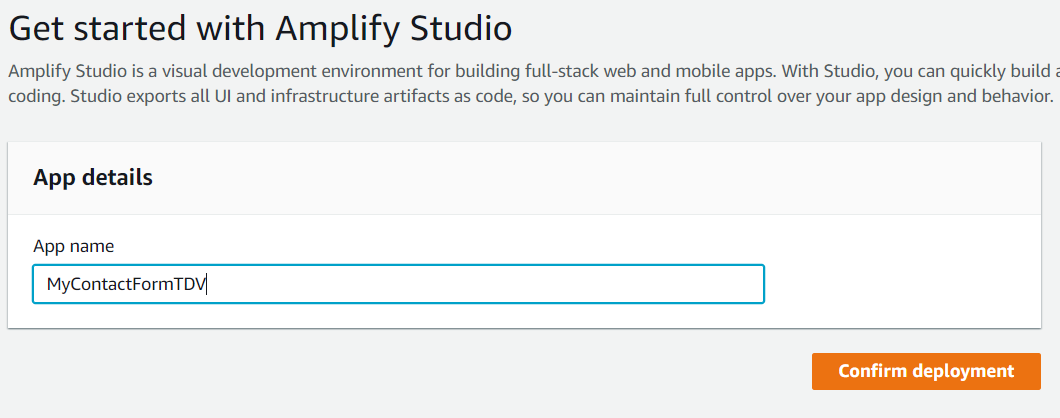
Click Get started under the Amplify Studio option and then write the name app for your new application. Then, click on Confirm deployment.
You will have to wait a few minutes until the components of your new app are created.
After the wait, your new app will be ready to be configured and deployed.
App creation
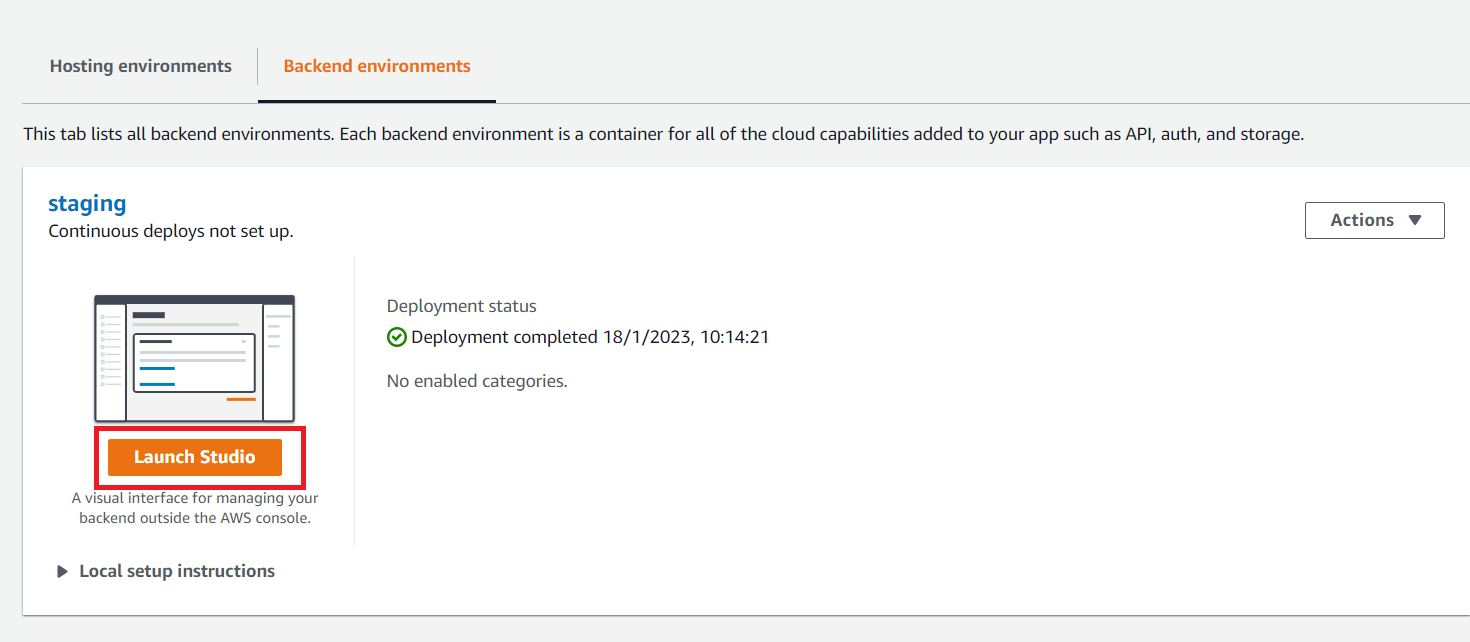
You will now create the contact form using Amplify Studio. Press the Launch Studio button to open the Amplify platform.
You will see the home page of the Amplify Studio, with different options to create your app.
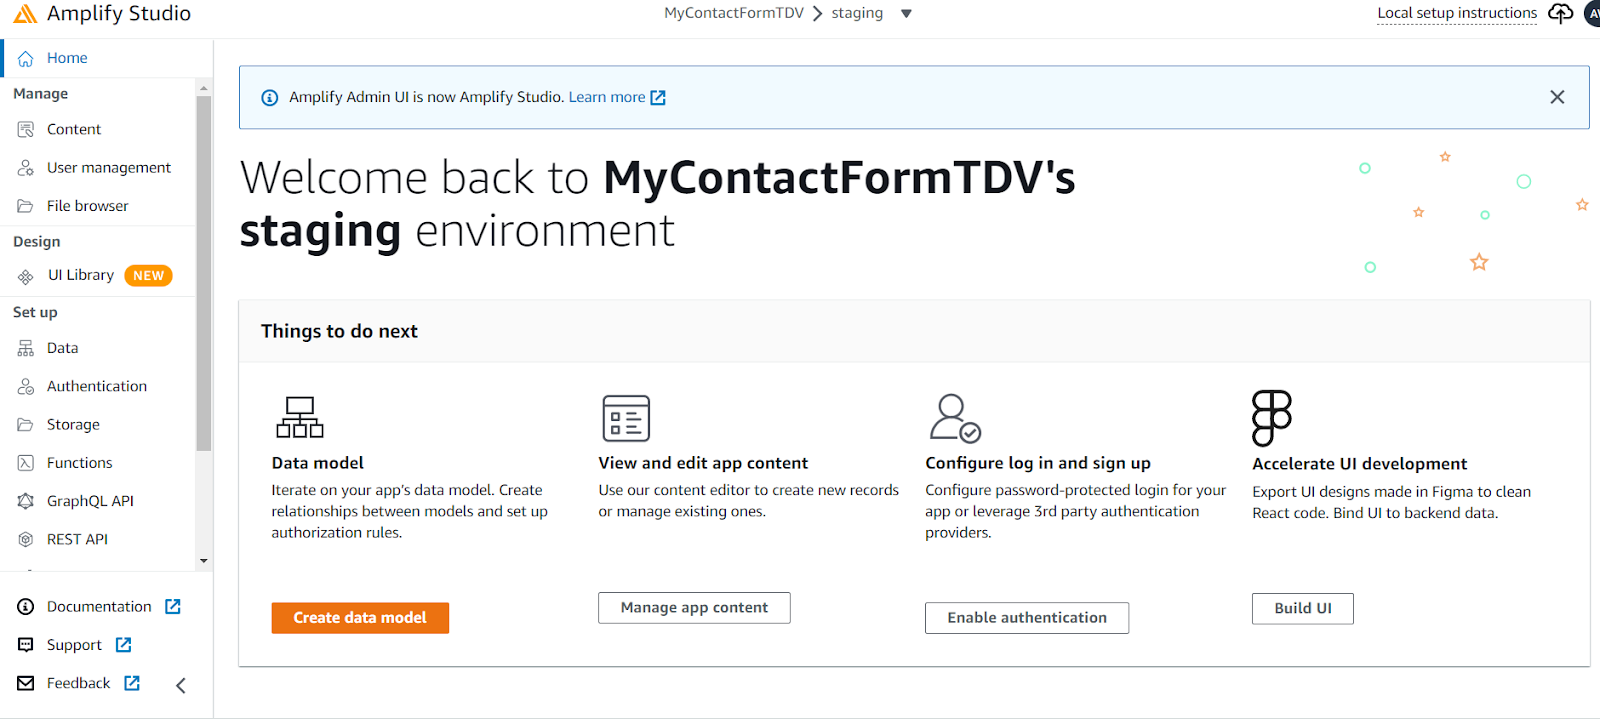
Click the Data link in the left menu, then, click the Add Model button.
Name the model "ContactForm" and configure the model by matching the fields in the table below:
| Name | Type | Is required |
|---|---|---|
| Name | String | Enabled |
| AWSEmail | Enabled | |
| Subject | String | Enabled |
| Message | String | Enabled |

Click on the Save and Deploy button, then click on the Deploy button, and wait a few minutes for confirmation.
When the changes are confirmed, you will see a page with the details to configure your app in AWS Amplify CLI (the console environment to execute changes in this project on your own computer).
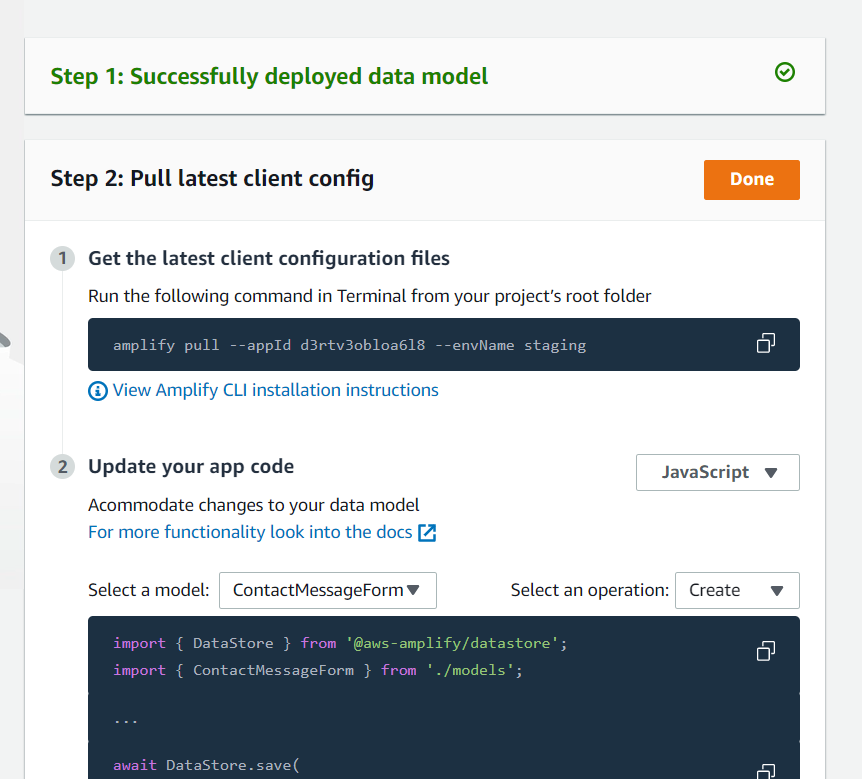
Now, import the project to your computer with the Amplify CLI, by running the command given after model creation. To do this, you must create a project in React (which will be used as a frontend framework) for development and proper integration with AWS Amplify components:
Replace <app-Id> with the ID corresponding to your application in Amplify.
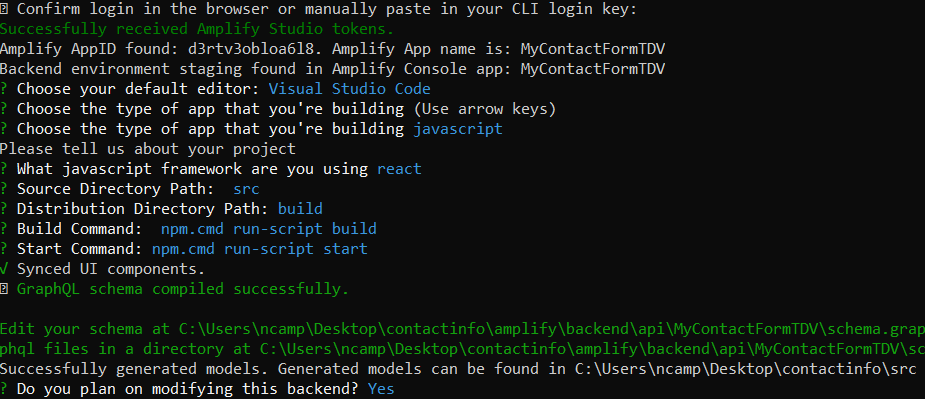
At first, the console will open a new tab in your browser to let you log in via the browser and have your Amplify CLI authorized. After that, the Amplify CLI will ask you to enter and configure various options, in which you will select the following:
- Choose your default editor: Select the best option for you
- Choose the type of app that you're building: javascript
- What javascript framework are you using: react
- Source Directory Path: src (default option)
- Distribution Directory Path: build (default option)
- Build Command: npm.cmd run-script build (default option)
- Start Command: npm.cmd run-script start (default option)
- Do you plan on modifying this backend? Yes
Connect SendGrid to the model via AWS Lambda
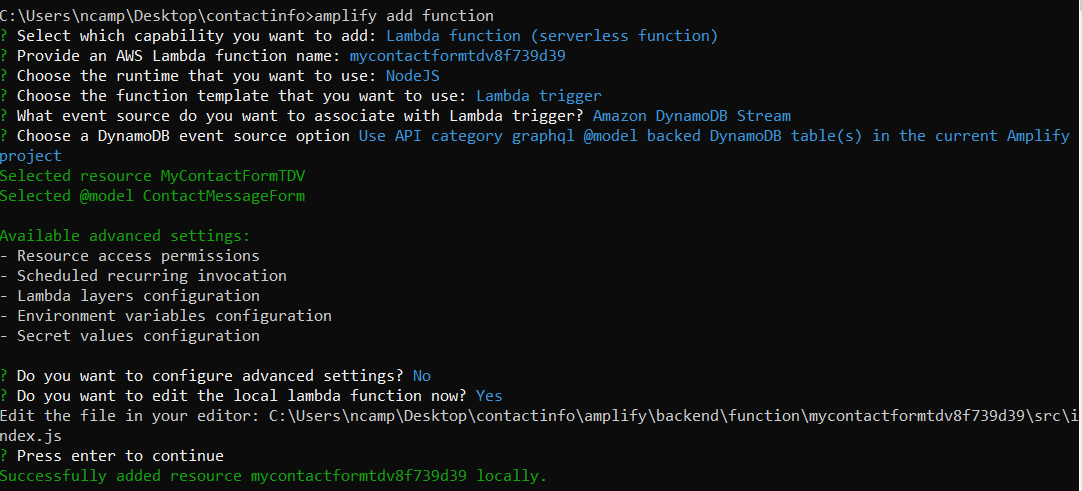
On the same command line you are working on, add a function to your app with the following command:
In this case, for each question, select the following:
- Select which capability you want to add: Lambda function (serverless function)
- Provide an AWS Lambda function name: Type a name or leave the default name.
- Choose the runtime that you want to use: NodeJS
- Choose the function template that you want to use: Lambda trigger
- What event source do you want to associate with Lambda trigger? Amazon DynamoDB Stream
- Choose a DynamoDB event source option: Use API category graphql @model backed DynamoDB table(s) in the current Amplify project
- Do you want to configure advanced settings? No
- Do you want to edit the local lambda function now? No
Now, your new function is available to be edited in the amplify/backend/function/<function name>/src path. Navigate to the function's src path in your shell.
Install the @sendgrid/mail NPM package from your command line:
Then, open the index.js file and replace its content with the following:
Replace <EMAIL_FROM> with the SendGrid verified sender email address you configured in SendGrid to send emails, while <EMAIL_TO> with another email box to receive the contact form messages.
Next, save everything, and in your shell, run:
You will see a configuration screen with the changes that will be made to the project, which you must accept to continue.
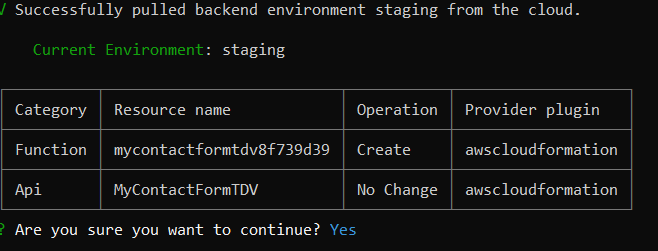
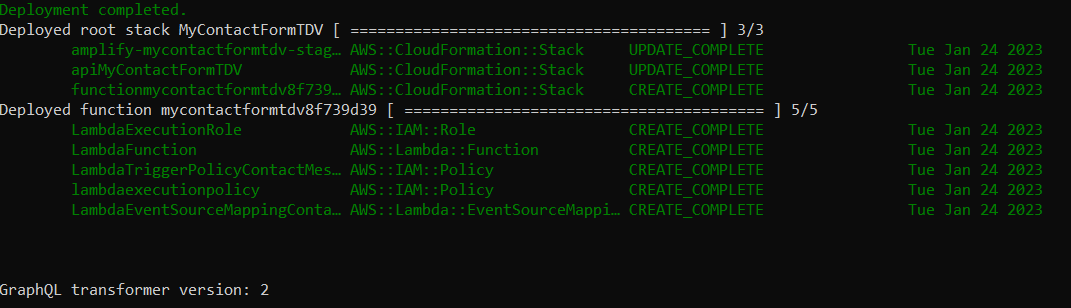
Wait a couple of minutes until you see the message Deployment completed with the details of the resources that were added or changed in the project.
Now go back to Amplify Studio and click on the Functions link in the left menu, and you will see the function you just created appear. Click the link to your function to see the details in AWS Lambda.
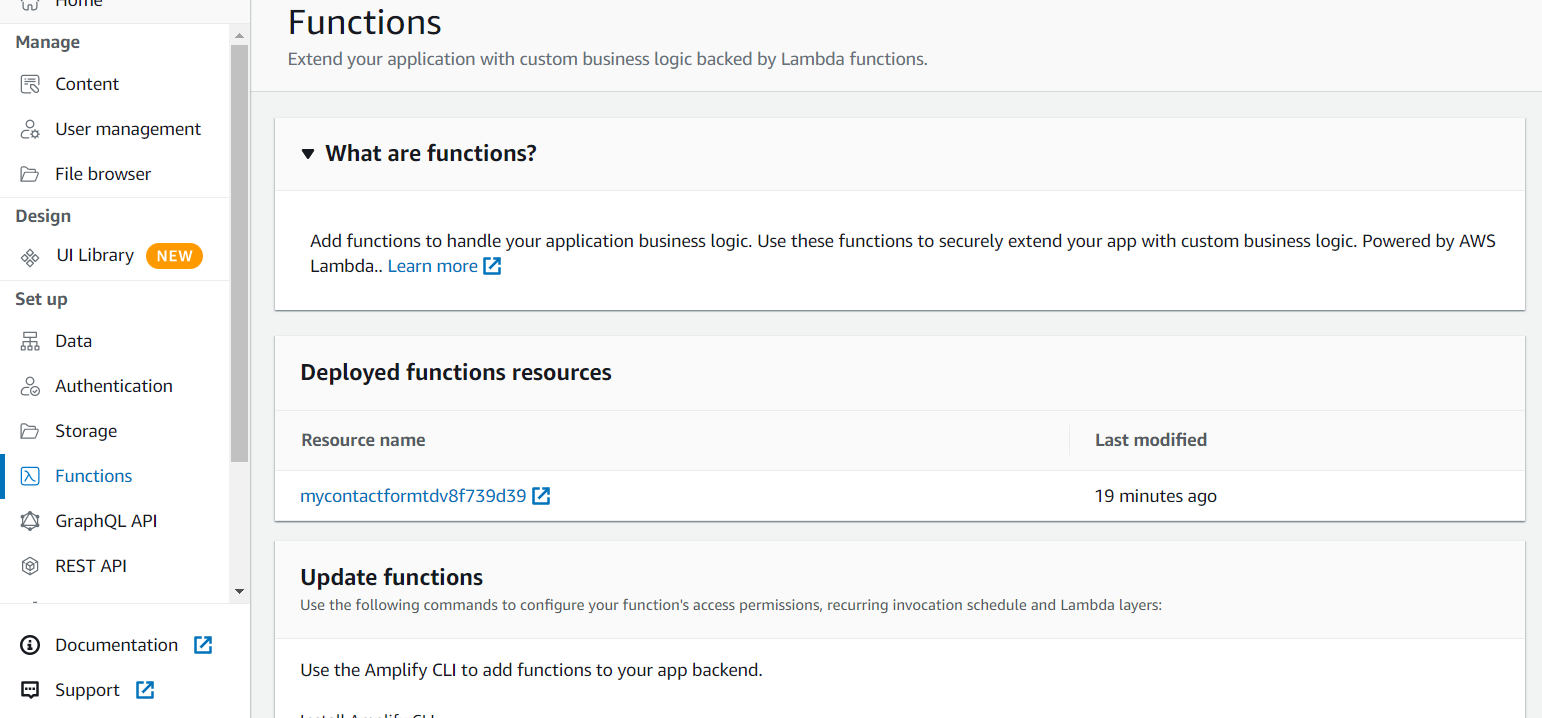
You'll see a screen similar to the one below, in which the created lambda function is connected to the application model via DynamoDB.

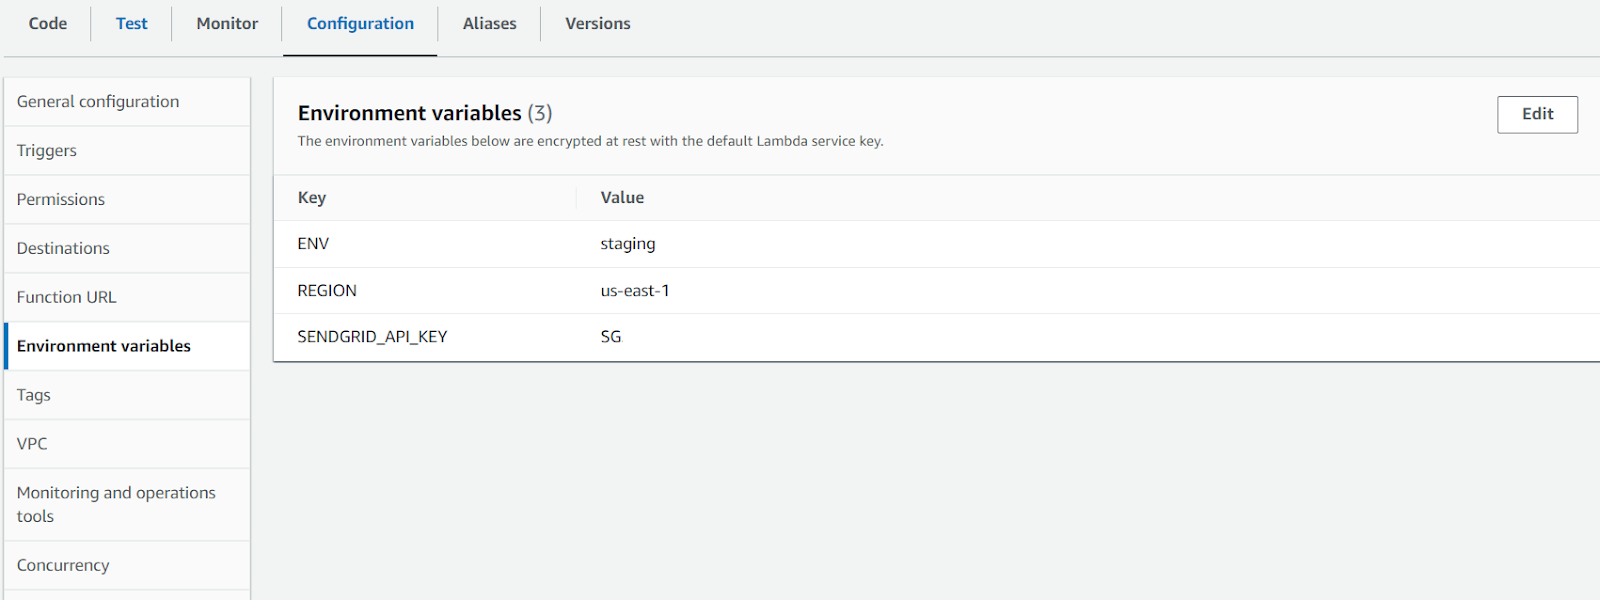
Click on the Configuration tab, then click on the Environment variables link in the left submenu, and click the Edit button on the Environment variables page. Add the SENDGRID_API_KEY variable with the value of the API key you got from SendGrid in the beginning of this tutorial.
Enabling the contact form
With the Lambda function already deployed, it's time to deploy the form that Amplify automatically created.
To do this, in the root of the Amplify project, through the command line, run the following:
Then, inside the src folder, edit the index.js file by replacing with the following code:
Finally, edit the App.js file, replacing all the content with the following:
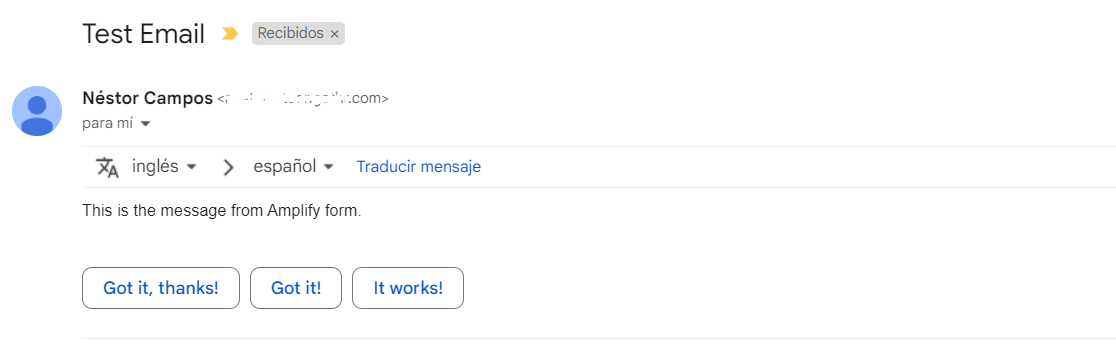
Next, build the React project, fill out the form, and submit it.
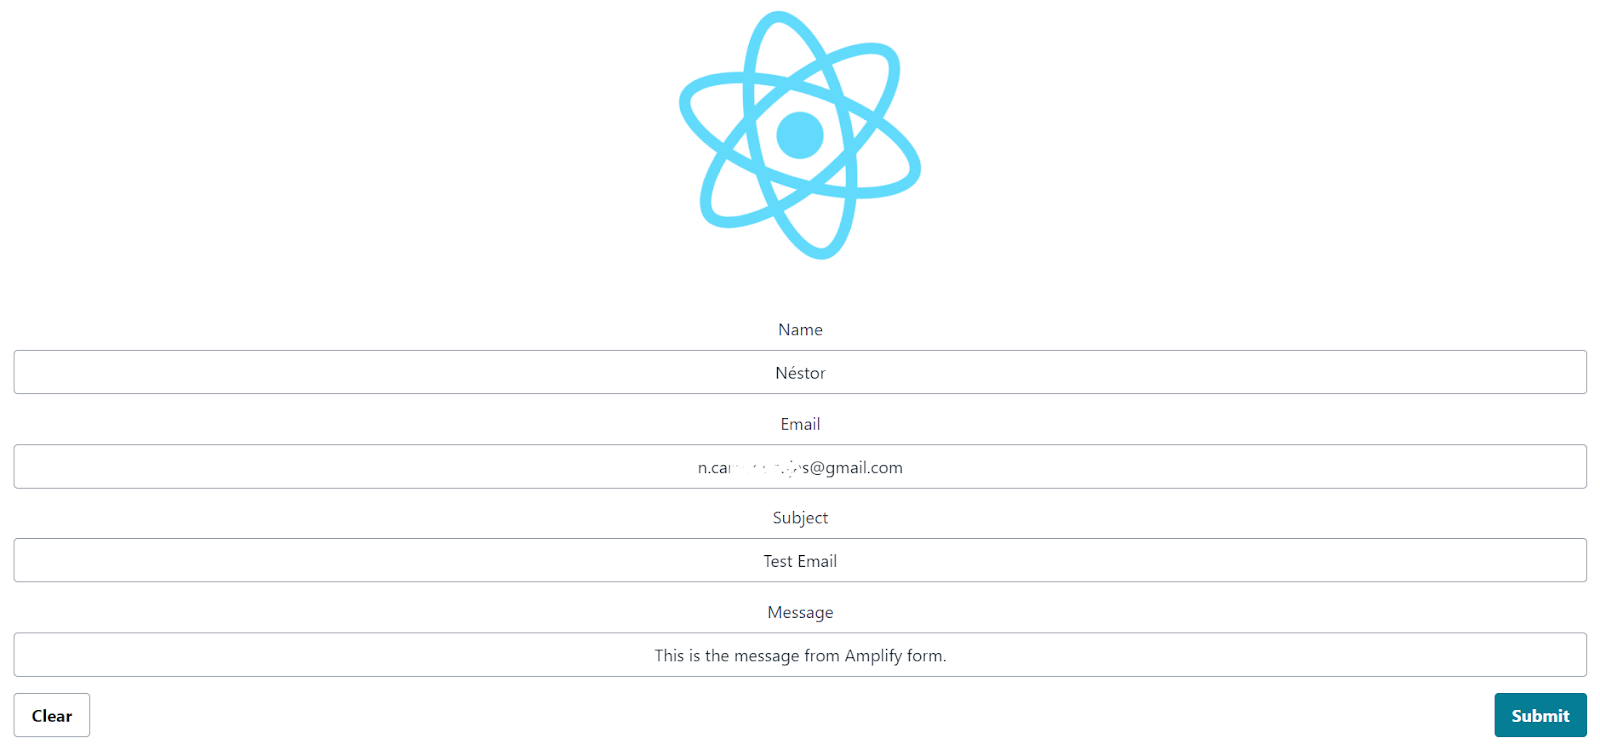
In a few minutes, you will receive an email with the details of the contact form:
Deploy the app with Amplify Hosting
With the form working locally, you are now going to deploy it to Amplify Hosting to make it publicly available with its own URL.
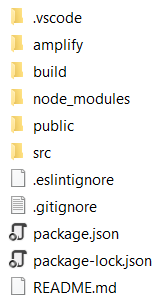
But you must build the project so that it generates the files that you will use to import into Amplify. Execute the following command to build the project:
A few minutes later, in the root of your React project, the build folder will appear with all the necessary files so that the frontend of your application can be deployed through hosting.
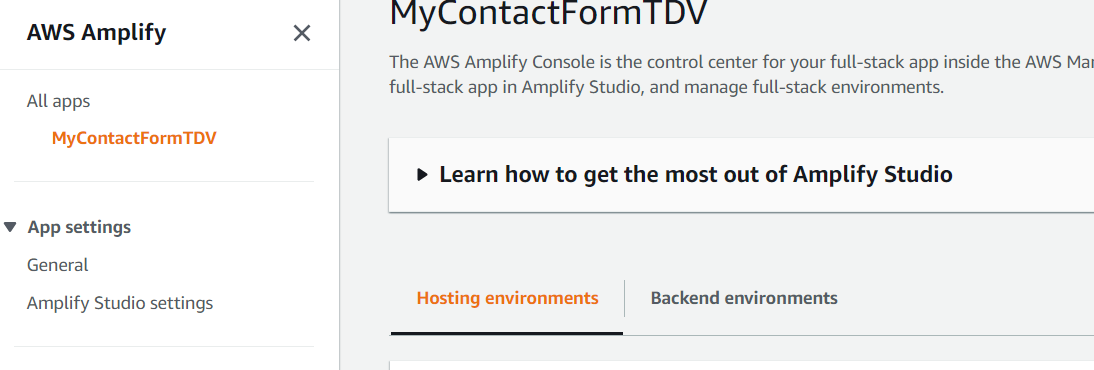
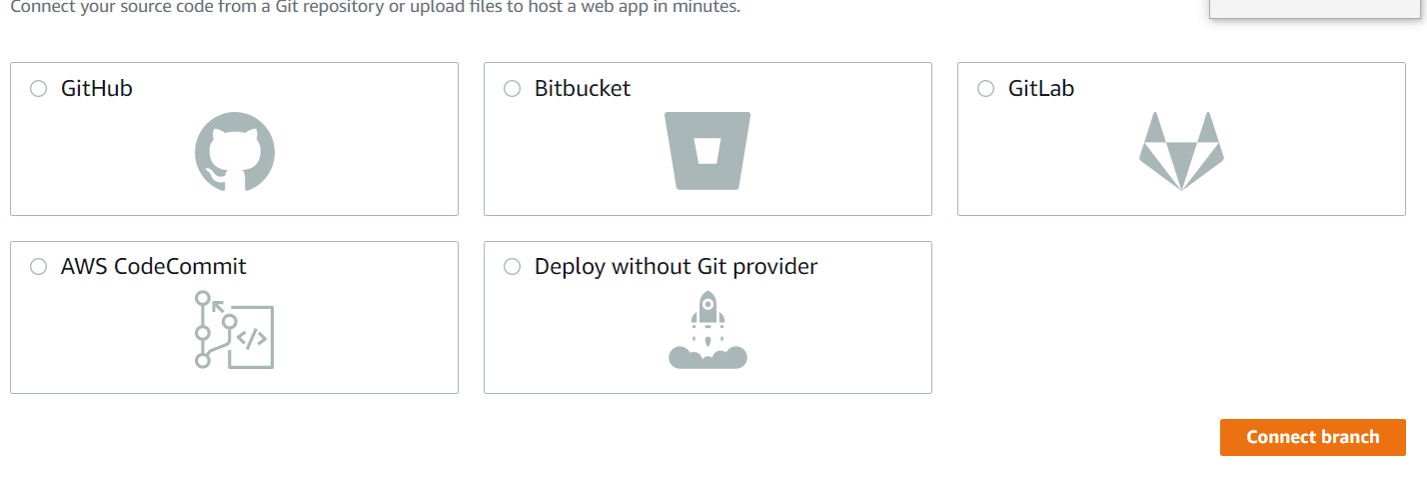
Now, go back to the AWS Amplify web console, and select the Hosting environments option (you've been working with Backend environments so far) in your project:
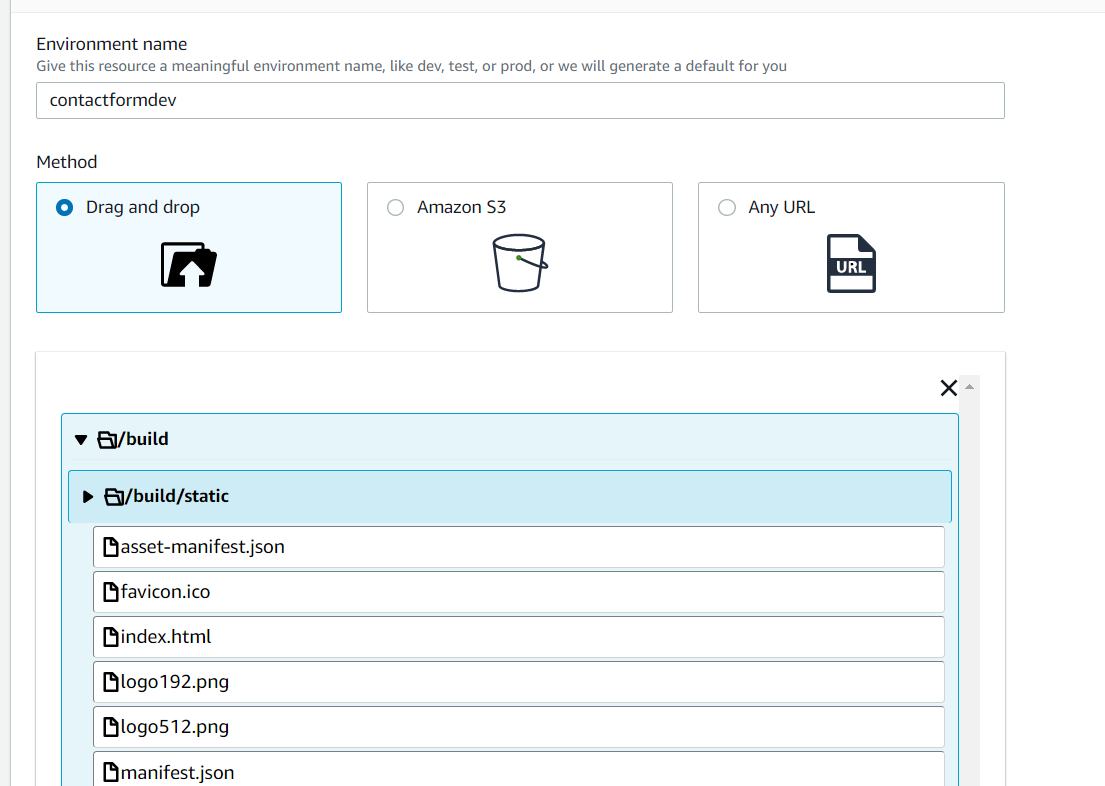
Now, give this environment a name (you can have multiple work environments, such as dev, test, prod, and more). And then, drag the build folder from your device to the box available on the page to start the process. Finally, click on the Save and deploy button and wait a minute.
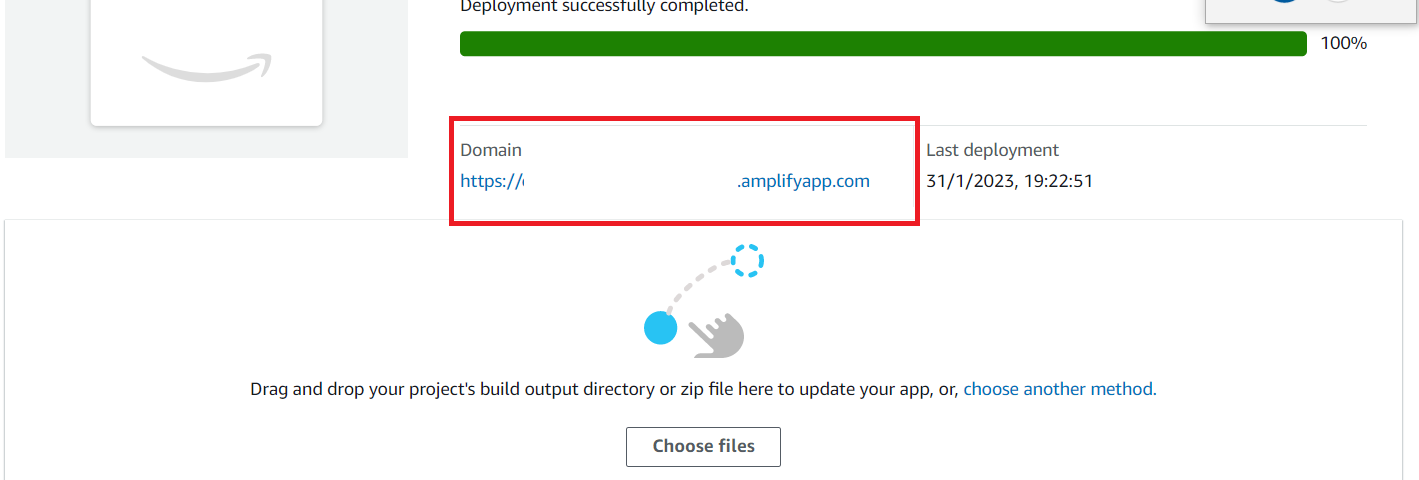
If the deployment is successful, you'll see a summary page indicating the success of the process and the generated URL for your app that you can use externally or publish.
And now you have a form that processes contact information, stores it, and then sends an email with that information through AWS Lambda and Twilio SendGrid, as well as a public site to have your contact form accessible by anyone.
Additional resources
Check out the following resources for more information on the topics and tools presented in this tutorial:
Twilio SendGrid – To send transactional emails.
How to Send Emails in JavaScript/Node.js with SendGrid: In this post on the Twilio blog, you can learn about sending emails using Twilio SendGrid with the Node.js framework.
Amplify UI Components: In the AWS Amplify User Interface documentation, you can learn about the details of the visual components that are available to you for developing your applications.
AWS Amplify Hosting: Review all the options you have to deploy your application through Amplify Hosting.
Framework integration with Amplify: Explore all the possibilities of integrating Amplify with different development frameworks to create web and mobile user interfaces.
Source Code to this tutorial on GitHub - You can find the source code for this project at this GitHub repository. Use it to compare solutions if you run into any issues.
Néstor Campos is a software engineer, tech founder, and Microsoft Most Valuable Professional (MVP), working on different types of projects, especially with Web applications.


Related Resources
Twilio Docs
From APIs to SDKs to sample apps
API reference documentation, SDKs, helper libraries, quickstarts, and tutorials for your language and platform.
Resource Center
The latest ebooks, industry reports, and webinars
Learn from customer engagement experts to improve your own communication.
Ahoy
Twilio's developer community hub
Best practices, code samples, and inspiration to build communications and digital engagement experiences.