Bulk Delete your Twilio Recordings with Python
Time to read:
May 05, 2016
Written by

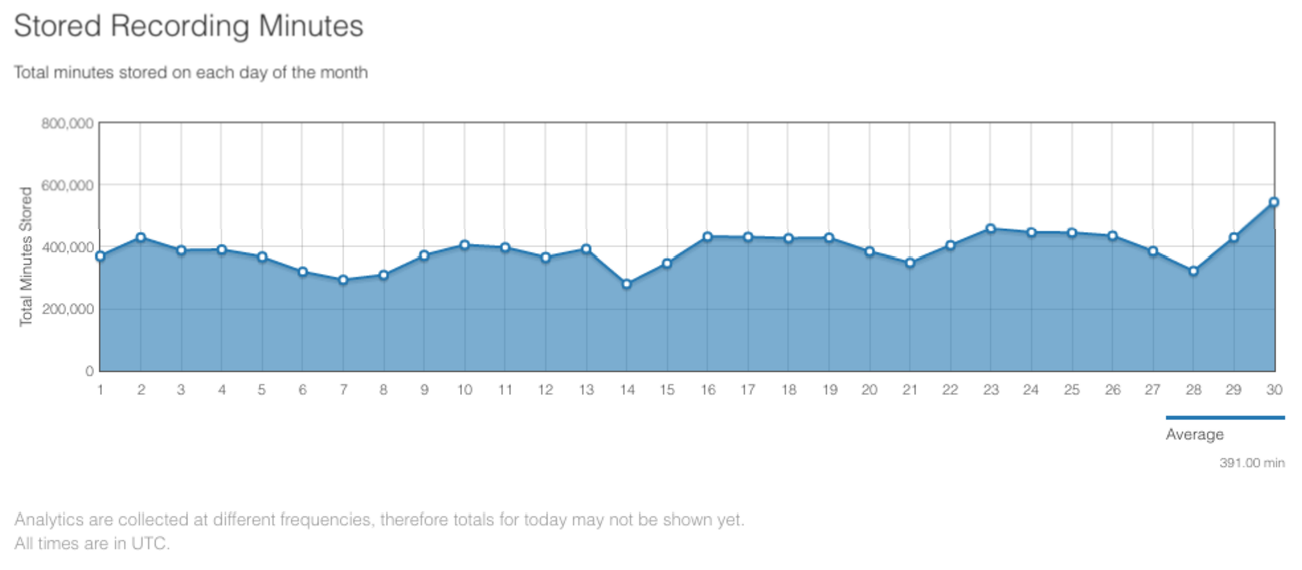
We’ve all heard it. “This call may be recorded for quality assurance purposes.” These recordings are used by Customer Service Managers to improve quality of service and coach agents they care for. If you’ve built a Twilio-powered contact center, chances are you are recording these calls. Your service works great, business is booming, and one day you look at your Twilio account and you see this:
It turns out you’ve been recording every single call over months of service and you haven’t cleaned it up! To optimize your operations and lower cost, you want to delete the ones you don’t need. In this blog post we’ll use Twilio’s Recordings API and some of Python’s built-in library to delete your recordings quickly and efficiently.
What We’ll Need
Let’s walk through how to create a recording deletion script with Python. You need the following things to create this script:
- Python 3.x
- Twilio Python helper library to execute REST requests
- Some recordings in your account to test this on.
- Optionally, it never hurts to have the Twilio Docs, specifically the Twilio REST API documentation, open for reference as we build the application.
Now that we know our dependencies, let’s get our coding environment established.
Python Environment Setup
Setup Step 1: Check the Python installation
If you’re on Mac OS X, you probably have Python 2.x installed on your system. You will need to get Python 3.x installed. The easiest way to do it is to install the Homebrew package manager for Mac OS X and once you have it installed, run brew install python3 to get it on your system. You can then use python3 in your terminal to run Python 3.x, and python to run Python 2.x for your other projects.
For Windows, make sure you download and install the Python.exe installation package. My recommendation is to use Python 3.5 unless you have a pressing reason to use an earlier version, because the Python community is now migrating en masse to Python 3.
Setup Step 2: Install the Twilio Helper library
pip handles Python library installations and a simple pip install twilio in your terminal will install the latest version of the Twilio Helper library. If you are running parallel versions of Python on your system, pip install targets your 2.x installation, while pip3 install targets your 3.x installation, so use pip3 accordingly.
Setup Step 3: Set environment variables
How to set environment variables depends on your operating system. Here are some handy guides if you’re on Windows, Mac OS X or Ubuntu Linux that’ll help with the specific steps.
Note that if you don’t set these environment variables now there are spots within the application code to set them. However, in Python it’s a good practice to use environment variables instead of hardcoding these sensitive values.
There are only two variables that need to be set:
- TWILIO_ACCOUNT_SID – found on your Twilio account dashboard
- TWILIO_AUTH_TOKEN – also found on your Twilio account dashboard
On Mac OS X and Linux, you can set environment variables with the export shell command. For example, you’d run export twice to set the following variables:
- export TWILIO_ACCOUNT_SID="ACxxxxxxxxxxxxxxxxxxxxxx"
- export TWILIO_AUTH_TOKEN="yyyyyyyyyyyyyyyyyyyyyyyyyyy"
Alternatively, you can go directly into your .bash_profile and edit it from there as described here.
Now that we’re ready, let’s cover the ways we can delete recordings.
Recording.. Begone!
Let’s say we want to keep recordings made after April 1st, 2016 and we want to delete everything before that. So we first get a list of all recordings created before April 1st, 2016 and then extract the RecordingSID from the object and tell Twilio to delete it. To kick things off, open a new file titled delete_recordings.py . You can copy and paste the code below into the file you’ve just created. Where specified, we will be rewriting specific lines and the line numbers will tell you what to replace.
You can then tell Twilio to delete the recordings in the list and print to the console.
At this point python delete_recordings.py will run the script, and you will slowly see your recordings dissappear! This is a great first solution, but it has a couple of problems. First, the list() method only pulls 50 results at a time, which means that we’ve only really deleted 50 recordings, not very useful if you have 100,000! You can increase this to the maximum of 1000 by adding the attribute page_size so you have this:
1000 times over and over
So you now have a script that you can run continuously and delete 1,000 recordings at a time. However, if you have hundreds of thousands of recordings, this can still take a while. The major bottleneck here is that you have run the list query again or deal with paging through the results. An alternative is to use Python’s iter() method instead of the list() method, which creates a generator (i.e. data stream) that you can act on while it is still being created. You should delete line 11 and modify the line 12 as shown below.
This eliminates the pain of getting huge lists recordings that need deletion, but we’re still bottlenecked by one more thing. When we do our HTTP Delete request to the Twilio API, we’re waiting for a response back from Twilio that it was successful before the code moves on to the next item on the list. This can average a 200ms round trip time. When added over the many recordings it can amount to hours! We must find a way around this.
Enter: Multi-Threading
We can mitigate the request-response round trip time by spinning up multiple threads, each one talking to Twilio independently. Python’s built-in libraries will make our lives simpler here, as there is a multi-threading library that we can leverage. We can create a centralized queue that we fill with Recordings to delete, and create threads (workers) that will drain the queue. While we’re at it, we might as well write our results to a CSV so we have a record of what we did. So let’s start again from scratch. First we import all the modules we need and get our TwilioRestClient instance running:
We now need to create a lock that will allow only one thread to access the console output at a time so we can make sense of any print statements we include. We also create the worker, which will perform our tasks for us by draining from the queue.
Now that we have everything prepared, this next section is where the magic happens. We open up a .csv file to record our results, spin up our generator, and start placing recordings for deletion into our queue.
In this implementation you have at least a 20x improvement over the original example, all with Python’s “batteries included” approach. A final word of caution would be that since this technique deletes records incredibly quickly, you want to be very careful with your query and not accidentally delete recordings you want to keep.
Some free DLC
We can take this one last step further. Maybe you need to hold on to recordings for seven years because of compliance reasons but would rather have them in cold storage on magnetic tape somewhere. We can easily modify the deletion function to include a download component as well. First, we need to get the Python requests package with a pip install requests . This makes life easier for handling HTTP requests and we will also need the BasicAuth package it provides. Just plop the two lines below after where you already have all your imports.
We first have to put the whole recording object in the queue, instead of just the sid, by changing what we put into the queue:
Our do_work method above is hanged to download the recording object it was just given and then delete it on the Twilio side. Lines 28 to 32 above should be replaced with the following lines below:
Next Steps
In this post, you’ve learned how to delete your recordings en masse and also download them if you wanted to. By using Python’s built-in libraries, we’ve created a multi-threaded system to interact with Twilio’s API. Some next steps for this project could include modifying the script where you can toggle downloading on/off, or even create an interface for a system admin to use. You could also use multi-threading in other Twilio projects you have, like sending text messages or pulling log data. You can find the full script here, where you will also find a version that caters to subaccounts, as well as some other small Twilio scripts I’ve built.
And there you have it. Feel free to reach out if you have any questions and we can’t wait to see what you build next!
- Email: ptan@twilio.com
- Github: peteytan
- Twitter: @peteytan
Related Posts
-
 How To Containerize A Twilio App With DockerDylan Frankcom
 -
 How to run Automated AMD Tests and Fine-Tune Twilio AMD for Accurate Voice AutomationRosina Garcia Bru Fernando Vieira Machado
 -
 How to Build an AI Chatbot with Facebook Messenger, OpenAI, and Twilio Programmable Messaging using PythonDylan Frankcom
Related Resources
Twilio Docs
From APIs to SDKs to sample apps
API reference documentation, SDKs, helper libraries, quickstarts, and tutorials for your language and platform.
Resource Center
The latest ebooks, industry reports, and webinars
Learn from customer engagement experts to improve your own communication.
Ahoy
Twilio's developer community hub
Best practices, code samples, and inspiration to build communications and digital engagement experiences.