Create a Currency Data Type using Custom Casts in Laravel 7
Time to read:
June 10, 2020
Written by
Reviewed by

Since Laravel version 5.1, as developers have been given the ability to cast attributes on models. Attribute casting provides a convenient method of converting attributes to common data types. Behind the scenes, Laravel actually uses these casts for the created_at and updated_at fields on a typical model. These attributes are cast as a datetime which converts the database timestamp to a Carbon instance. The cast types that we have had at our disposal are integer, real, float, double, string, boolean, object, array, collection, date, and datetime.
However, with the release of Laravel 7, we have the ability to create our own custom cast types. For example, maybe you have a model that stores the price of a product or subscription as cents along with currency. We can now create a custom cast that will handle storing and retrieve this data in a normalized format.
Let’s take a closer look at how to implement a Laravel 7 custom cast by casting the aforementioned example; a product represented as currency.
Setup
In an existing Laravel 7 application, make sure your .env is set up to use a database.
Next, create a Subscription model along with a migration by typing the following into your terminal:
This command creates your model found at app\Subscription.php and a migration located at database\migrations\create_subscriptions_table. Head over to the migration file and add the following inside of the up command.
Now, from your terminal run:
For this demo you are going to install the Money for PHP library. This library helps you automate the setup of a Money class and data type within your application. In your terminal run the following command to bring it into the project with Composer:
Next, you need to add a route to see some output from our efforts. In routes\web.php add the following:
Lastly, you need to seed your database with a Subscription row. You can use your route function temporarily to add a single row to the database by replacing the previous code with the following:
Before you are able to store this data you need to allow these fields to be fillable in your Laravel model. Head over to app\Subscription.php and add:
Now, head to the terminal and run php artisan serve. Open your browser and navigate to http://localhost:8000/casts. You should see something like the following in your browser:
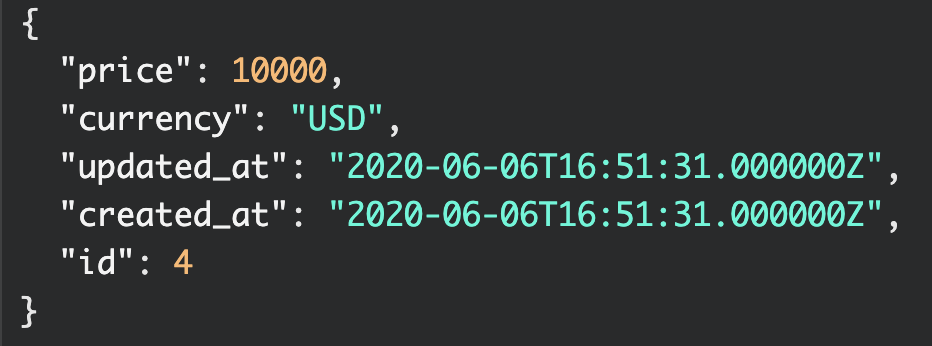
NOTE: Obviously in the real world you would have additional properties associated with a subscription such as a name, description, category, or even a Stripe ID. For this demonstration, we are just concerned with the bare minimum.
Your First Custom Cast Class
Now that the model has been created, your database has some data for us to work with. Because you have a route established to query your data, the next thing you need to do is create a CastsAttributes class that implements a new interface in Laravel 7.
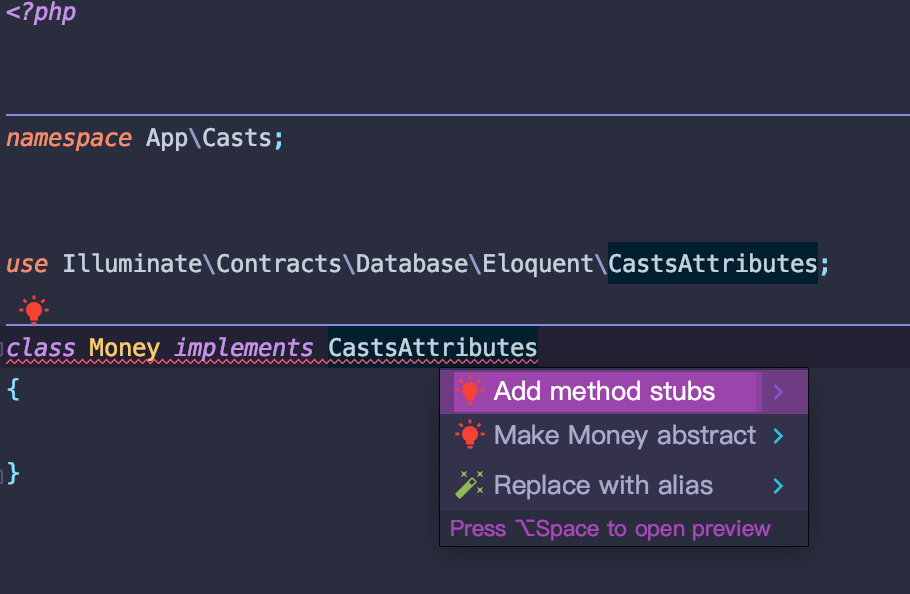
There is no dedicated directory for storing our custom cast classes, but a Laravel convention would propose our app directory. Add a new directory inside of app called Casts. Then add a new file called Money.php. Add the following code:
If you have any decent IDE (I use PHPStorm) you should see some highlighting or indication that because you are implementing this new interface you need to add method stubs. These method stubs are methods or functions that you must add to your class to be compliant with the interface.
Change your Money class to the following:
You can see that this interface requires the set and get methods. These methods will tell Laravel exactly how to store data in the database as well as how to format the data when it is retrieved from the database. Each method gives you access to the $model, $key or column, $value being passed in, and any additional $attributes.
Additionally, with a constructor added on to the class, you can be explicit on what data you require when instantiating this cast, like so:
Next add the following code to tell Laravel how you want to see your data when pulling it out of the database. In your get method add the following code:
Be sure to import the Currency class at the top of this Money class:
As you can see, when casting properties to this class, you are expecting to return an instance of Money PHP when you get this property from your database.
Next, in the set method add the following code:
This ensures that you are writing the integer value of the amount and the string currency to the database when storing data on your Subscription model.
There is one last update you need to make in order to test this. Back in your Subscription model, add the $casts property and assign the price attribute to your new Money class, like so:
Lastly, add the Money cast to the Subscription model as follows:
Before testing this out, I want to explain how this works. Initially, I was a bit confused by the syntax Money::class.':price,currency', but this actually provides some great flexibility for us. Writing this implementation tells Laravel which attributes or columns in our database to pass to the constructor of the Money cast class. Say, for example, you wanted to also store a shipping_price and shipping_price_currency on the same table. You could just add another line to our $casts array shipping_price => Money::class.':shipping_price,shipping_price_currency’ and Laravel would handle the rest!
Testing It Out
Back in your routes/web.php file, in our casts route function replace the /casts GET method with the following code and refresh your browser:
You should now see something similar to the following in your browser:
And just like that, your first custom cast is working! To see the real power of custom casts, take it to the next step by storing some new data for this Subscription!
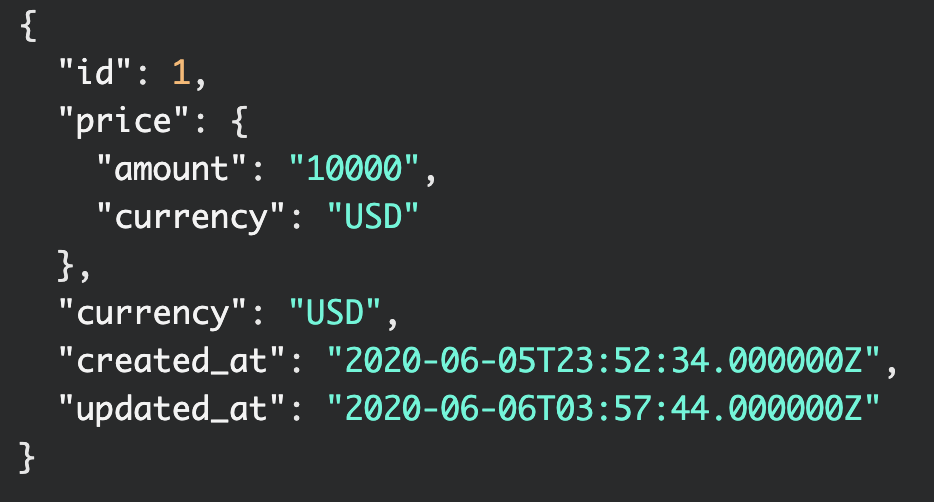
Change the route function to the following and refresh your browser again:
And now you should see something similar to the following in the browser:

And just like that you have normalized and converted your data with a custom cast, both in retrieving and storing the data in the database.
Next Steps
Hopefully, you can see the value in being able to write your own custom casts. Some common data sets that can benefit greatly by implementing custom casts are addresses, profile data, or something like user options in JSON. You could even implement your own method for encrypting data in your database to a known algorithm or you could create your own! There are really a lot of use cases for custom casts. For more info and other types of custom casts, check out the Laravel Docs or Taylor Otwell’s video where he introduced it to the world on Laracon.net.
Shane D. Rosenthal is an AWS Certified and experienced full-stack developer that has worked with Laravel since 2013. He is open for consultation regarding Laravel, Vue.js applications, and AWS architecture and can be reached via:
- Email: srosenthal82@gmail.com
- Twitter: @ShaneDRosenthal


Related Resources
Twilio Docs
From APIs to SDKs to sample apps
API reference documentation, SDKs, helper libraries, quickstarts, and tutorials for your language and platform.
Resource Center
The latest ebooks, industry reports, and webinars
Learn from customer engagement experts to improve your own communication.
Ahoy
Twilio's developer community hub
Best practices, code samples, and inspiration to build communications and digital engagement experiences.