Twilio Segment Day One: Serving Customers with my Track Jacket App
Time to read:
November 09, 2020
Written by

Twilio and Segment have come together to tear down the data silos that prevent developers from creating amazing customer engagement experiences. The combination of Twilio's developer-first communications platform and the Segment Customer Data Platform makes it much simpler to build those experiences for your customers. And we're ready to prove it to you.
One of Twilio's traditions is to reward new employees who demo and build their first Twilio app with a signature red track jacket. For my track jacket app, I wanted to begin to show you the power of Segment and Twilio together. I quickly put together a frustrated customer notification app – combining Segment's analytics and audience identification with Twilio's communications channels.
This application will show how to send Voice, SMS, and WhatsApp notifications via Twilio when one of your customers triggers an event on your website – whether that's an abandoned shopping cart, unexpected error, or custom logic that's specific to your business.
Let's build it together!
Prerequisites
Before you can build the monitoring app, you'll first need to sign up for a couple of (free) accounts.
- Sign up for a Segment Account
- (Optional) To trigger the text message when we identify target behavior, you'll also need a Segment Personas account
- Sign up for a Twillio Account
Segment's Twilio integration makes it straightforward to send messages through SMS, Voice, or WhatsApp. Depending on your goals, you'll either need to purchase a phone number or set up a WhatsApp account.
- Voice and SMS: Purchase a Twilio phone number
- WhatsApp: Run through a Twilio API for WhatsApp Quickstart
Whichever you choose, leave a tab open – you'll use that number in a later step. And with that, we're ready to build!
Configure a Segment Destination Function
In Segment, you can define both sources and destinations. Sources send data into Segment, while Destinations receive data from Segment. We'll need to create a Destination Function to build the behavior we want when a VIP has issues on our site.
Create a Destination Function
To create a Destination Function:
- Click the 'Destinations' button on the left toolbar when logged into Segment.
- Inside the My Destinations pane, click the blue 'Add Destination' button.
- Click the 'Functions' tab inside the Destinations Catalog.

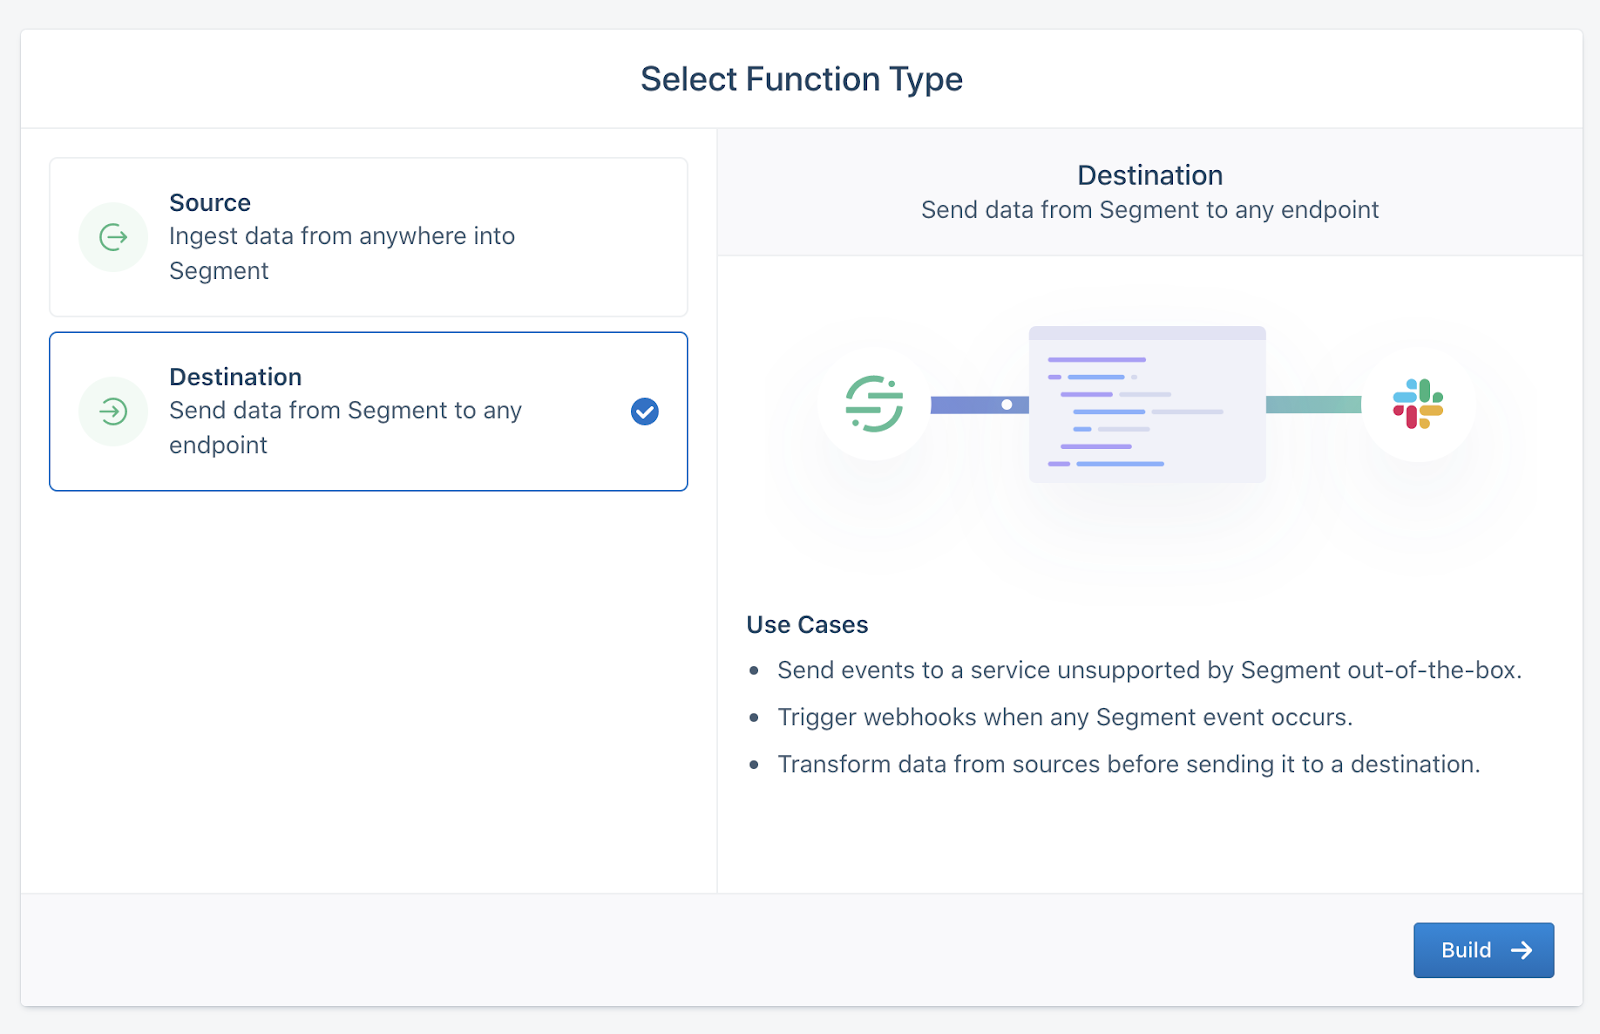
Next, click the blue ‘+ Create Function’ button, and select ‘Destination.
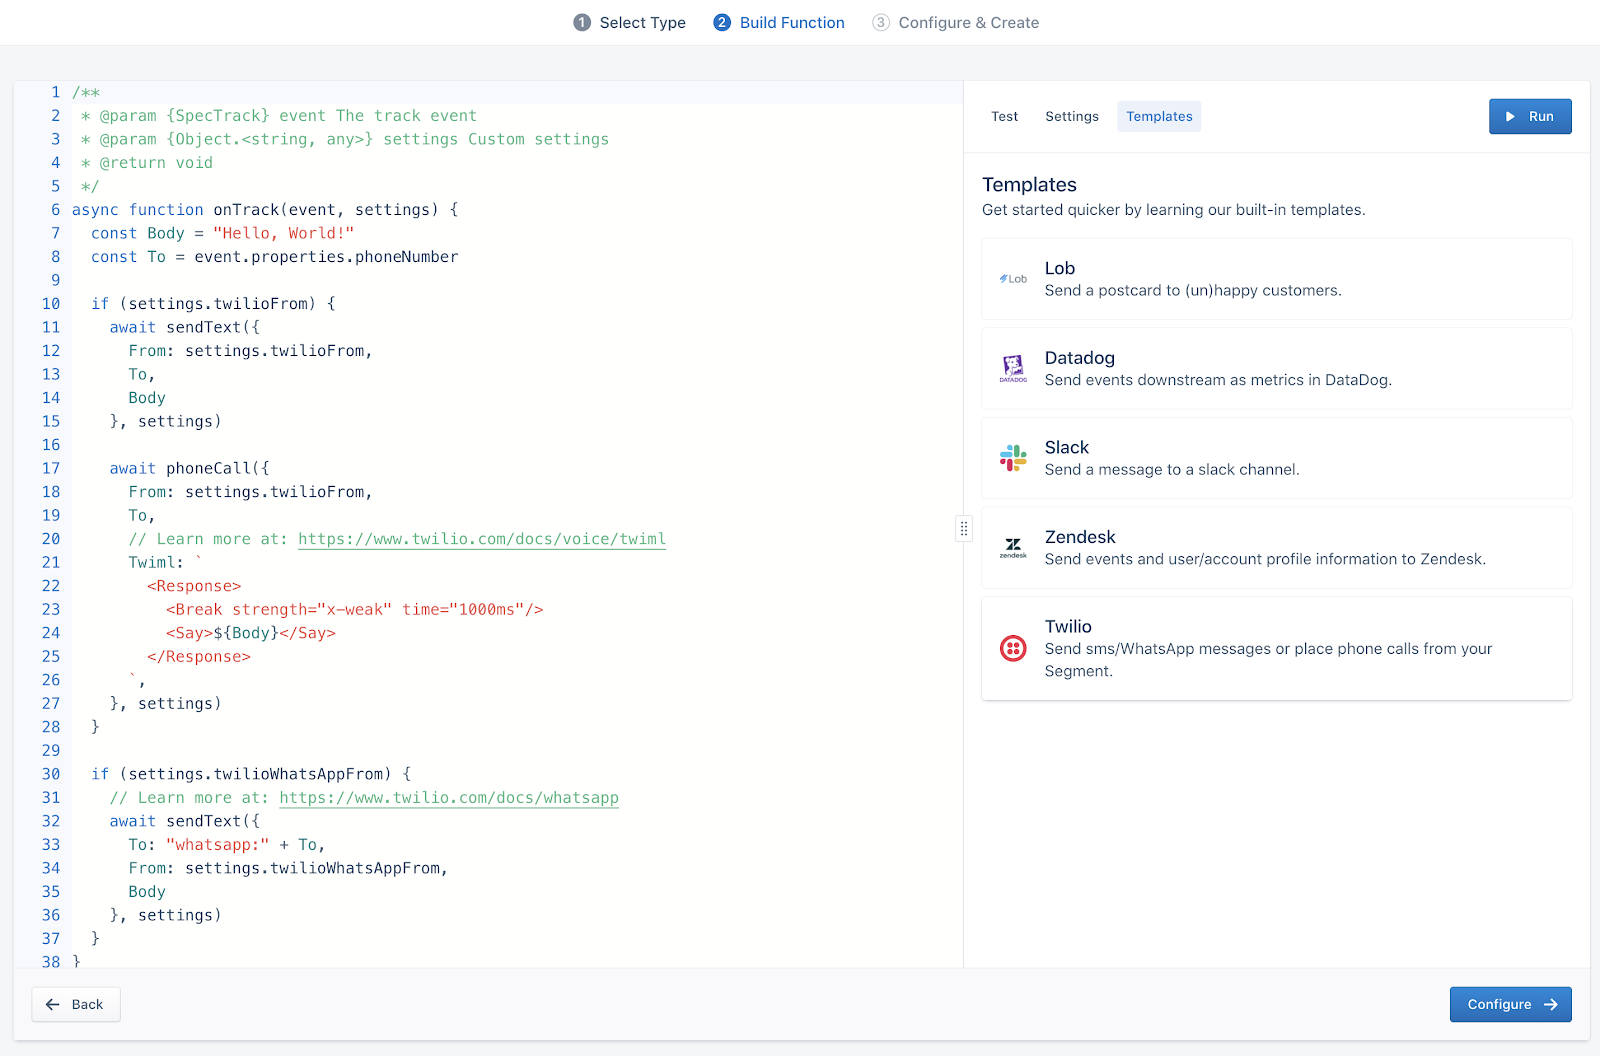
Right away, you'll see some boilerplate code on the screen. Don't worry – a Twilio integration is a mere two clicks away.
On the right side, click 'Templates', then select the Twilio template.
Back on the right tabbed panel, select ‘Settings’. Click ‘Add Setting’, and enter Twilio Destination Number as a name – and flip off ‘Required’:
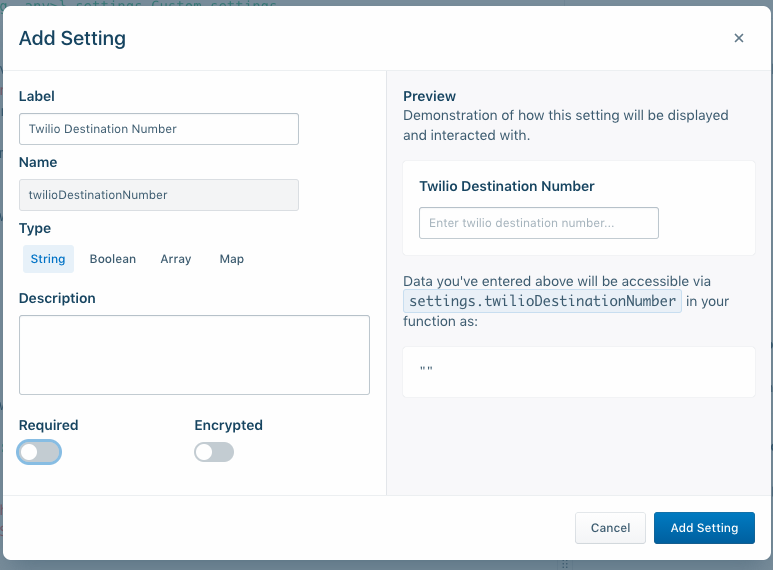
Now hit ‘Add Setting’.
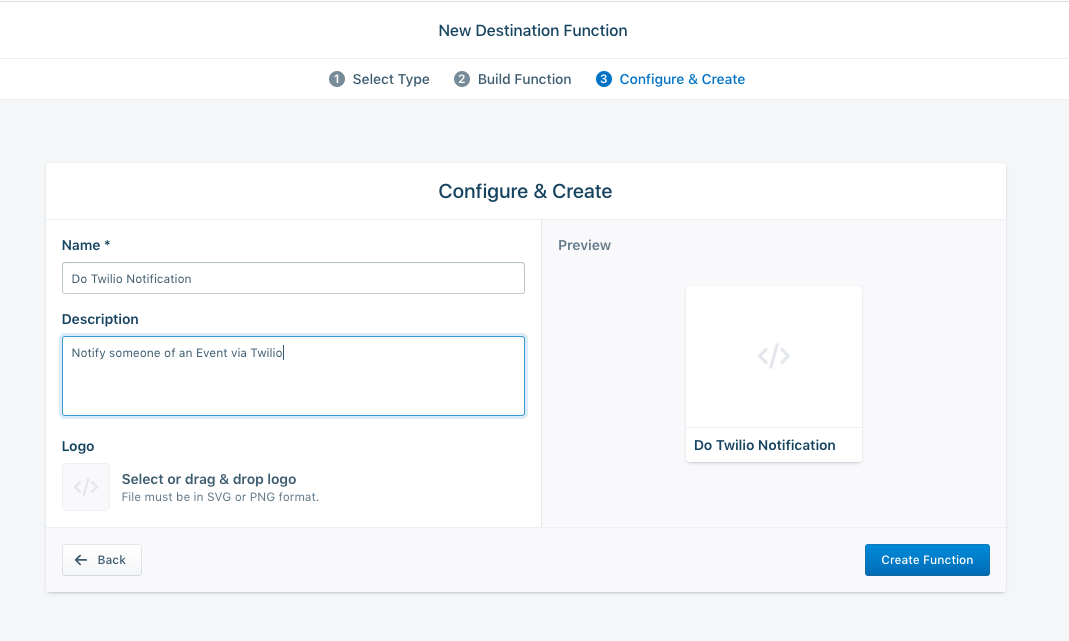
Next, hit the ‘Configure’ button. Pick an incredible name and description for the function and ‘Create Function’.
And that's all you'll need! Next, we'll populate our credentials, generate a test event, and customize the message we use when we page the team.
Populate your Twilio credentials and test your Destination Function
Hit 'Edit' on your newly created function to head back inside. On the right side, select the 'Test' tab and 'Customize the Event Yourself'.
Underneath, populate your Twilio credentials. You can find your Account ID and Auth Token in the Twilio Console. You can find your From number in the Phone Numbers Console. Enter your cell phone number in E.164 format in the Destination Number field.
Finally, edit line 7 & 8 of the code (the function onTrack) to change the message you'll send out, and grab the 'To' number to your phone number in E.164 format.
And now (take a deep breath…) hit the blue 'Run' button.
Click 'Save & Deploy' – congratulations, you've now built a working Twilio-powered Destination Function! You're now ready to connect to any Segment event source.
If you have Segment Personas enabled on your account, we can go one step further and alert a number when someone is added to an audience. If you do, join us in the next section.
(Optional) Create an Audience with Segment Personas
Your new Twilio Destination Function also works with Segment Personas – and we're going to use real-time audience identification to trigger the messages to the team. Personas allow you to identify users by their behavior. Whoever you'd like to group in an audience – cart abandoners, VIPs, frustrated users – Segment has your back.
Who you – and your business – would like to identify is up to you, but I'll show you a basic example identifying "frustrated purchasers."
Edit your destination function
In the left sidebar, click on 'Destinations', and find your function. Click the link that appears in the text next to 'This destination is powered by', then the 'Edit Function' button.
Add a new Javascript function – you can paste this at the very end:
Now 'Save & Deploy' your function.
With this code, we're waiting for a new 'Identify' call from Segment. As we build our audience, Personas will send new user identities as it creates an audience in real-time.
Add a JavaScript source
On the left side of your Segment panel, click the 'Sources' button. Then, click the blue 'Add Source' button on the right-hand side.
Click the 'JavaScript Source', then 'Add Source' buttons:
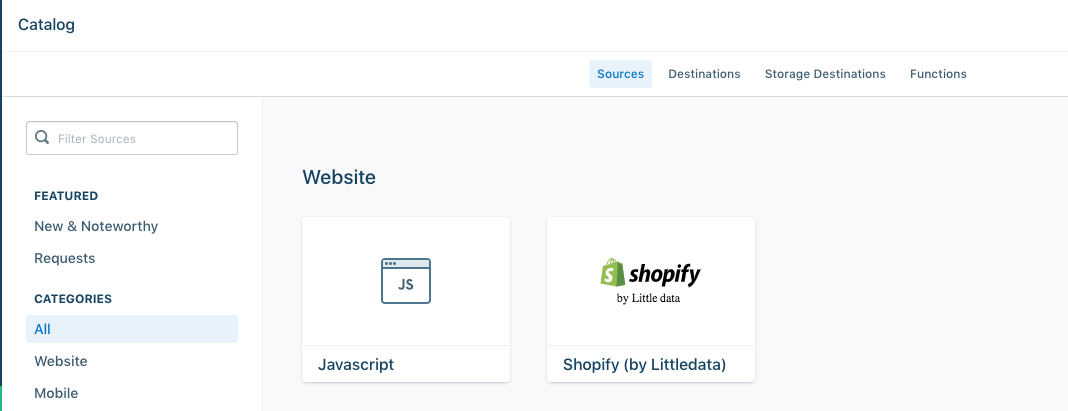
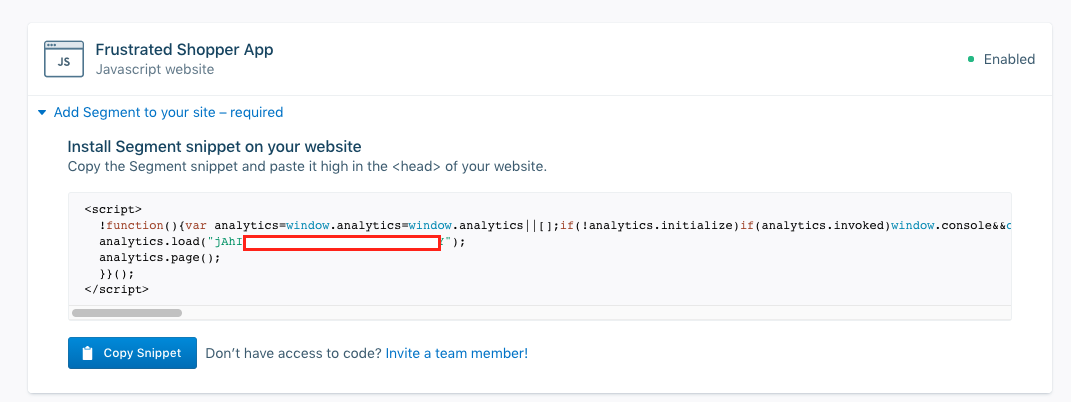
Fill out a name – I used Frustrated Shopper App – and a description if you choose, then create the source.
Create a new file locally called index.html. Paste this code (we’ll add the Segment tracking code in a second):
Inside the ‘PASTE’ line, add your Segment snippet:
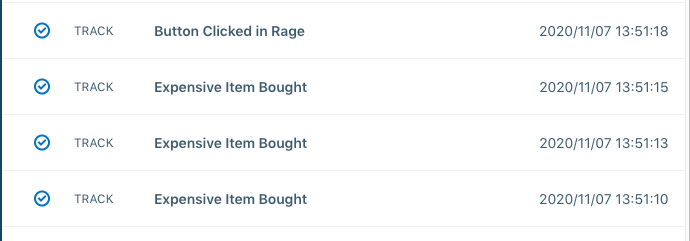
If you load the page in your browser, you'll see one button prompting you to buy the item. Unfortunately, the button doesn't work; if you rage click the buy button three times, a new button appears. That button lets you declare how angry you are – by letting off some steam with a mouse click.
Behind the scenes, my analytics.track(... calls are sending shopper actions to Segment. Inside the 'Source', flip over to the 'Debugger' tab. You should see those events streaming in:
Now, we have to use those actions and define a new Personas Audience.
Build an audience in Personas
In the left sidebar, click on the 'Personas' button. Create a 'New Space'.
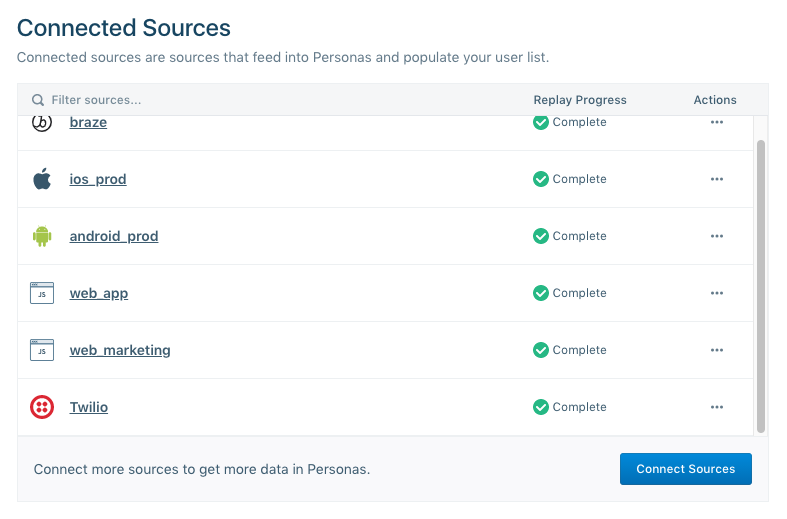
In the 'Settings' tab of the new space, click 'Sources' on the left sidebar. On the bottom, hit the ‘Connect Sources’ button and connect your Javascript source.
Flip to the ‘Destinations’ tab and click ‘+ Add Destination’. Inside Functions, select your Twilio Destination Function. You’ll be prompted to add your Account ID and Auth Token again, along with your From Number (and associated To number/ your cell phone) or WhatsApp From Number. Add them as you did in the ‘Populate your Twilio credentials’ section above.
Now in the ‘Audiences’ tab, select ‘New Audience’. Check the box for ‘Include anonymous users’ and add two conditions (both keyed on ‘Events’):
- Performed ‘Expensive Item Bought’ ‘at least’
3times AND - Performed ‘Button Clicked in Rage’ ‘at least’
1times
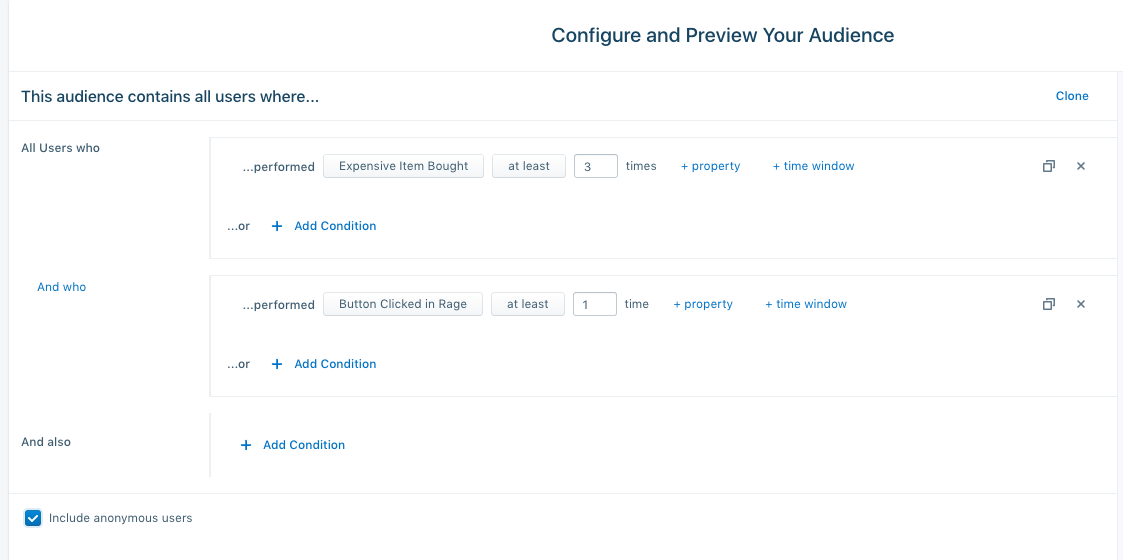
'Preview' the audience and see if your anonymous user shows up. If you do, 'Select Destinations' and choose the Twilio Send Destination Function you just added.
You can choose 'Send Identity'. And importantly, do not populate your audience with historical data.
Now, you can move to the last part of the demo – the test!
Test your Audience is working
At that point, you're able to test it works. Visit your web page – opening it locally in a browser should work – and click the 'buy' button three times. When it doesn't work, summon your rage and click the 'I am mad!' button.
If everything goes well, you should soon get a text message from your Twilio number – and congratulations! You now know, in nearly real-time, when you have a frustrated shopper on your site. You can now expand this to any page on whatever kind of audience you'd like.
Building a real-time visitor troubleshooting monitor with Segment and Twilio
Using the power of Segment and Twilio, you can now quickly react to events and empower your team to reach out – and make things right.
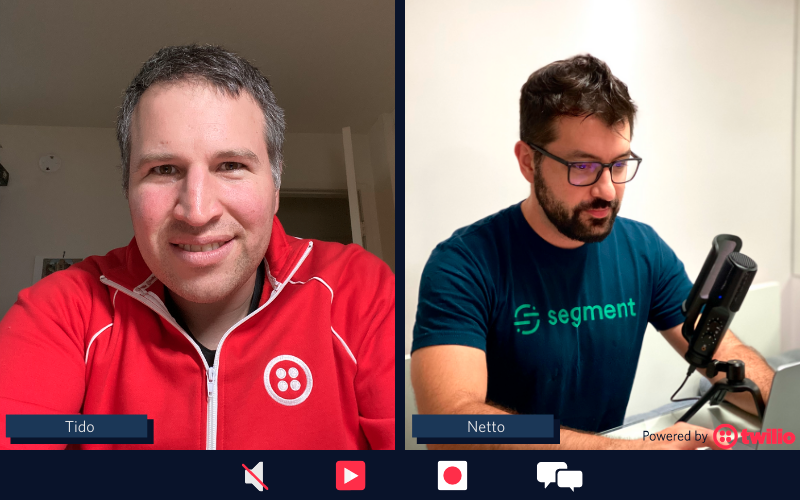
I had an amazing time putting the pieces together for this app, along with my friend and colleague, Twilio Segment Principal Engineer Netto Farah. And as you can see below, I'm so happy to earn my Twilio track jacket. And – more than anything – I'm inspired by where we're going now that Twilio and Segment are one company.
And now you've seen what you can build with Segment and Twilio in under an hour. Just imagine what sorts of customer insights you'll surface when you tear down your data silos and engage in a relevant way.
Truly, we can't wait to see what you build.
Tido Carriero leads the R&D team at Segment. He loves building things, loves the movie Cool Runnings, and is very excited to be helping build the data layer of Twilio! He can be reached at tido [at] segment.com.
Netto Farah is a Principal Software Engineer at Segment tech leading analytics.js. He's obsessed with Developer Experience, and loves building tooling to make developers more productive. He can be reached at netto [at] segment.com.
Related Posts


Related Resources
Twilio Docs
From APIs to SDKs to sample apps
API reference documentation, SDKs, helper libraries, quickstarts, and tutorials for your language and platform.
Resource Center
The latest ebooks, industry reports, and webinars
Learn from customer engagement experts to improve your own communication.
Ahoy
Twilio's developer community hub
Best practices, code samples, and inspiration to build communications and digital engagement experiences.