Getting started with CocoaPods to manage dependencies in Swift and iOS
Time to read:
May 05, 2016
Written by
This post is part of Twilio’s archive and may contain outdated information. We’re always building something new, so be sure to check out our latest posts for the most up-to-date insights.

When building iOS applications with Swift, you often use third party libraries. CocoaPods is a great tool to manage these library dependencies for your Xcode projects.
Let’s build an app that will display a recent picture taken on Mars using this NASA API with Alamofire to send HTTP requests and SwiftyJSON to make handling JSON easier.
Installing dependencies with CocoaPods
Let’s get started by creating a Single View Application Xcode project called PicturesFromMars. Select Universal for the device and enter whatever you want for the rest of the fields:
In order to install any dependencies, we’ll first need to have CocoaPods installed. You can do this by opening up your terminal and entering this command:
CocoaPods looks at a file called Podfile in the same directory as an Xcode project to determine which libraries to install. You can create one by entering the following in your terminal from the same directory as your project:
pod init generated a Podfile for us, but we can make our own as well when deciding which dependencies to add.
The three dependencies we are using are Alamofire to grab a URL of an image taken on Mars, SwiftyJSON to parse the response and AlamofireImage to load an image from a URL.
Here’s an example Podfile for what we are building. Copy and paste this into your Podfile:
Notice that you can also link to specific git repositories, as we just did with SwiftyJSON. The use_frameworks! line is important when writing Swift.
Now to actually install everything run the following in your terminal:
This is where I got confused the first time I used CocoaPods. CocoaPods takes care of linking all of the frameworks for you by creating a new Xcode Workspace. To continue with the project, you’ll have to use PicturesFromMars.xcworkspace instead of your normal xcode project:
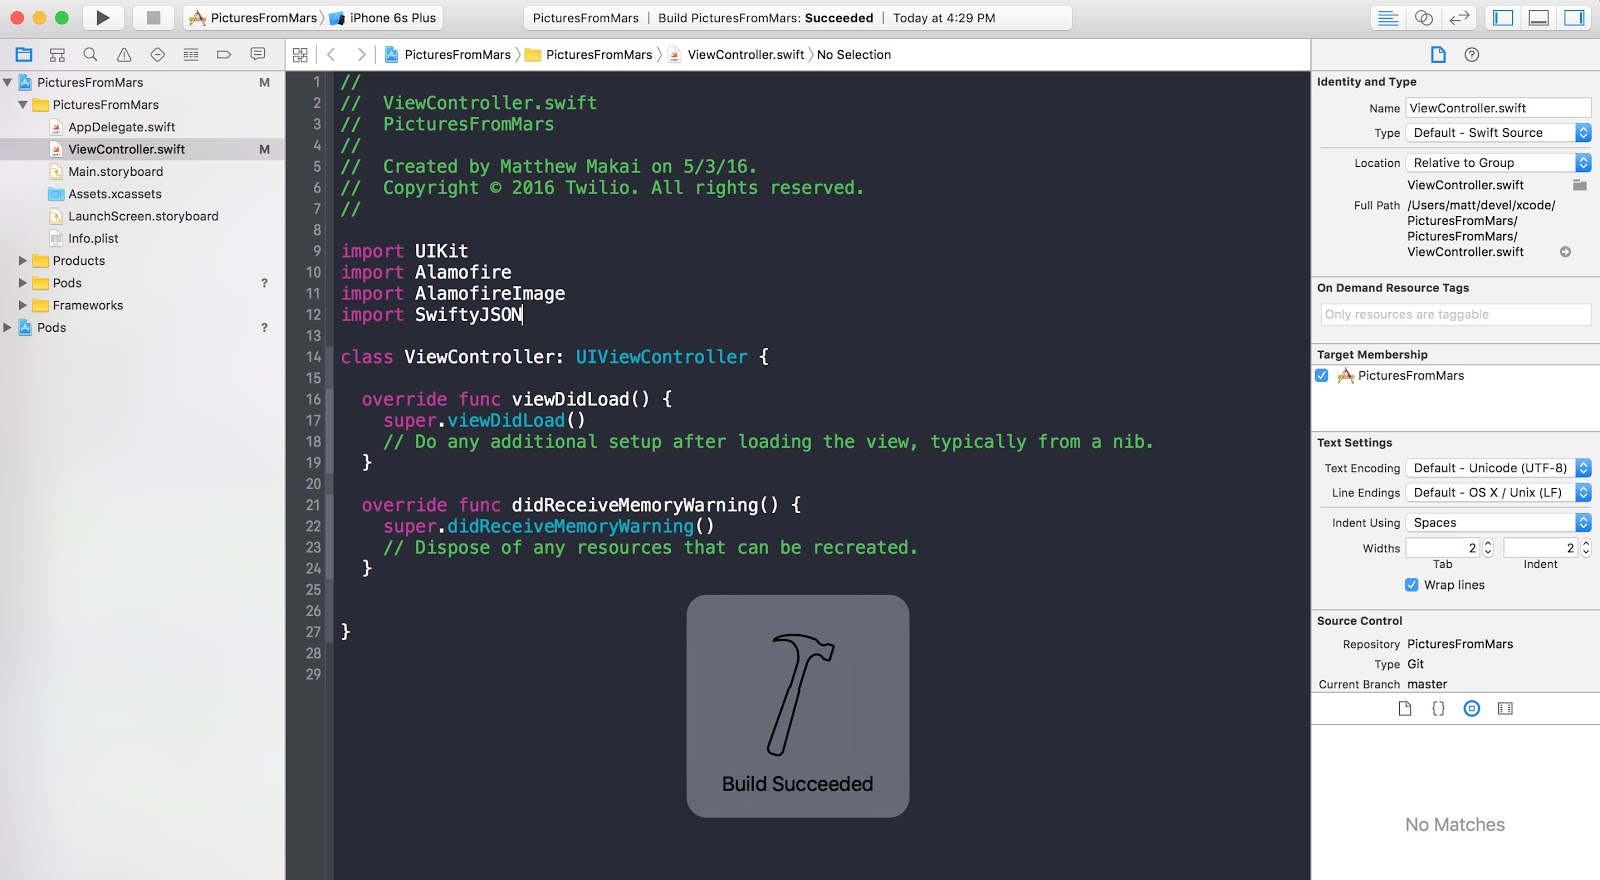
Now that you have a new Xcode Workspace open, head over to ViewController.swift in the PicturesFromMars -> PicturesFromMars folder and try importing the libraries to see if things are working:
You can see if everything builds correctly by pressing “Command-B.”
Getting ready to use the libraries we just installed
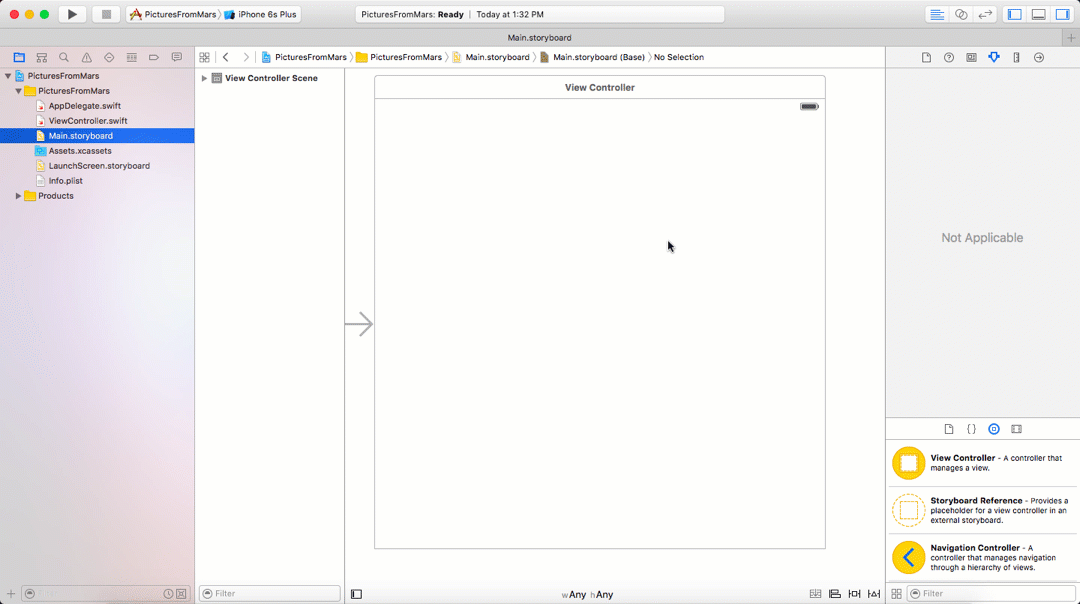
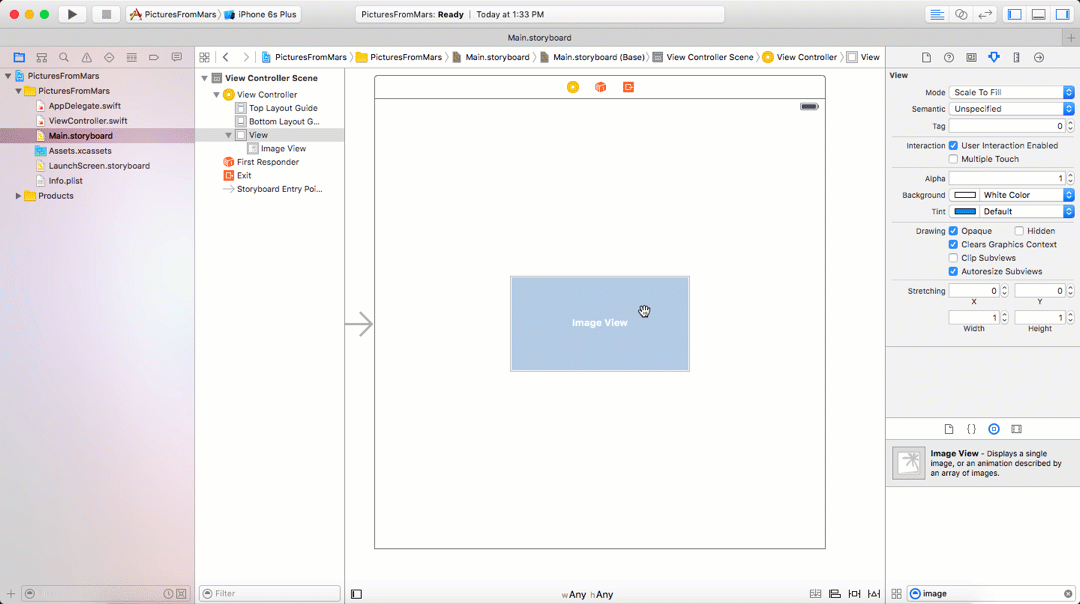
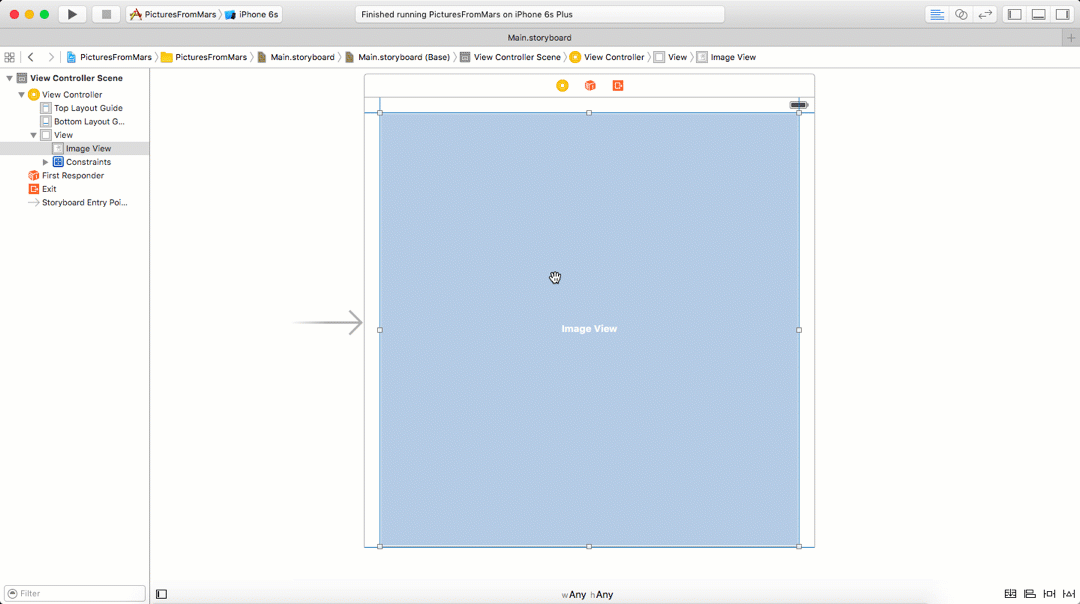
Before we can load images from Mars, we’ll need a UIImageView. Go over to main.storyboard and add a UIImageView to your ViewController as seen in this GIF:
Now set the constraints so that the UIImageView takes up the whole screen. Click on the “pin” icon and at the top in the four boxes, enter 0 and click on each of the directional margins. Also update the frames as seen in this GIF:
We have a UIImageView, but no way to control it. Create an outlet for it in ViewController.swift called marsPhotoImageView.
You can do this several different ways, but I usually do this by opening the “Assistant Editor” with one screen having Main.storyboard open while the other has ViewController.swift. While holding the “Control” key, click on the UIImageView in main.storyboard and drag the line over to ViewController.swift. Here is another GIF demonstrating how to do that:
The app will grab a picture from Mars taken on the most recent “Earth day” from NASA’s API for the Curiosity Rover and will load that image in our UIImageView.
Images are usually not available right away so let’s grab images from 5 days ago to be safe. We’ll need a quick function that generates a string that is compatible with this API. In ViewController.swift add this new function:
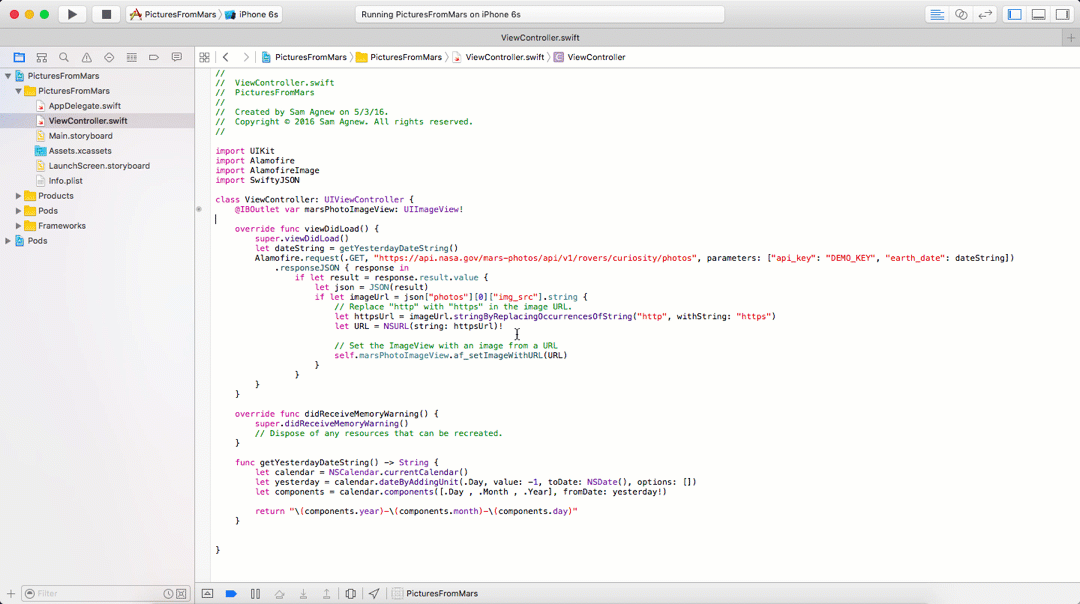
With this taken care of, we can send a request to the Mars Rover API, grab an image URL and load it in the marsPhotoImageView.
Handling HTTP requests with Alamofire and SwiftyJSON
Alamofire and SwiftyJSON are installed and imported in our code. All we need to do now is send a GET request using Alamofire to receive an image URL that we will use to load our UIImageView’s image property.
Replace your viewDidLoad with the following code:
Notice that we are replacing the “http” in the URLs with “https” because we can only send requests to secure URLs by default.
Run the app and check out the latest picture from the Mars Rover!
Building awesome things is so much easier now
There are a ton of awesome APIs out there that you now have access to using CocoaPods to manage dependencies. Twilio even has some awesome APIs if you want to add Video chat or Internet based chat to your iOS app.
I can’t wait to see what you build. Feel free to reach out and share your experiences or ask any questions.
- Email: sagnew@twilio.com
- Twitter: @Sagnewshreds
- Github: Sagnew
- Twitch (streaming live code): Sagnewshreds


Related Resources
Twilio Docs
From APIs to SDKs to sample apps
API reference documentation, SDKs, helper libraries, quickstarts, and tutorials for your language and platform.
Resource Center
The latest ebooks, industry reports, and webinars
Learn from customer engagement experts to improve your own communication.
Ahoy
Twilio's developer community hub
Best practices, code samples, and inspiration to build communications and digital engagement experiences.