Keeping Track of GitHub Pull Requests with Python and Twilio SMS
Time to read:
September 06, 2018
Written by

If you're working on an urgent project in GitHub with other developers, it's handy to get immediate notifications by SMS. However, there is no SMS option out of the box! So I said, “Enough is enough; I'll start my own notification system!”
In this tutorial, I'll walk you through the steps of building out the beginnings of a notification system for GitHub pull requests. More specifically, we will use the GitHub and Twilio APIs in Python to send texts notifying you when a new pull request has been submitted.
Getting Started
First, we have to set our environment up. This guide was written in Python 3.6. If you haven't already, download Python and Pip. Next we will install virtualenv to create and activate your virtual environment by entering the followings command in your command-line:
Next, you’ll need to install several packages that we’ll use throughout this tutorial on the command line in our project directory:
Authenticating with Twilio and GitHub
Since we will be using the APIs for GitHub and Twilio, set up free accounts with both here and here if you don't already have them.
Once you have an account with GitHub, you’ll need to retrieve your API keys by selecting Settings > Developer Settings > Personal Access Tokens > Generate new token. For the scopes, select everything under "repo". Your token will be shown on the next screen.
Once you have your API keys, we can move onto coding. For this task, we’ll take an object-oriented approach, so we will begin by creating a class called “PullNotifs” in a file named github_notifier.py. I’ve chosen a class name that reflects the name of the GitHub organization I’m getting notifications for, but feel free to choose your own name.
In the constructor, we’ll authenticate GitHub and Twilio using the keys we set up before. This is important for the rest of this exercise, so make sure you do this correctly. You can find the code here:
Before we continue, let’s quickly review the structure of the GitHub API. The GitHub client you authenticated earlier, self.git_client, is associated with your GitHub account. In my case, this is “lesley2958,” which you can retrieve with the function git_client.get_user().
From your GitHub account, we need all the repos associated with it. And from these repos, we’ll need to collect all the pull requests for each repo. In the constructor, we’ll initialize an empty list for all the repo’s pull requests and an empty dictionary for its associated counts. This will help us keep track of whether new pull requests have been submitted.
Collecting Pull Requests
Now that the constructor is set up, we can start building methods to get this going. Earlier, I described the structure of the GitHub API and how to retrieve the pull requests, but let’s actually build this method out in a function called get_all_ repos().
In this function, we begin by initializing a variable count to 0, which keeps track of the index of each repo that will be in the list initialized in the constructor. Next, we iterate through each of our repos with self.git_client.get_user().get_repos() and append each repo of pull requests to the pulls list. At the same time, we initialize the index of the repo to the number 0 in the pull_counts dictionary.
We created key-value pairs of indices of the repos to the value 0 in the get_all_repos(), since we didn’t have a way of counting the number of pull requests. Sadly enough, the GitHub API doesn’t currently support an attribute that returns the number of pull requests.
To figure this question out, we’ll have to iterate through each repo’s set of pull requests and count them with another count variable. We’ll do this in a separate function, set_pull_counts, so things don’t get too confusing.
Now that we have functions that collect the repos and their number of pull requests, we need a way of checking whether new pull requests have been submitted. Since we’re keeping things fairly simple for now, we’ll only be checking to see whether a new pull request has been submitted, so our return value will be a simple True or False.
In order to do this, first we retrieve an updated list of pulls, otherwise we’ll be comparing the same two objects. This is why you see those nested function calls once again, highlighted below. Next, we create a local dictionary of counts to compare to the one in the constructor. In this same check_counts() function, we check whether these two dictionaries are equivalent and return a Boolean.
Lastly, we pull in the Twilio API for notification. This will send a text message to your number with just four lines of code.
Now that we’ve finished all the parts of our codebase, we can put them all together:
Bringing It Together With __main__
Last but not least, in this same github_notifier.py file, we’ll add a main to execute the code.
The first three lines of code initialize the class and set up the state. From there, we set up a loop to automate checking whether a new pull request has been submitted.
Next I’ve written a while True: loop to show you how it works. If a difference in pull request counts is spotted, we send a notification via Twilio and update the pull requests and number of pull requests with our two function calls.
Triggering Twilio SMS on a Pull Request
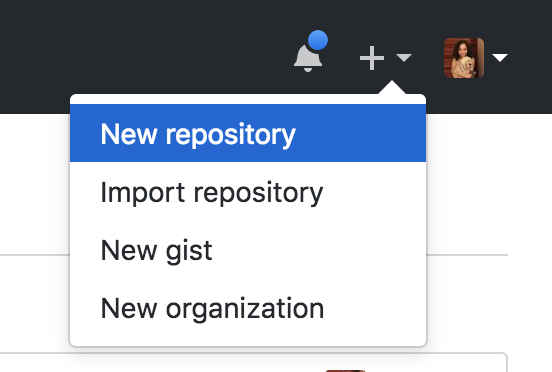
Now, let’s test it out. But first, you need a repo to make a change to. If you don’t already have a repo to test this out with, follow these steps to make your first repo. On GitHub, you should see a “+” sign on the upper right corner: click on the “New repository” option to get started.
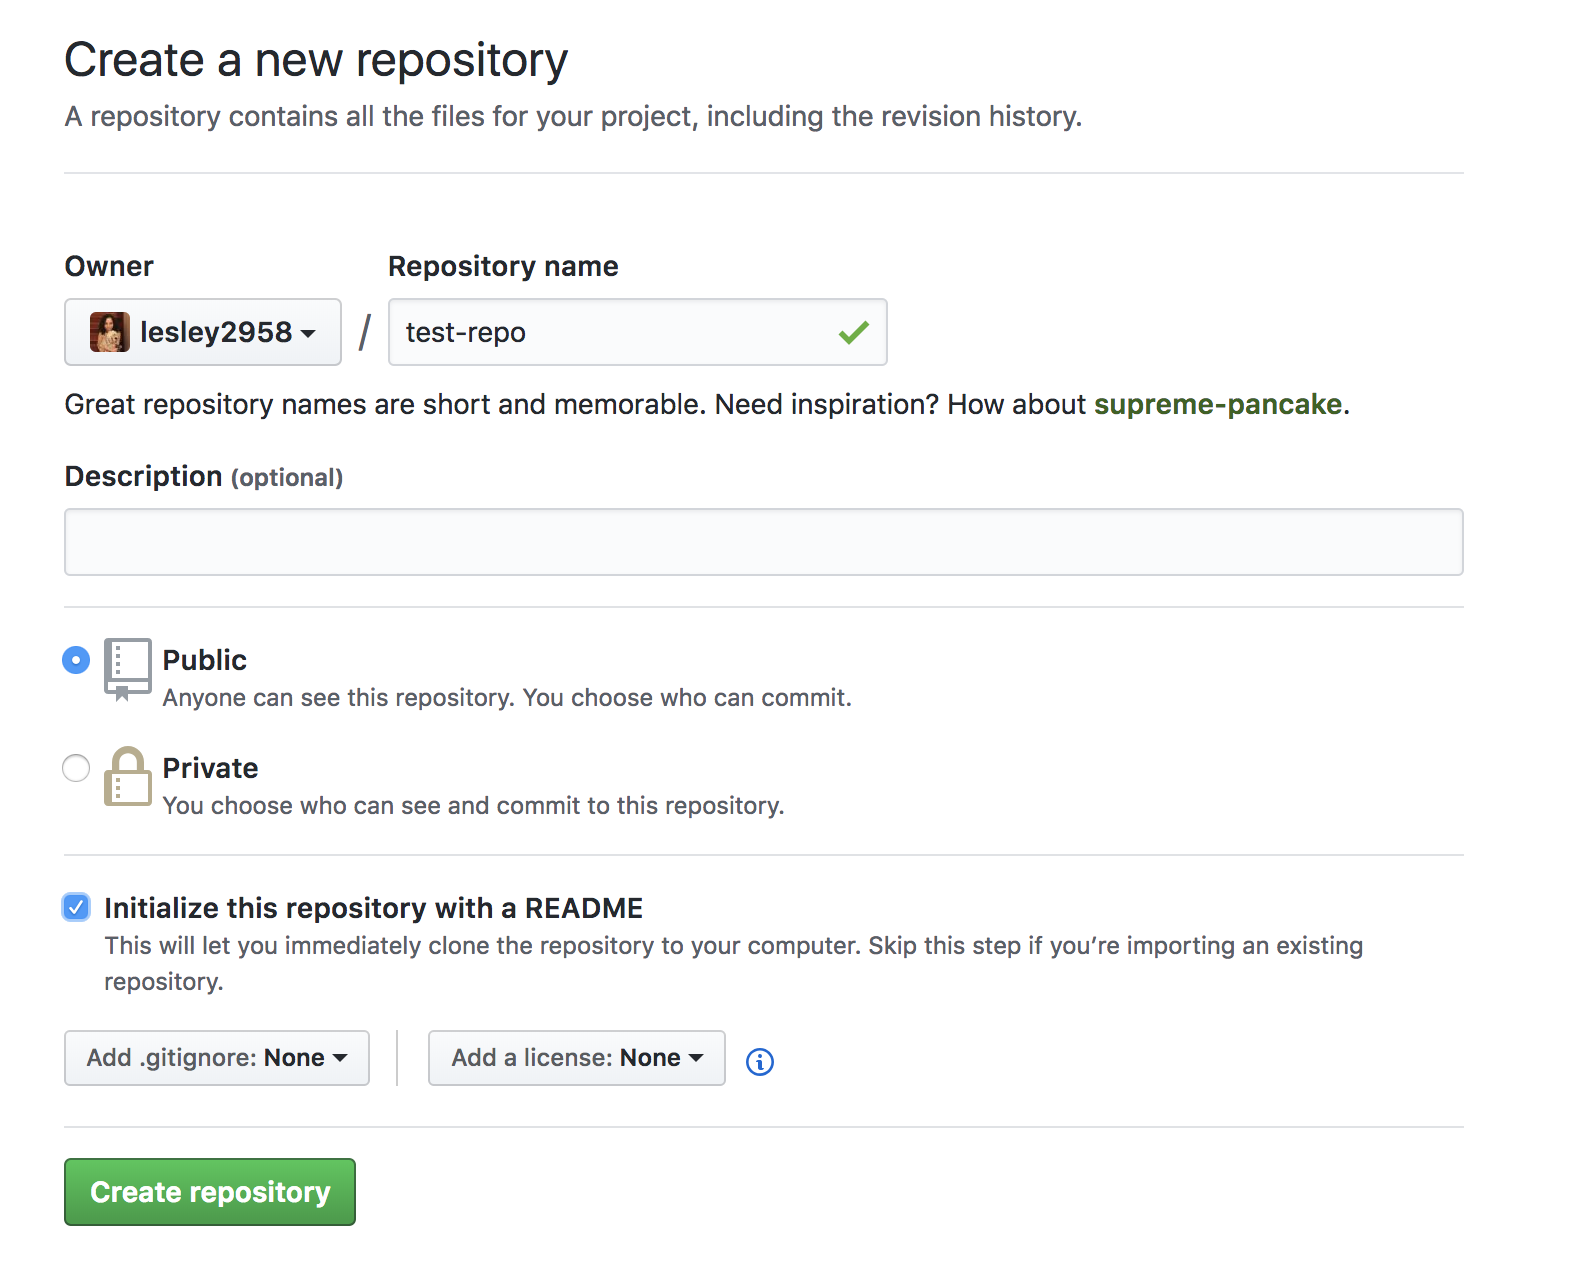
A page asking for details should show up, where you’ll be asked to provide a name. For simplicity, you can just choose “test-repo”, but make sure to click “initialize this repository with a README” before you click the green “Create repository” button.
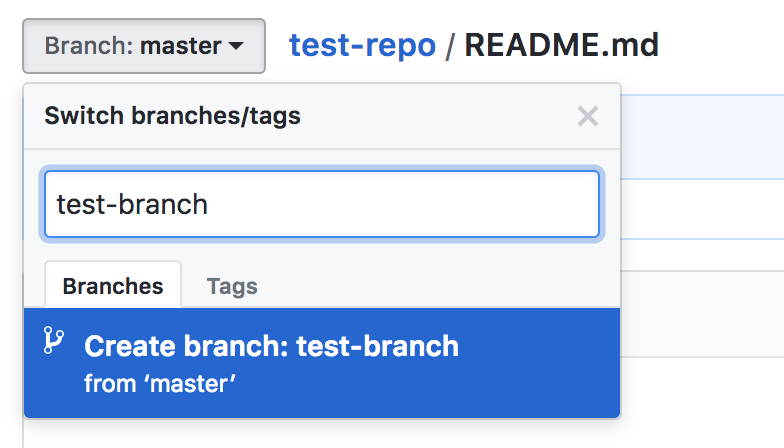
To make a pull request, you’ll need to make a branch where you’ll soon make an edit to. To do this, click on “Branch: master” where you’ll then be able to name and then create a new branch, which you can name “test-branch”.
Now make any change to a file in your repo. I recommend making a README.md or adding something small like a space or newline. Then head over to the “Pull requests” tab of the forked repo, as shown below. To submit a pull request, find and click the green “New pull request” button.
You should be redirected to a page asking you to compare your changes. Click the “Create pull request” button to continue the process.
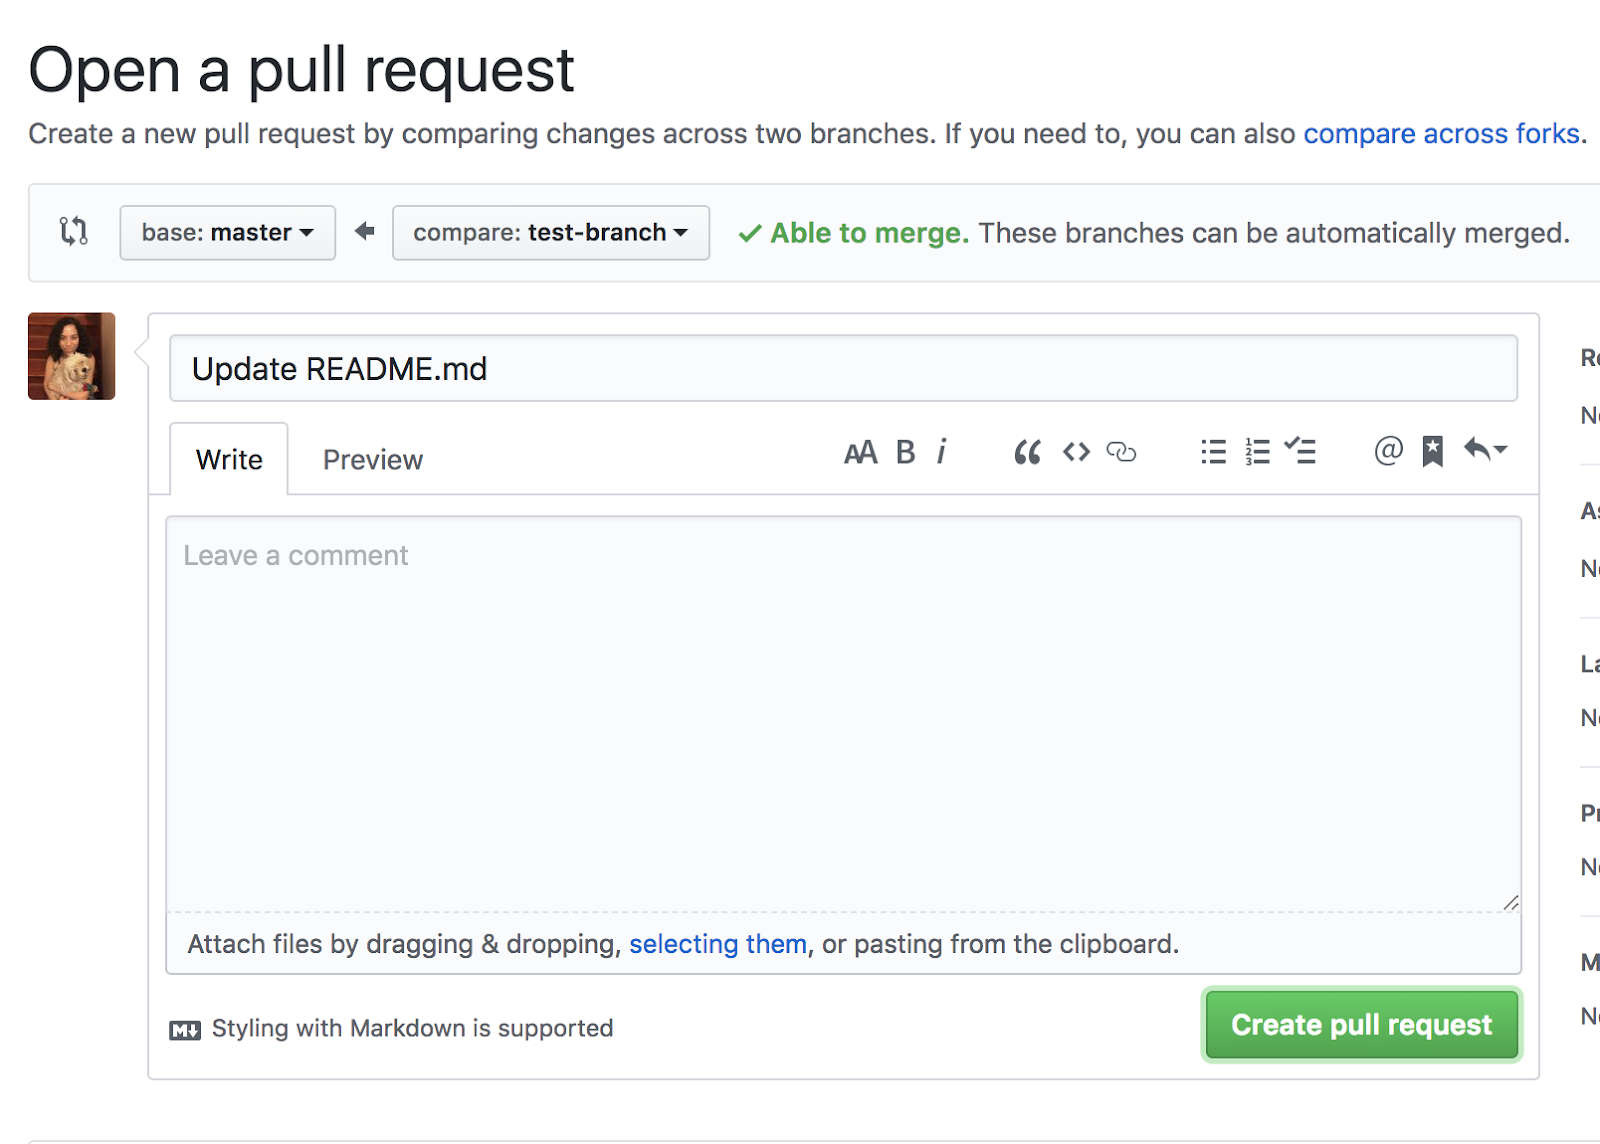
Finally, you can confirm your pull request submission by clicking “Create pull request” once again on this last page. The final page should look like this, with no need to take any action. Just sit back and wait for your text to come through!
Your incoming text should look something like this:
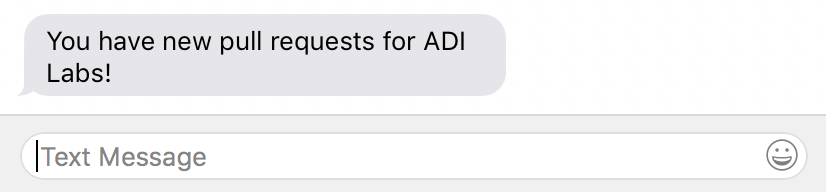
Once you get your notification text, you can always be on top of pull requests!
Notification Sent!
With our newly created Python app, we can constantly keep track of our pull requests since we utilized the GitHub and Twilio APIs. But because both APIs are so extensive, you can extend this app to include notifications for almost anything related to your GitHub account and affiliations. Or, instead of notifications that can come in at anytime, you can customize your app to only send you notifications during working hours -- anyway you would like your notifications, you can make possible with these two APIs.
If you liked what you did here, check out my GitHub (@lesley2958) and Twitter (@lesleyclovesyou) for more!
Related Resources
Twilio Docs
From APIs to SDKs to sample apps
API reference documentation, SDKs, helper libraries, quickstarts, and tutorials for your language and platform.
Resource Center
The latest ebooks, industry reports, and webinars
Learn from customer engagement experts to improve your own communication.
Ahoy
Twilio's developer community hub
Best practices, code samples, and inspiration to build communications and digital engagement experiences.