Serverless Phone Verification with Twilio Verify and Twilio Functions
Time to read:
June 15, 2020
Written by

Security is at the top of everyone’s mind and phone verification is a simple way to secure your application and help prevent bot accounts. Sending a one-time password to a user's phone to validate they have possession is a common security tool used when people sign up for a product or give you their phone number for the first time.
Confidence in your users’ phone numbers decreases fraud and increases reliability of notifications. Let’s take a look at how to verify phone numbers from a web application using Twilio's serverless functions and the Twilio Verify API.
Quick links:
- Deploy your own version in less than 2 minutes with Twilio's Code Exchange.
- Look at the code on GitHub.
Prerequisites to adding Twilio Verify to your application
To code along with this post, you’ll need:
- A Twilio account
- The Twilio CLI - follow installation instructions here
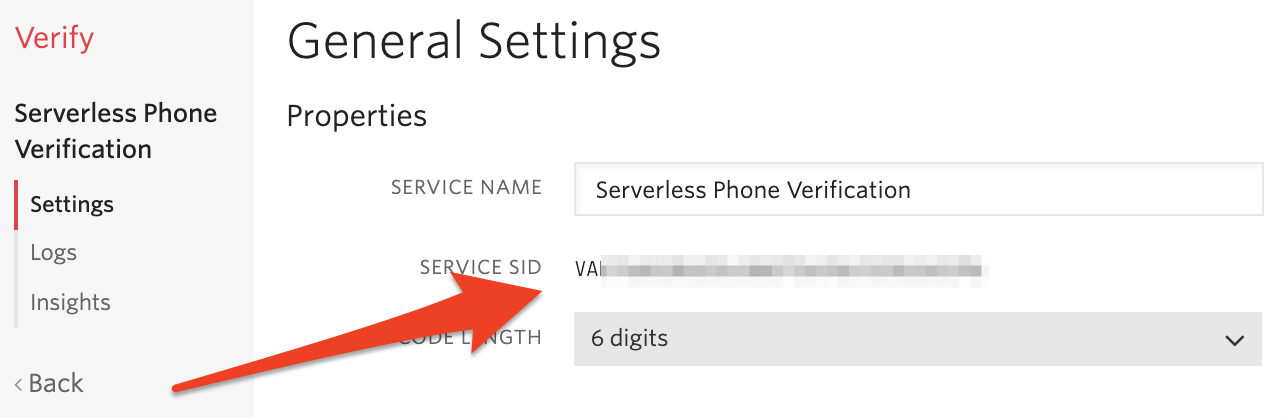
- A Verify Service which you can create in the Twilio console. I named mine "Serverless Phone Verification"
Make note of your Service SID (starts with VA)
We don't want to store our API Keys directly in our front-end application because this can lead to leaked API Keys. For added security we'll need a backend server that will talk to the Verify API. We'll do this with Twilio Functions.
Install the Twilio CLI for your operating system and login to your Twilio account:
Next, install the Serverless toolkit. This will help us clone a verification template and easily deploy our project.
Initiate a new project using the Verify function template:
Edit the included .env file and add your VERIFY_SERVICE_SID as a variable (find or create a Verify service in the console). Make sure the ACCOUNT_SID and AUTH_TOKEN are populated, the Serverless toolkit will configure those if you ran twilio login. Your .env file should look something like this:
Run and test the application locally
Start the application locally:
Navigate to http://localhost:3000/index and check out your new user verification application!
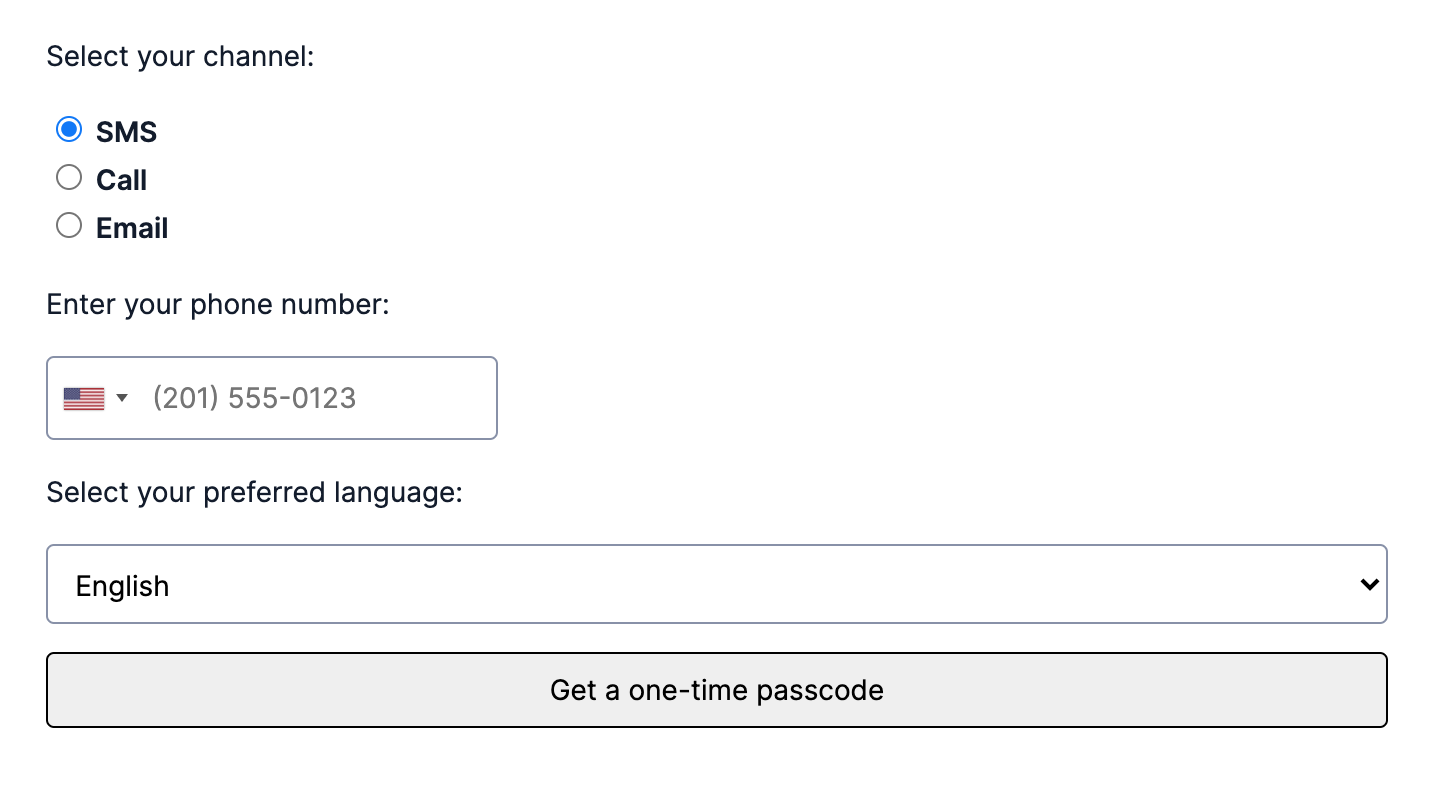
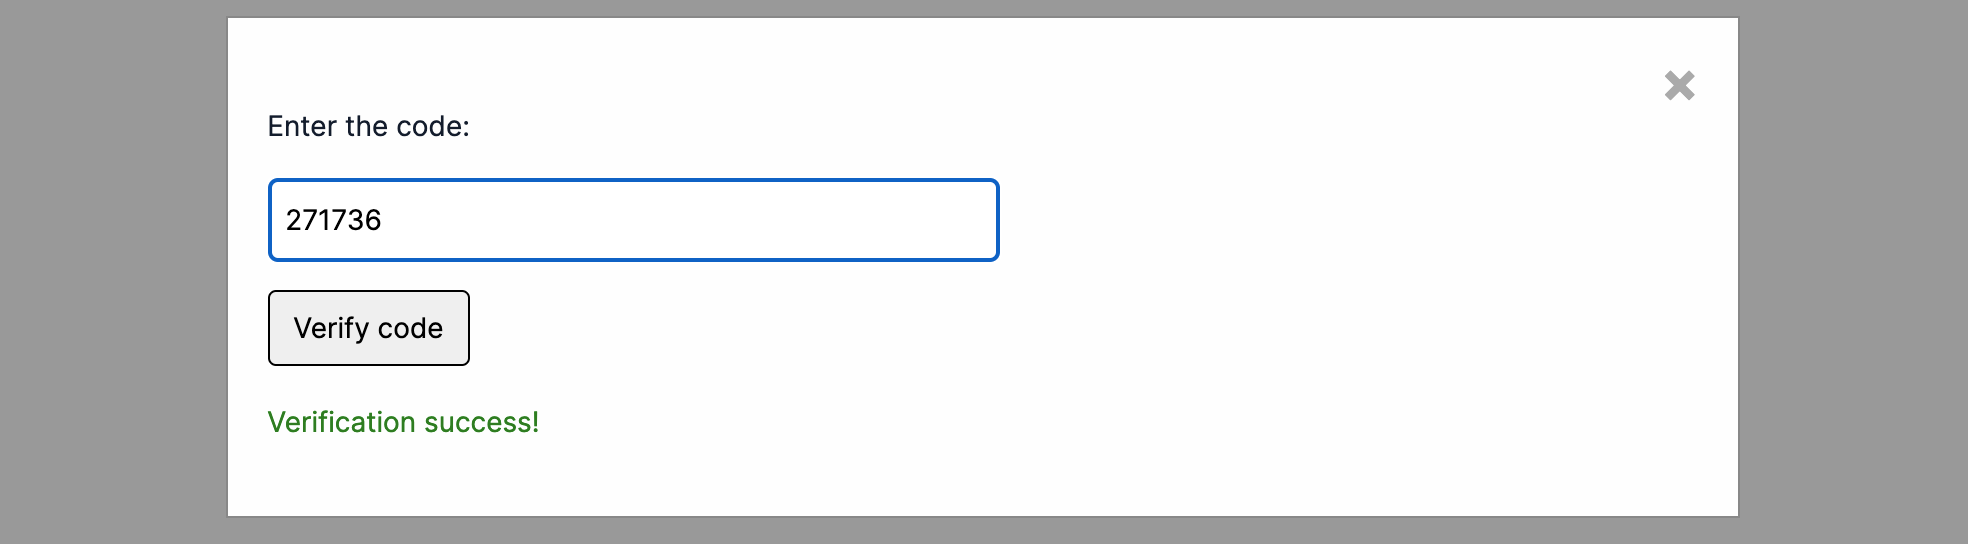
Select SMS and enter your phone number. You should receive a verification at the phone number you provide. Entering the right code in the modal will show verification success:
How does Twilio Verify work?
This project has two functions: one to start and one to check verifications.
- Our start function will send a one-time passcode (OTP) to the end user's phone or email. Twilio Verify handles generating the OTP, all we need to provide is the contact method.
- Our check function will verify that the OTP is the same one we sent to the user. Twilio verify handles storing and validating the OTP so you don't have to.
Here's a look at how we're starting a verification:
This initiates a verification to the user with a specified channel and locale. The channel can be one of sms, call, or email*. The locale will determine the verification language. Learn more about supported languages here.
*Note: the email channel requires some additional configuration. Follow these instructions to set up your Verify service to send emails.
Here's a look at how we're checking a verification:
This calls the VerificationCheck endpoint and validates that the status is approved. If the verification code is incorrect, the response status will be pending.
Deploy your Twilio serverless functions
The front end interface of this template illustrates the capabilities of the the Verify API, but the two functions can serve a longer term, even production-ready use. Deploy your functions with the following command:
You'll see 3 URLs, with a prefix like verify-sample-1234-dev.twil.io (the numbers will be different). Navigate to the index file (URL shown under Assets) and test out your verifications again.

Any time you make changes to your code locally you can run twilio serverless:deploy again to update the hosted function. Use the deployed functions from your existing application to send and check verifications.
Next Steps
With just two API calls and one web page, you’ve now validated that a user has a real phone number or email and access to that contact channel, which will help prevent a lot of fraudulent accounts and ensure that your users can receive other text or voice notifications from your app if they opt in to those later.
You can check out the full code on Github or deploy your own version in less than 2 minutes with Twilio's Code Exchange. Looking for a mobile version? Check out phone verification in React Native.
If you have any questions about user verification or account security, please leave a comment or contact me on Twitter.


Related Resources
Twilio Docs
From APIs to SDKs to sample apps
API reference documentation, SDKs, helper libraries, quickstarts, and tutorials for your language and platform.
Resource Center
The latest ebooks, industry reports, and webinars
Learn from customer engagement experts to improve your own communication.
Ahoy
Twilio's developer community hub
Best practices, code samples, and inspiration to build communications and digital engagement experiences.