Travis CI SMS Notifications with Twilio Functions
Time to read:
September 29, 2017
Written by
This post is part of Twilio’s archive and may contain outdated information. We’re always building something new, so be sure to check out our latest posts for the most up-to-date insights.

Continuous integration (CI) is a software development practice that has exploded in popularity. CI allows developers to push code more rapidly by automating the building, testing, and deployment processes (read more about it here).
Travis CI is a widely used CI tool. It syncs with your GitHub account and can perform many different actions when code is pushed to your repositories such as build files, run tests, deploy, etc. If you are unfamiliar with Travis CI, they have a Getting Started page with documentation for literally dozens of languages, as well as a Travis CI for Complete Beginners guide.
This blog post will step through configuring Travis CI to send SMS notifications using Twilio Functions whenever a project is unable to build or fails a test.
Getting Started
In order to follow along with this post, the following is required:
- a GitHub account and Git, necessary for interacting with Travis CI
- Node.js (download here)
- the Travis CI Client, which is a command-line interface for Travis CI
- a Twilio account (Sign up for free) and an SMS-enabled Twilio phone number
Install instructions for Git can be found here. You can test your Git install by running $ git —version.
The install instructions for the Travis CI Client be found here, but all you need to do is run $ gem install travis -v 1.8.8 —no-rdoc —no-ri on a command line (Ruby >=1.9.3 is required).
Test that this install was successful by running $ travis version. Then login to the CLI using $ travis login and entering your GitHub credentials (full login instructions can be found here).
Building a Boilerplate Node.js App for Travis CI
In order use Travis CI we need a Github project to interact with it. For the purpose of this post, the project does not need to be complex.
If you already have a project integrated with Travis CI you can use that, otherwise you can fork this “Hello, World” Node.js app and then clone it by running:
Travis CI uses a file called .travis.yml to determine how to build/test a project. This is what a basic .travis.yml file looks like for a Node.js project:
This tells Travis CI to build the project using the latest stable Node.js release. Read more about building Node.js projects with Travis CI here.
cd into the travis-nodejs-example directory, run the following to connect your local repository to Travis CI:
Configuring Build Notifications
Travis CI is configured to send email notifications by default to report the status of a build. However, text messages have a much higher response rate than email and can serve as a much more effective way to communicate with a team of developers. SMS notifications can be sent with the help of Twilio and Travis CI’s webhook notifications.
Handling Travis CI Requests with Twilio Functions
In order to handle Travis CI’s webhooks we first need a web application that can accept incoming HTTP requests and create outgoing SMS messages. This can be achieved using Twilio Functions. With Functions, there is no need to rent and configure servers or create a tunnel to our localhost. Twilio will host all of our code for us.
From your Twilio Console, navigate to the Runtime Overview. Click on the Functions section and create a new Function using the Blank template. Under ‘Properties’ provide an appropriate Function Name and Path:
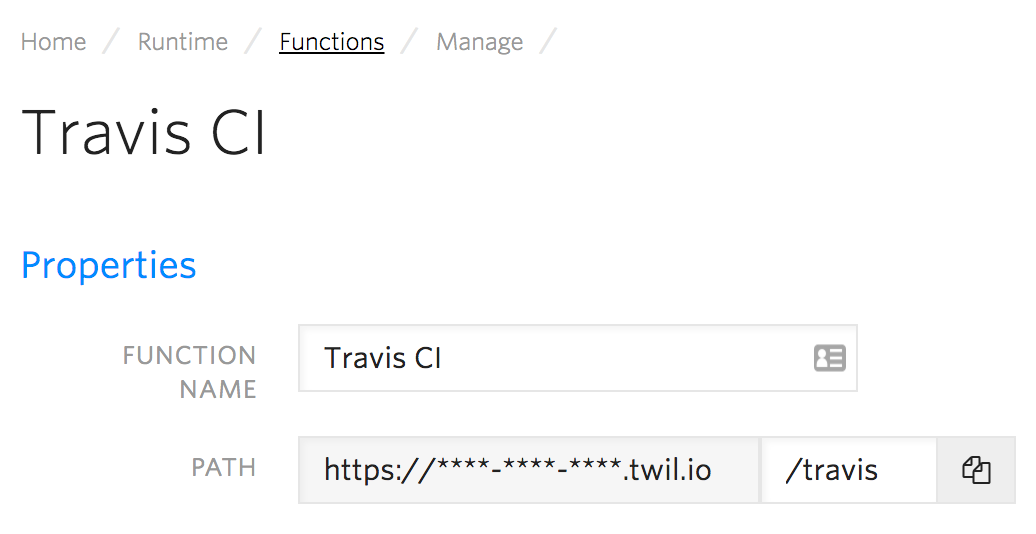
The Path, which will be needed in the section below, is a combination of a randomly assigned unique domain for all of your Twilio Functions and the endpoint name of your choosing.
Under ‘Configuration’, the Access Control checkbox must remain unchecked:
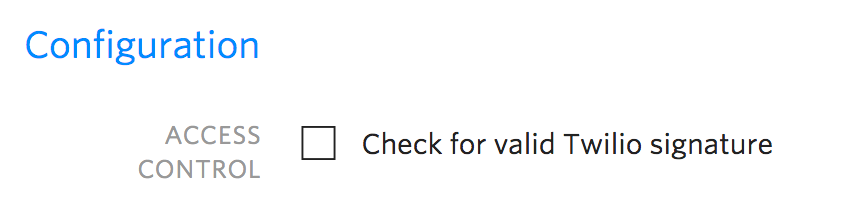
This settings is intended for validation in Functions which receive HTTP requests signed by Twilio. Since this request is coming from Travis CI and not Twilio, this box should be unchecked.
Finally, add the following code to your Function and save it:
The code above parses the JSON sent to us by Travis CI and uses parts of it (the repository name and committer name) to construct the outgoing message message_body. An example payload from Travis CI can be found in the webhooks delivery format documentation page.
The Function then uses the built in context object to instantiate a Twilio client and send an outbound SMS message with the message_body from above. Be sure to replace the to number with your phone number and the from number with a valid Twilio number that you own.
Finally, the client uses then() to return a promise which logs the outbound messages sid and exits the Function by calling the built-in callback with a string response of ”OK”.
Read more about building apps with Twilio Functions here.
Webhook Notifications
Although Travis CI can be configured to send notifications natively to several different popular services, it does not have native support for Twiliowebhook is simply an endpoint that Travis CI will send an HTTP request to whenever certain actions occur (successful builds, errors, canceled builds, etc).
Start by copying the Path for your Twilio Function that we configured in the section above to your clipboard.

To avoid publishing our Twilio Functions URL to the public, we are going to encrypt it using the Travis CI Client. In your project repo, run the following:
This command will automatically add the following to the .travis.yml file:
The encryption key will then be decrypted automatically when building the project.
Also, feel free to change the notification frequency to your liking for any of the build results:
If you’d like to disable email notifications completely add email: false under the notifications section:
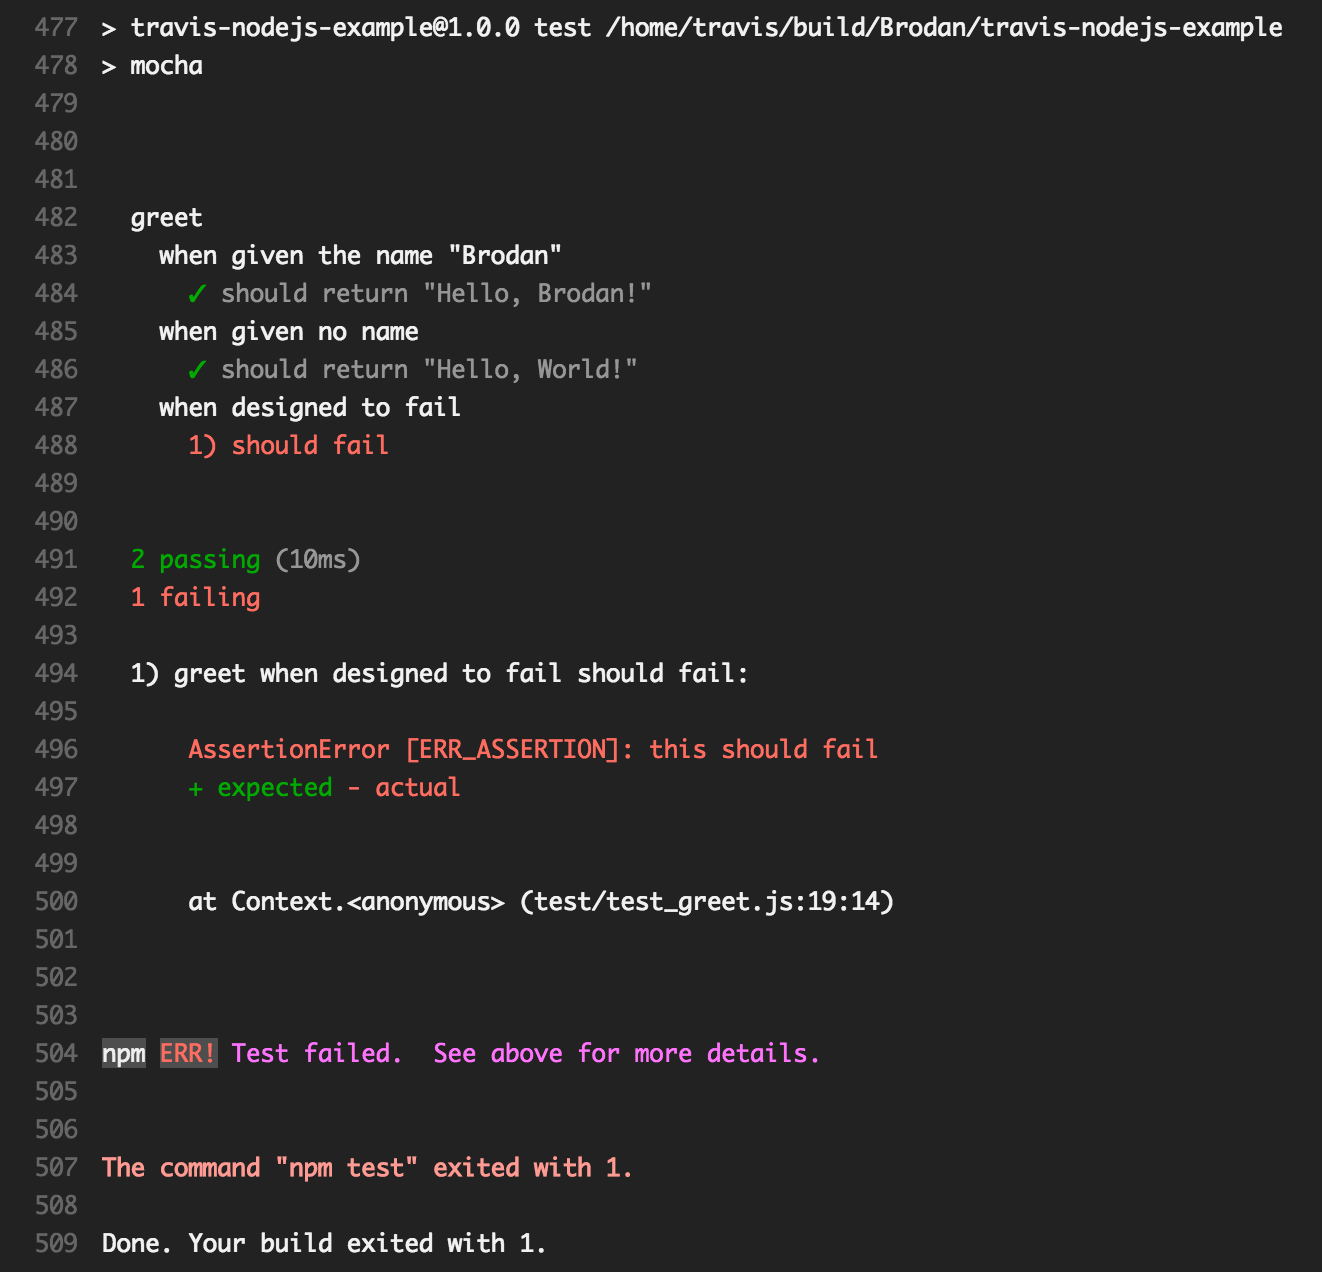
Anytime changes are pushed to a repository, Travis CI will fire the webhook if it fails to build or any tests fail. Use $ travis open to see the complete output of the build and why it failed. It should look like this:
Builds can also be manually triggered at any point by running $ travis restart in the project’s directory.
If you remove the broken test and push the changes, you will no longer receive an SMS message (granted you haven’t changed the notification frequencies in the .travis.yml file). If you do want to receive a text on successful builds, simply change on_success: to always under the notifications in .travis.yml.
Wrapping Up
This webhook, along with the Twilio Function, enables you to receive SMS updates whenever a Travis CI project fails to build/test. The application can be customized as needed by modifying the .travis.yml’s notification frequency and/or the Function’s message_body. The best part about all of this is that the simple Twilio Function we wrote is application agnostic. This means it can be reused with any Github repository that’s synced with Travis CI!
I hope you enjoyed following along with this post. If there are any issues or questions, please reach out to me on Twitter or Github.


Related Resources
Twilio Docs
From APIs to SDKs to sample apps
API reference documentation, SDKs, helper libraries, quickstarts, and tutorials for your language and platform.
Resource Center
The latest ebooks, industry reports, and webinars
Learn from customer engagement experts to improve your own communication.
Ahoy
Twilio's developer community hub
Best practices, code samples, and inspiration to build communications and digital engagement experiences.