How to Send Welcome Emails with SendGrid and Appwrite Cloud Functions
Time to read: 6 minutes
October 18, 2022
Written by
Reviewed by

In this post, we’ll explore how you can leverage the Twilio SendGrid API to programmatically send welcome emails using Appwrite’s Cloud Functions! We’ll be using SendGrid’s Java SDK and Appwrite’s Java runtime for this example. SendGrid and Appwrite have official support for a lot more languages, so feel free to check them out.
What is Appwrite you might ask? Appwrite is an open-source back-end-as-a-service that abstracts all the complexity of building a modern application by providing you with a set of REST and Realtime APIs for your core back-end needs. Appwrite takes the heavy lifting for developers and handles user authentication and authorization, databases, file storage, cloud functions, webhooks, and much more!
Prerequisites
Now that you know what you’re going to build, let’s take a look at some of the things you’ll need to get started!
A SendGrid Account
If you don't have a SendGrid Account already, you’ll need to create one by heading to the Sign Up page. Follow the on-screen instructions until you arrive at your Dashboard. Before you can start sending Emails, there are a few more mandatory steps you’ll need to complete.
- Verifying your Email.
- Setting up 2-Factor Authentication.
- Verifying your Domain.
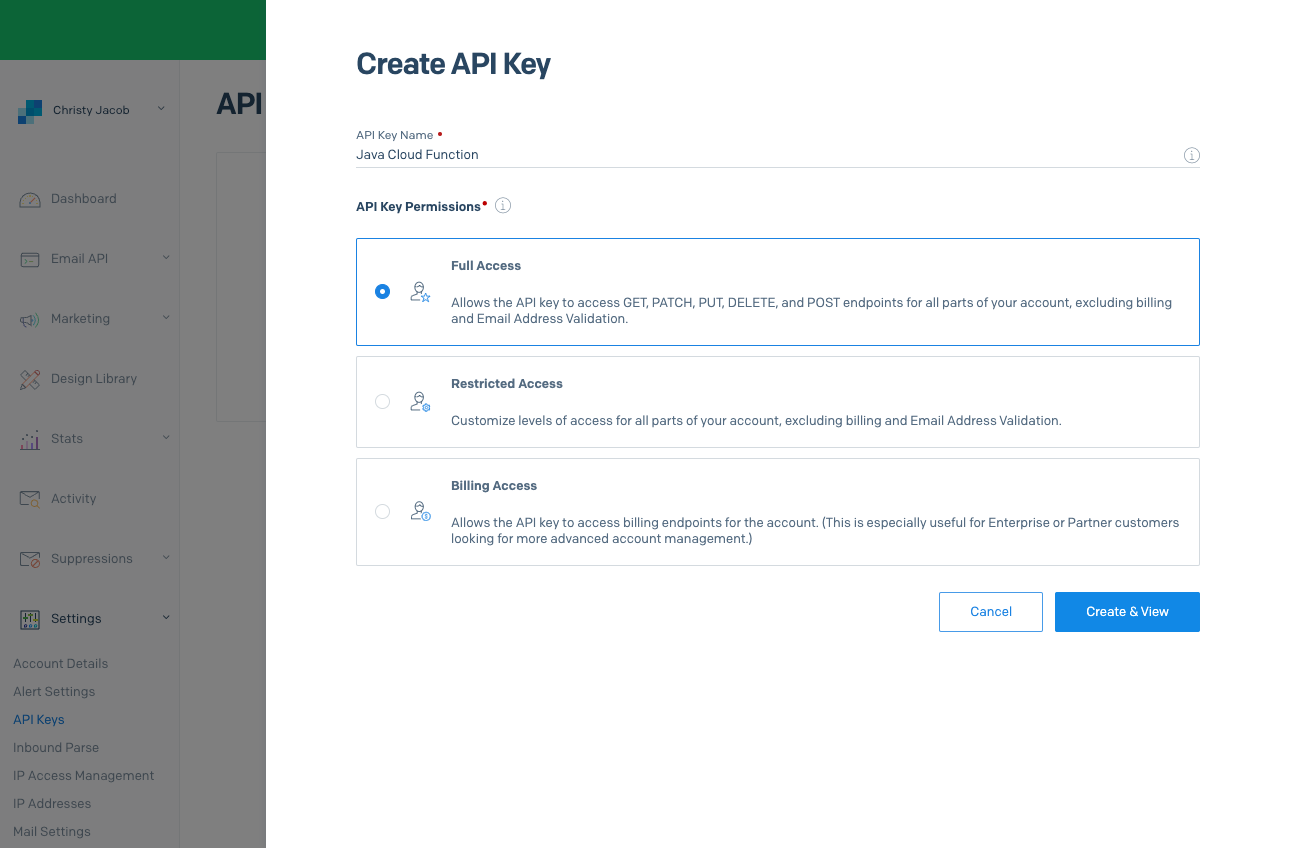
Once you’ve completed the above steps, we’ll need to create a new API Key. Keep this key somewhere safe as we’ll need it in the subsequent steps.
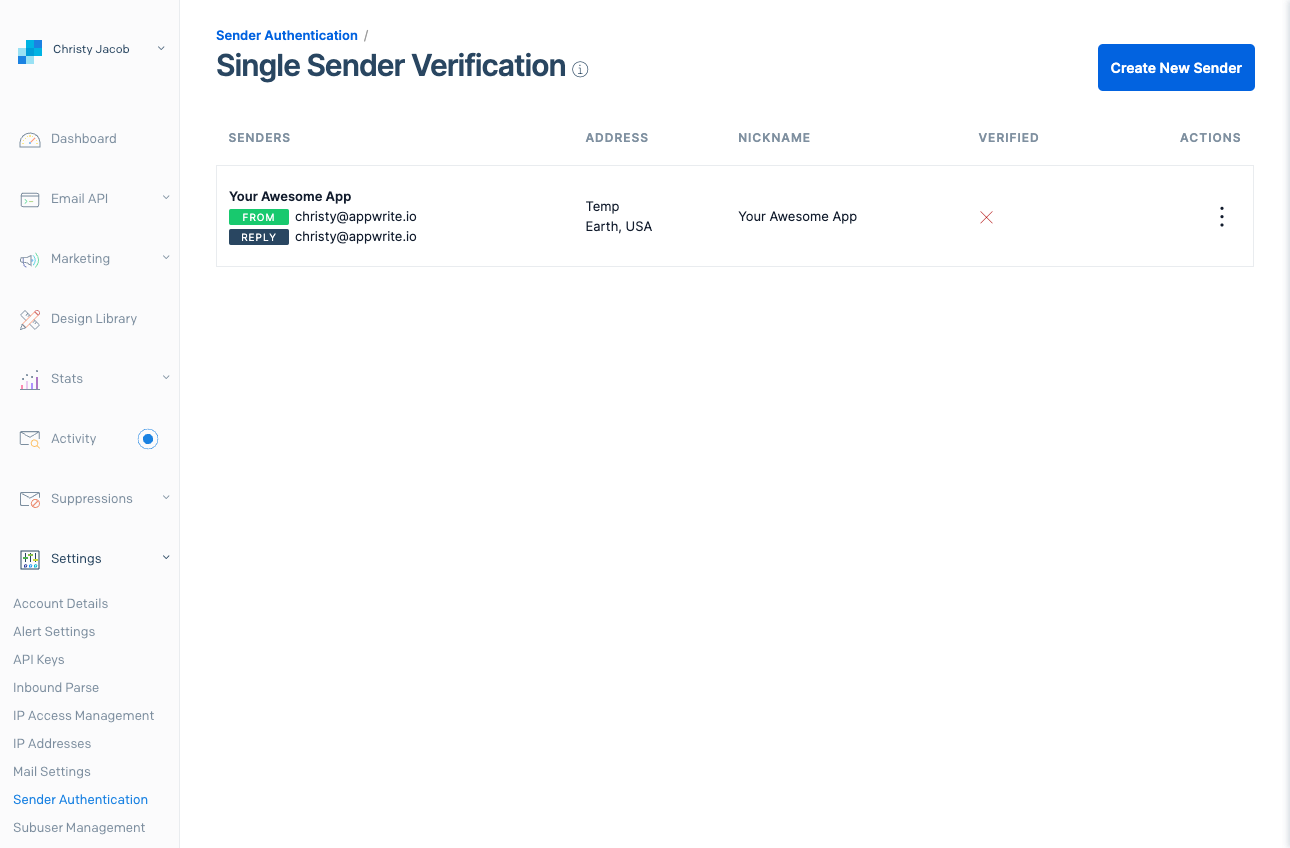
Lastly, you need to create a Verified Sender which is basically a verified email from which you can send emails. Once this step is complete, we can move on to the next step.
An Appwrite Instance
Since Appwrite is packaged as a set of Docker containers, you have a couple of options when it comes to installing Appwrite. You can choose between a one-click installation on DigitalOcean and GitPod, or a manual installation using Docker.
Before running the installation command, ensure you have Docker installed on your computer.
To install Appwrite through Docker, open your terminal and enter the following command:
You’ll then be prompted to enter values for your new Appwrite instance; feel free to hit enter as you are prompted to have it use default values.
By default, only the Node.js, PHP, Python, and Ruby runtimes are enabled so you’ll need to enable the Java runtime which can be done by editing the _APP_FUNCTIONS_RUNTIMES environment variable located within the .env file that was created by installing Appwrite.
Once Appwrite is installed, it should create a folder named appwrite in the directory the command was executed in. Open up this folder in your preferred text editor and navigate to the .env file that holds the environment variables.
Locate the _APP_FUNCTIONS_RUNTIMES variable and replace the line with the following:
Save the file, navigate back to your terminal, execute the following command to restart the Appwrite stack within the appwrite folder:
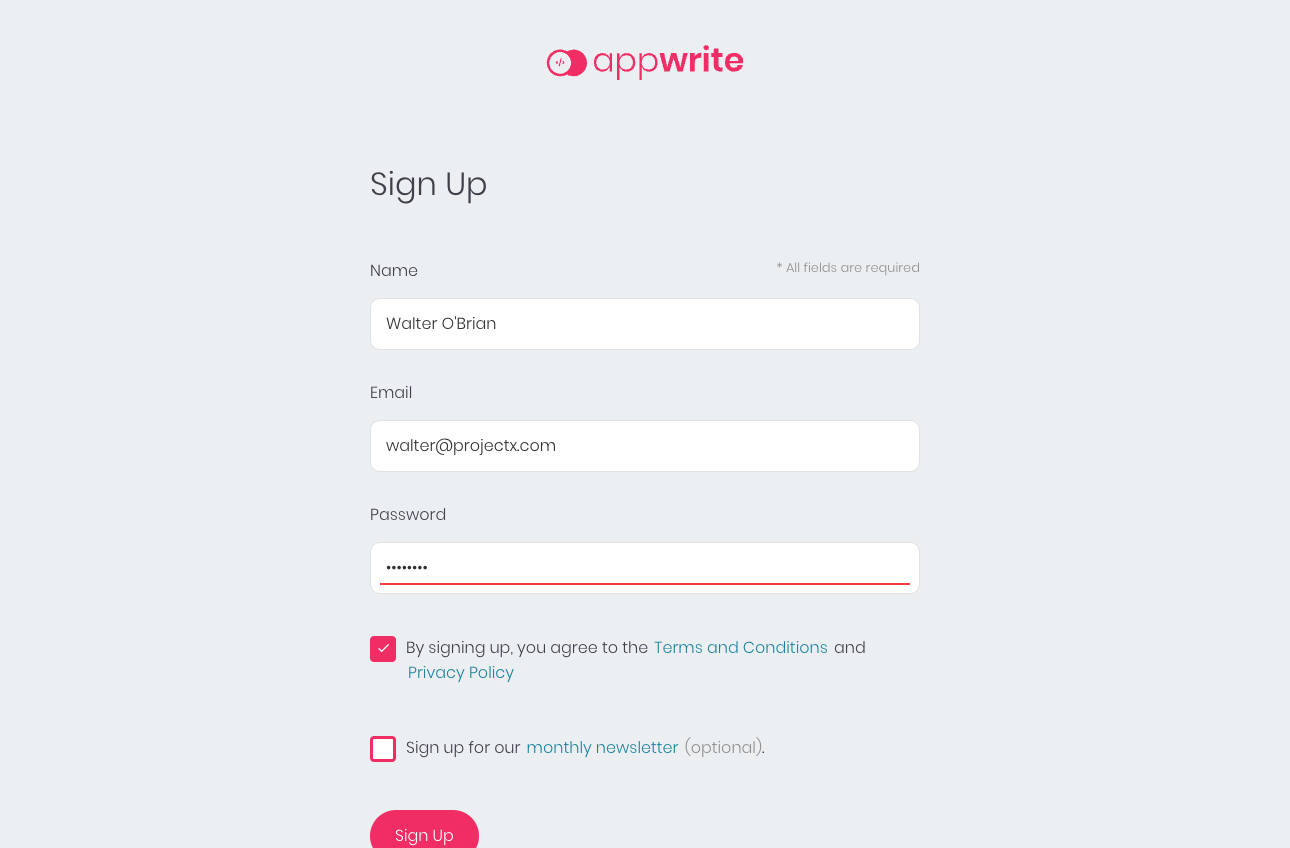
Head over to localhost ( or your server’s public IP address ) in your browser and you’ll be presented with the Appwrite Dashboard. Create an account with an email of your choosing and head over to the next step.
The Appwrite CLI
The Appwrite CLI is a convenient tool to manage your Appwrite project. The CLI makes it really easy to create and deploy your cloud functions. If you have npm installed, the CLI can be installed with the following command.
Feel free to check out the Getting Started guide for the CLI if you wish to explore other installation options like homebrew or a standalone binary.
Write Your First Cloud Function
With all the prerequisites set up, you can start writing your cloud function.
Open up your terminal and enter the following command to create a new directory to house your Appwrite project and to link the Appwrite CLI to your Appwrite account:
You’ll then be prompted to enter your email and password to login to the CLI. Use the credentials you just used to sign up to your Appwrite console.
Next, we initialize a new Appwrite project using the appwrite init project command:
You’ll then be prompted to configure your new Appwrite project. Select Create a new Appwrite project when asked how you’d like to start and feel free to choose your own name and ID for the project:
Great! You now have an Appwrite project created on your server along with an appwrite.json file containing information about your project.
The workflow
Deploying a Cloud function involves a couple of steps. We need to create a function and deployment, activate the deployment, then execute the function. Moreover, every Cloud function also needs to follow a specific format which can quickly become difficult to manage manually.
The CLI comes to the rescue again where it takes care of all these steps. Let’s see what a typical workflow for deploying a function using the CLI looks like.
Use the appwrite init function command to create a new Cloud Function and set up all the boiler plate code necessary to write your function.
Give your function a name and choose the Java 17.0 runtime:
Open up the welcome-email folder in your text editor and you’ll notice that you now have a new functions/welcome-email folder in the directory containing your function. Feel free to pause and examine the contents of the src/index.java file. At its core, it simply returns a JSON message.
Navigate back to your terminal and enter the following command to deploy the function:
You’ll then be asked to choose which function to deploy. Select the welcome-email function by clicking the spacebar and then enter to proceed.
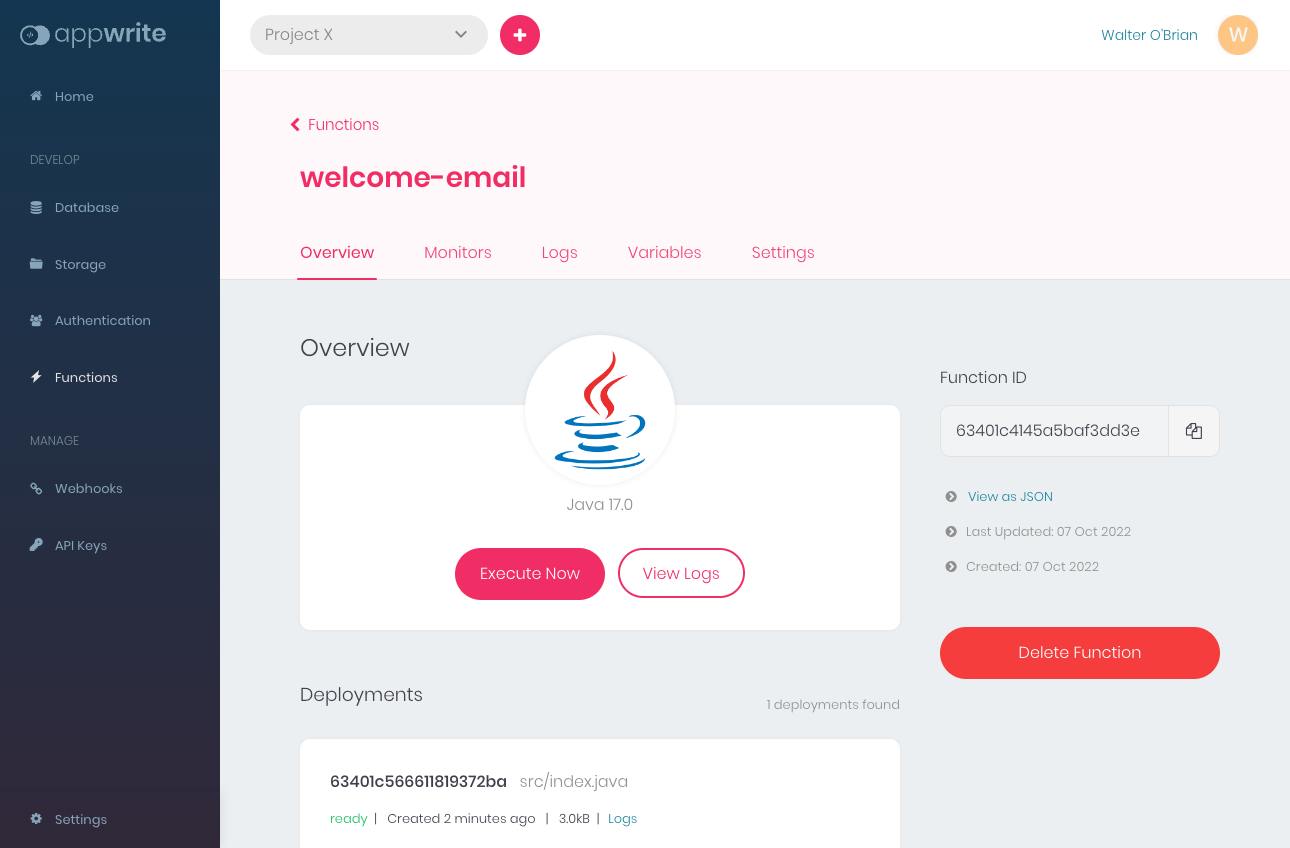
This command performs a lot of things you’d otherwise have to do manually. The CLI packages the code into an archive, creates a new deployment in your Appwrite server and also initiates the build process. Head over to the welcome-email function settings within the functions page of your project in the Appwrite Dashboard to follow the progress of your build:
Once the build process is complete, go ahead and execute your function by clicking the Execute Now button. You can leave the payload empty in the subsequent dialog. Head over to the Logs tab to examine the output from the function execution.

Now that we’re familiar with the workflow, we can start integrating the SendGrid APIs into our function.
Integrate SendGrid SDK
The first step is to include the SendGrid SDK dependency in our gradle file. Within functions/welcome-email folder, open the deps.gradle file and replace the contents with the following:
Next, head over to index.java located within the /functions/welcome-email/src folder, and replace the contents of the entire file with the following code to import the SendGrid SDK and to clean up the file to contain only the bare essentials:
Next, we’ll use the Mail Helper classes from the SendGrid SDK to draft an email. Add the highlighted code within the main() function like so:
An email with hard coded values doesn’t look very interesting does it? Let’s use the environment variables to fetch the name and email address of the newly created user to customize our email a bit. Replace the contents of the entire index.java file with the following code:
Don’t worry about all the environment variables as we’ll configure them later. The last step is to send the email. We’ll use SendGrid’s supplied SDK method to send the email. Replace the contents of the entire index.java file with the following code:
With our function completely written, it's time to deploy it. Head back to your terminal and use the Appwrite deploy function command to deploy our function:
Select welcome-emails by clicking space and then hit enter to deploy it.
There’s one final step before we can test our function. We need to configure the environment variables and set up triggers for our function.
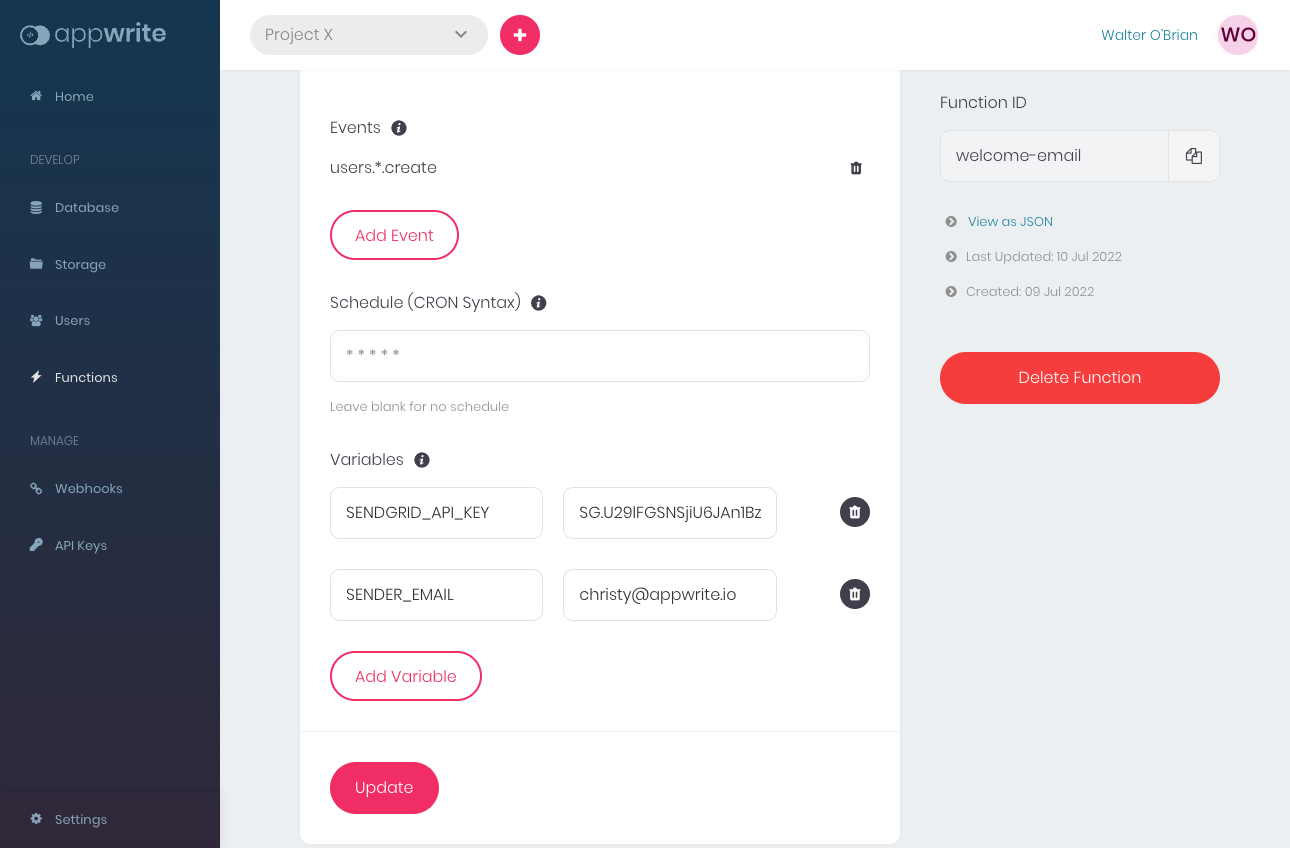
Head back to the Settings tab in the welcome-email function’s page and scroll down to the Variables section. Click Add Variable and add the two environment variables SENDGRID_API_KEY and SENDER_EMAIL with their respective values. Both these values can be obtained from the steps earlier.
Within the Events sections, click Add Event and add a trigger for the users.create event. Once complete, don’t forget to click the Update button at the bottom of the screen to persist the changes.
Test the welcome email
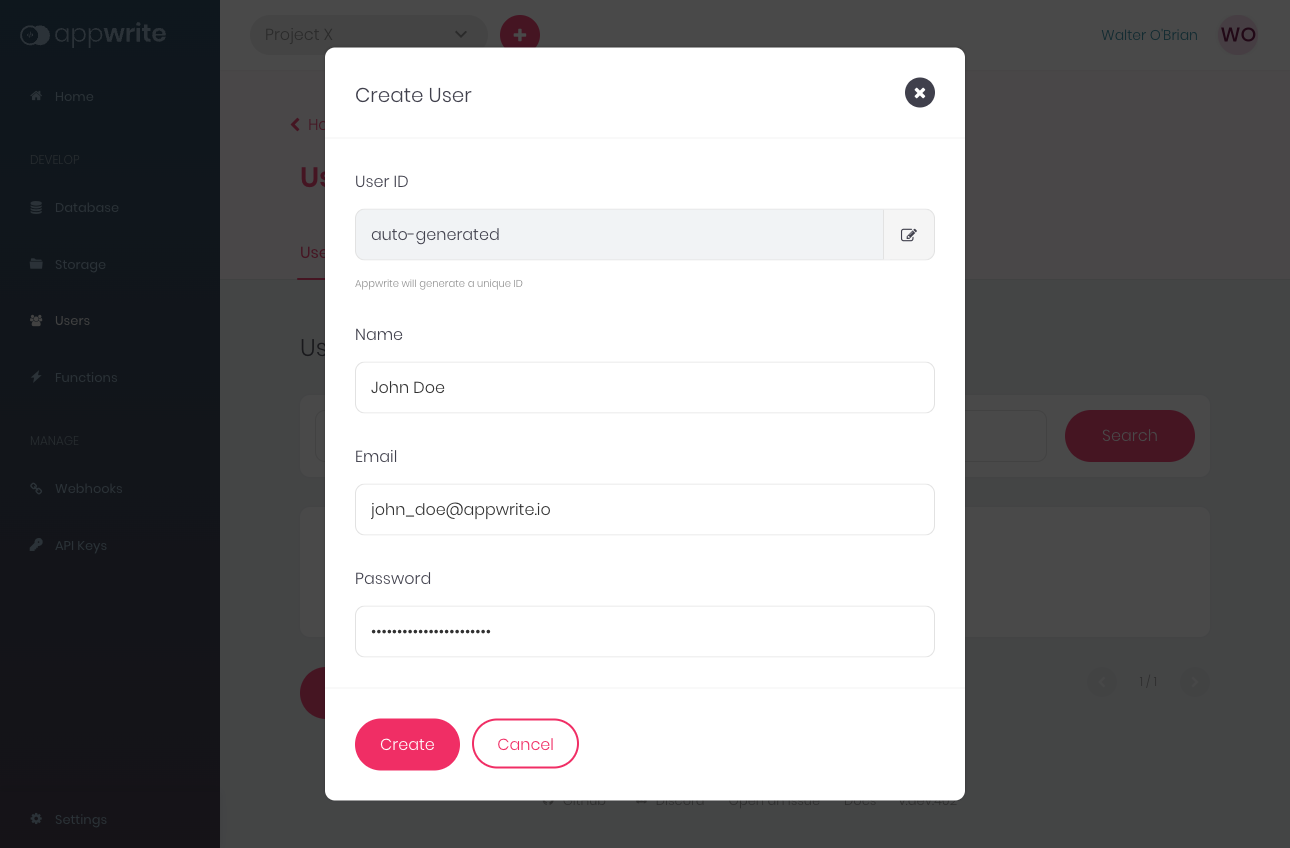
We’re now ready to test our code. Head over to the Users screen on the Appwrite Dashboard and create a new user by clicking Add user. Enter a name, an email, a password and then click Create.
You can now head over to the Logs section of your Function to track the progress of the execution. Head over to your email inbox and in a few seconds, you should receive a welcome email!
What's next for building with SendGrid's Java SDK?
You’ve made it! Congratulations! Now you know how to use SendGrid’s Java SDK to send emails to your users based on various events. Appwrite supports a lot more runtimes and triggers which you can learn more about in the official docs.
Check out these other articles on how to build further with SendGrid's Java SDK:
- Build Two-Way Email to SMS with SendGrid and Twilio
- Receive SMS Alerts for Email Opens and Clicks with Twilio SendGrid and Node.js
- Send Bulk Emails in 3 Ways With Twilio SendGrid And Node.js
Christy Jacob is a software developer, technical writer and open source enthusiast. He leads one of the engineering teams at Appwrite on a mission to make software development fun through open source tools. He can be reached at christy [at] appwrite.io


Related Resources
Twilio Docs
From APIs to SDKs to sample apps
API reference documentation, SDKs, helper libraries, quickstarts, and tutorials for your language and platform.
Resource Center
The latest ebooks, industry reports, and webinars
Learn from customer engagement experts to improve your own communication.
Ahoy
Twilio's developer community hub
Best practices, code samples, and inspiration to build communications and digital engagement experiences.