Receive SMS Alerts for Email Opens and Clicks with Twilio SendGrid and Node.js
Time to read:
June 02, 2022
Written by
Reviewed by
")
When it comes to messaging applications, read receipts are a common feature that allow you to know if your recipient has read your message. For email applications, this feature is very uncommon; however, when sending marketing and especially important emails, it's sometimes vital to know and keep track of whether your recipients have opened and read your email.
When using Twilio SendGrid, keeping track of email engagement is seamless through Event Webhooks. Event Webhooks not only track the delivery status of your emails but also engagement events such as if an email has been opened or a link within an email has been clicked. Pairing open and click tracking for emails with Twilio’s Programmable SMS API will ensure you’re up to date on the status of your important emails.
In this tutorial you’ll learn how to track and send SMS alerts for open and click events for your emails using Twilio SendGrid, Twilio Programmable SMS, and Node.js.
Prerequisites
To follow this tutorial you need the following components:
- A free Twilio SendGrid account. Sign up here to send up to 100 emails per day completely free of charge
- A Twilio account - Sign up for free using this link and receive $10 in credit when you upgrade your account!
- A Twilio phone number
- Node.js installation
- ngrok installation
Configure SendGrid
To get started, you’ll need to do two things with SendGrid: Verify your Sender Identity, and generate your API key.
Verify your Sender Identity
SendGrid customers are required to verify their Sender Identity to ensure that they own the email address that they’ll be using. A Sender Identity represents your 'From' email address—the address your recipients see as the sender of your emails.
Log on to SendGrid and head over to the settings tab on the left-hand side. Click on the dropdown and click on Sender Authentication.
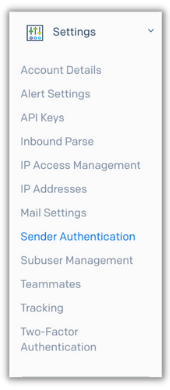
Within the Sender Identity section click on the Verify a Single Sender button and fill out the form that pops up with your information.
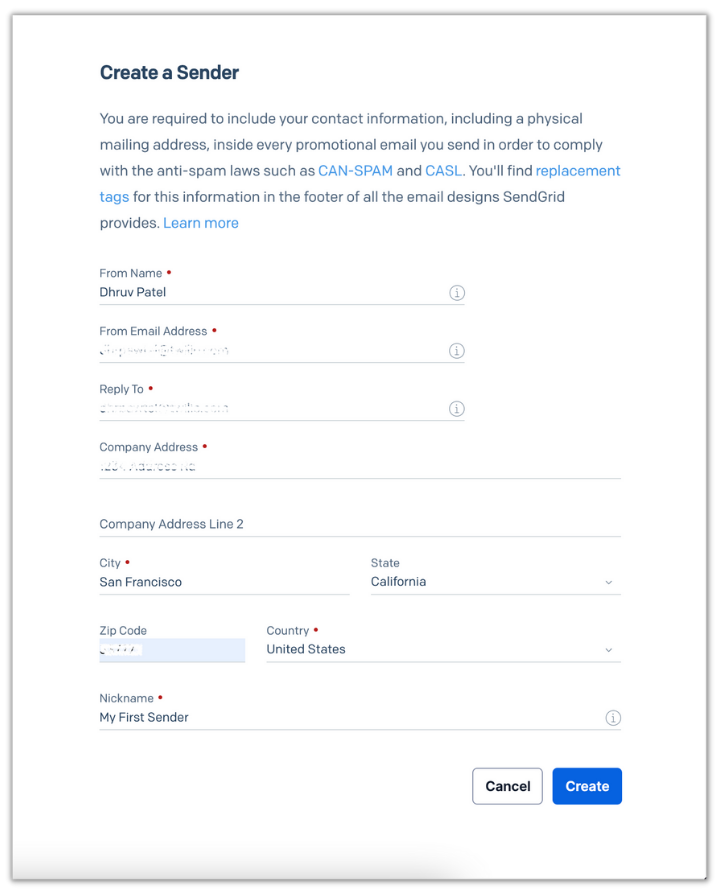
Once the form is filled, click on the blue Create button and you’ll receive an email in your inbox asking you to verify your email address. Open that email and click on the Verify Single Sender button which will redirect you back to SendGrid to let you know that your email is ready to be used.
Generate your API key
On your SendGrid dashboard, head to the API Keys section by heading to the settings tab on the left-hand side and clicking API Keys.
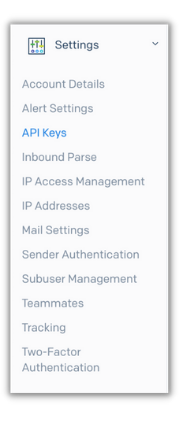
Click the blue Create API Key button on the top right and a form will appear.
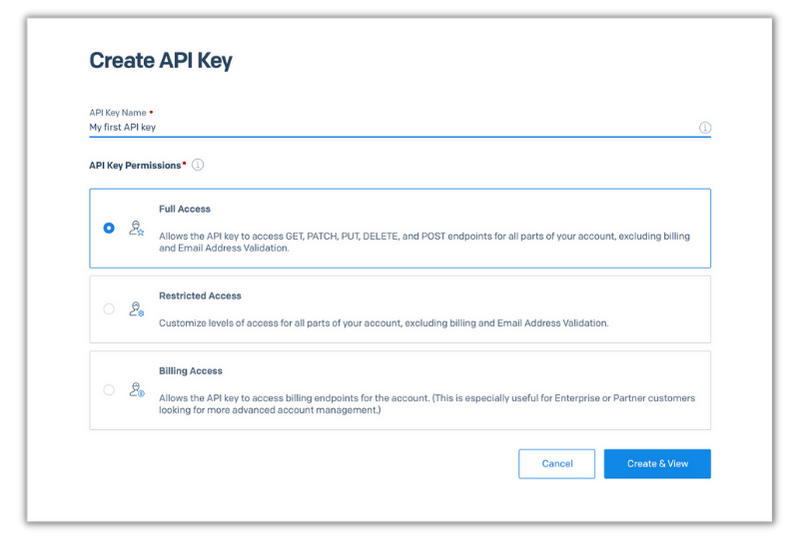
Enter whatever name you’d like for your API key and click the blue Create & View button. Copy your API key and paste it in an empty text document so that you can use it for later.
Build your Node.js application
Now that you have verified your email address and have gotten your API key with SendGrid, let's start building out the application.
In your terminal or command prompt, navigate to your preferred directory and enter the following commands to create your project:
These commands will create your project directory and scaffold out your Node application by creating a package.json file that will contain your project's metadata and package dependencies.
Next, you’ll need to install four node modules: SendGrid, Twilio, Express and dotenv. The SendGrid Node helper library will be used to send out your email. The Twilio helper library will be used to send out the SMS alert using your Twilio number. Express will listen for and handle incoming SendGrid event webhooks. dotenv will be used to store environment variables.
Enter the following command in your terminal to install these dependencies:
For the environment variables, create a file named .env in the email-tracker directory. Using your preferred text editor for code, place the following lines in it while replacing the XXXXXX placeholders with their respective values:
You can find your Twilio Account SID and Auth Token on your Twilio Console shown below:
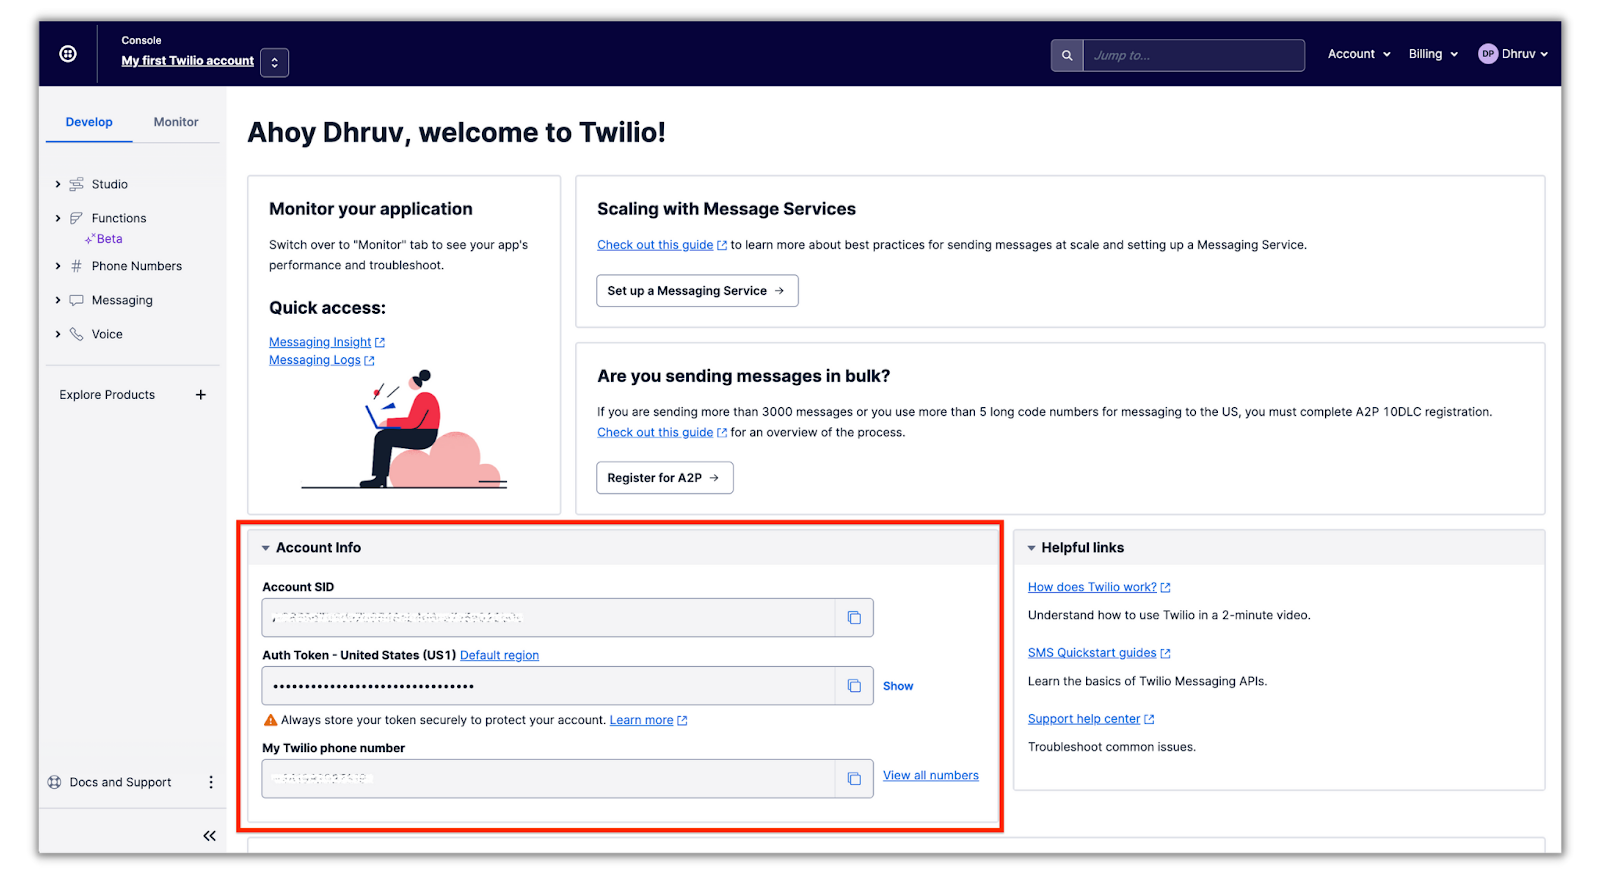
Once your SendGrid API key, Twilio Account SID and Auth Token have been added, save the file.
Handle incoming SendGrid open and click events
SendGrid Event Webhooks notify you on events that occur when SendGrid or an email service provider processes your email by sending a POST request to a chosen URL.
For this tutorial, we’ll be focusing on engagement events, specifically if an email has been opened or a recipient has clicked on a link within the email.
Create a file named index.js within your project directory. This file will use Express to spin up a local server that will handle all incoming POST requests from SendGrid and will notify you through SMS if the event was an open or click.
Open up index.js and enter in the following code:
This code will initialize all the dependencies that were installed earlier.
The next step is to build out the POST request handler that will listen for and handle incoming events. Place the following in index.js below the code you just entered:
This code will listen for requests to the /event route and parse the contents of the request body into the receivedEvents variable. It'll loop through each event in receivedEvents and if the event was an open or a click, it will execute the sendEmailEventSMS() function which will send the event as an SMS to your phone number.
The last bit in the code chunk will spin up the server and will listen to requests on port 3000.
The last chunk of code for this file will be the sendEmailSMS() function. Place the following below the POST request handler while replacing the TWILIO_NUMBER and YOUR_NUMBER placeholders with their respective values:
This function takes in the event parameter and uses your Twilio number to send an SMS to your number notifying you about the event. The event object provided by SendGrid can include a category property which specifies what category the email was tagged. Categories can be added to SendGrid emails to help organize and group your emails. The event type, the category (if specified), as well as which recipient of the email will then be used to create the message that will be sent to your number.
Run the server and configure the webhook to SendGrid
Now that your webhook is built, let’s run it and connect it to SendGrid so it can route all events to your webhook. Navigate back to your terminal run the following command:
This command will run the index.js file which will spin up a local Express server on port 3000 of your computer. Since this server is not publicly accessible to the internet, ngrok will be used to generate a publicly accessible URL on the ngrok.io doman that will tunnel all incoming requests to your local server.
Leave your server running and open a new tab in the terminal. Navigate to your project directory and type the following command on your terminal:
Your terminal will then look like the following:
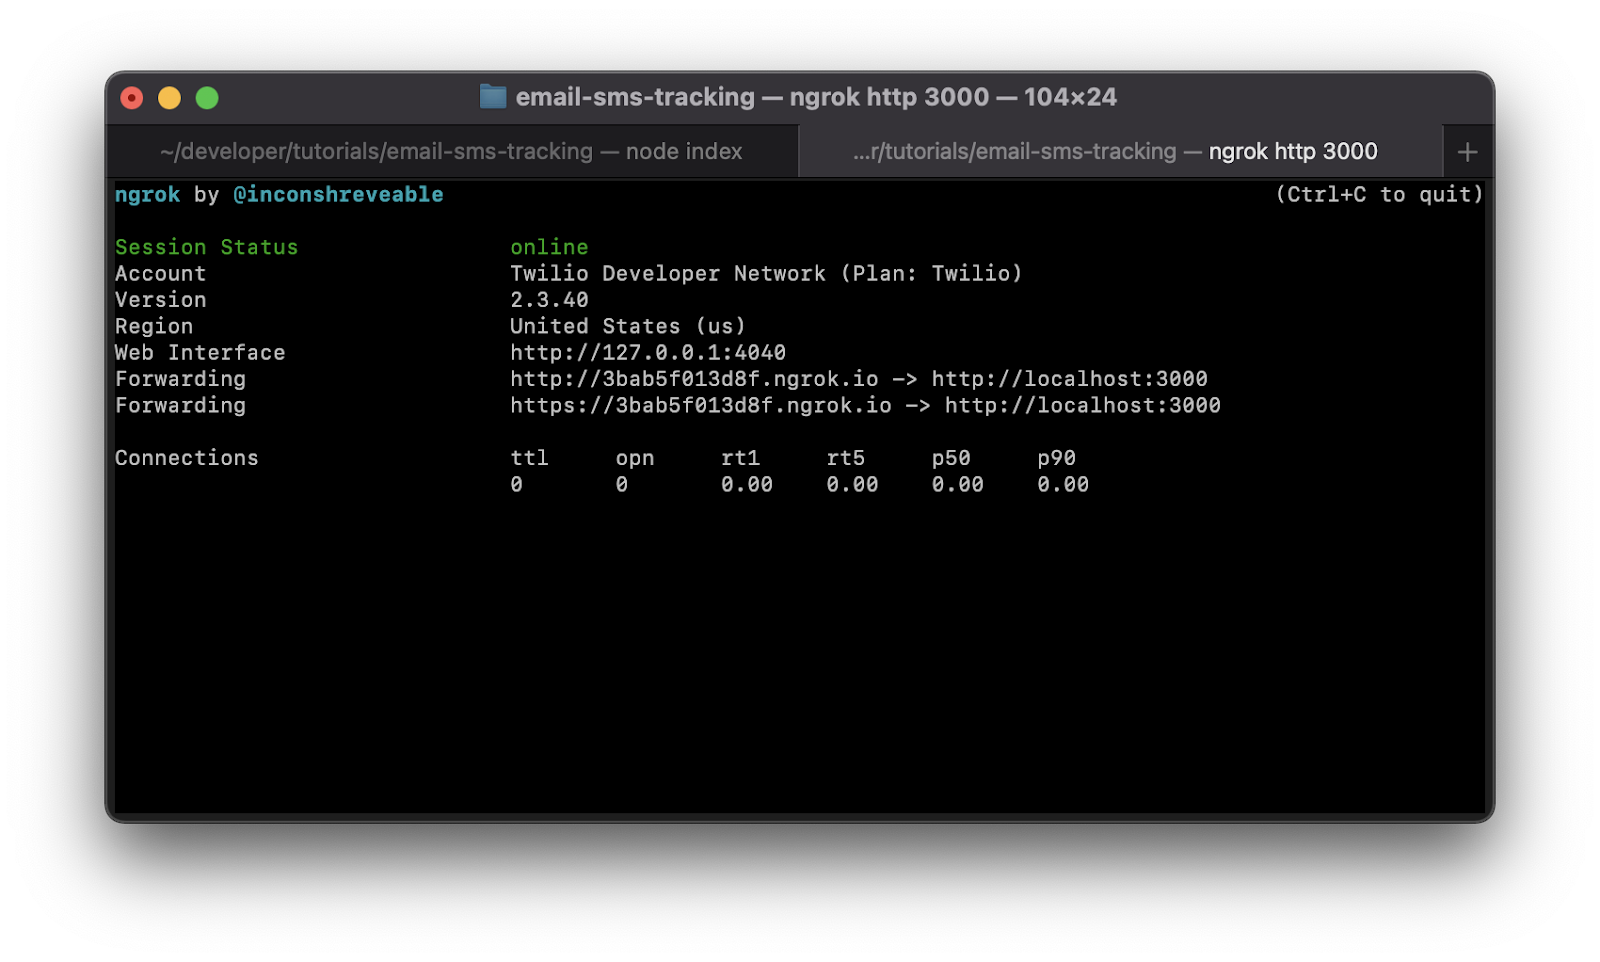
You’ll see that ngrok has generated Forwarding URLs to your local server on port 3000. Copy either of the URLs – the https URL is recommended as it’s encrypted – as one will be needed to be plugged into your SendGrid account.
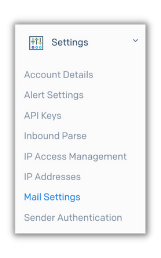
Head back to your SendGrid dashboard and head to the Mail Settings section which can be found within the Settings dropdown on the left tab:
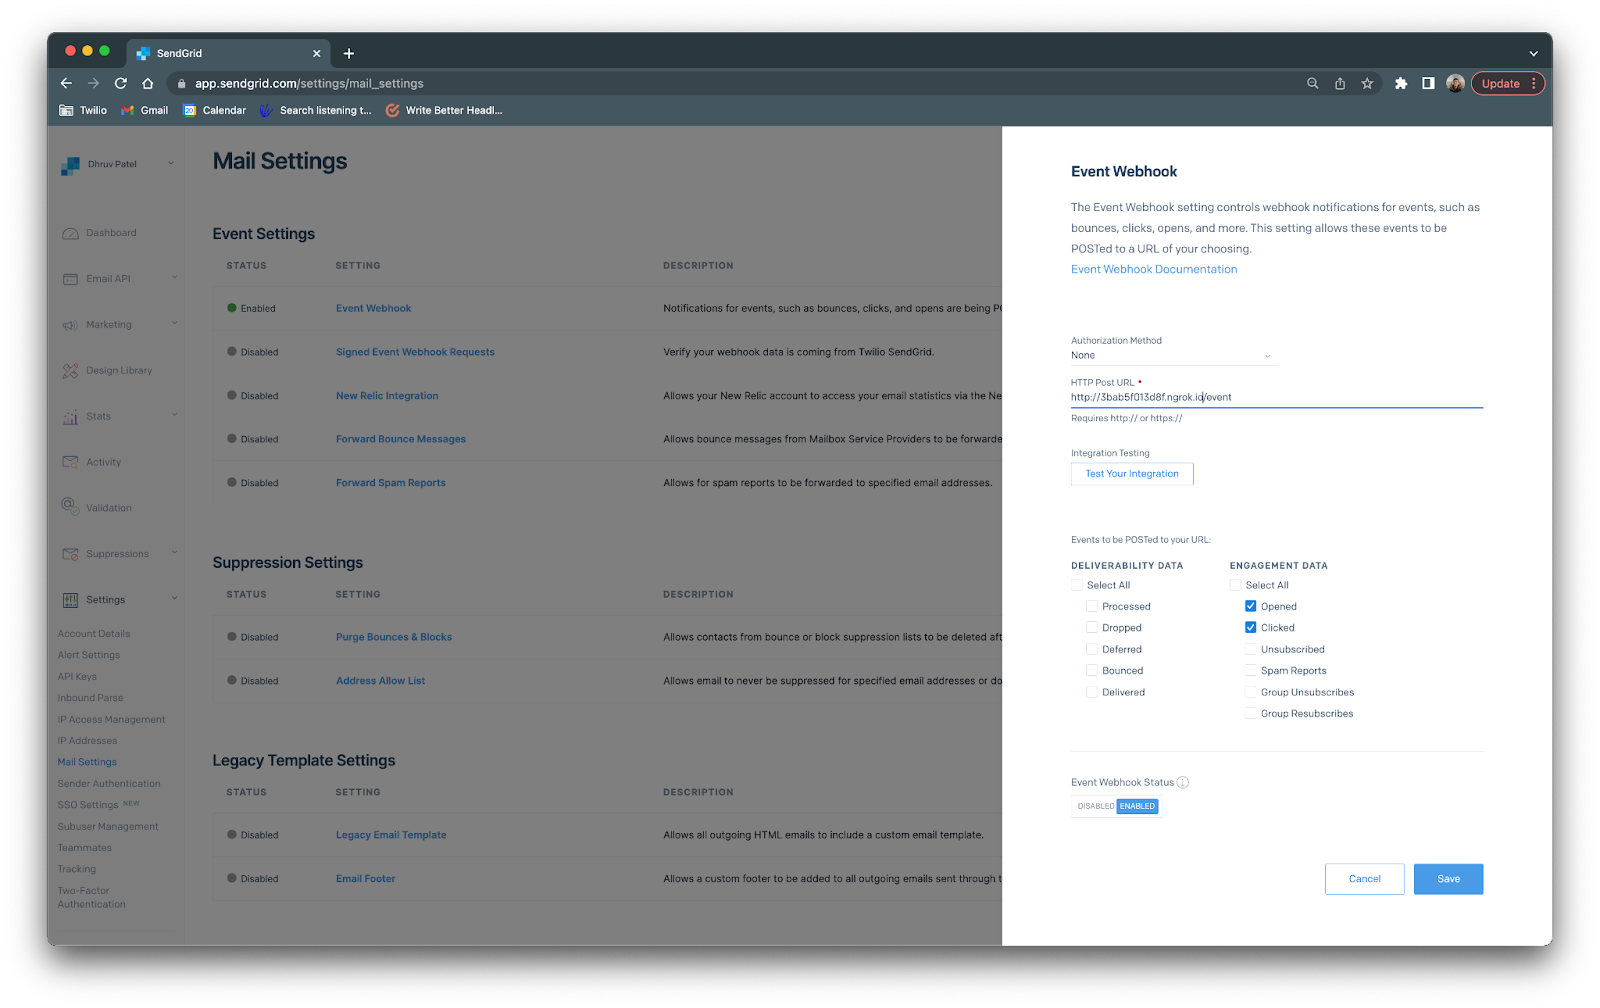
Under the Event Settings section, click on Event Webhook which will take you to the menu to complete your configuration. Enter your forwarding URL followed by /event within the HTTP Post URL textbox (see below how the URL should look like). Appending /event to your forwarding URL will route all webhook events from SendGrid to the POST request handler that was built in the index.js file. Within the Engagement Data section, click the Opened and Clicked checkboxes. This will enable webhook event tracking for only those two events. Finally, click Enable and your webhook settings menu will look like the following:
Click Save. Your application is now ready and listening for open and click events. Let's test it out!
Test it out
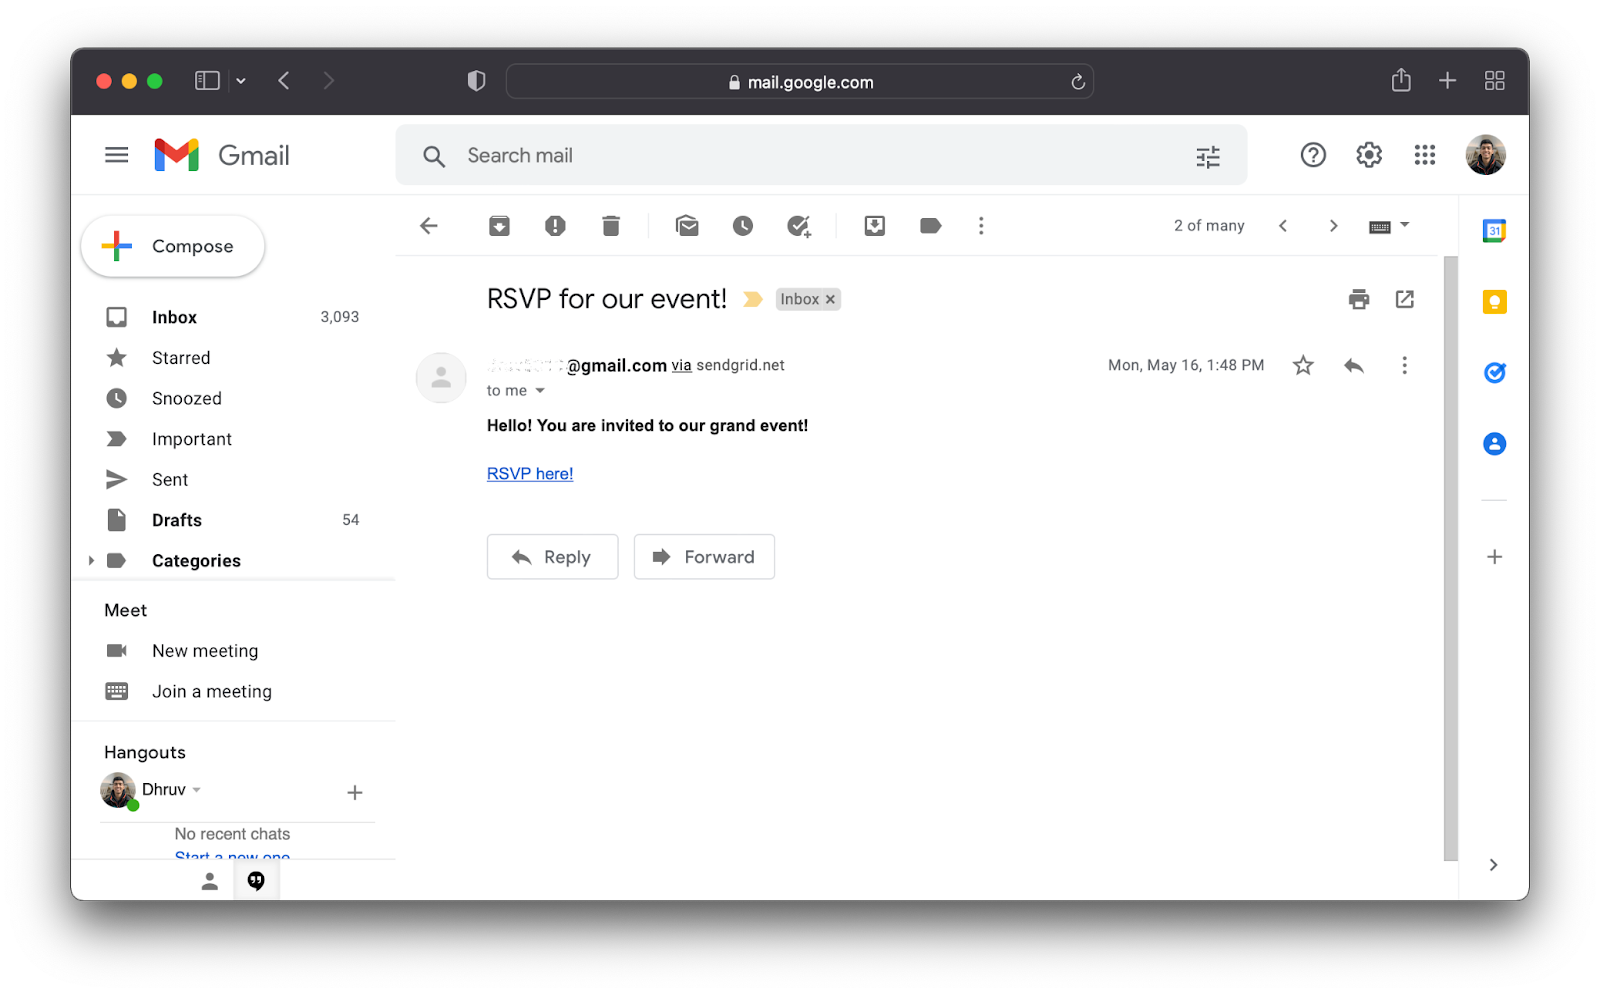
To test our application, an email needs to be sent out with SendGrid. A perfect use case for this tutorial is sending out an invitation with an RSVP link. You’ll be notified whenever your recipients open up your invitation or click on the RSVP link within the email.
Send an invitation with SendGrid
Head back to your text editor and create a file named invitation.js in your project directory and place the following code in the file:
Replace RECIPIENT_EMAIL with the email address the invitation will be sent to; this should be an email you have access to so you can open it. Replace YOUR_EMAIL with your verified sender email from the first section of the tutorial.
The first four lines of this file initializes the SendGrid package and your environment variables. It also holds your RSVP URL link – for testing purposes a fake example link is used: https://example.com/invitation. The last chunk of code creates an email where the category is 'Invitation' and where the link is embedded in the message content of the email. It will lastly then send the email off using the Mail Send endpoint of the SendGrid API.
Now head back to your terminal and in a new tab enter the following command to send out the email:
Head to the email address where the email was sent off to, open the email, and then click on the RSVP link:
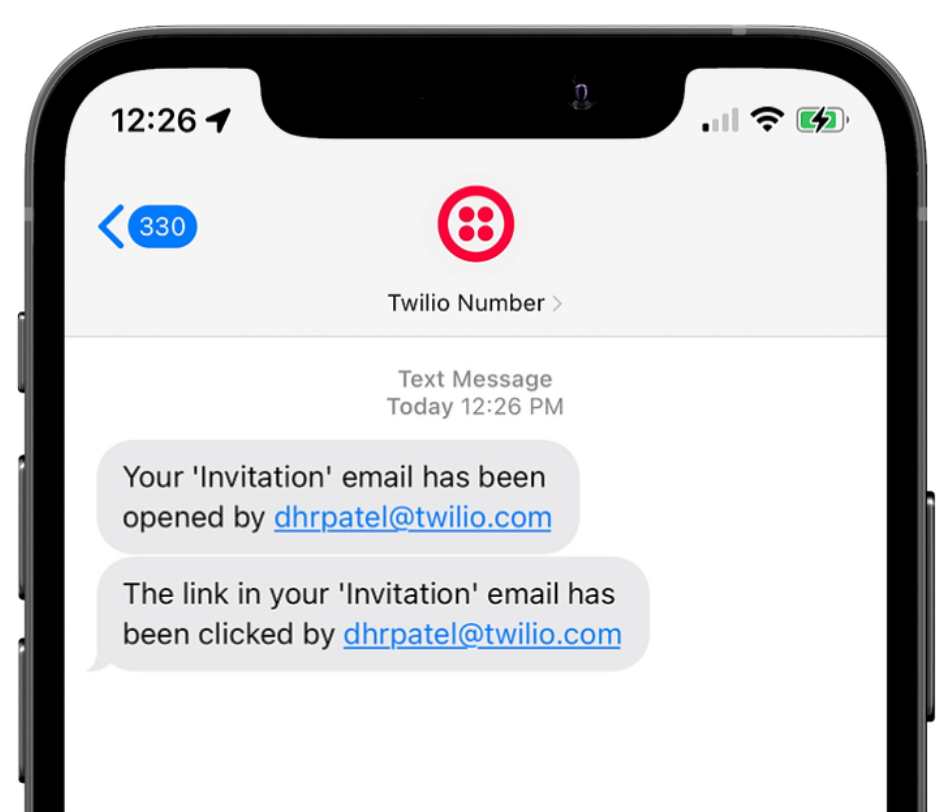
In a few moments, you should receive an SMS alert on your phone that you’ve just opened the invitation email and clicked the RSVP link:
What’s next?
Keeping tabs on important emails adds another item to your already long to-do list. SendGrid’s Event Webhooks combined with Twilio’s Programmable SMS can instantly let you know when your recipient's have interacted with your important emails. With SendGrid and Twilio, you are one step ahead of tracking email engagements.
So, what’s next? You can expand the POST request listener to handle all other SendGrid webhook events such as notifying you if the email has been blocked or sent to spam. If you’re wanting to send an email similar to an invitation email but would like to send it in bulk, utilize Personalizations to add multiple recipients to your emails. For more information on sending bulk emails with SendGrid, check out this Twilio Blog: Sending Bulk Emails 3 Ways With Twilio SendGrid And Node.js.
Happy Building!
Dhruv Patel is a Developer on Twilio’s Developer Voices team. You can find Dhruv working in a coffee shop with a glass of cold brew or he can either be reached at dhrpatel [at] twilio.com or LinkedIn.

Related Resources
Twilio Docs
From APIs to SDKs to sample apps
API reference documentation, SDKs, helper libraries, quickstarts, and tutorials for your language and platform.
Resource Center
The latest ebooks, industry reports, and webinars
Learn from customer engagement experts to improve your own communication.
Ahoy
Twilio's developer community hub
Best practices, code samples, and inspiration to build communications and digital engagement experiences.