How to Set Up Automated Notifications for CI Builds with Slack and Twilio

Time to read:
December 11, 2023
Written by
Reviewed by
Automated notifications are very important in your CI/CD pipelines to ensure that you remain well-informed, react promptly to build statuses, and swiftly address any issues that arise.
In this tutorial, I will show you how to implement a system for delivering updates to a Slack channel and through Twilio Programmable SMS using Slack and Twilio orbs available in the CircleCI orb registry. While implementing this feature from the ground up could be a complex task, the use of orbs establishes this notification system with minimal code, streamlining the process to just a few lines.
Prerequisites
To complete this tutorial, you will need the following:
- A Twilio account - Create a Twilio account for free here
- Node.js installed on your computer
- Nest CLI installed on your computer
- GitHub account - Create a GitHub account for free here
- CircleCI account - Create a CircleCi account for free here
- Slack workspace - Create a Slack workspace for free here
Set Up the Nest.js Application
First, create a Nest.js application that outputs a brief message. After that, you'll write a test to make sure the program sends back the appropriate message. The build on CircleCI will begin when you publish your code to GitHub. As soon as the build is complete, a customized message will be delivered via SMS to both the chosen phone number and the designated Slack workspace.
To begin, run this command:
You will get this output:
Choose the npm option. After that, you will get the following output:
When the installation is successful, you will see the following results:
The application will be created in a new directory named nest-slack-notifications. Change to the directory and start the application to check that everything's working by running the commands below:
The application will be available on http://localhost:3000. If the application is running, you will see a page similar to the screenshot below:
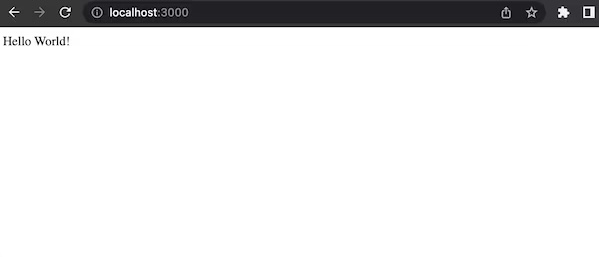
This process outputs a Hello World! message which indicates that your application is running successfully.
To also run the test locally in your terminal, the Nest.js application has an integrated testing framework known as Jest. Jest provides assert functions by default. Additionally, a test script file at src/app.controller.spec.ts has been included to verify that the application responded Hello World!
Now, exit the existing process by entering CTRL + C and use the following command to run the test locally to ensure that the application is running successfully:
If your application is running successfully, you will get a similar result to this:
Add the CircleCI Configuration
To set up CircleCI for continuous integration, you need to add a configuration file. To do this, create a folder called .circleci at the application root and create a new file called config.yml inside the folder. Copy and paste the following code into the newly created file .circleci/config.yml:
In the config file above, you have installed all of the project's dependencies and specified the Node.js orb version to be used from the CircleCI orbs registry which is circleci/node@5.0.3. You have also configured the command to run the application's test with run:npm test.
Setting up the Project on CircleCI
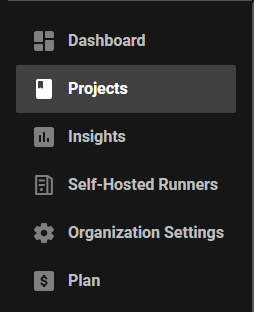
Now that you've completed your CircleCI configuration, you’ll need to connect the Nest.js project to CircleCI. To do this, push your code to GitHub and set up CircleCI to detect and start builds in response to repository changes. Now, login to your CirceCI account, navigate to the left-hand side and click on the Projects tab.
On this page, click on the Create Project button.

Now, connect your GitHub account and the repository that contains the Next.Js application and CircleCI configuration.
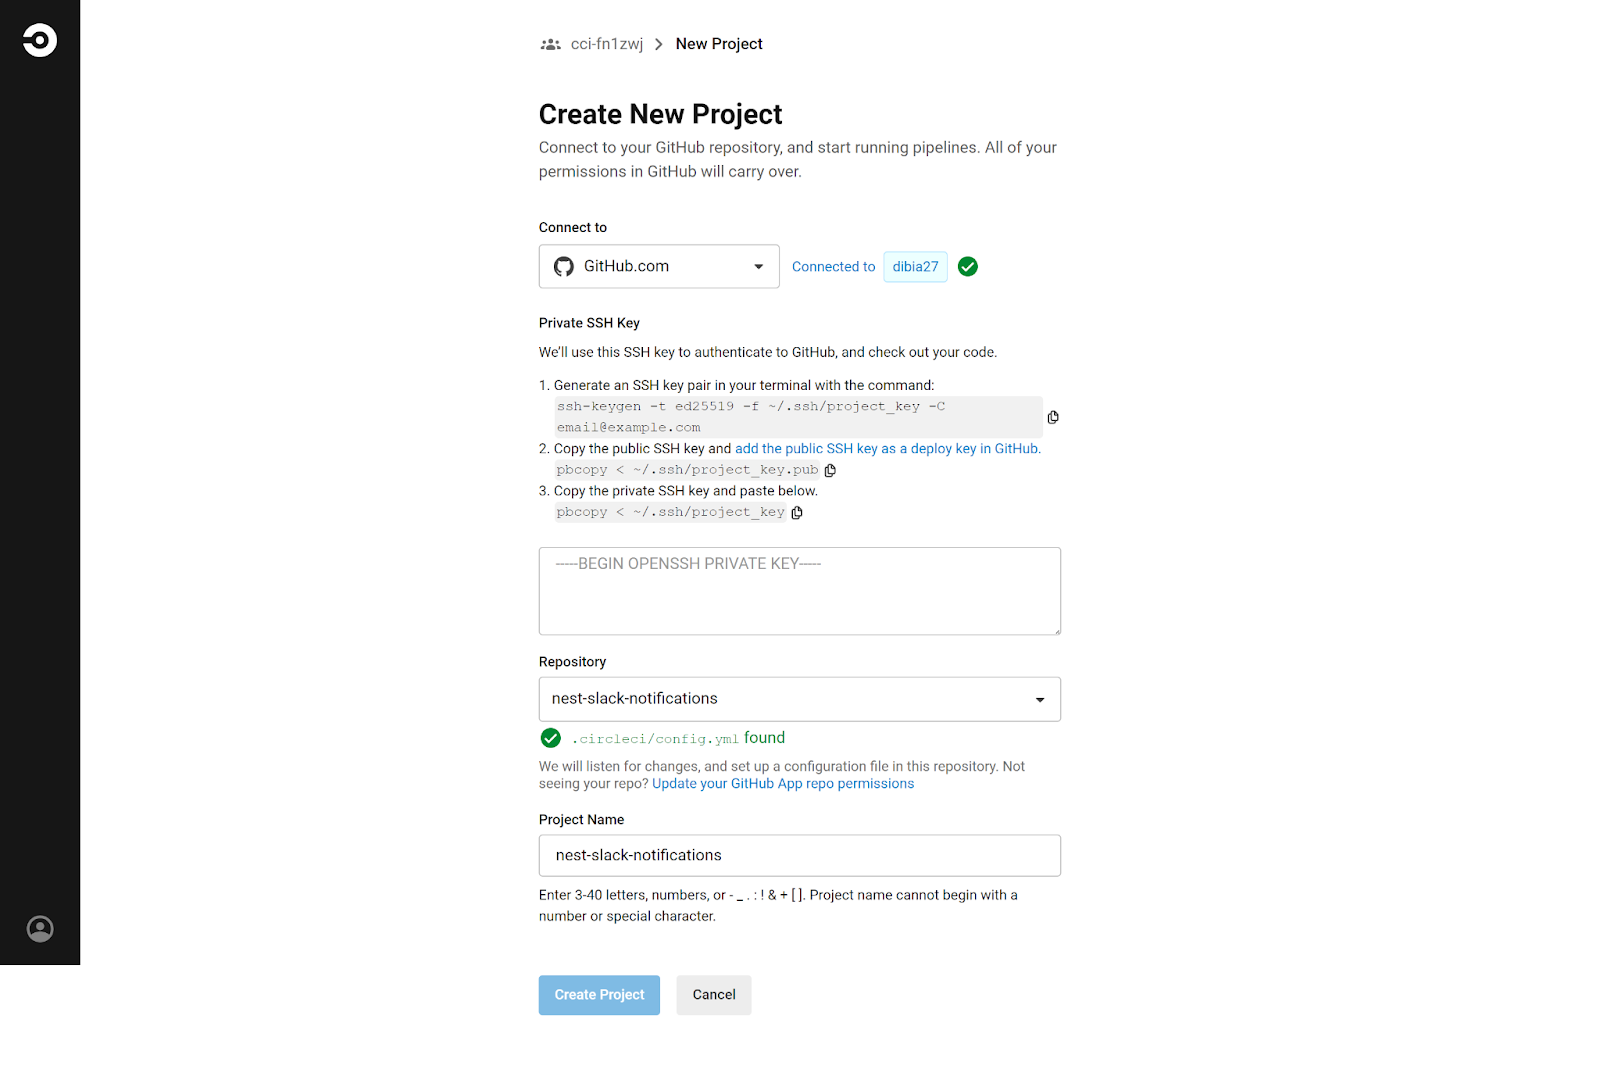
You’ll need to create a private and public SSH key for your repository. To do this use the following command on your terminal:
Ensure you store your public and private SSH keys securely. Copy and paste your private key in the —BEGIN OPENSSH PRIVATE KEY— field. Then, choose your corresponding Repository and input a unique name in the Project Name field. Now click the Create Project button. When your project is created successfully, you’ll see a similar result to the image below.
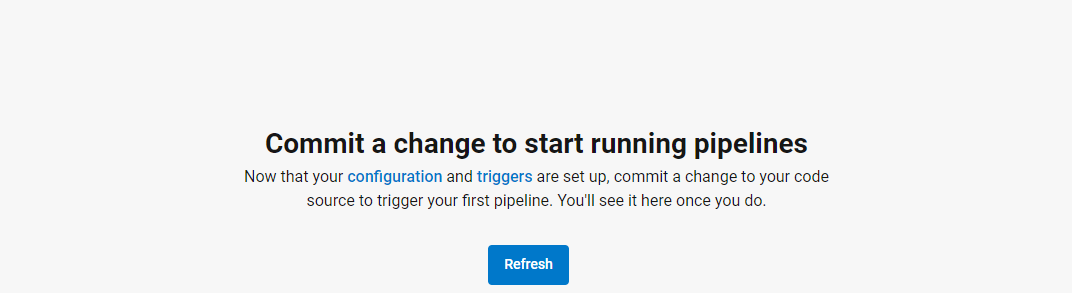
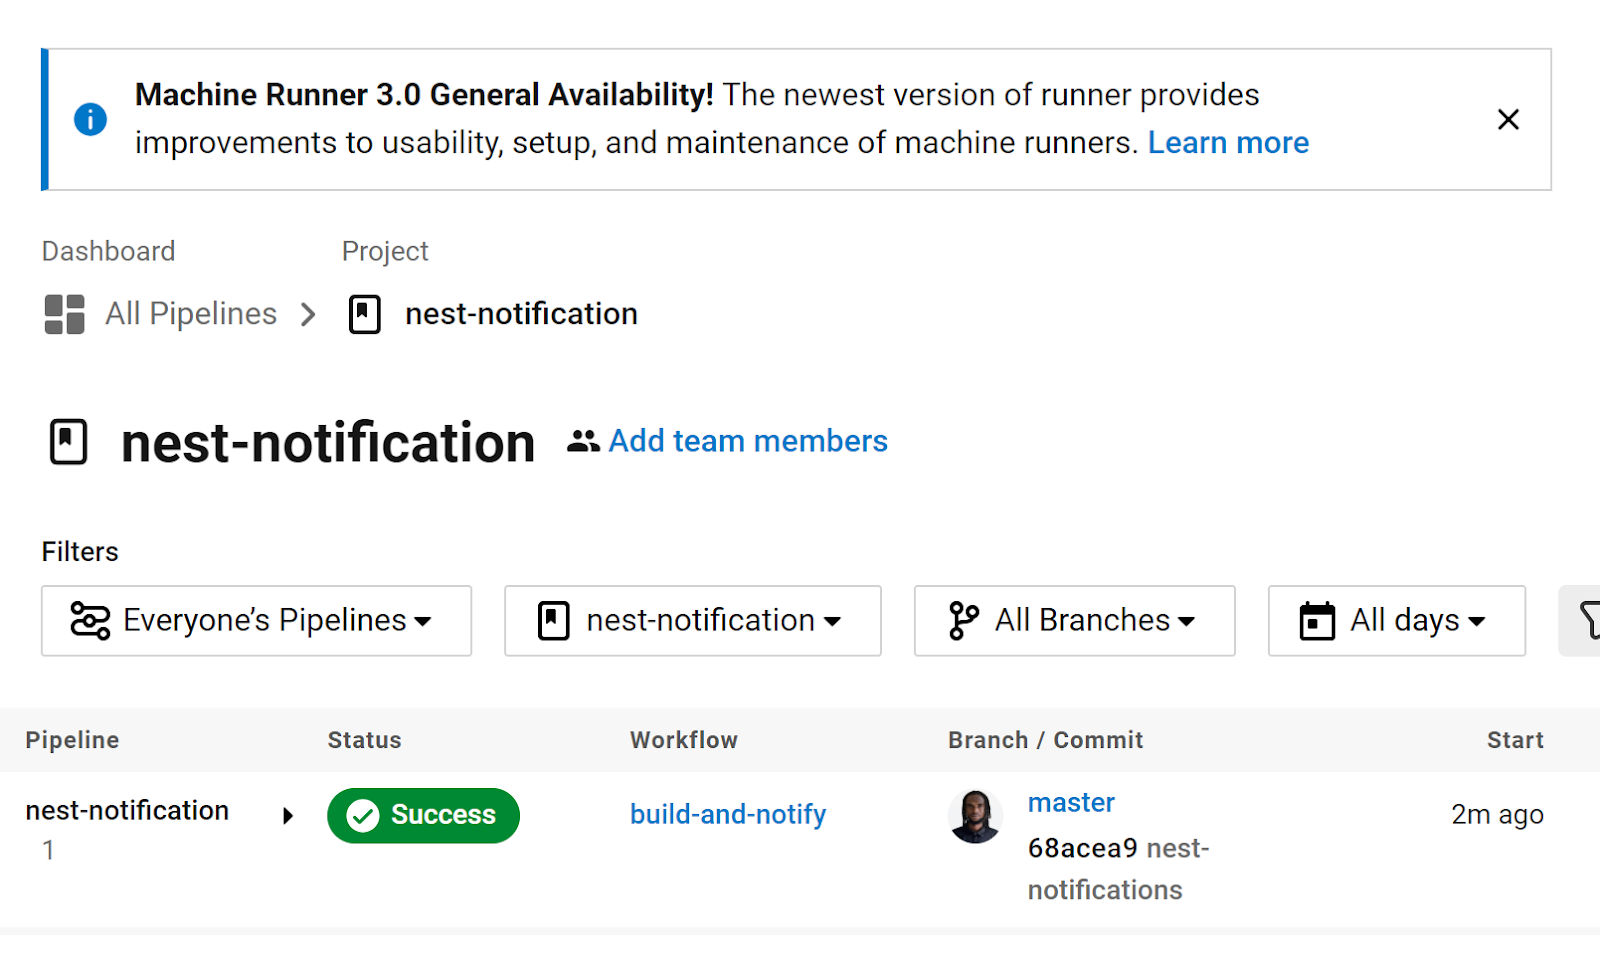
Now, commit a change in your code to trigger your pipeline. After that, go to your project and you’ll see a build-and-notify action with a success status on your project page.
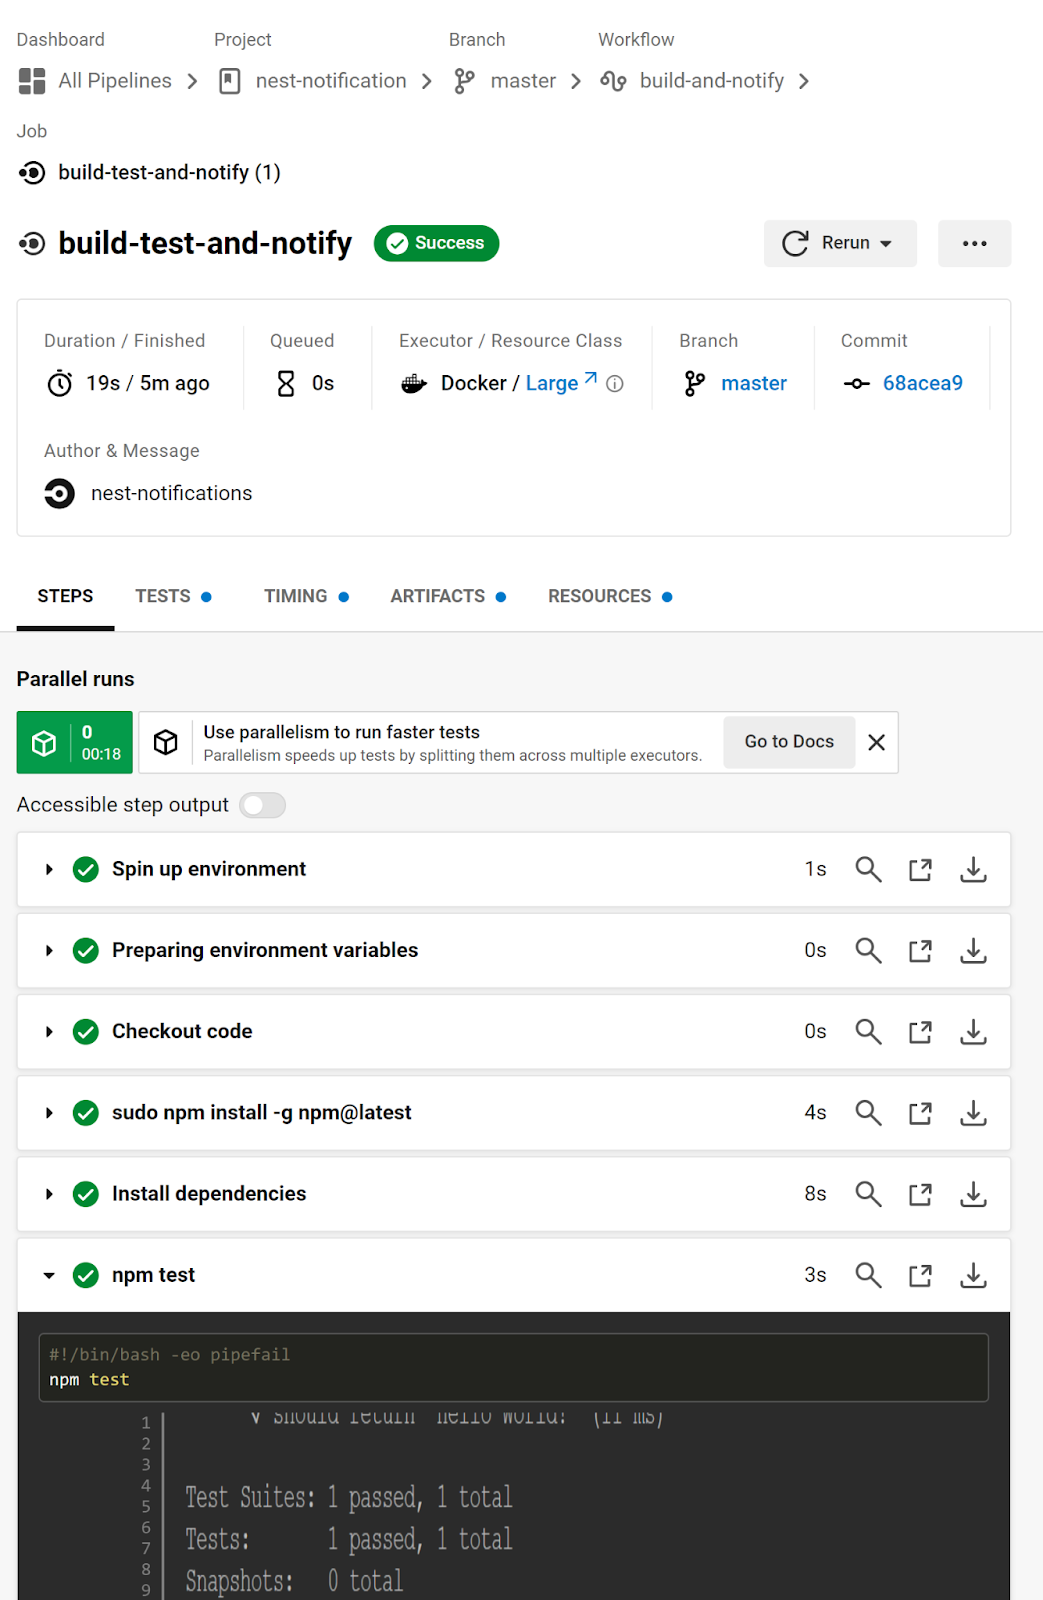
Click on build-and-notify to view more details about your commit.
Adding Slack Integration
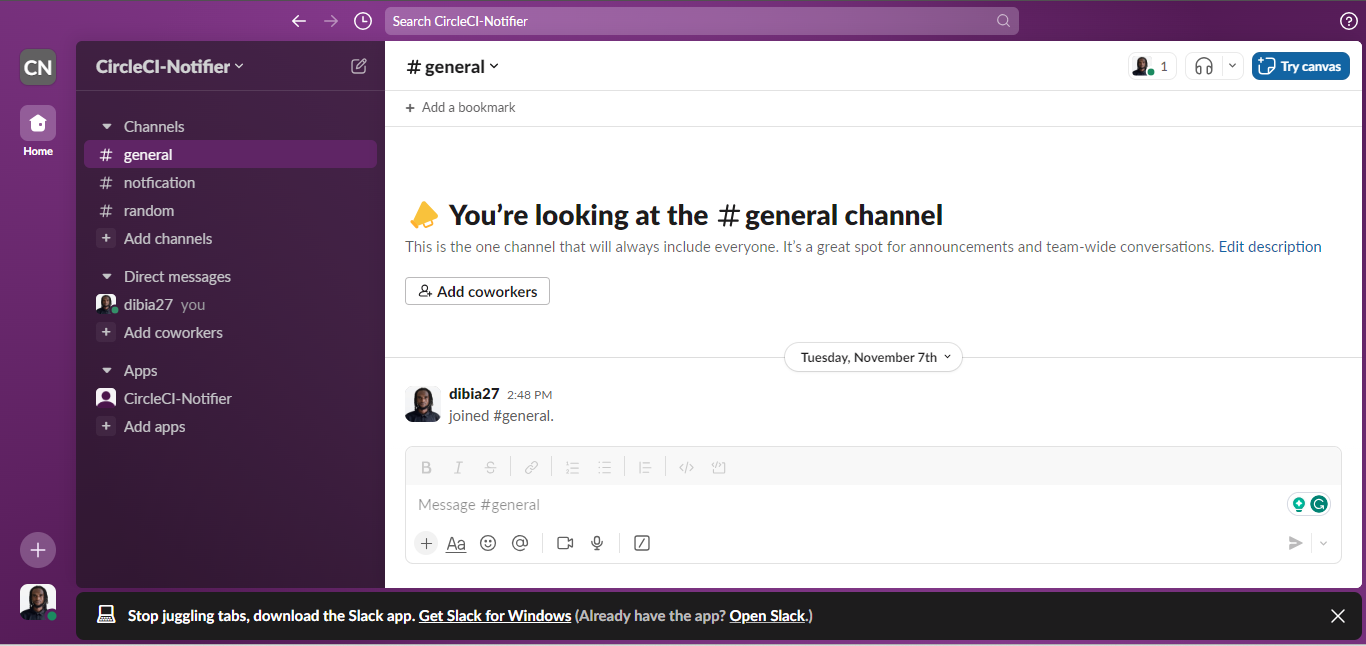
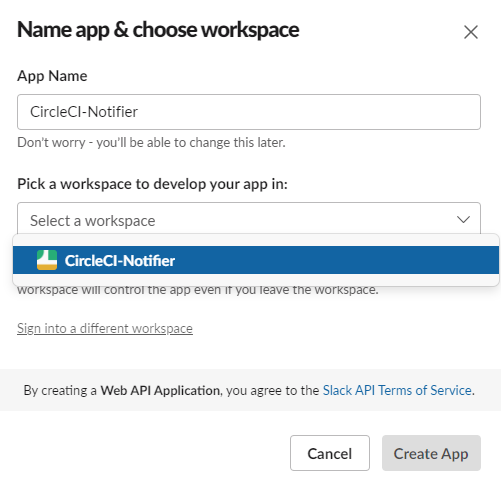
You’ll need to integrate Slack to receive notifications about build statuses. To do this, create a Slack Workspace, and give it a unique name. Ensure to use CircleCI as a prefix for the name of your workspace. I used CircleCI-Notifier as the name of my workspace.
Next, set up your Slack OAuth token for authentication. To do this, go to the Slack API website and click the Create an App button.
On the next prompt, choose the From scratch option. After that, input the name of your app, choose the corresponding workspace you created, and click on the Create App button.
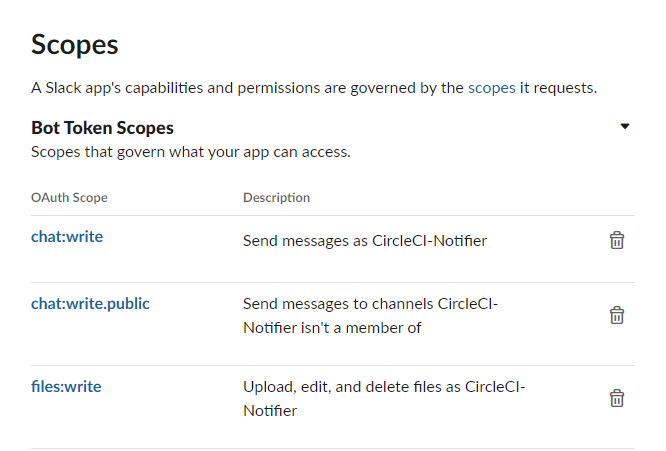
When your app has been created successfully, go to the Permissions section of your app, and scroll to the Scopes section. In the Scope section, add the following permissions:
- chat:write
- chat:write.public
- files:write
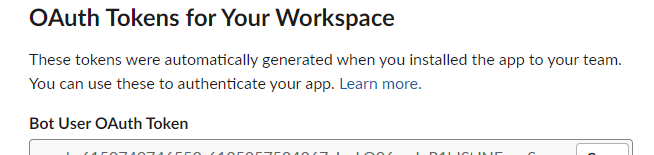
Next, scroll up to OAuth Tokens for Your Workspace, and click Install to Workspace.
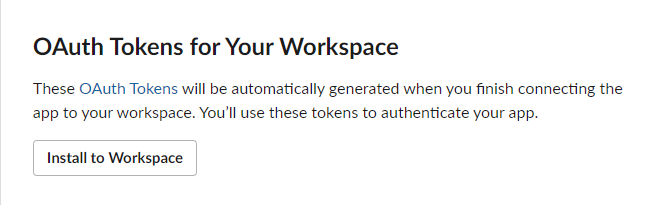
When you install your app successfully to your workspace, a Bot User OAuth Token will be generated. Copy and keep it safe to be used later.
Integrating Twilio for Notifications
To integrate Twilio for notifications, go to your Twilio account dashboard, and create a Twilio number. Then scroll down to your Account Info section. Copy your Account SID and Auth Token, and keep it safe. Also, verify your account with your main number which you’ll use to receive SMS notification from your Twilio number.
Next, go back to your project on CircleCI and navigate to the Project Settings page.

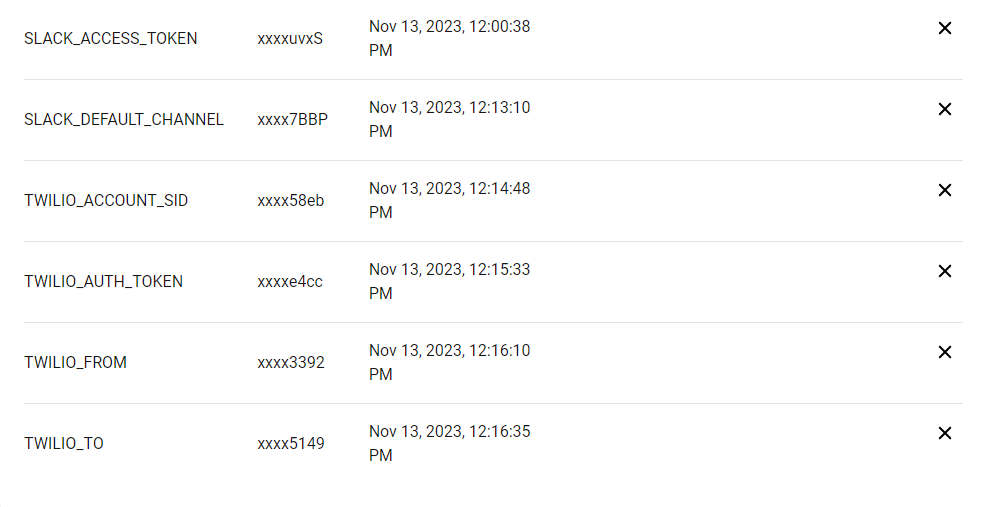
On the Project Settings page, Click the Environment Variables on the side menu. Then click Add Environment Variable, and create the following variables one after the other:
- TWILIO_FROM: This variable holds the value for the Twilio phone number that you created e.g. +12567555381.
- TWILIO_TO: This variable determines the destination phone number for your SMS message. Ensure you input your number beginning with your country code.
- TWILIO_ACCOUNT_SID: This variable holds the value for your Twilio Account SID.
- TWILIO_AUTH_TOKEN: This is your Twilio AUTH TOKEN
- SLACK_ACCESS_TOKEN: Token you got when you installed the app on your workspace.
- SLACK_DEFAULT_CHANNEL: This variable holds your channel ID as a value. To get this, navigate to your Slack workspace, and select your desired channel, e.g. #notification. While you are in this channel, click on the channel name to see the dropdown menu, then scroll down the dropdown menu to see your Channel ID.
Once you are done assigning values to the variables, go back to your project.
Now you need to open the .circleci/config.yml file and update its content with the CircleCI Twilio orb details like this:
In the twilio/sendsms file, there is a command used to send SMS once the build is successful, and in the mentions command, change the value to your Slack username.
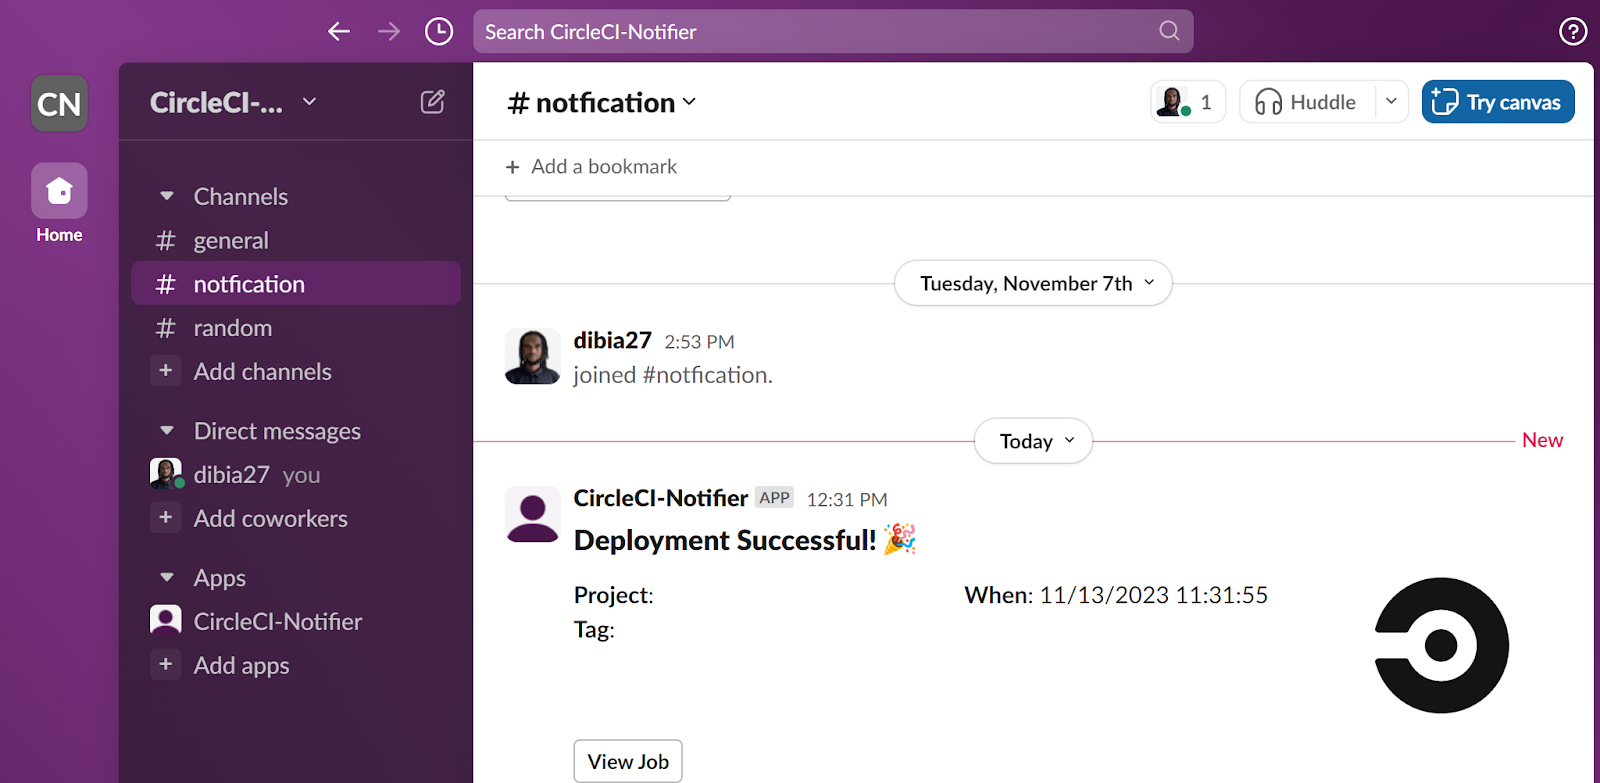
Now, commit all the code changes and push them to GitHub. This will automatically trigger the build on the CircleCI UI. Once the process is completed and built successfully, you will receive the custom messages both in the channel you chose for your Slack workspace and by SMS.

Conclusion
In this tutorial, I've shown you how to integrate Twilio orbs from the CircleCI orb registry into Slack with minimal code. By leveraging these orbs, you can effortlessly set up a comprehensive notification system with just a few lines of configuration. Automated notifications are essential in creating efficient CI/CD pipelines, ensuring that you stay well-informed about the status of builds and you can promptly address any issues that arise.
Udensi Fortune Arua is a DevOps Engineer, and a Technical Writer in Enugu, Nigeria, reach out on LinkedIn and Twitter to connect.


Related Resources
Twilio Docs
From APIs to SDKs to sample apps
API reference documentation, SDKs, helper libraries, quickstarts, and tutorials for your language and platform.
Resource Center
The latest ebooks, industry reports, and webinars
Learn from customer engagement experts to improve your own communication.
Ahoy
Twilio's developer community hub
Best practices, code samples, and inspiration to build communications and digital engagement experiences.