Getting Started with Electron: Building a Desktop Chat App
Time to read:
December 15, 2015
Written by

Many of the communities I’m active in have adopted Slack to communicate. Even though Slack has a really sweet web app, I still prefer to use the desktop client for a few reasons.
- Having a native app means that it’s always on without having to keep a browser tab open.
- You keep the ability to alt-tab to it.
- Native notifications – this includes the unread badge count on OS X.
Building a desktop application can be challenging because of the required platform specific knowledge. If the app you’re building needs to run on different platforms your knowledge requirements increase significantly due to the disparate environments.
This is where Electron teleports in to save the day. From the repo:
> The Electron framework lets you write cross-platform desktop applications using JavaScript, HTML and CSS. It is based on Node.js and Chromium and is used in the Atom editor.
As mentioned above Electron was born and (open) sourced from GitHub’s Atom text editor and has since been used to build Slack, Microsoft’s Visual Studio Code, and much more.
Electron wraps the web technologies we already know and love in a native desktop experience.
In this post we’ll take an existing web-based chat application example that is built using Twilio’s IP Messaging service and modify it to run inside Electron. We’ll also add native OS notifications and drag and drop image uploads.
Setup Our Equipment
Before we dive into the code let’s look at our tools under a microscope.
Electron uses Node.js as a runtime. If you don’t already have Node follow the installation instructions for your platform here.
We’ll also need ngrok installed to make our web server accessible from our local machine. Here is a great resource on setting up and using ngrok if you haven’t yet harnessed it’s magical powers.
Next we’ll need to make sure we have a Twilio account. If you need one you can sign up for a free account here.
Finally, in order to implement drag and drop image uploads we’ll need to use a service that will handle image uploading and hosting. I’ve chosen to use Ospry.io for this because it’s very easy to undertand and use. Sign up for a free account here.
Up and Running with IP Messaging
Before we get started with Electron let’s take a look at the starter app we’ll be using and get it running on its own.
The app has a simple Express server and a single client page. The server is responsible for serving static assets and providing an access token when requested by the client. The client uses the Twilio IP Messaging JavaScript SDK and jQuery to create a very basic chat room.
Create a new directory to work in called electron-fun and cd into it. Clone the repo and follow the instructions in the README to get it running.

Once you get the app up and running, poke around and familiarize yourself with how the application works and have a gander at the code in public/index.js. This file contains all of the logic for the interface and the Twilio IP Messaging JavaScript SDK and it’s where we’ll be implementing our new features.
Getting Subatomic
With the web app set up, it’s now time to introduce Electron. Keep the starter app’s server running and open a new terminal. cd into the electron-fun directory, create a new folder named awesome-chat-app, and cd into it.
Let’s start off by initializing a new Node.js application with npm and installing the electron-prebuilt package with the following.
This code sets up our Electron app and creates a new BrowserWindow which will serve as our view.
Let’s create the HTML file that our BrowserWindow is going to be load. Create a new folder named public and inside it a new file named index.html with the following code.
Now we’re ready to fire up our app by running the following from the same directory as our package.json.
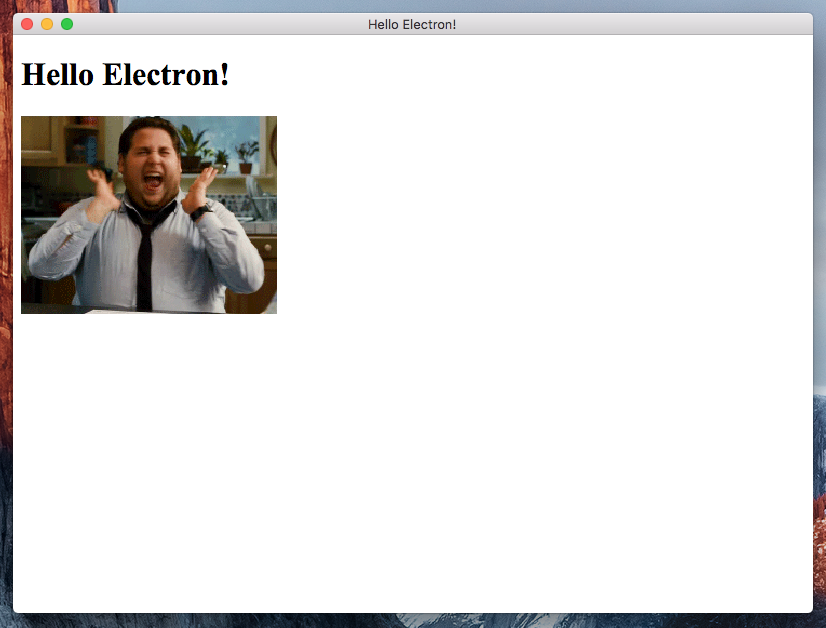
Say hello to your first native app Electron app. To stop it either fully quit the application or control c from the terminal.
Getting Physical
Now that we have a basic app running in Electron, we’re now ready to pull up the sleeves of our lab coats and make our chat app run inside of Electron. Copy the public folder of the ipm-quickstart-node repo over our Electron app’s public folder. Say yes to replacing index.html if asked.
Since we’re no longer using a web server to serve the static assets of our web app we’ll need to make a few modifications to our HTML file to make things play nicely. index.html is being loaded off the file system and the script and link tags are currently using protocol-relative URLs which won’t work when expanded to file://.
Open public/index.html up and replace all the script and link tags that start with // to http://. We might as well change the title while we’re in here. The file should now contain the following.
Next, the JavaScript run by our HTML page requests an access token from the ipm-quickstart-node server we still have running but unfortunately can’t reach it with the current URL.
Let’s fire up ngrok and use the URL it gives us. In production you’d use a dedicated location that all the clients can connect to.
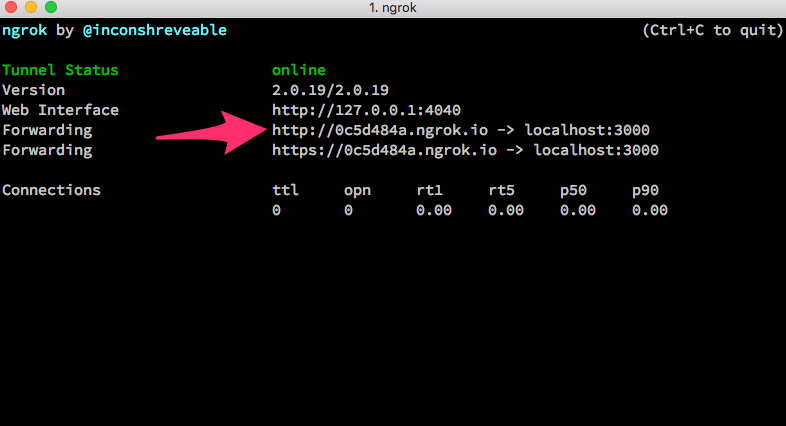
Open public/index.js and find the call to $.getJSON. Add your Ngrok URL to the beginning of the string.
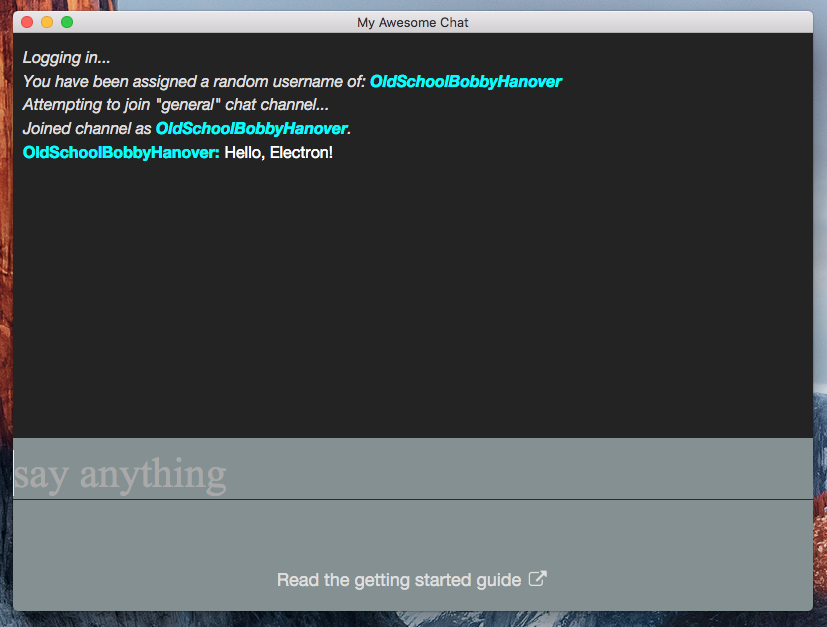
We can start our now native chat app up by running the same as above.
Get Notified
Now that we have our app running as a desktop app we can start to implement some magnificent native features.
Notifications are a core part of any chat application so let’s add them to ours.
Browsers have a Notifications API but support for it still isn’t universal and it doesn’t carry the same experience of the OS. Electron implements an awesome Notifications API that integrates with the desktop environment and for the most part just work on every major modern OS. It’s actually super easy to implement in our app.
Open public/index.js and find the function named printMessage. Modify the if statement to the following which checks if we’re the author of a new message and if not it creates a new notification.
Wow that’s really simple. It looks like the actual browser API for Notifications but Electron has instead made it work with the native OS.
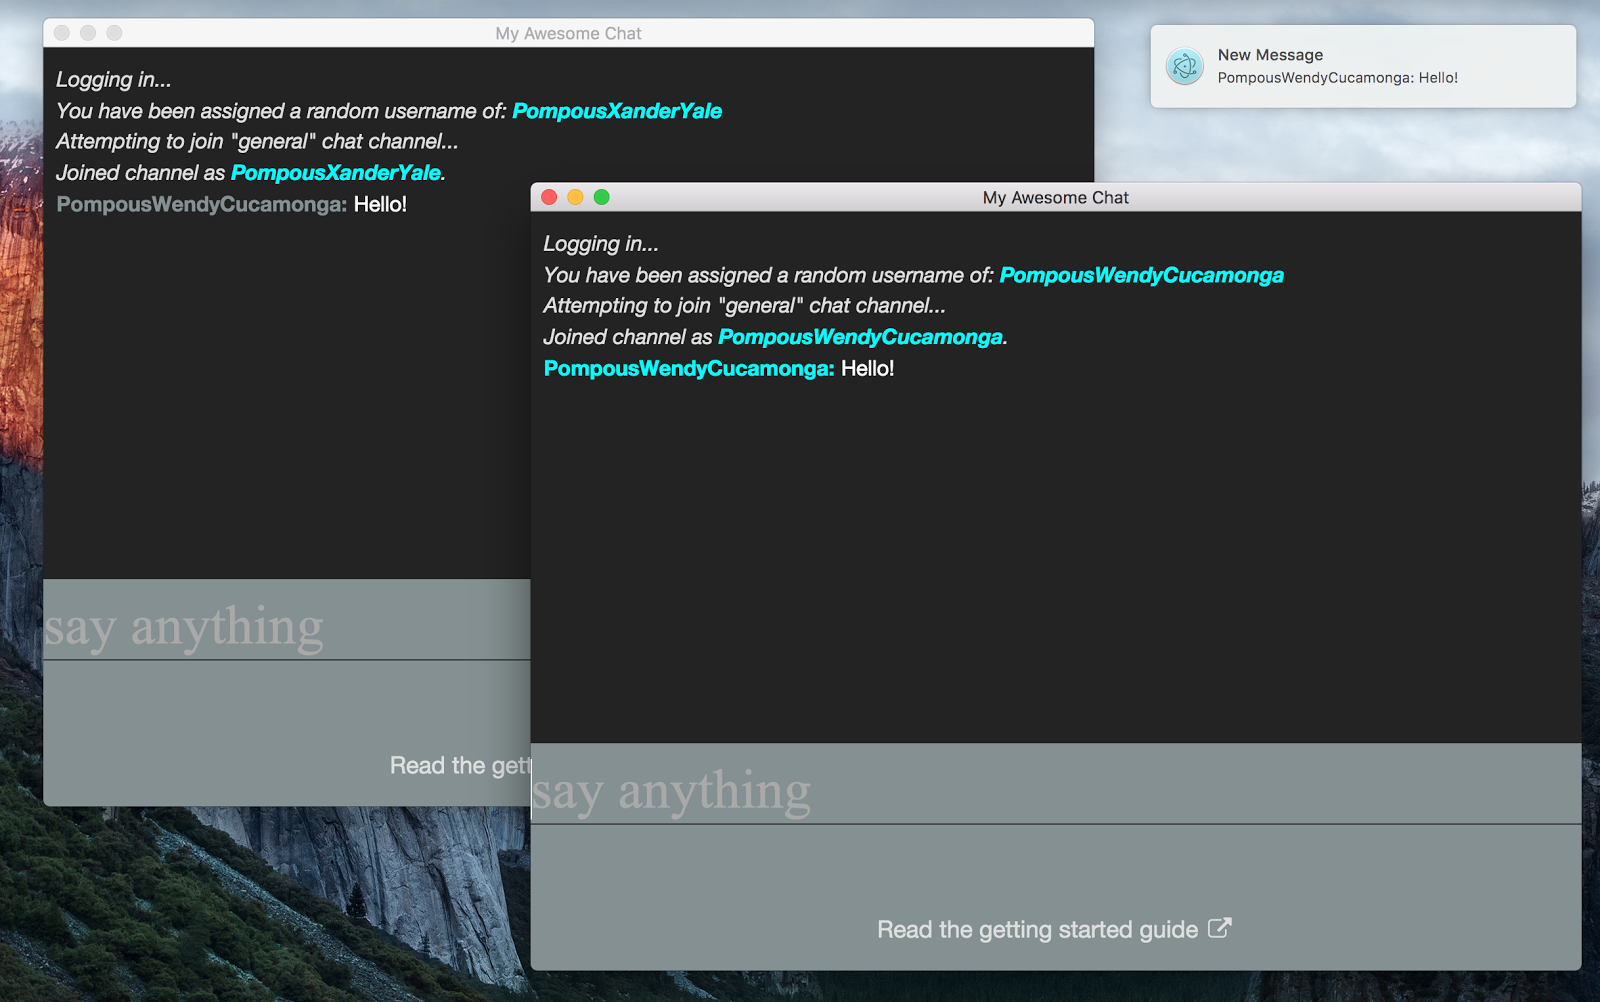
Start up two instances of our Electron app and send a message from one. You should see the native notification created by the second client.
Draggity Drop
The last feature we’ll implement is drag and drop image sending because who could imagine going back to communicating without GIFs? While this isn’t specific to Electron it’s something I expect out of a native experience. I’m not a native app developer and looking at the OS X docs for dragging files has me twitching. Thankfully, because we’re using web technologies we can easily use the HTML5 Drag and Drop API. This is where Electron really shines because we are able to get the best of both platforms.
The Drag and Drop API is actually very verbose and gives you control over a ton of events but we’ll only use the 3 that are required. Here are their descriptions from MDN.
- dragenter – Fired when a dragged element or text selection enters a valid drop target.
- dragover – Fired when an element or text selection is being dragged over a valid drop target (every few hundred milliseconds).
- drop – Fired when an element or text selection is dropped on a valid drop target.
Let’s add the following to public/index.js inside the jQuery ready handler at the bottom. This will catch the three events and prevent their default action and further propagation.
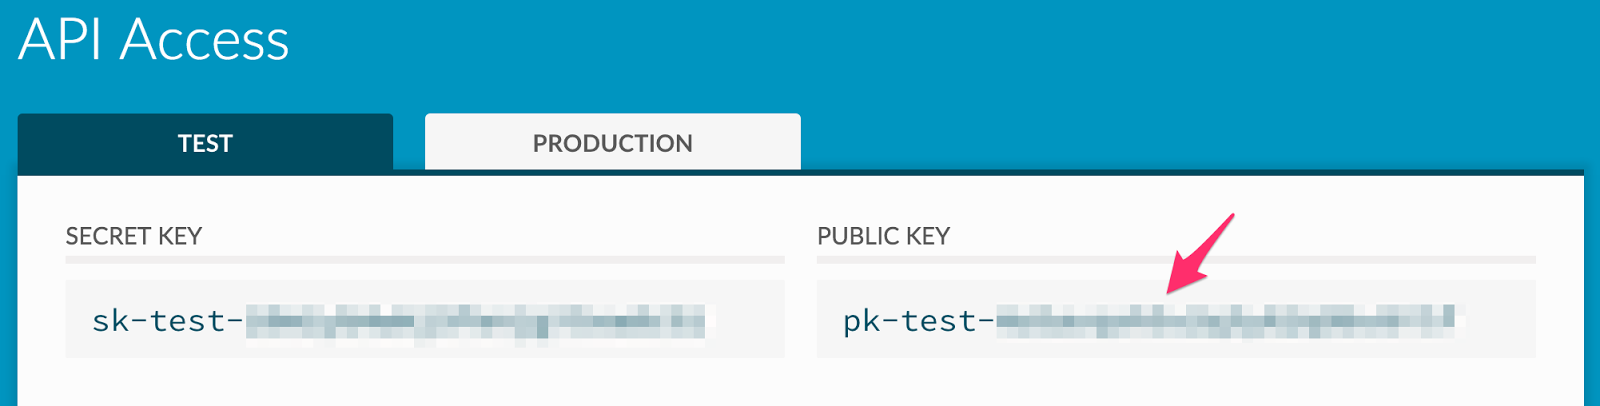
We’re now ready to catch any dropped images and upload them to Ospry. Once they’re uploaded we will get back a unique URL that we can send to the channel as a new message. Get started by grabbing your Ospry Test API Public Key from the Ospry account portal.
Next we need to include the Ospry client side JavaScript library. Open up public/index.html and add the following underneath the existing jQuery script tag.
Now initialize the Ospry client with your API Key at the top of public/index.js.
Back inside of our drop handle we need to grab the file out of the event, upload it to Ospry, and then send a message to the channel with the image URL returned from Ospry.
We now have drag and drop image uploads into Ospry and are sending the URL of the file into the channel.
The last thing we need to do is implement the code that will render the image in our chat window. There are many ways to do this but to keep things simple in our app we will use a regular expression to match the beginning of our Ospry subdomain, which you can find in your account portal. We’ll use the subdomain generated for me, “http://artful-panda.ospry.io”, as an example.

Let’s modify our good friend the printMessage function to test for an image URL and append a new img element to the chat if the message matches. If we find an image URL in the message we’ll leverage some additional features in the Ospry API to request the image at a custom dimension.
Start your two instances back up and drag an image into one of the clients. Laugh like a mad scientist as it appears magically in all of the clients!

Fallout
We’ve seen how we can use Electron with the web technologies that we know and love to build native experiences. Electron integrates very well with most modern operating systems through things like notifications but is still able to use native Browser API’s like drag and drop. We have a browser free experience that we can alt-tab to and keep running outside of our browser.
The next thing you could do is package and distribute your app by following these very simple instructions dependent on your OS. You could also have a go at adding some of the other desktop integrations like a custom dock menu on OS X or user tasks on Windows.
Once you’re app is packaged up and ready to go you should let me know and maybe we can chat!
Now try building some Node.js applications with Twilio by going through our Node.js Quickstarts.

Related Resources
Twilio Docs
From APIs to SDKs to sample apps
API reference documentation, SDKs, helper libraries, quickstarts, and tutorials for your language and platform.
Resource Center
The latest ebooks, industry reports, and webinars
Learn from customer engagement experts to improve your own communication.
Ahoy
Twilio's developer community hub
Best practices, code samples, and inspiration to build communications and digital engagement experiences.