Send and Receive SMS messages with Kotlin
Time to read:
May 11, 2017
Written by
This post is part of Twilio’s archive and may contain outdated information. We’re always building something new, so be sure to check out our latest posts for the most up-to-date insights.

Kotlin is the new type-inferred hotness in the world of JVM languages giving you a single unified language for building Android, server-side and even JavaScript apps. If you’re a Java developer then giving Kotlin a spin is simple.
Video: How to Send and Receive SMS messages with Kotlin
But you can’t copy the code from the video, so you can download it from here or just follow along below:
Getting started with Kotlin on the Server
We’ll be using IntelliJ and Gradle for dependency management throughout this article. With a few extra steps you should also be able to use a different IDE and dependency manager.
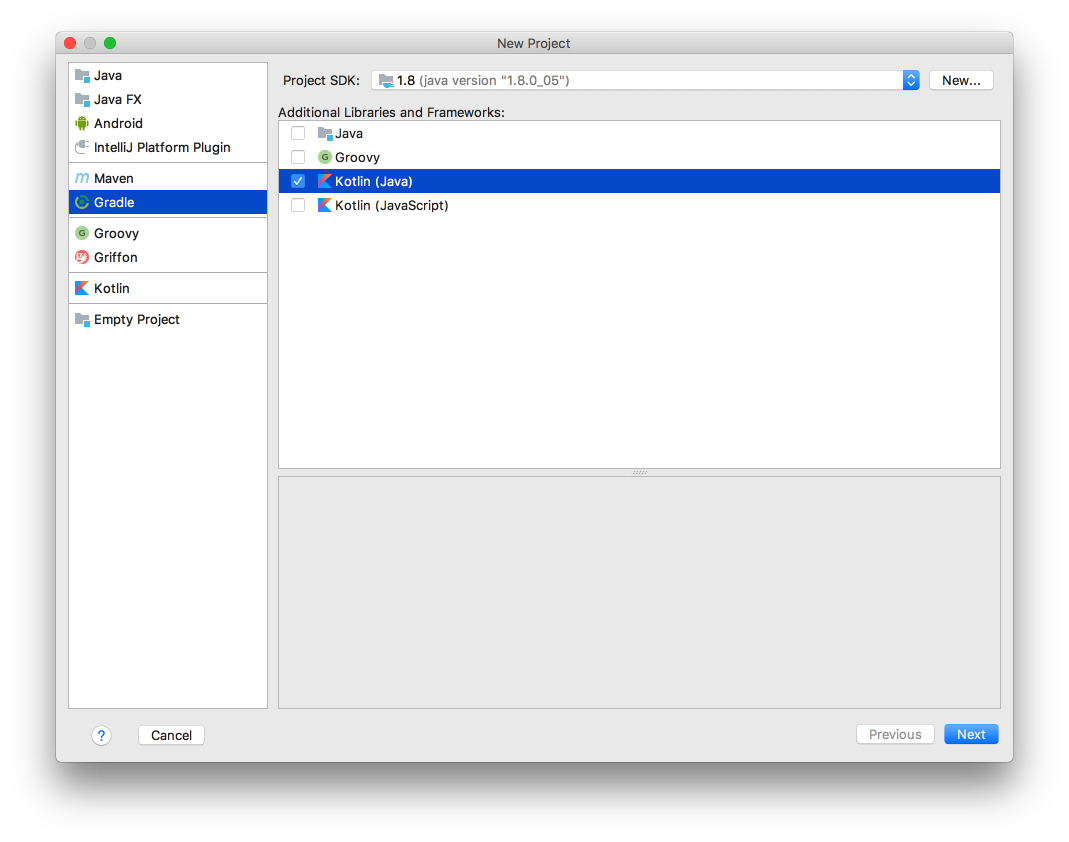
In IntelliJ create a new Gradle project and add Kotlin (Java) as the library.
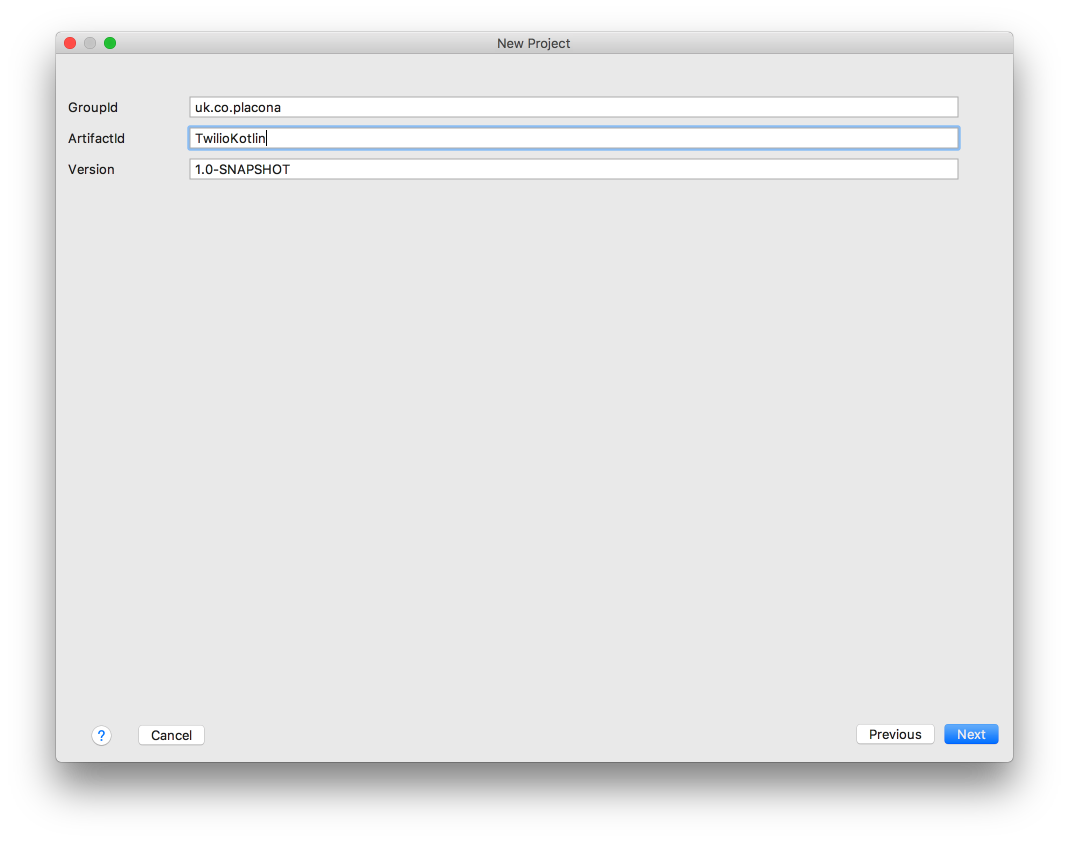
We will call this project
TwilioKotlin and choose a package structure for our project. I usually use my own reversed domain as follows:
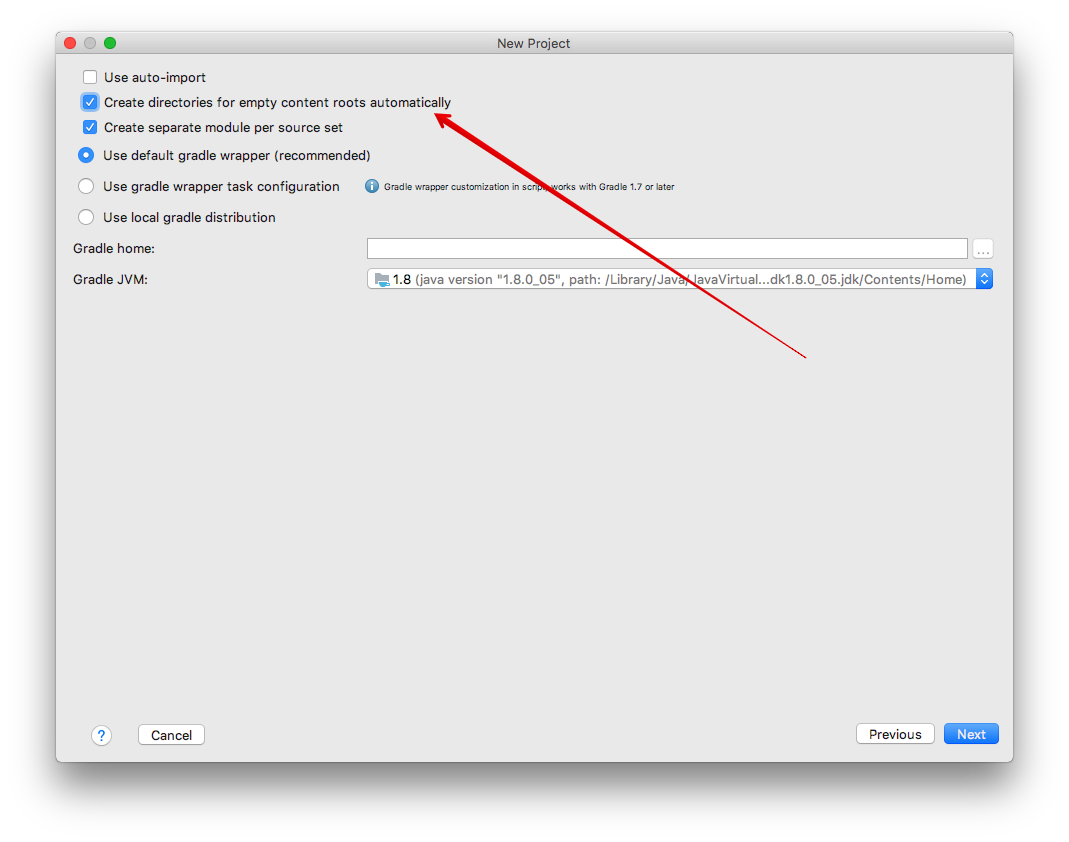
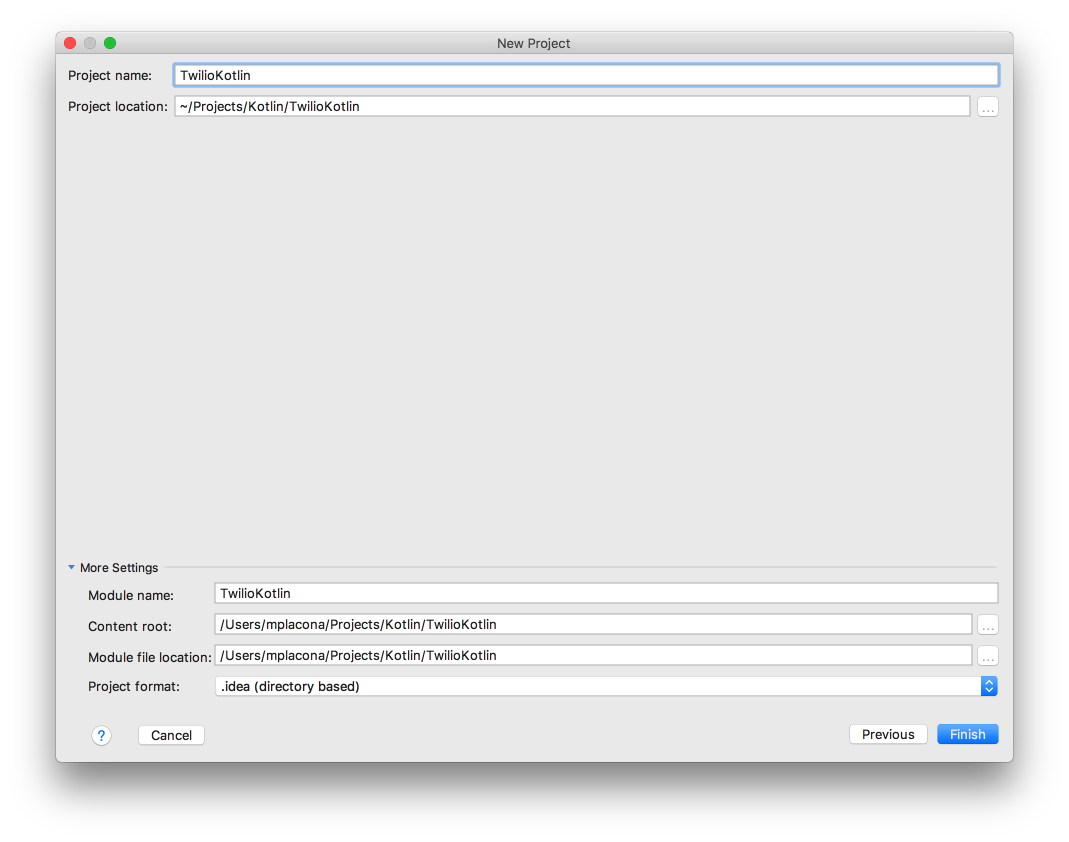
In “Project Name” leave it as
TwilioKotlin and on the next screen make sure you check the “create directories for empty content roots automatically”
Click “next” again and choose a suitable location to store the project. I usually store my Kotlin projects under ~/Projects/Kotlin/.
Click “Finish” and your project will be generated.
Once that’s completed we will add Spring Boot and the Twilio Java library as dependencies by opening build.gradle.
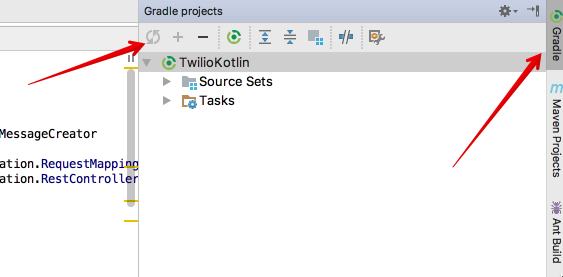
IntelliJ will ask you to import changes which will download Spring Boot and the Twilio library. If you’re on Windows you may need to force an update in case that doesn’t happen.
Inside /src/main/kotlin create a new Kotlin class called App.kt. This is our application class and tells Kotlin we’ll be using Spring Boot as a framework.
Make sure you change the value of package to match the one that corresponds to your project when you created it.
With the basic Spring Boot application defined, we’re ready to create our first route. Let’s start with a route that simply returns the string “Hello Spring Boot” when requested. Create a new Kotlin class on the same location as App.kt called SMSController.kt and add the following code:
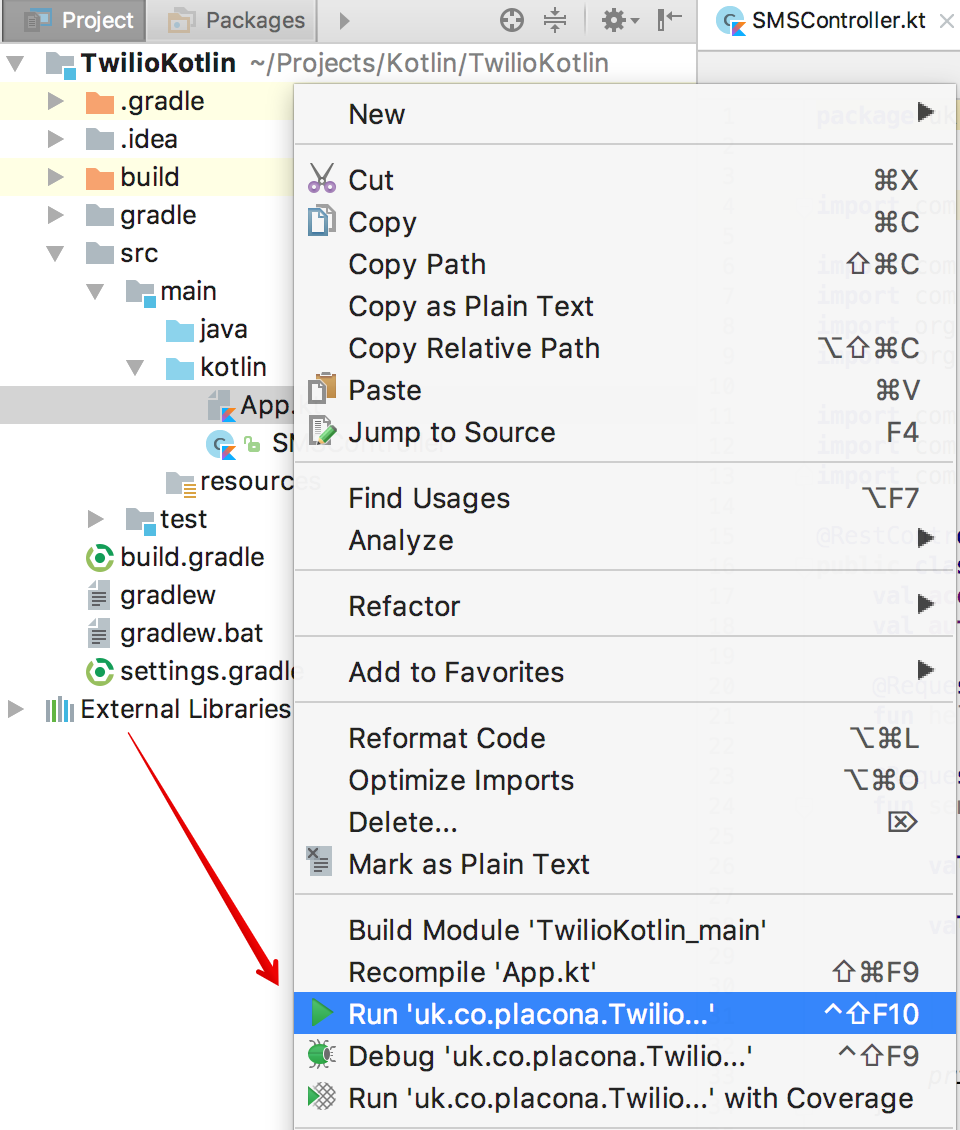
As before make sure you change the value of package to match your project. Start the project by right clicking on App.kt and choosing “Run”.
IntelliJ will start your project and you should see a message at the bottom of the “Run” window telling you which port your application is running. The default is 8080.

Open a new browser window and browse to http://localhost:8080 and you should see a page that says “Hello Spring Boot”!

Sending an SMS message with Kotlin
Awesome! We have a basic web application created using Kotlin running. Let’s take it to the next level with something more complex like sending a text message. Doing this with Kotlin is simple because it’s interoperable with Java, meaning you can share libraries between the two languages.
We have already installed the Twilio Java library in our project and we can use it as we would a Java class.
Stop the project by clicking on the red button in IntelliJ and add a new RequestMapping to the SMSController class called sendMessage.
In this route we create a new TwilioRestClient instance passing an Account Sid and an Authentication Token which you can get from the Twilio console.
Next, we create a new message, passing in a “To” and “From” telephone number along with the message body we want.
That’s it! Run the application again, and you will see that when you go to http://localhost:8000/sendMessage your phone receives a new message from your Twilio phone number. But what happens if someone texts our Twilio number? How would reply?
Receiving SMS messages with Kotlin
To reply to text messages sent to our Twilio phone number we’ll create a new route in our application just like we did earlier. This time instead of using the REST API to get Twilio to send a message for us, we need to build a route in SMSController that Twilio can make an HTTP request to when someone sends a text message to our Twilio number. This route will return TwiML to tell Twilio to reply to that incoming message.
We’ve added the produces parameter to our RequestMapping to indicate that we want our content type to be text/xml. That way, when we configure our number to hit this route, Twilio will get the XML in the format it expects. Start the application again.
I’ll be using ngrok to expose my local web application running on port 8080 to the public internet so Twilio can make HTTP requests to it. We have some content about using ngrok here but if you already have it installed just run the following code in a new console window and copy the forwarding URL:
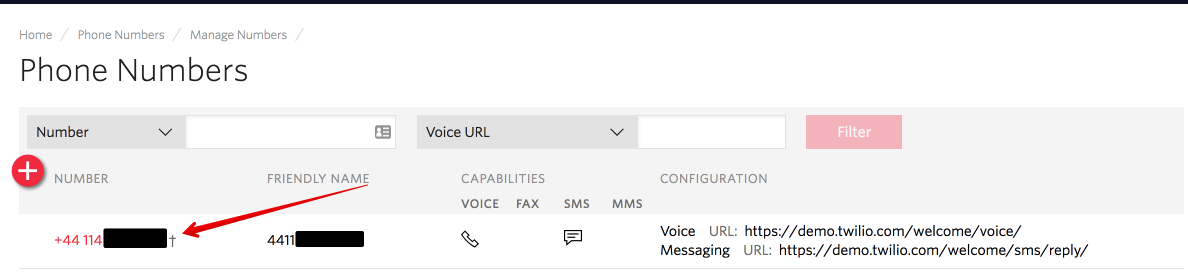
Go to the Twilio Console and click on your telephone number or get a new one for this.
Next, change the webhook under “Messaging” to your ngrok URL making sure to add the route we just created.
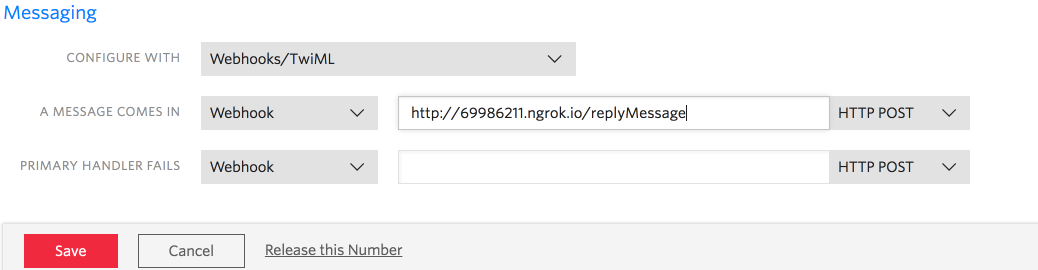
Save that and send your Twilio number a text message. You should get an automatic reply from your Kotlin application!
Kotlin on the server is awesome!
One of the biggest challenges when writing backend applications in Java is the steep learning curve and you never really know what version of the SDK or framework to use.
There are a bunch of good examples you can run live on http://try.kotlinlang.org/ that will help you our grokking the language niceties. My favourite one is 99 bottles of beer 🍻.
Hit me up on twitter @marcos_placona or send me an email on marcos@twilio.com to tell me what is your favourite thing about Kotlin.

Related Resources
Twilio Docs
From APIs to SDKs to sample apps
API reference documentation, SDKs, helper libraries, quickstarts, and tutorials for your language and platform.
Resource Center
The latest ebooks, industry reports, and webinars
Learn from customer engagement experts to improve your own communication.
Ahoy
Twilio's developer community hub
Best practices, code samples, and inspiration to build communications and digital engagement experiences.