How to Store Files on Google Cloud Storage Using PHP
Time to read:
July 25, 2023
Written by
Reviewed by
There are numerous ways that you can store files using PHP. For example, you can store them on the local filesystem, regardless of the underlying filesystem technology, such as EXT4 and ZFS. You can store them on a NAS on your organisation's network. You can also use one of the many cloud-based file storage solutions.
To simplify the process, the tutorial will use Flysystem with the Google Cloud Storage adapter. I love recommending Flysystem because it provides a unified interface for interacting with many types of filesystems.
In this, the first of a series of articles, you're going to learn how to store files using Google Cloud Storage and Flysystem. You'll learn how to retrieve and view a list of files, as well as how to upload, rename, and delete files.
Prerequisites
To follow along with this tutorial, you will need the following:
- PHP 8.2 (or later) with the FileInfo, JSON, PCRE, and XML extensions
- Composer installed globally
- A Google Cloud account with:
- An existing project linked to a billing account
- A Service account
- Your preferred text editor or IDE; I recommend PhpStorm
- Some prior experience using the Google Cloud Console would be beneficial, but isn't necessary
Create the project directory structure
First up, create the project's directory structure and change into it, by running the following commands.
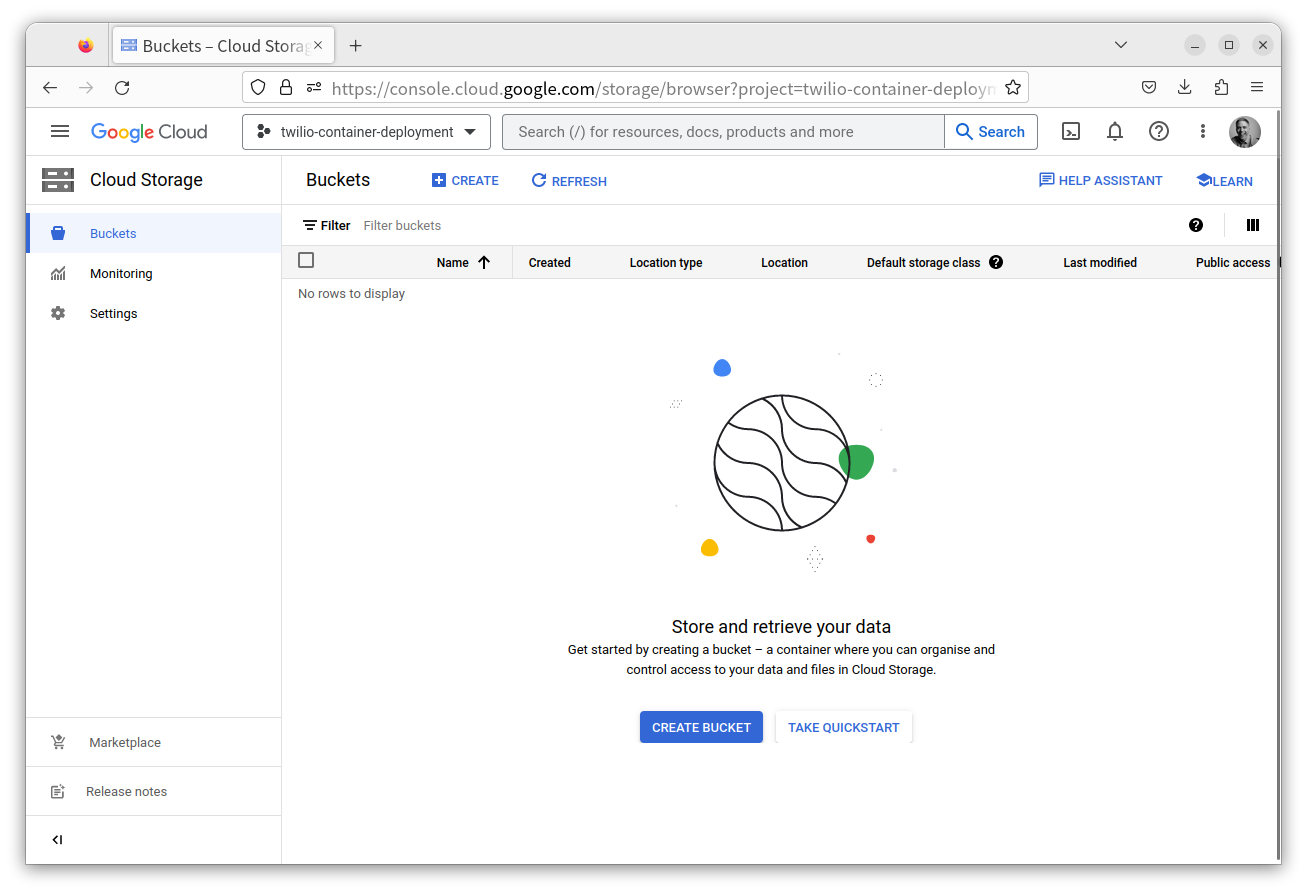
Create a Google Cloud Storage Bucket
Before you can write any code, you have to create a bucket to store the files. To do that:
- Log in to the Google Cloud Console
- Expand the navigation menu (the three horizontal lines in the top left-hand corner of the Console)
- Navigate to Product and Solutions > All Products > Storage > Cloud Storage > Buckets
When there, either click CREATE at the top of the page or CREATE BUCKET in the centre of the page, near the bottom.
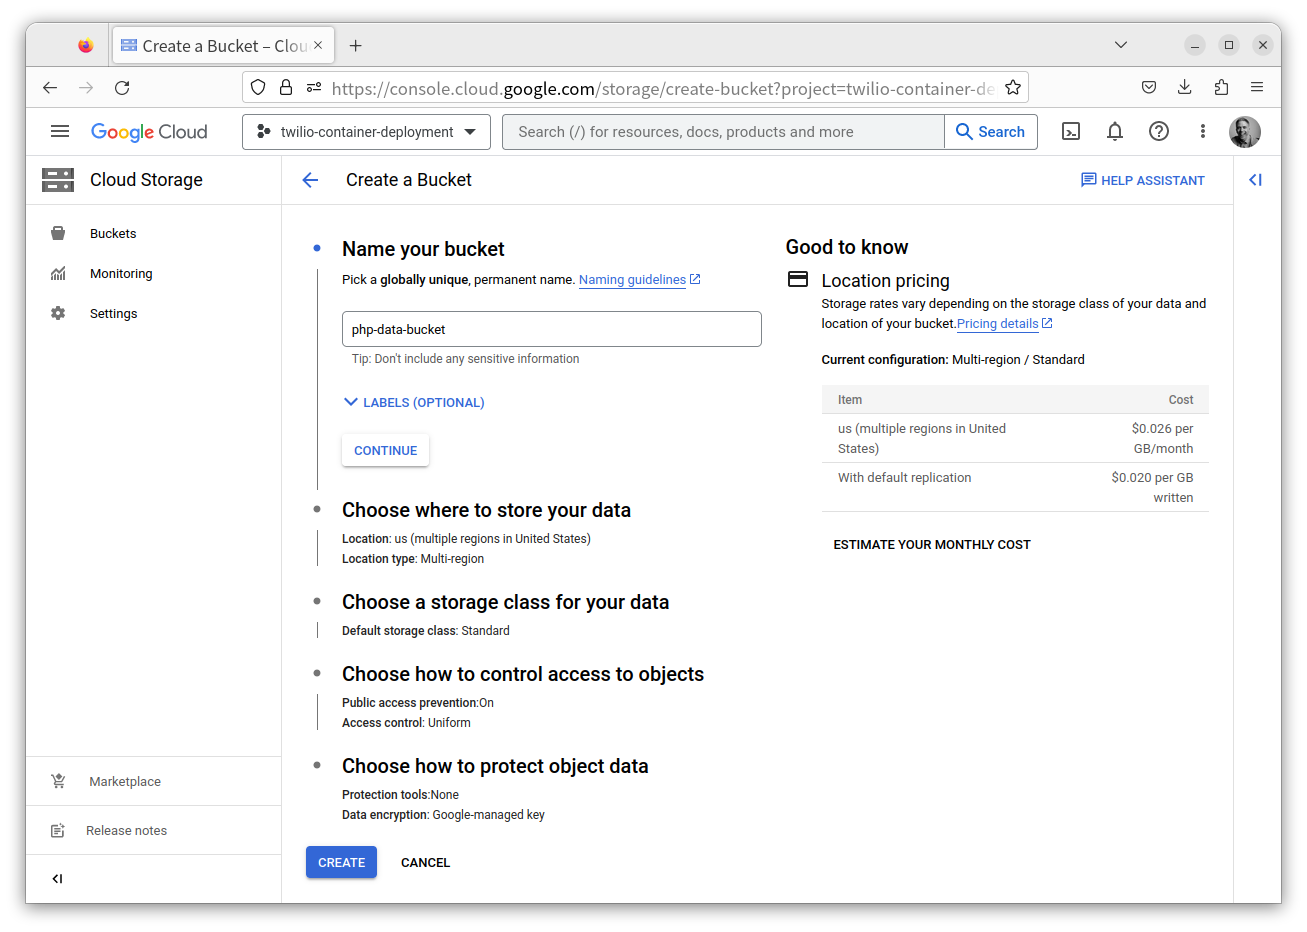
Then, add a friendly name for the bucket, such as php-data-bucket. After that, click Choose how to control access to objects, and under Access control choose Fine-grained. This is required as Flysystem sets filesystem ACLs on all uploaded files. Finally, click CREATE.
Feel free to explore the other options in the Buckets documentation if you like. But the ones you've just set are all that you'll need for this tutorial.
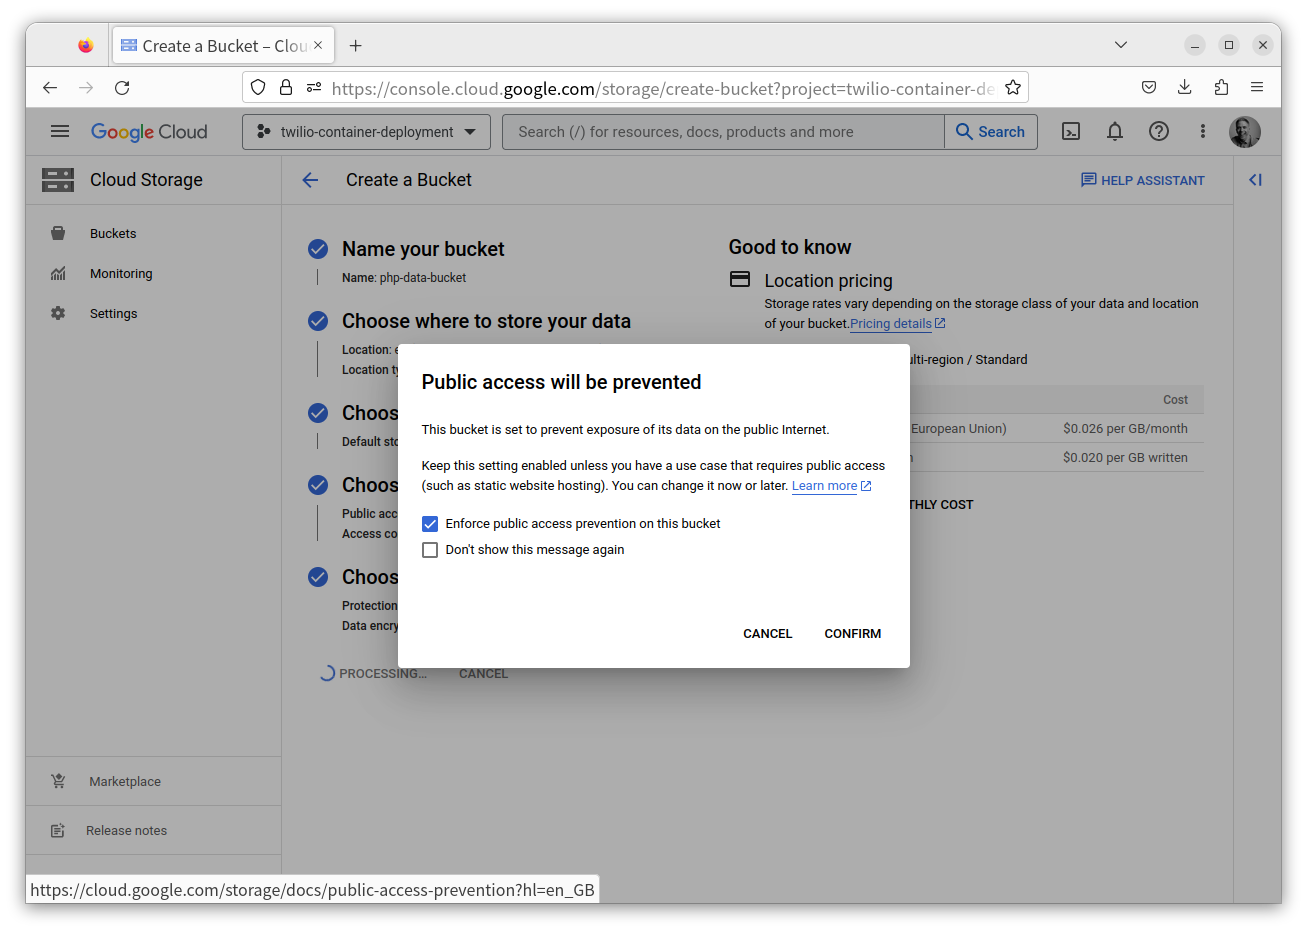
Next, in the prompt that appears, leave Enforce public access prevention on this bucket enabled, and click CONFIRM. Without this, the objects in the bucket would be publicly accessible, which isn't what we want in this tutorial.
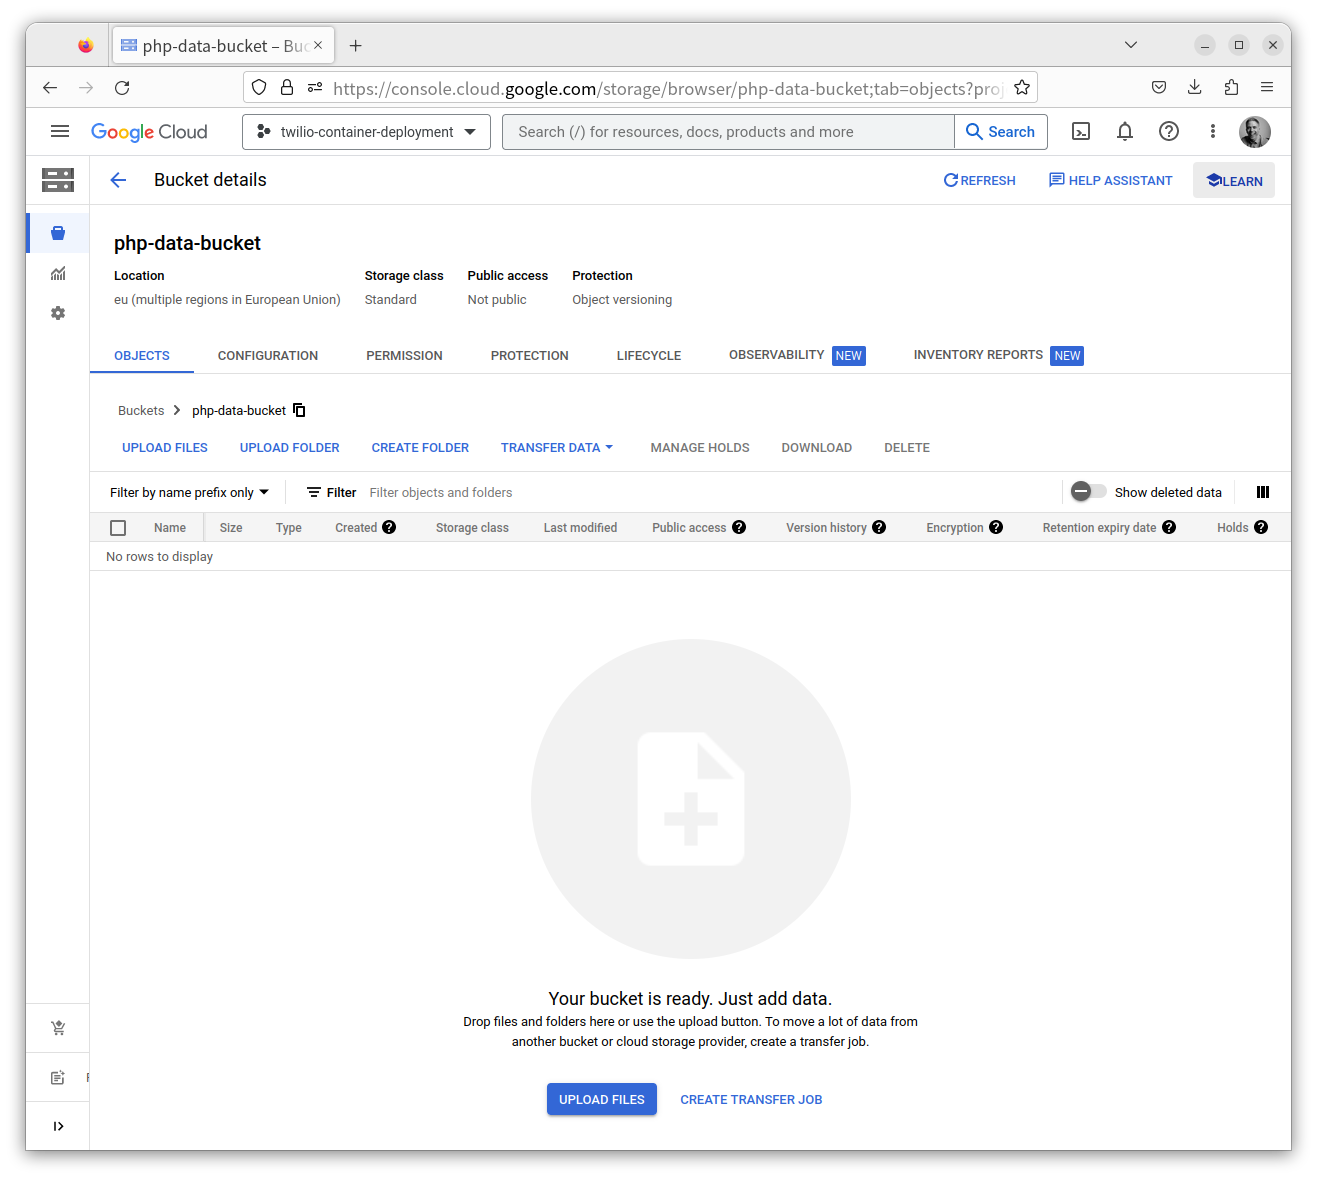
You'll now be on the new bucket's page. From here, you can create new folders, upload files via drag and drop, and update the bucket's settings. Before moving on, upload a few files. That way, the code that retrieves all the files in the bucket, later, is more meaningful.
Create a Google Cloud Private Key
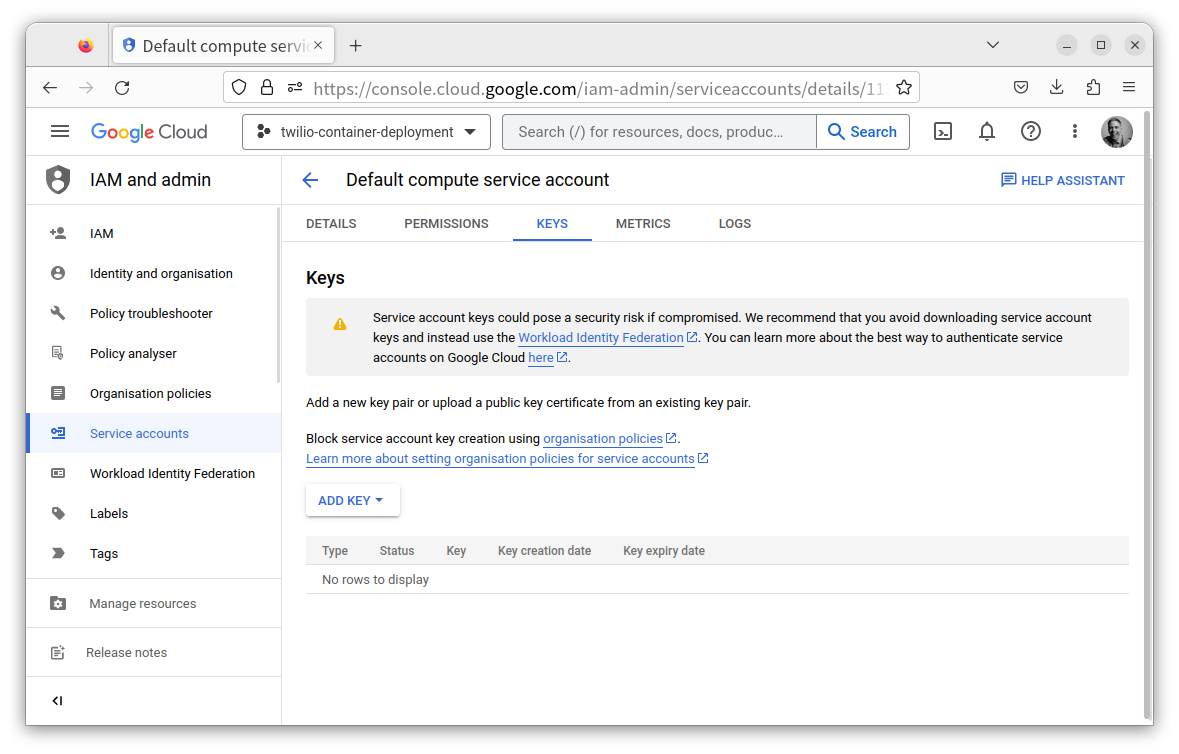
Now, you need to create a private key so that you can access the bucket programmatically with PHP. To do that, open the navigation menu again and navigate to Product and Solutions > All Products > Management > IAM and admin. Then, in the left-hand side navigation menu, click Service accounts. Click on your existing service account, then click KEYS > ADD KEY > Create new key.
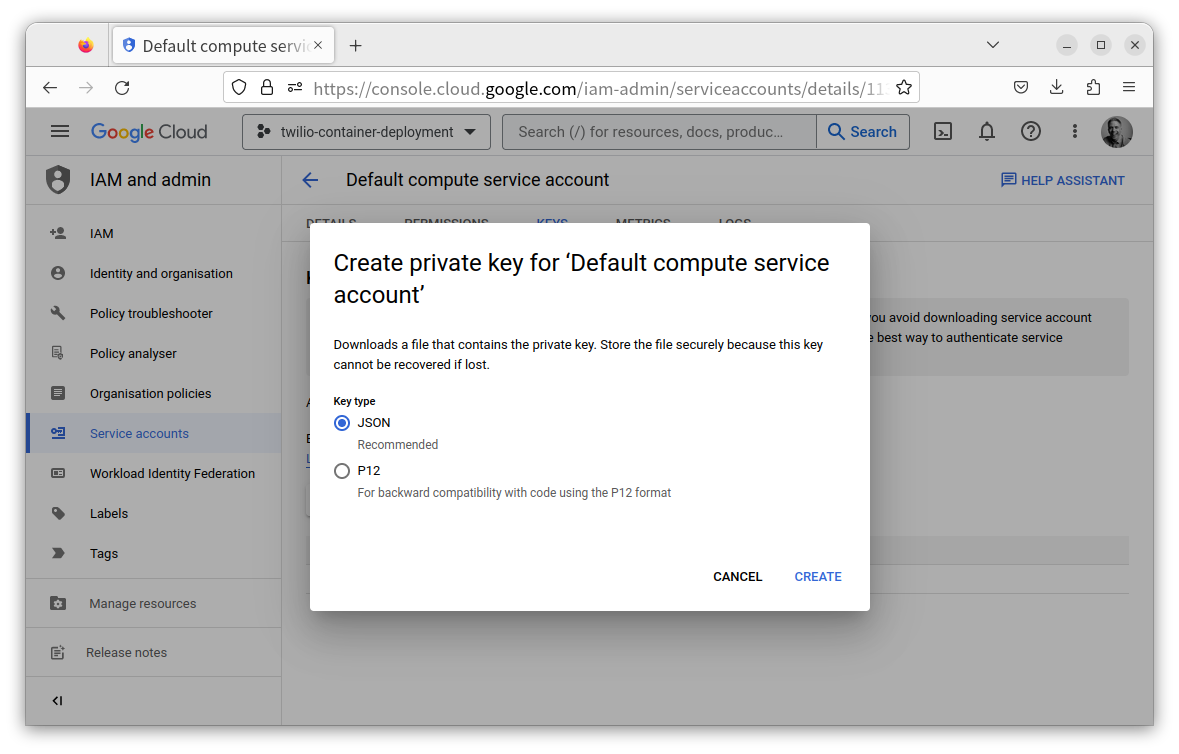
In the popup that appears, ensure that the key type is set to JSON and click CREATE. Then, move the JSON file that downloads to the project's data directory, in the top-level directory of the project, and name it google-storage.json.
Now, you're ready to write some PHP code!
Install the required dependencies
Start by installing the Google Cloud Storage adapter for Flysystem, the sole required dependency, by running the following command.
List all files in a bucket
Next, create a new PHP file named google-cloud-storage.php in the project's top-level directory. In the new file, paste the code below. After you've done that, replace <<BUCKET NAME>> with the name you gave to your Google Cloud Bucket, earlier.
The code starts by instantiating a new StorageClient object ($storageClient). These are available as part of the Cloud Storage Client for PHP package upon which the Google Cloud Storage adapter for Flysystem is based. This object provides the underlying connectivity with the Cloud Storage Bucket.
Then, it sets the bucket's name, and initialises a new GoogleCloudStorageAdapter object ($adapter) which it uses to initialise a Flysystem object ($filesystem).
It then attempts to retrieve a list of all objects in the bucket, filtering out anything that isn't a file, and sorts them alphabetically by their path name. Assuming that the operation was a success, for each file, its size, mime type, and path/name is printed to the terminal.
Test that the code works
Now that you've gotten this far, it's time to test that the code works, by running the command below.
You should see output, similar to the following, printed to the terminal.
Upload a file to a bucket
Now, it's time to upload a file to the bucket. To do that, add the following code to the end of google-cloud-storage.php, and replace <<A FILE YOU WANT TO UPLOAD>> with the local path to a file that you want to upload.
The code streams the file to the bucket using the writeStream() method, reducing the operation's required memory footprint. If the operation was successful, a confirmation is printed to the terminal, otherwise, the reason for the operation failing is printed.
Test that the changes work
Now, test that you can upload a file, by running the command below.
You should see "File was successfully uploaded/written to Google Cloud Storage." printed to the terminal.
Rename a file in a bucket
Next, it's time to add the ability to rename a file. To do that, in google-cloud-storage.php replace the upload file code with the following code. Then, replace <<A FILE YOU WANT TO RENAME>> with the name of the file in the bucket that you want to rename and <<NEW FILE NAME>> with the file's new name.
The code starts by checking if the specified file exists in the bucket. If so, it uses the move() method to rename the file. If the operation was successful, a confirmation is printed to the terminal. Otherwise, the reason for the operation failing is printed.
Test that the changes work
With the changes made, test that you can rename a file by running the command below.
You should see a confirmation message printed to the terminal, showing the original name (and path) of the file, along with the new one. If you go back to the bucket in your browser, you should see that the file has been renamed.
Delete a file in a bucket
Now, for the final operation, deleting a file from the bucket. To do that, replace the rename code in google-cloud-storage.php with the following code. Then, in the new code, replace <<A FILE YOU WANT TO DELETE>> with the name of the file in the bucket that you want to delete.
Similar to the rename functionality, it checks if the file to delete ($source) exists. If so, it attempts to delete it. If the operation succeeded, then a confirmation message is printed to the terminal. Otherwise, the reason for the operation failing is printed.
Test that the code works
Let's test the final change in functionality, by running the command below.
You should see a confirmation message saying that the file was deleted. If you go back to the bucket in your browser, you should see that it is no longer there.
That's how to store files on Google Cloud Storage using PHP
Using PHP's Flysystem library with the Google Cloud Storage adapter makes storing files and other objects in Google Cloud Storage pretty easy—and, dare I say, enjoyable. It also lets you work with other storage services and filesystems with the same, unified interface. A definite time saver!
Have a look at the package's documentation, if you haven't already, and have a play with the code, which you can find on GitHub. I'd love to know what you think of Flysystem and the Google Cloud Storage adapter.
Matthew Setter is a PHP and Go editor in the Twilio Voices team, and a PHP and Go developer. He’s also the author of Mezzio Essentials and Deploy With Docker Compose. You can find him at msetter[at]twilio.com. He's also on LinkedIn and GitHub.


Related Resources
Twilio Docs
From APIs to SDKs to sample apps
API reference documentation, SDKs, helper libraries, quickstarts, and tutorials for your language and platform.
Resource Center
The latest ebooks, industry reports, and webinars
Learn from customer engagement experts to improve your own communication.
Ahoy
Twilio's developer community hub
Best practices, code samples, and inspiration to build communications and digital engagement experiences.