5 Must-Have Vim Plugins That Will Change Your Workflow
Time to read:
March 09, 2021
Written by
.png")
One thing Vim users love about their favorite text editor is it's seemingly endless extensibility. On top of configuring basic mappings, settings, and behaviors in your .vimrc, there are a ton of awesome plugins that extend Vim's functionality. As someone who has been using Vim as his primary editor for about 7 years now, I'm going to share some of the ones that I think are important for any Vim user.
Installing and Managing Plugins
Before moving onto the plugins I want to cover, let's talk about how to actually install and manage plugins in Vim. There are multiple ways to do this.
Native Package Support in Vim 8
As of the release of Vim 8, Vim now has built in support for packages, which you can use to install these plugins. In this post, I will be linking a GitHub repository for each plugin I talk about. With Vim 8 packages, you can clone most of these and add them that way.
Vim will consider any directory under ~/.vim/pack to be a package. These packages can have a start directory in which plugins are loaded on startup, and an opt directory with plugins that need to be loaded manually with the command :packadd.
For most plugins, you can git clone their repository directly to ~/.vim/pack/start or ~/.vim/pack/opt to add them. You can also use Git submodules to manage them, as described in this blog post.
Using a Plugin Manager such as Vundle
There are also automated plugin managers for Vim like Vundle or vim-plug which are developed by the community. You'll need one of these if you are using an older version of Vim, but even as a Vim 8 user they are still useful in that they provide extra features and might make things easier if you are going to be using a lot of plugins.
I have personally used Vundle a lot over the years, so let's walk through how to set that up. You can think of this as the zero index in the array of awesome Vim plugins covered in this post.
Vundle requires Git to function, so make sure you have that installed on your machine. If you are a Windows user, the maintainers wrote a detailed guide for installing it on Windows. On Unix based systems, you can install it by running the following command:
And then adding the following lines to your .vimrc:
You can install plugins by launching Vim and running :PluginInstall. If you want to automate the installation of Vundle in your .vimrc, for example when setting up on a fresh machine, you can add something like the following script, found in this blog post:
This will automatically make sure you have Vundle, and all of your plugins, set up whenever you run Vim. Now let's get to the good stuff!
Syntastic
Syntastic is a syntax checking plugin for Vim which runs files through external syntax checkers and displays resulting errors. You can install Syntastic with Vundle by adding the following line to your .vimrc in the #begin and #end Vundle calls:
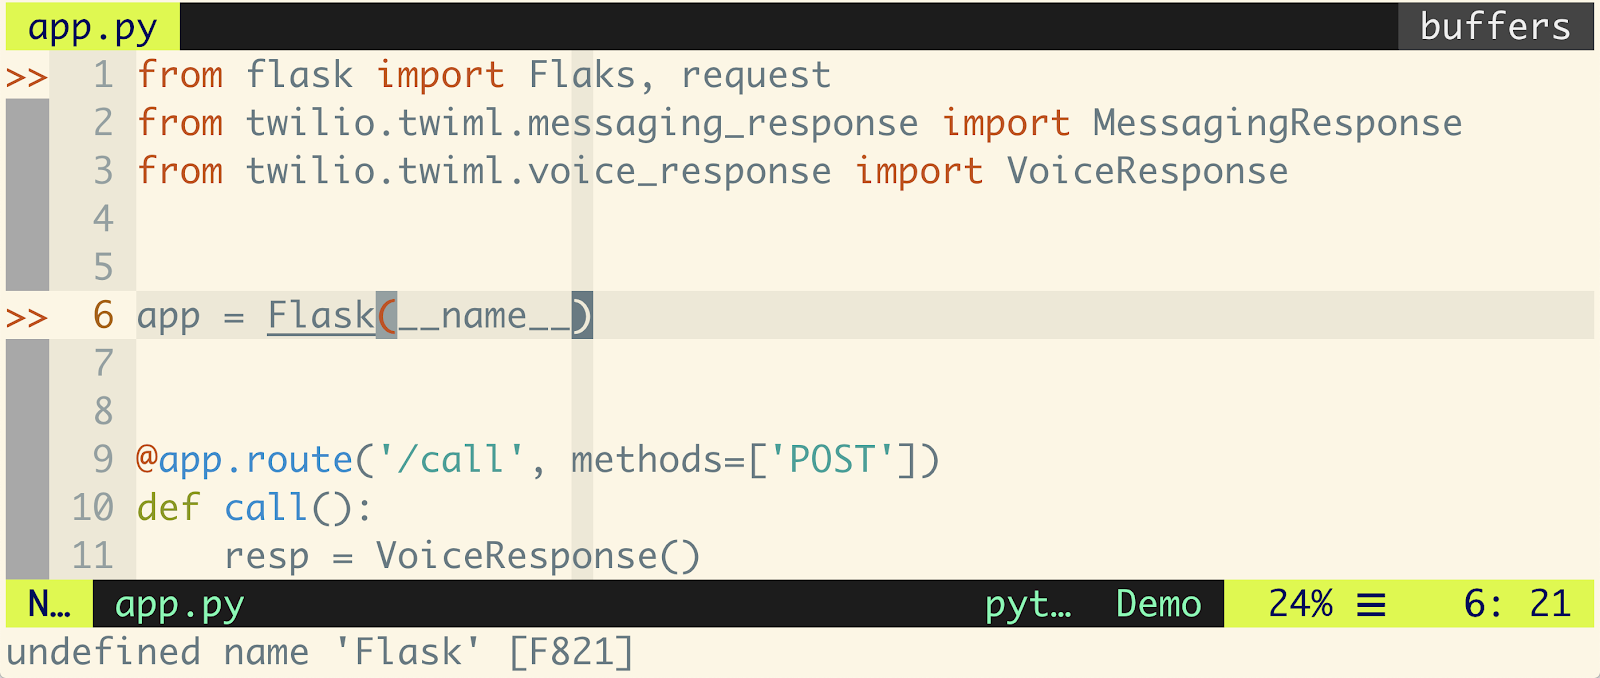
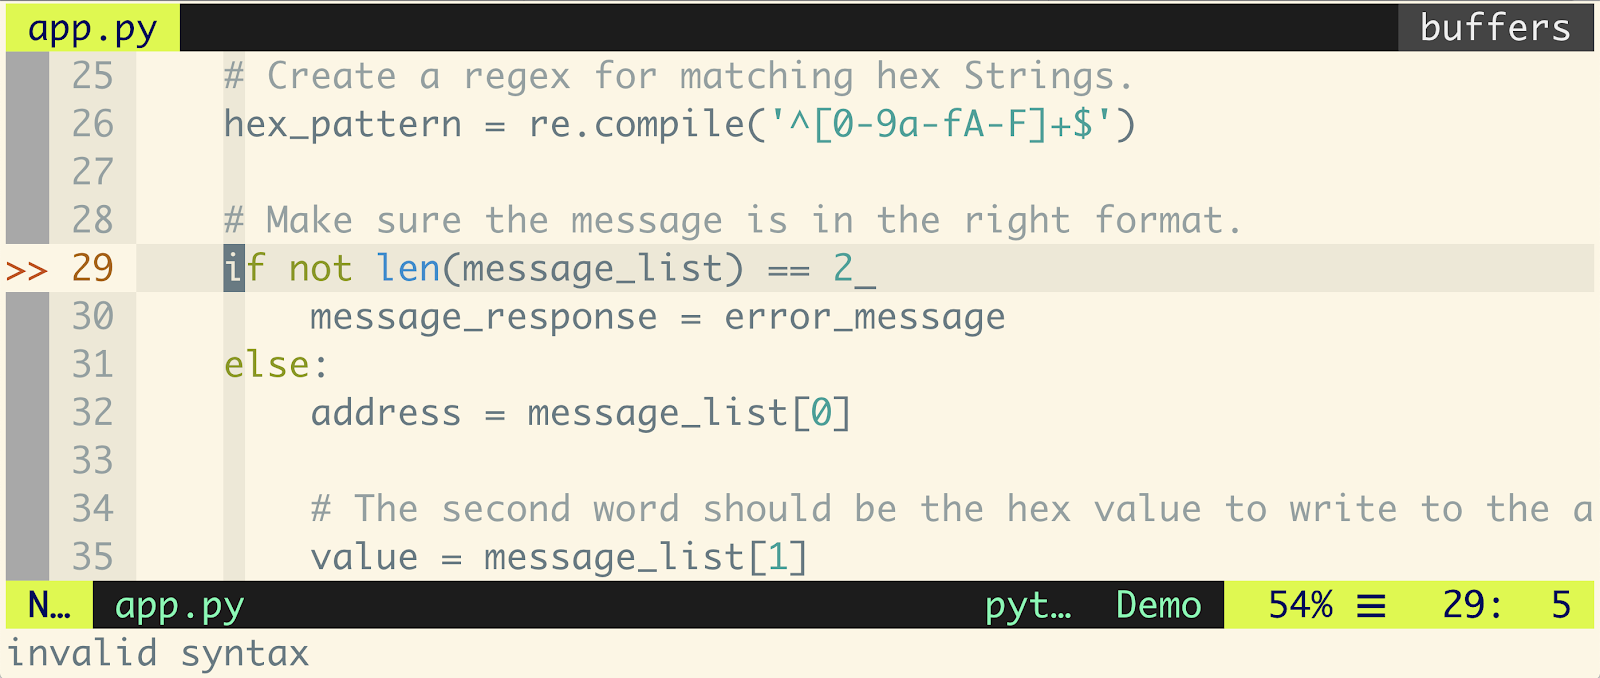
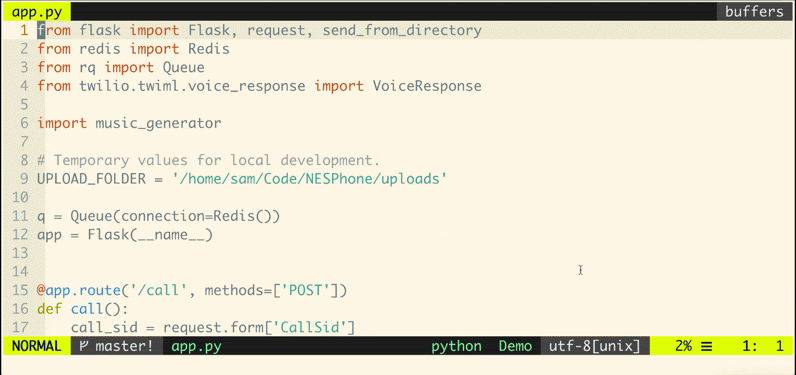
As you can see here when I make a typo, in this case spelling Flask as Flaks, Syntastic will pick up on this and point out the errors when I write the file. If there is an actual syntax error, such as a missing colon for an if statement, this will also be flagged. It will even add an underscore at the end of the line to point out where the problem is.
You can configure Syntastic's settings quite a bit. Try entering the command :help syntastic for more info on that. Here are some basic default settings I'd recommend adding to your .vimrc to get you started:
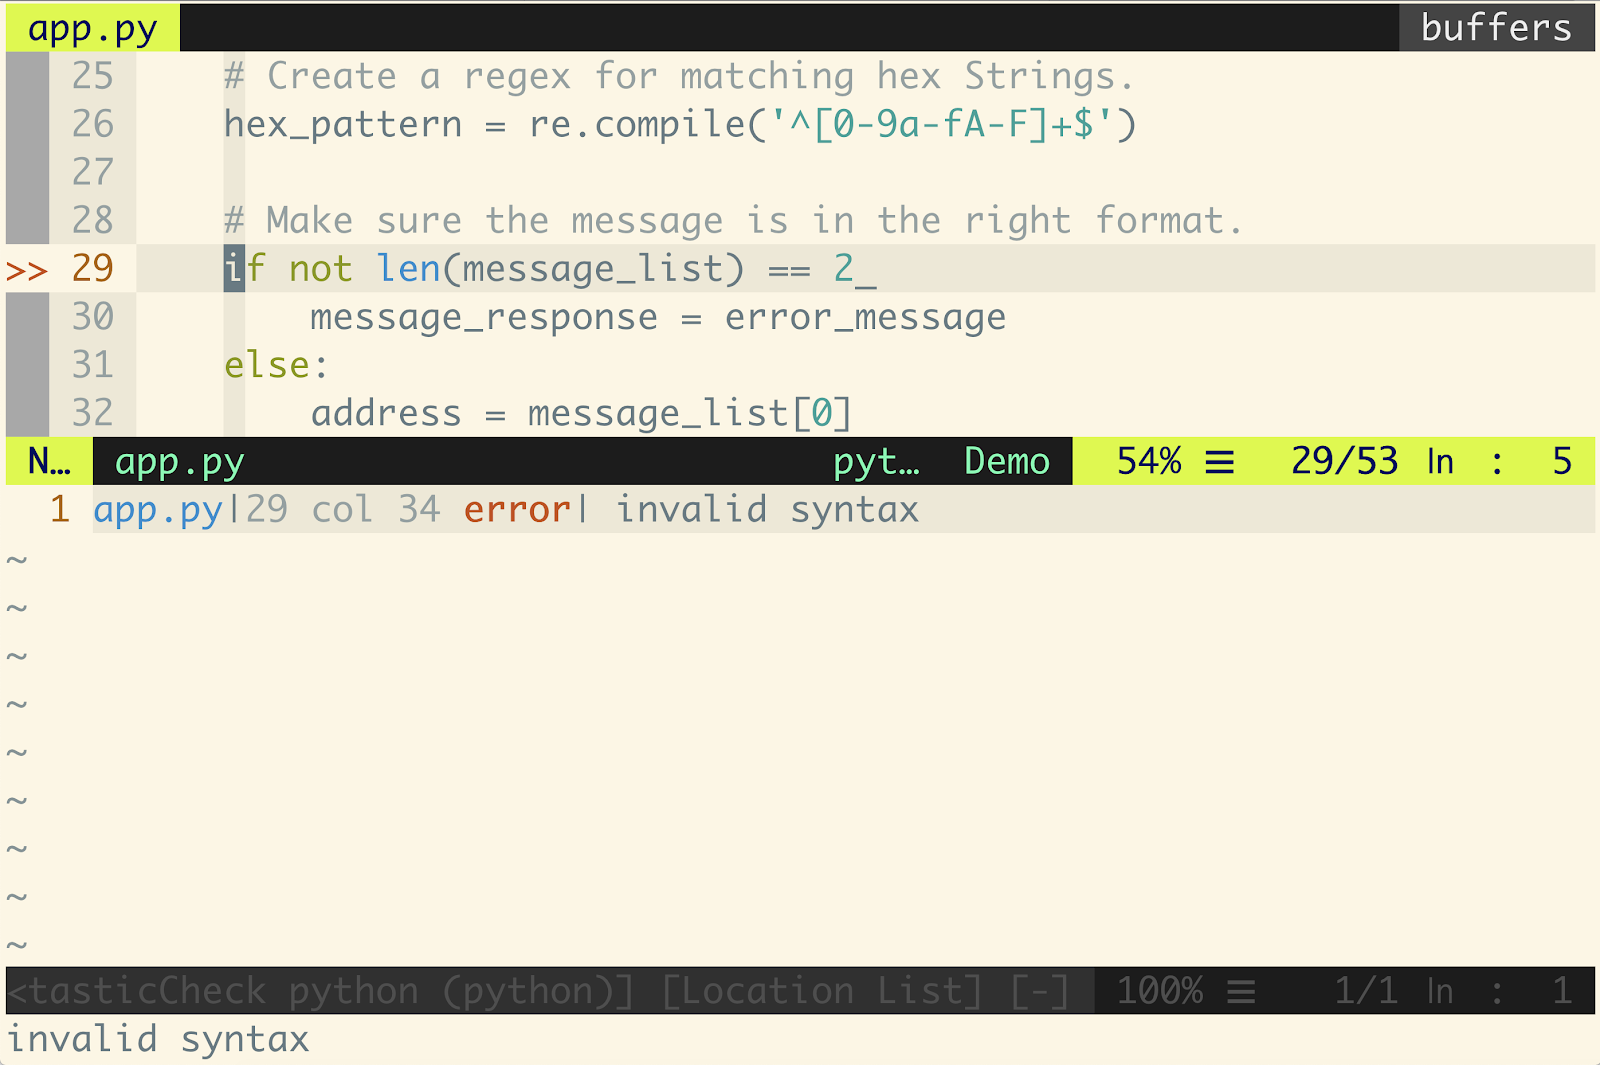
With these enabled, here's what it looks like when you open a file with an error in it. Another buffer is opened in a horizontal split with information on the error, and goes away once you fix it.
Here is a manual of what syntax checkers Syntastic is compatible with, so make sure you have the appropriate one installed for the language you are using. For Python I use flake8, which also has its own Vim plugin. You can install flake8 by running pip install flake8 with the pip that corresponds to whatever version of Python you are using.
Fugitive
Fugitive is a Git wrapper for Vim that is self-described as "so awesome, it should be illegal." You can install Fugitive with Vundle by adding the following line to your .vimrc in the #begin and #end Vundle calls:
With Fugitive you can run :Git, or even just :G followed by an arbitrary Git command to run that command directly from Vim and have the output echoed in a stream. This works particularly well with commands that don't have a lot of output.
For example, here is the simple functionality of adding the changes of the file you're currently working on to prepare for a commit.
One of my favorite features is that when you use the :Gblame command it will open a buffer in a vertical split with all of the git blame annotations side by side with the lines of the file you are working on. And the scrolling is even bound between them!
Looks like I only have myself to blame for that one. If you want to see more, this VimCast is an excellent demo that covers a lot of cool aspects of Fugitive.
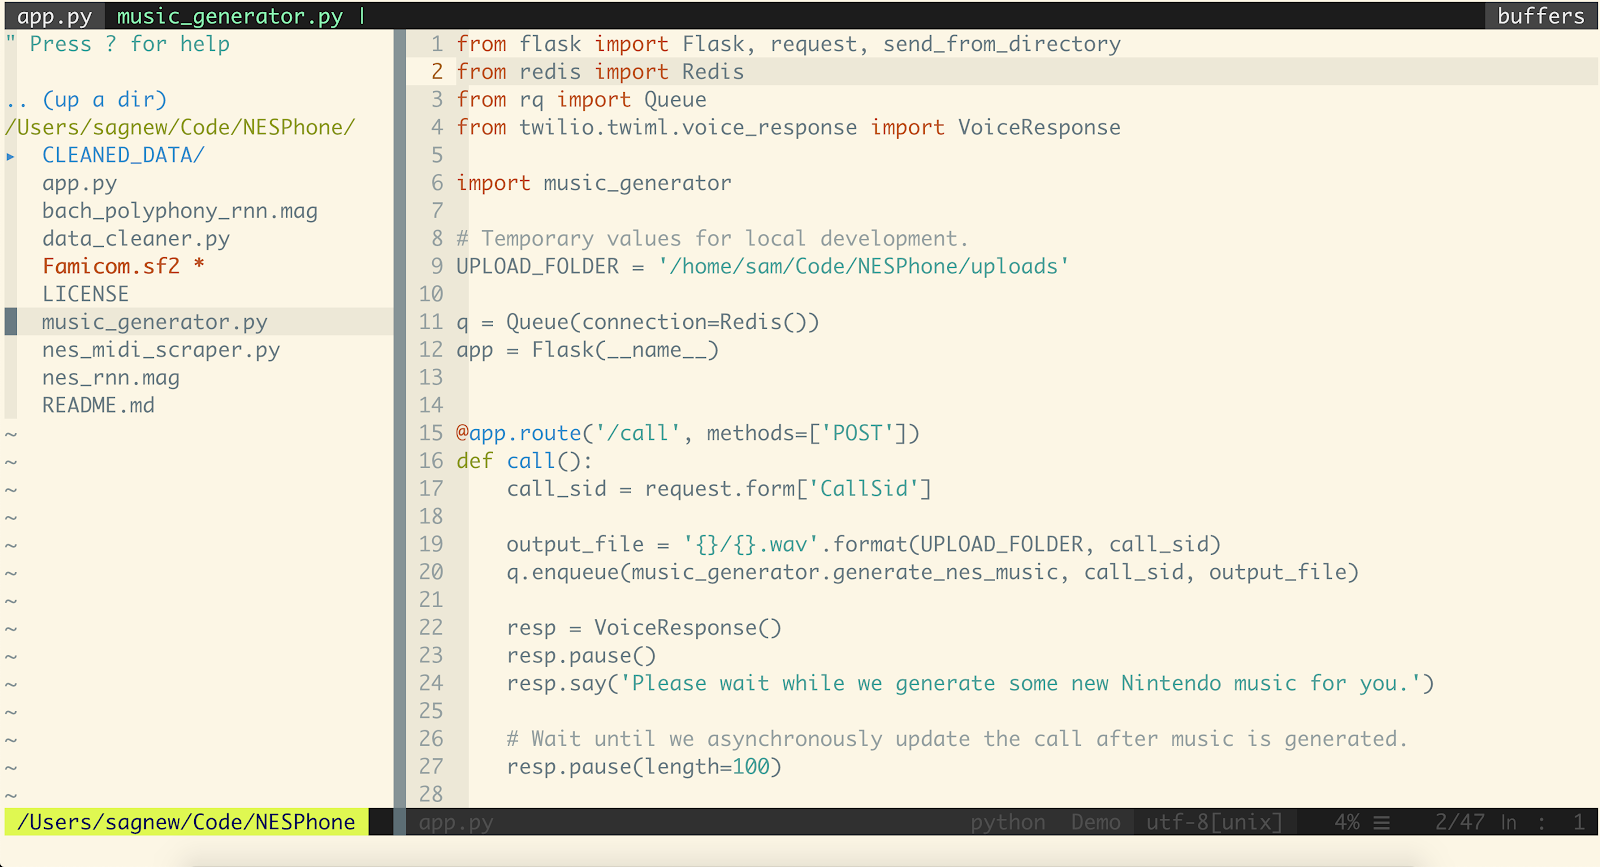
NERDTree
The NERDTree is a file system explorer for Vim that can be used to visually browse complex directory hierarchies, quickly open files for reading or editing, and perform basic file system operations.
You can install NERDTree with Vundle by adding the following line to your .vimrc in the #begin and #end Vundle calls:
By running the :NERDTree command, you open up another buffer that is vertically split to the side of your current file, displaying the current directory and allowing you to navigate the filesystem in general and open other files.
NERDTree doesn't create any shortcuts itself outside its own window, so it doesn't interfere with any other shortcuts you already have. But you can add some keyboard shortcuts to your .vimrc for some NERDTree commands. For example:
Here are some things you can add to your .vimrc to customize the behavior of how NERDTree works:
There are even NERDTree plugins such as this one that adds icons next to files based on their filetype. In Vim, even the plugins have plugins that are customizable.
Emmet
Emmet is an extremely useful plugin for web developers. It makes writing and editing HTML, and any language with tags, much easier. You can install Emmet with Vundle by adding the following line to your .vimrc in the #begin and #end Vundle calls:
You can expand any tags you want, and even use some built in common commands, like html:5, by typing <c-y>, (Ctrl+y+,).
Here's a quick tutorial showing various things you can use Emmet to do. As with any Vim plugin, you can customize its behavior in your .vimrc. Here are some examples:
Airline
Airline is a "lean & mean status/tabline for vim that's light as air" and it has already been demonstrated in the screenshots from all of the other examples in this post. You can see here how the status line changes as I enter different modes, and provides a lot of contextual information as well.
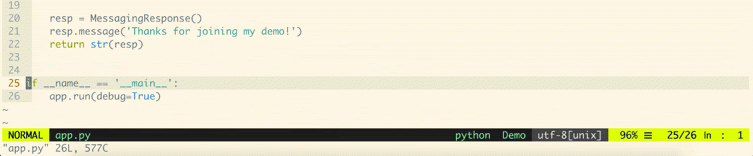
This line consists of several sections, each one displaying some piece of information. By default (without configuration) it will have this layout:
- A: displays the mode + additional flags like crypt/spell/paste (INSERT)
- B: Environment status (VCS information - branch, hunk summary (master), battery level)
- C: filename + read-only flag (~/.vim/vimrc RO)
- X: filetype
- Y: file encoding[fileformat] (utf-8[unix])
- Z: current position in the file
- [...]: additional sections (warning/errors/statistics) from external plugins (e.g. YCM, syntastic, ...)
You can install Airline with Vundle by adding the following line to your .vimrc in the #begin and #end Vundle calls:
:wq!
Hopefully you've found some of these interesting or helpful. A lot of these are well known in the Vim community, but they are some of the plugins that I think are must-haves for any Vim user. In the future I am going to write another post on some lesser known plugins.
As a Vim enthusiast, I am always looking forward to hearing about more things I can add to my .vimrc. I don't consider myself an expert so there is a whole world of Vim sorcery to discover! Feel free to contact me about some Vim tricks that you think are cool, ask questions about any of these, or want to express your undying anger at any of my suggestions:
- Email: sagnew@twilio.com
- Twitter: @Sagnewshreds
- Github: Sagnew
- Twitch (streaming live code): Sagnewshreds


Related Resources
Twilio Docs
From APIs to SDKs to sample apps
API reference documentation, SDKs, helper libraries, quickstarts, and tutorials for your language and platform.
Resource Center
The latest ebooks, industry reports, and webinars
Learn from customer engagement experts to improve your own communication.
Ahoy
Twilio's developer community hub
Best practices, code samples, and inspiration to build communications and digital engagement experiences.