Build, Test, and Deploy Your Laravel Application With GitHub Actions
Time to read:
November 19, 2020
Written by
Reviewed by

GitHub Actions help you discover, create, and share actions to perform any job you'd like, such as CI/CD, and combine actions in a completely customized workflow. In this tutorial, I’ll be showing you how to build, test and deploy a Laravel Application using GitHub Actions.
Prerequisites
You will need the following to get started with this
- GitHub account
- Knowledge of Laravel
- Knowledge of GitHub
- A live server
Getting started
Let’s create a new Laravel application:
Next, create a repo on GitHub and push the new application to the repo. You can follow the instructions here.
I went ahead and created a repository on GitHub containing the application, which can be found at https://github.com/ammezie/laravel-github-actions in case you would like to just clone it instead.
Setting up GitHub Actions
Now, let’s set up GitHub Actions for the repository. Click on the Actions tab on the repository navigational menu.

GitHub is smart enough to know that the repository contains PHP (Laravel) code, so we are presented with starter workflows related to those.
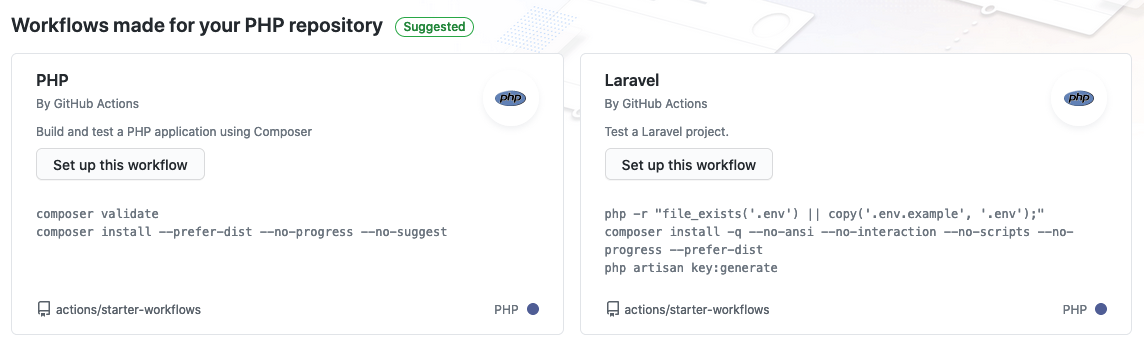
We’ll be going with the one on Laravel then commit the file. This will create a new .github/workflows/laravel.yml file in the repository.
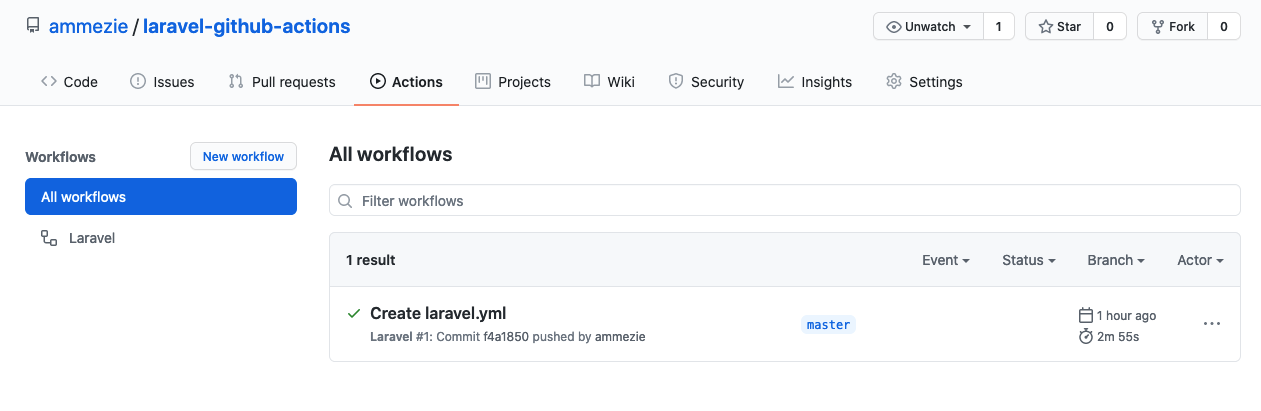
Click on the Actions tab again, and you should see the list of all workflows similar to the image below:
Understanding GitHub Actions Workflow
We have created our first GitHub Action workflow, let’s take a moment to understand what a workflow is. GitHub Actions comprises workflows, which are defined inside the .github/workflows directory within the repository and committed as part of the repository. These are YAML files, which contain data like the name of the workflow, when it should be run, as well as the jobs and steps it needs to run.
Essentially, when an event (commit, push, pull request, etc.) occurs on a repository, GitHub Actions will automatically detect and parse the workflow, then start processing the jobs defined there in.
Taking a look at the generated laravel.yml file, the workflow will run whenever a push or pull request is made to the master branch:
Testing
To be confident with the code, we need to write tests. For the purpose of this tutorial, we’ll be making use of the default tests that come with a fresh Laravel application.
Luckily for us, the generated laravel.yml file already contains a job for testing our application as seen here:
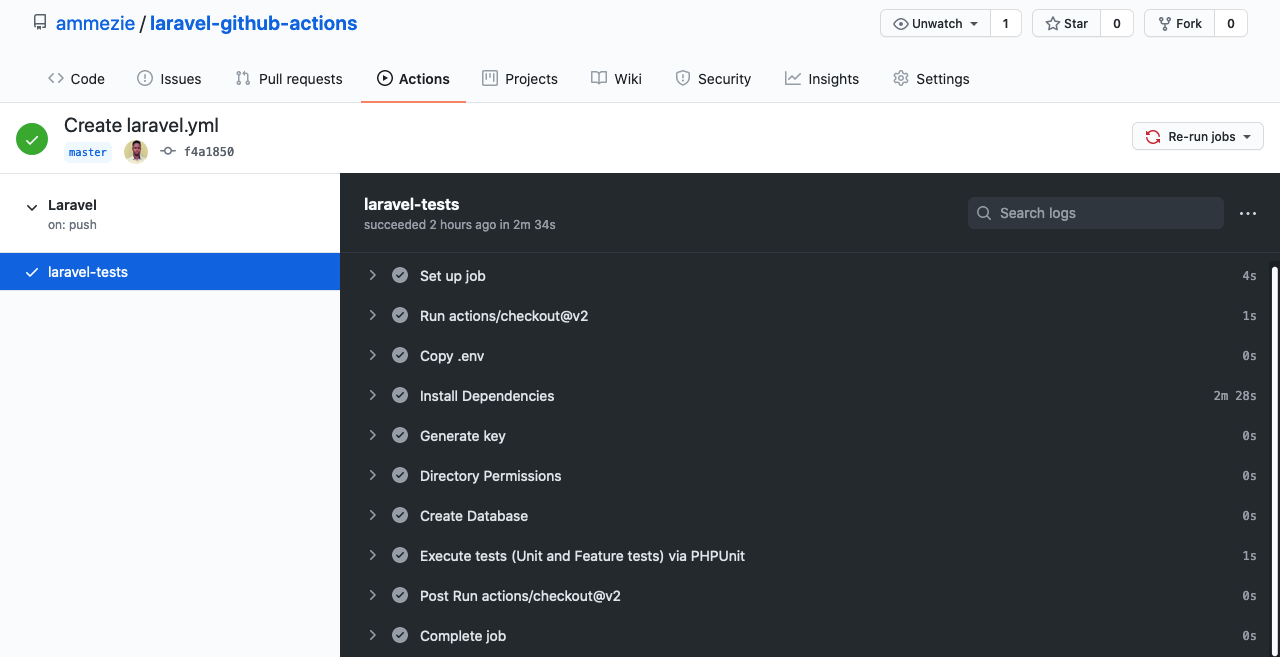
A job named laravel-tests is started, which spins off a new server that runs on Ubuntu (courtesy of GitHub).
Each step in the job begins to run. The first step is to check out to the specified branch (`main` in this case), then it moves on to Laravel specific tasks such copying .env file, installing PHP dependencies, generating an application key, giving permissions to the necessary directories, and creating a database (SQLite in this cast).
Finally, it runs the tests (both unit and feature) using PHPUnit. To make sure the tests are using the correct environment details, we define the environment details on the step.
The job should run successfully and match the screenshot below:
Building
Let's move on to building the assets compilation in our application. For that, we are going to create a new job, which we'll call build.
Add the following code inside .github/workflows/laravel.yml after the last step in the `laravel-tests` job (still under jobs):
NOTE: Take note of the indentations since this is a YAML file.
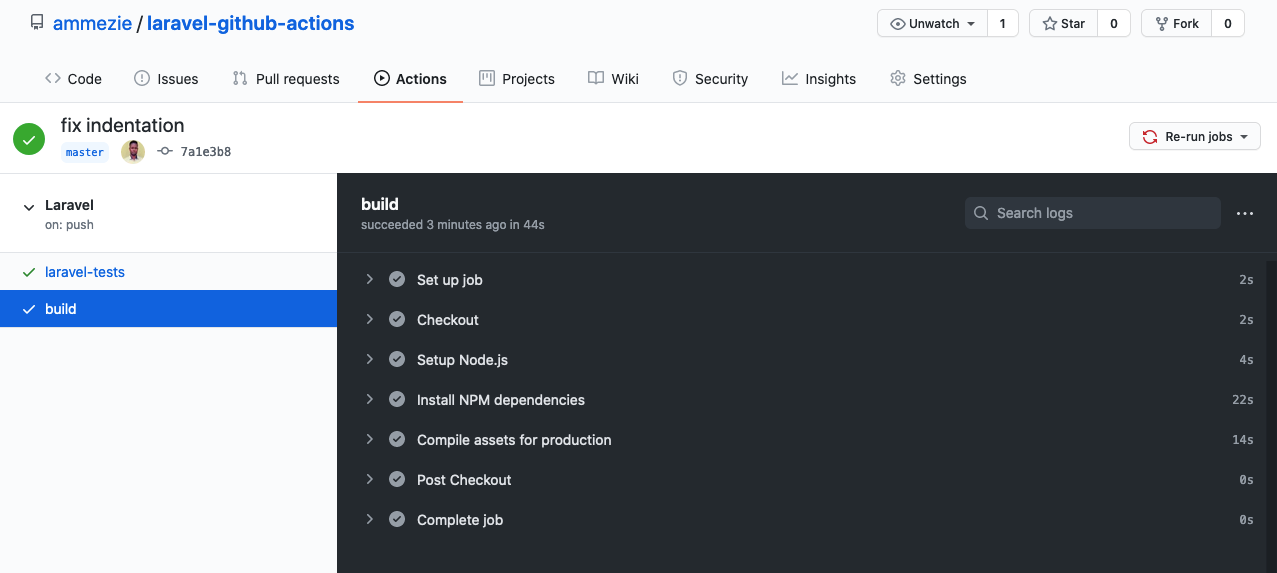
Similar to the laravel-tests job, we spin off a new Ubuntu server and checkout to the main branch. Then we set up Node.js and install the necessary npm dependencies. Lastly, we compile assets for production.
After compiling the assets, you should see the success image like the one below:
Deploying
Finally, let’s add a job to deploy our application. Since we’ll be deploying to an actual server, we need the following:
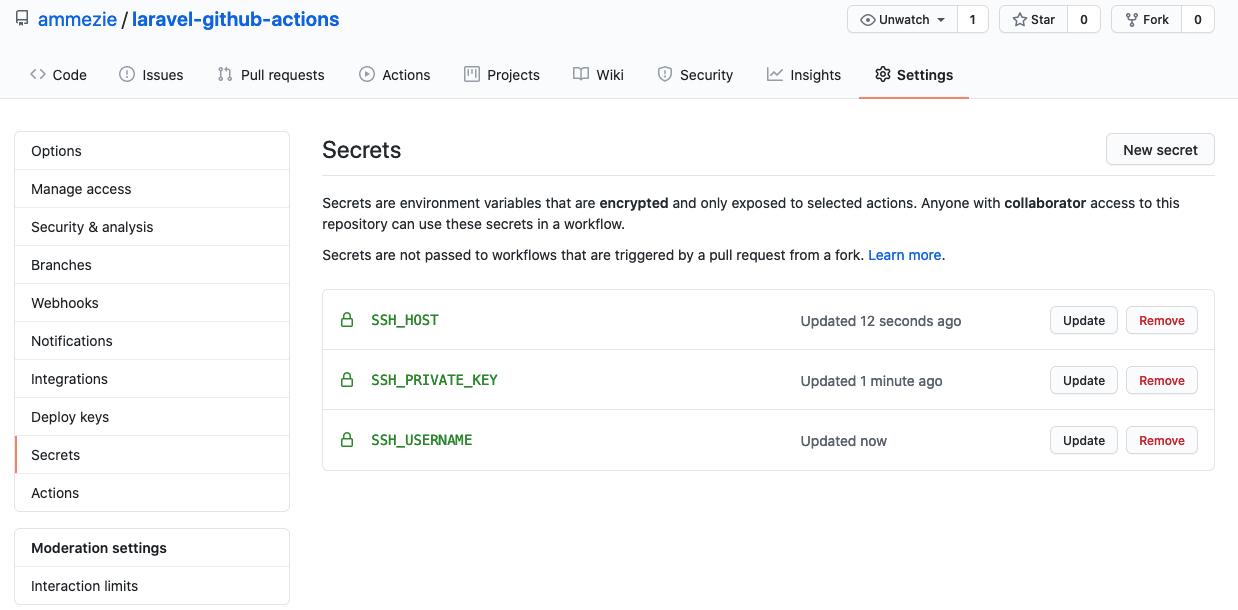
SSH_PRIVATE_KEY. If you don’t have this you can runssh-keygenin your server terminal to generate a new key, then run the commandcat ~/.ssh/id_rsa.pub >> ~/.ssh/authorized_keysto allow connection to the private key.SSH_HOST. This is the IP address of the server.SSH_USERNAME. This is the server username, in my case it’s root . If you don’t know your username you can use thewhoamicommand on your server to check.
To add these, go to your GitHub repository and click on Settings. Navigate to the Secrets page as seen in the image below and add them:
With those in place, let’s add a new job called deploy. Add the following code inside the .github/workflows/laravel.yml file after the last step in the build job (still under jobs):
To execute remote SSH commands, we use appleboy/ssh-action then specify the host details, which is read from the repository secrets we added above. Once connected to the server, add some scripts to run. First, cd into /var/www/html folder where the application is served from. Then run checkout and git pull.
Your job is successful if you see an image similar to the one below:
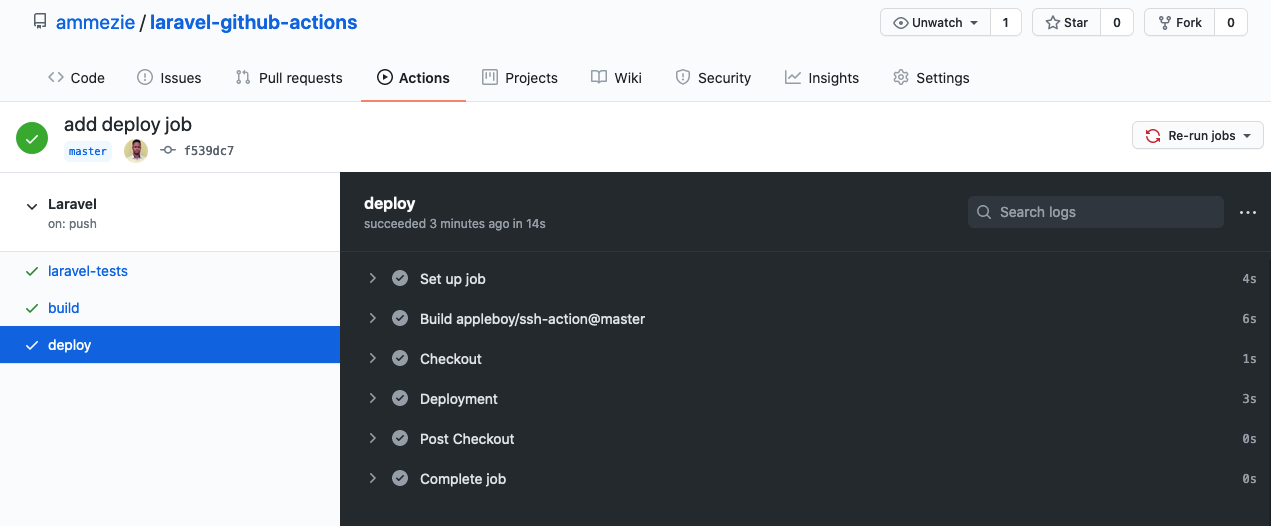
Congrats, you’ve made your first deployment.
Conclusion
In this tutorial, we went through how to use GitHub Actions to build, test and deploy a Laravel application on a remote server. We’ve barely scratched the surface of the functionality of GitHub Actions. Do check out the docs to learn more about GitHub Actions.
You can find the complete source for this tutorial on GitHub.
Chimezie Enyinnaya is a software developer and instructor. You can learn more about him here:
- Website: https://adonismastery.com
- Twitter: https://twitter.com/ammezie
- Email: meziemichael@gmail.com
- GitHub: https://github.com/ammezie


Related Resources
Twilio Docs
From APIs to SDKs to sample apps
API reference documentation, SDKs, helper libraries, quickstarts, and tutorials for your language and platform.
Resource Center
The latest ebooks, industry reports, and webinars
Learn from customer engagement experts to improve your own communication.
Ahoy
Twilio's developer community hub
Best practices, code samples, and inspiration to build communications and digital engagement experiences.