Create a WordPress Plugin to Rebuild Your Gatsby App on AWS using GitHub Actions
Time to read:
July 19, 2020
Written by
Reviewed by
This post is part of Twilio’s archive and may contain outdated information. We’re always building something new, so be sure to check out our latest posts for the most up-to-date insights.

For a while, our content editors at Postman had to log into GitHub and rebuild the Gatsby app every time they made a change or published a new blog post to the company’s WordPress. As you can imagine, this became very time consuming and wasn’t the most efficient use of our team’s time.
To remedy this, I decided to sit down and write a PHP plugin for our WordPress Admin Dashboard, in order to enable our content writers to re-publish their changes from within our headless CMS.
We used WPGraphQL to create a GraphQL layer from our WordPress content and query our data via the gatsby-source-graphql plugin to our Gatsby App. The resulting solution allowed our blog to be more secure, faster, and future proof.
The plugin creates Nodes in Gatsby to turn the WordPress Data into pages. This results in the App updating its content at build time. If you want to know more, here is an in-depth explanation of build time data fetching with Gatsby .
This is a step-by-step tutorial to show you how to create a custom WordPress plugin that allows content editors to rebuild their Gatsby App via manually rerunning GitHub Actions from the WordPress admin dashboard.
When the plugin is installed, you will be able to rebuild and publish your Gatsby app to AWS/S3 by a click of a button in the Wordpress admin Dashboard.
Prerequisites
Completion of this tutorial assumes that:
- Your WordPress CMS has already been connected to your Gatsby App. If not, this blog post will help you get started.
- Your Gatsby App has been successfully deployed to AWS/S3 using Github Actions. At this time, Github does not provide a re-run button for Github Actions. I have written a concise tutorial on how to run GitHub Actions manually using Postman client.
The Workflow
Here is an overview of what we will accomplish:
- Create a folder containing one PHP file
- Hook into WordPress actions to create admin dashboard menu item
- Create a button with onClick to POST to GitHub Actions API to re-publish the Gatsby App to AWS/S3
- Create a personal token in GitHub to use for GitHub Actions API authorization
- Create zip file of plugin folder, upload to wordpress and activate
Let’s get started
To begin, create a new folder called deploy-plugin within your favorite directory on your computer, and create a PHP file called deploy-plugin.php within that directory. Here’s an example of the commands to run in your terminal:
Now you can press i for insert to start typing code in your PHP file.
Write the Plugin in PHP
As a starting point, WordPress requires information at the top of the file to recognize the file as a plugin. Copy and paste the following into your editor:
NOTE: Do not create an empty last line. This can cause an error in WordPress when activating the uploaded plugin.
All preceding code will replace the // code here line above.
Create a New Admin Dashboard Button
We wanted our content editors to have easy accessibility to the blog deployment, so I decided to create a menu item in the admin console. Thankfully, WordPress makes this option easy to implement by creating actions that we can hook into.
The first step is to hook into the action that creates the admin menu. We do this like so:
test_plugin_setup_menu is the function that we want to run when hooking into the admin_menu action.
Copy and paste this function below the hook we just added:
Let’s go through every input of the test_plugin_setup_menu function to get a better understanding. WordPress runs special functions called “actions” at certain points in its core. You can hook into these actions to modify either the behavior or output of WordPress.
In order to create a menu item in the WordPress admin dashboard, we have to hook into the add_menu_page() action and add the required parameters. Here is a description of the parameters the add_menu_page() function requires:
add_menu_page(‘Title of options Page’, ‘label for the admin panel’, ‘access which users can access’, ‘slug of plugin’, ‘name of function’)
Next we’ll define the deploy_init function to print out HTML to our menu item page:
NOTE: Be sure to replace the GitHub link with your <username> and <repo>.
Buttons in PHP
As you can see above, we have created a form with an input field as a button. Because there is no onClick() function in PHP like in JavaScript, we have to define a form with the method=”POST” so that we can write conditionals to post to our GitHub Actions API.
In our example, we have two buttons because our environment contains both a beta and production site that we want to update independently of each other.
The function to POST to Github Actions for beta and production is defined as follows:
In the if statement, we use the wp_remote_post function to POST to our GitHub Actions API. If a user clicks on button1, the event-type is sent to the GitHub Action API endpoint.
Next, the appropriate headers and a Bearer token for authorization of the API call. The Bearer token is a personal GitHub Token that is very easy to create. Follow these steps to create your own personal access token.
NOTE: The token above is not my real token. I do not recommend sharing your token or uploading it to GitHub public repos for security reasons.
You can use the same token for both calls. When I develop, I like to include a short success message to improve the user experience. We echoed “The Production Site is now rerunning and should be updated within a few minutes” inside the if statement in the code above. In WordPress, the echo message will be printed out on the screen of the menu Item for the user to see.
When a user clicks on either of the buttons they will see confirmation messaging that the GitHub Action is now running and the frontend is being rebuilt.
That is all that you have to do for the PHP plugin. In order to save and close in Vim type:
POST to Github Actions API to Kick Off a Manual Build of our Gatsby App
Now we want to rebuild and publish our Gatsby App by manually rerunning GitHub Actions. If you do not already have a manual re-run Github Action that publishes your Gatsby App to AWS/S3, here is an example of ours:
NOTE: There are two GitHub Actions to manually build and publish-our beta and prod branches. If you also require several manual rerun GitHub Actions, you can define `types`.
Here’s a recommended Stack Overflow thread if you want to know more about GitHub Action types and how to split development and production workflow.
Upload and Activate our Deploy Plugin
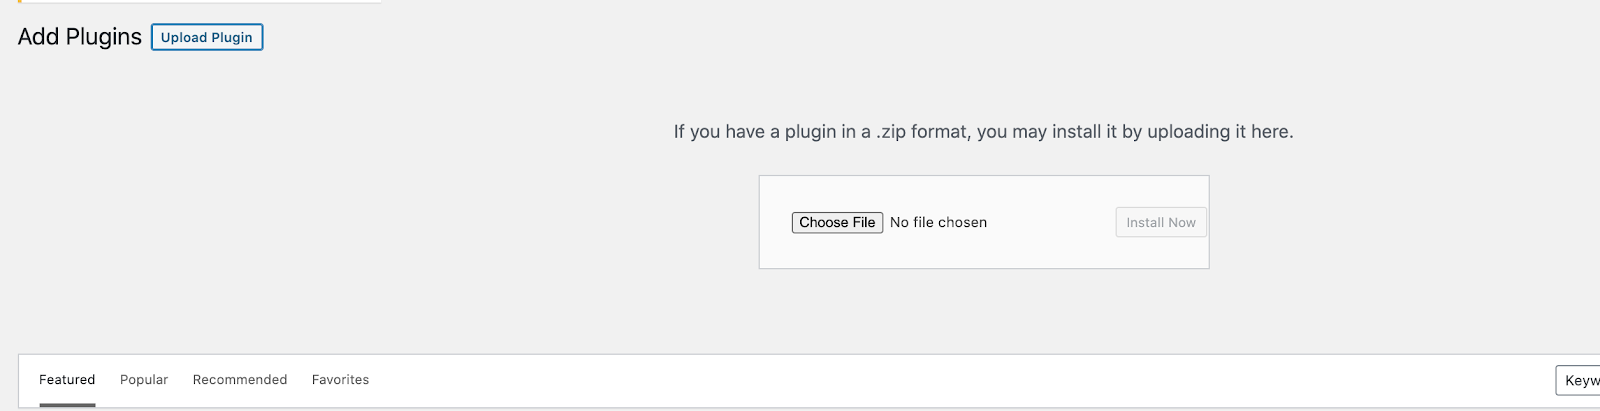
Now that our plugin is finished, we can compress our folder to a zip file and upload that in the Wordpress Dashboard in the "Plugins" menu item:

Here you can upload the zip file as shown below:
Once the plugin has been uploaded you can activate it:

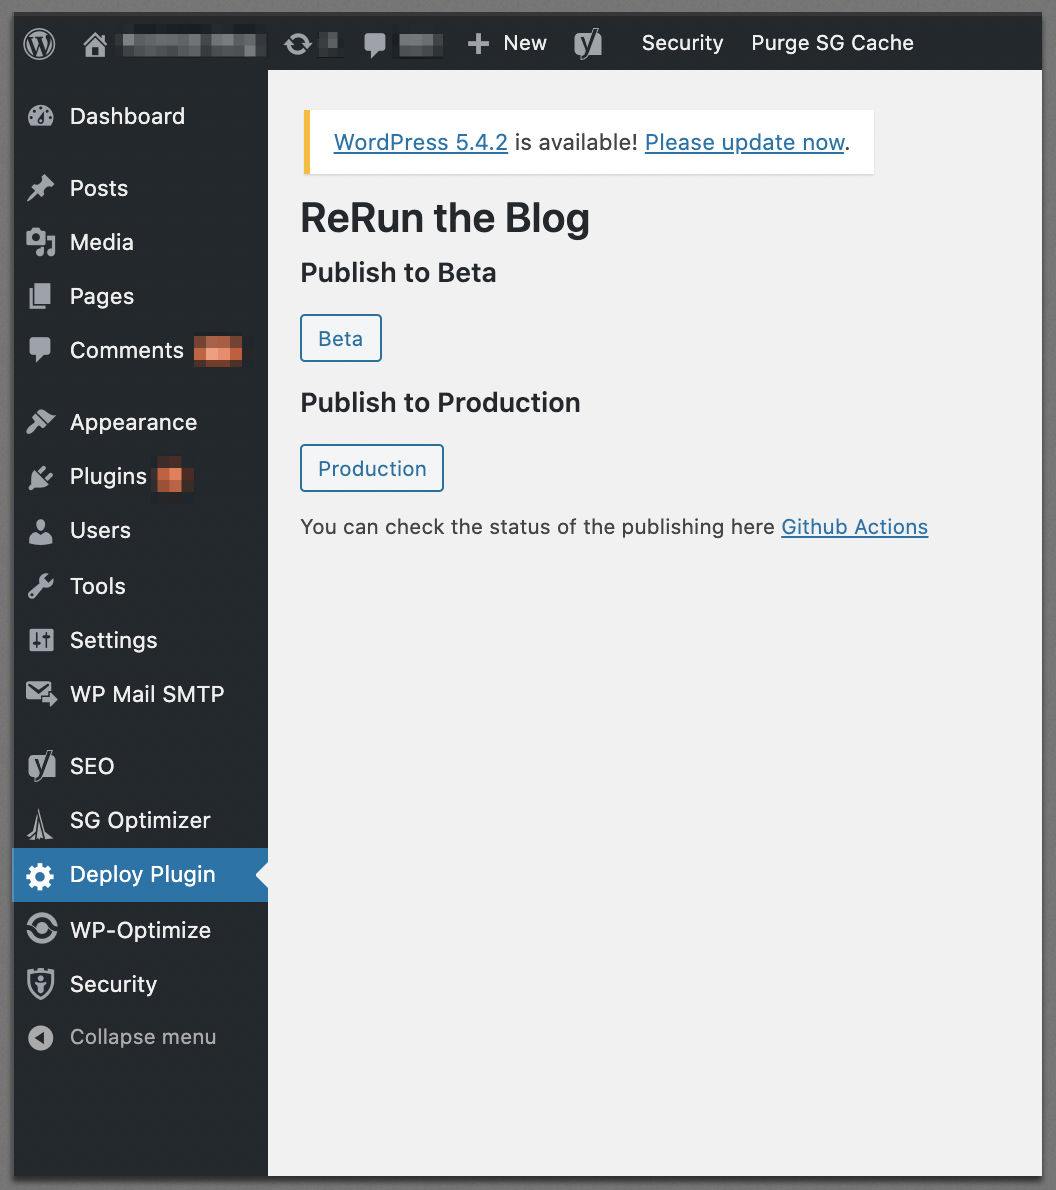
And that is it! When you select the menu item Deploy Plugin, your HTML code and buttons should appear like so in the menu item screen:
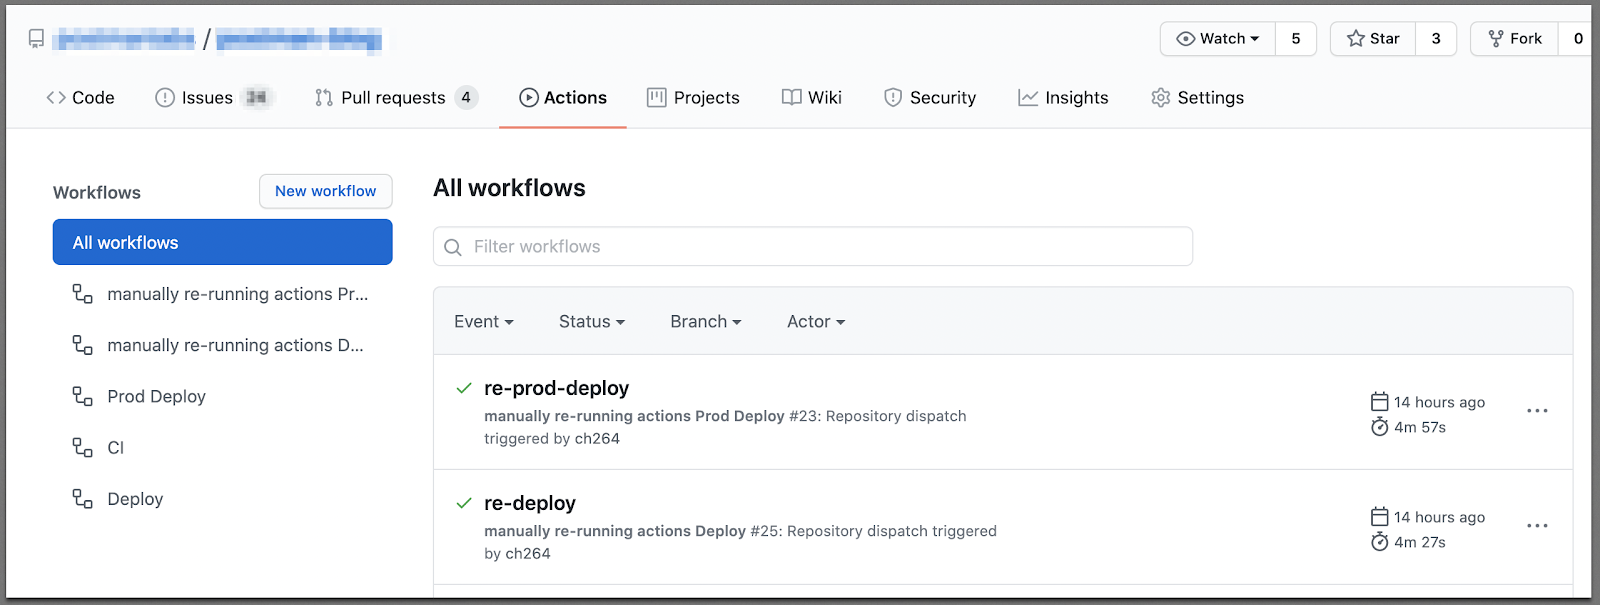
When you click on the buttons, navigate to your GitHub Actions tab and see your manual rerun actions running:
For your reference, here is the entire PHP file:
What’s next?
If you would like more resources to add to your newly gained skills and plugin, I can recommend the following ones:
- How to create a WordPress Admin Page Plugin
- How to create a sub-level Admin Page
- WordPress add_menu_page action documentation (Check the comments for great examples of implementations)
- Stackoverflow post on how to troubleshoot plugin not showing
Conclusion
This completes the tutorial on how to create a custom WordPress Plugin in PHP to rebuild your Gatsby App and provide a friction free way for your stakeholders to update and publish new content by the click of a button.
Christina Hastenrath is a Cell and Molecular Biologist turned Software Developer. She currently works at Postman as a Software Engineer. Christina regularly posts tech tutorials to share her knowledge and learnings. Her publications have been featured by publishers such as The Startup. Christina has lived and worked in five different countries and when she is not coding, she loves spending time in the great outdoors, hiking with friends and family. Connect with Christina at LinkedIn, Twitter and Medium.


Related Resources
Twilio Docs
From APIs to SDKs to sample apps
API reference documentation, SDKs, helper libraries, quickstarts, and tutorials for your language and platform.
Resource Center
The latest ebooks, industry reports, and webinars
Learn from customer engagement experts to improve your own communication.
Ahoy
Twilio's developer community hub
Best practices, code samples, and inspiration to build communications and digital engagement experiences.