International Space Station Notifications with Python, Redis-Queue and Twilio Copilot
Time to read:
November 05, 2015
Written by
This post is part of Twilio’s archive and may contain outdated information. We’re always building something new, so be sure to check out our latest posts for the most up-to-date insights.

International Space Station Notifications with Python, Redis-Queue and Twilio Copilot
With the new Star Wars trailer coming out, I’ve been really excited about space lately. This could be pretty obvious based on what I wore during my API demo at BostonHacks last weekend. Twilio also had private screenings of The Martian for community members recently in several different cities.
It’s not surprising that I think the International Space Station is awesome. Naturally I thought it would be cool to know when it is hovering over me. Once I found out about the ISS Open Notify API, I knew I had to build a notification system that allows subscribers to receive an SMS whenever the ISS flies over their area.
You can check out the app I built and look at the code if you want. Or I can show you step by step how to build this, and how you can scale it to send from a pool of Twilio numbers rather than just one using new Twilio Copilot features.
ISS Tracking Tools
We will build a web application for users to subscribe to notifications. To do this we’ll use Flask for our web server and the ISS Open Notify API to find out when the ISS is passing overhead for a given latitude and longitude.
Before you start coding, make sure you have Python installed as well as pip, which should come with most versions of Python. This will work in either Python 2.7 or Python 3 . You’ll also need to install Redis, which can be done using the following terminal commands:
Running the Redis server now would be helpful because we will be using it later. Run it in the background using this command:
Next, create a virtualenv so we can cleanly install all of our python libraries with pip. If you are unfamiliar with pip and virtualenv you can check out this guide.
Let’s install Flask for our web server and the Twilio python module for sending text messages:
In order to send text messages at the time that the ISS is scheduled to fly by, we’ll need to use a task queue such as RQ and a scheduler to add tasks to the queue at certain times. RQ uses Redis as a backend for a task queue, and RQ Scheduler allows us to schedule tasks to be added to the queue. Installing RQ Scheduler will also take care of the RQ and redis-py dependencies:
The last dependency to install is requests which will let us send a GET request to the Open Notify API:
Finally, before we start writing the code, make sure you have at least one SMS-enabled Twilio phone number in your Twilio account. Don’t have a Twilio account yet? No problem because it only takes a couple of minutes to sign up. I’ll wait here gazing at the stars while you get one.
Scheduling with Python-RQ
With all of our dependencies in place we can get on with building the app.
The ISS Open Notify API takes a GET request with the latitude and longitude of the user’s location, and returns a list of timestamps for the next scheduled passes over that location. Let’s write a function that will return a datetime object of the next ISS flyby for a given latitude and longitude.
Open a file called iss.py and add the following code:
Try calling this function with some test values to check that it actually works. I’m going to use the location of Twilio’s HQ for this example. Open your Python shell and try the following:
Next, using the datetime returned by the API, we can use rq-scheduler to queue up a function to be called to send a text message at the time of the next flyby.
Let’s write a function adding a task to our queue to send a text message to the user that has just subscribed.
Go back to iss.py and update your code to add this new function and the required imports:
In the code above, we are adding a phone number to Redis for logging purposes associated with the latitude and longitude of where they were when they subscribed. Then we are grabbing the time of the next ISS flyby and scheduling a call to the notify_subscriber function. This function only prints a message for now, but we will configure it to send an SMS later.
In order for this code to work, we first have to start the RQ Schedule processes.
Hop back into your terminal and run an rqworker in the background. This process polls Redis and runs the currently queued tasks:
Now run the rqscheduler. This process polls Redis once every minute and moves scheduled jobs to the relevant queues when they need to be executed:
Our current code prints to the console whenever the ISS flies by a given latitude and longitude. Let’s have more fun by configuring our notify_subscriber function to send text messages.
Sending a text message with Twilio in Python
Now we’ll use the TwilioRestClient to send an SMS using the Twilio REST API. Make sure you have your Twilio phone number purchased. While this app will work just fine with a trial account, upgrading will let you remove the trial account text from the messages being sent, and will allow you to buy additional phone numbers to scale the app.
Let’s finish writing our notify_subscriber function to send an actual text message. Head back over to iss.py and add the following highlighted code:
Notice that we are adding the subscriber back into the scheduler queue at the end. This allows us to continue sending notifications each time the ISS comes back. We are also now sending them a text message when they are initially added to the queue. Don’t forget to replace where it says TWILIO_PHONE_NUMBER with an actual phone number that you can send messages from.
In order for this code to work, you will need to set your Twilio authentication credentials as environment variables. These values can be found on your account dashboard:
If you want to see this code in action, add the following two lines to your file to call the add_to_queue function. You can call this with your actual lat and lon, but I’m going to include dummy values for now:
You should receive a message for subscribing, and you can try checking out where the ISS currently is if you want to test to see if the notifications work.
Building a Flask application for subscribers
Flask is a really simple, lightweight web framework for Python. We only need very basic functionality, and Flask gives us exactly what we need.
Create a basic app.py file for our Flask app. We’ll just return an index.html page for now:
In the above code, we are setting a route / that takes GET requests. This route only returns an index.html which will act as our signup page. This HTML doesn’t exist yet, so let’s fix that. This will have a form with an input element for their phone number and a submit button. Create a directory called templates, open a file called index.html and add the following code:
Notice that we created two hidden elements to hold values for latitude and longitude. We will get these using HTML5’s GeoLocation API. Create a directory called static and write the following code to a file called getLocation.js inside your new directory:
Now include this script in your index.html at the bottom of the :
Check to make sure this works by running your Flask app:
And visit http://localhost:5000/ to see it in action before heading back to the code.
Now create a route for our form to POST to. Open up app.py again and add a /subscribe route that adds the user to the queue with their phone number, latitude and longitude. Open your app.py file again and add this route:
We now have an app for people to subscribe to ISS notifications!
Scaling with Twilio Copilot
This is all awesome, but the International Space Station is international after all. What if we wanted to notify friends from all over the world using a pool of Twilio numbers? This is where Twilio Copilot comes into the picture, giving you several new features that make adding international capabilities to our application really easy.
In particular we’ll use Geo-Match to send notifications from a number in the subscriber’s country, and Sticky Sender to make sure this notification always comes from the same Twilio number.
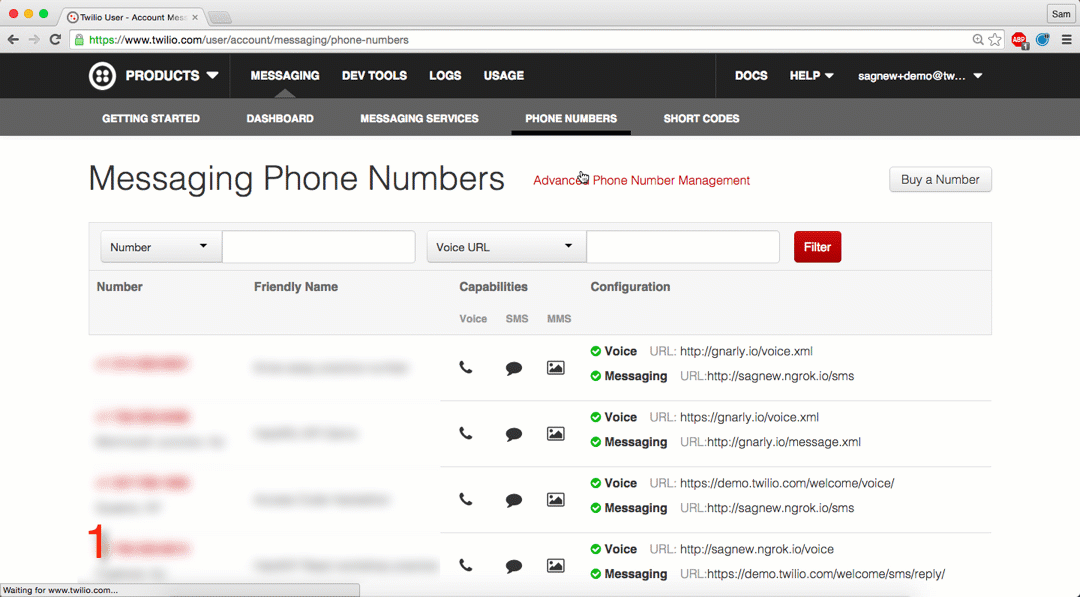
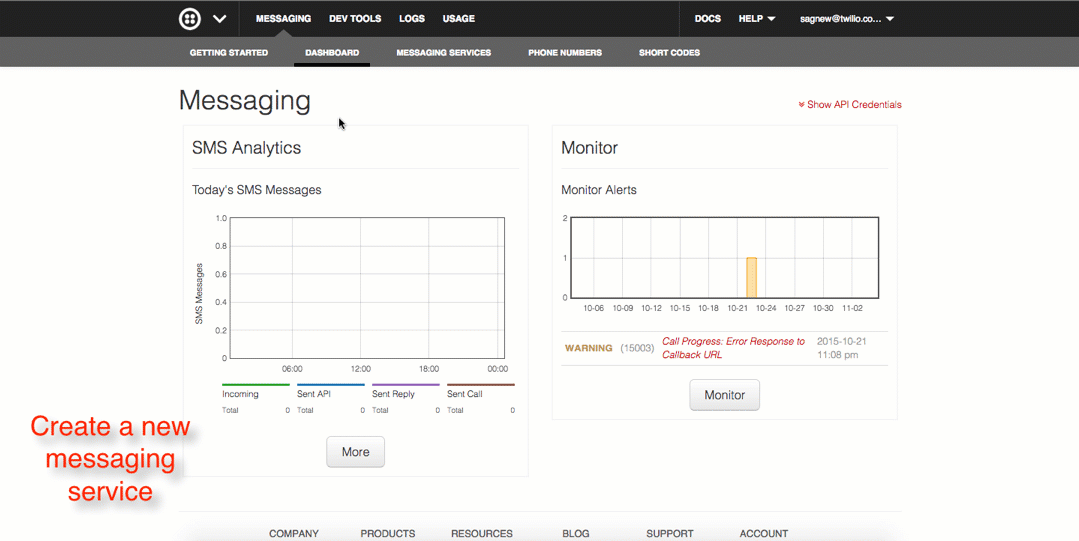
Head over to your Twilio account and create a messaging service in your dashboard. You will be able to add any pre-bought phone numbers to your messaging service or buy new ones as well. Buy multiple phone numbers from different countries and add them to your messaging service.
The Geo-Match and Sticky Sender features are enabled by default when you create a new messaging service.
Changing our code to send from a messaging service instead of a specific phone number is actually fairly easy. Head back over to iss.py and update the notify_subscriber function:
You’ll also want to update the code in the add_to_queue function where a subscription notification is sent:
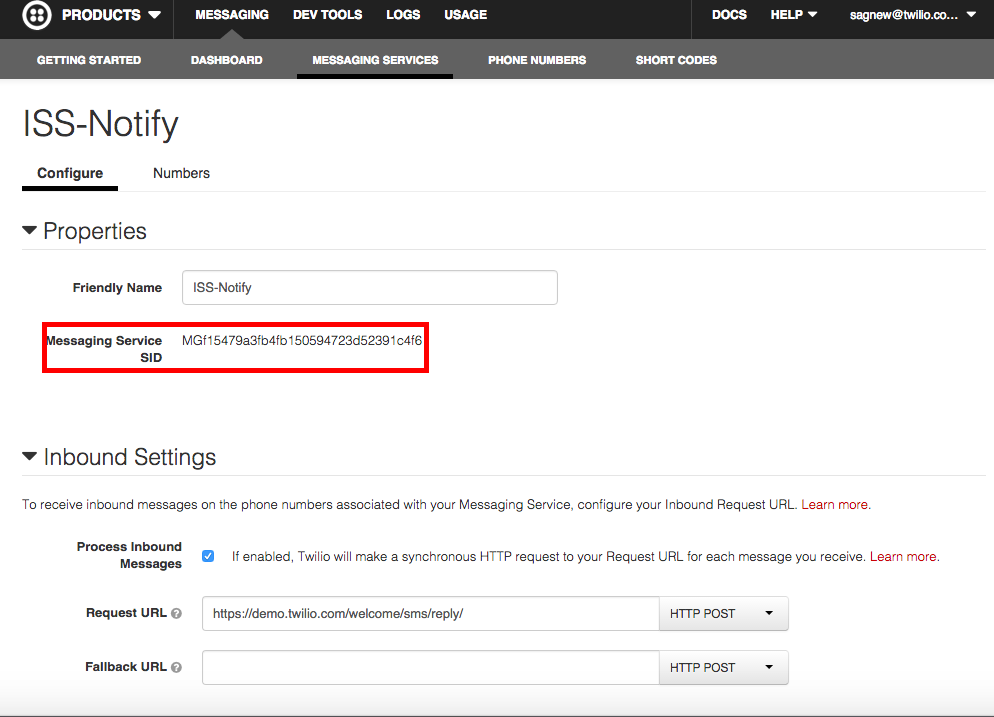
You can find your messaging service SID in your Account dashboard as well:
As you can see once you have some phone numbers configured, using the new Twilio Copilot features is as easy as changing one line of code.
Returning to Earth
You were just able to experience how easy it is to incorporate the new features that shipped with Twilio Copilot. All we did was create a messaging service and change one line of code to send from this messaging service as opposed to implementing an entire system ourselves. Thanks to Copilot, we can experience the joy of having a friend in the front seat with the navigation system when scaling SMS delivery systems.
Now anybody can sign up to receive notifications whenever the ISS flies over them. An awesome hacker from Temple University built something similar at a hackathon, except it also involved pizza parties.

Feel free to reach out if you have any questions or if you want to show off how you used Copilot features in your Twilio app.
- Email: sagnew@twilio.com
- Twitter: @Sagnewshreds
- Github: Sagnew
- Twitch (streaming live code): Sagnewshreds

Related Resources
Twilio Docs
From APIs to SDKs to sample apps
API reference documentation, SDKs, helper libraries, quickstarts, and tutorials for your language and platform.
Resource Center
The latest ebooks, industry reports, and webinars
Learn from customer engagement experts to improve your own communication.
Ahoy
Twilio's developer community hub
Best practices, code samples, and inspiration to build communications and digital engagement experiences.