Learning Meteor.js: A Simple Chat App Tutorial
Time to read:
December 16, 2015
Written by

Meteor.js allows developers to share their JavaScript between the client-side and server-side in a project. Let’s see how by building a simple chat application using Meteor.js and Twilio’s IP Messaging.
Getting the Band Together
There are just two prerequisites to our application before we get started:
With that out of the way we can start hacking.
The First Star I See May Not Be A Star
We’ll start by creating a Meteor project called simplechat:
We can run our app straight out of the box by going into the directory in which it was just created and running the meteor command. Now browse to http://localhost:3000 and check it out:
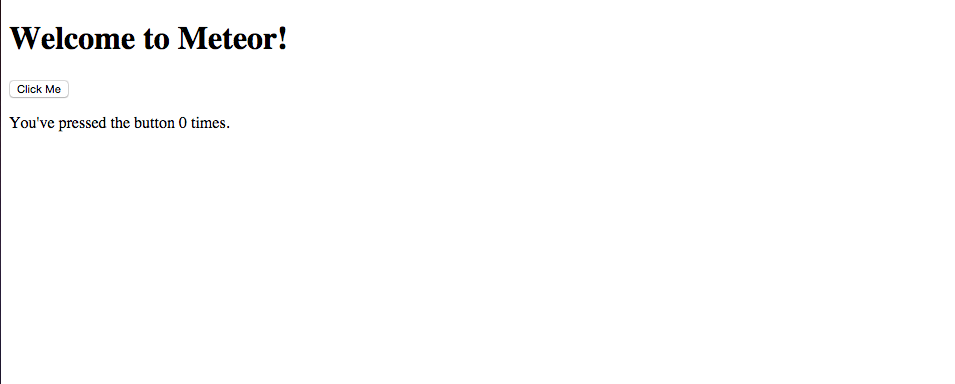
Click the button and see Meteor in action. We’ve done it, we built our first Meteor application! I hope you all have enjoyed this blog post… What’s that? What about chat? Oh yeah, I guess we still need to build the chat part of our chat app. Before we do, open up
simplechat.js and take a look at the default code:
Client code and server code in the same file? #MindBlown
Although having all our code in the same file is convenient the first step we’ll take in building our chat app is separating out client-side and server-side code. We’re doing this for two reasons:
- It makes the code a bit easier to digest
- We’ll be using our Twilio credentials on the server side and we want to keep them secure
Luckily, the process of separating our code isn’t too painful. Start by creating two new directories called client and server:
Now create a new file called main.js within the client folder. For the moment, we’ll just move everything within the isClient section of simplechat.js into this file:
Next create a file called app.js within the server directory. We’ll move the code from within the isServer part of simplechat.js to this file:
Clear out any remaining code in your simplechat.js. If you leave the meteor command running Meteor will automatically reload your changes as you make them. If you stopped the command before fire it up and again. You can leave this command running while you’re coding and only restart it if you’re adding a dependency to your app:
We’ll be using some very basic routing in our application to make sure the proper content loads when a user visits the homepage. Fortunately there’s a great library called Iron.Router that we can use to make this happen. We’ll start off by adding it to our project:
Are you ready to write some code? I’m hope so because the time has come. Open up client/main.js and delete all the current code. Let’s create a route for the homepage:
If you run the app you’ll see we currently have an error:
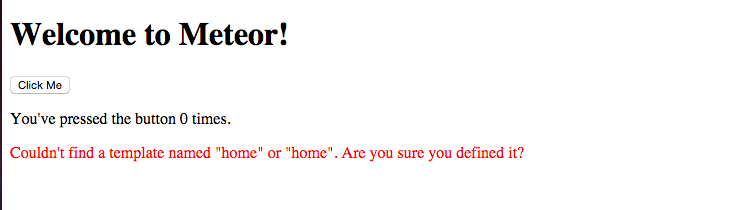
As the error message is clearly telling us, we need to define our home template. We can do that in simplechat.html which Meteor created when we ran meteor create. Let’s delete everything in that HTML file and start fresh:
By defining a in our HTML, Iron.Router knows to automatically put that template into the element of our page. Our home just has a form that lets a user share something in the chat.
Go back to the page in your browser and you’ll see that we’re no longer getting the error about missing the home template.
It’s time to add the Twilio IP Messaging library. Typically, you’d just add the
Related Resources
Twilio Docs
From APIs to SDKs to sample apps
API reference documentation, SDKs, helper libraries, quickstarts, and tutorials for your language and platform.
Resource Center
The latest ebooks, industry reports, and webinars
Learn from customer engagement experts to improve your own communication.
Ahoy
Twilio's developer community hub
Best practices, code samples, and inspiration to build communications and digital engagement experiences.