How to Build Client Payment Reminders using Twilio, Notion, and Python
Time to read:
August 03, 2022
Written by
Reviewed by

Running a business requires payment handling. It doesn't matter whether you are a freelancer or a big corporation, sometimes clients forget to pay their pending dues. If you have a huge list of clients, it makes for a tedious experience to go through the records daily and send them reminders. To solve this issue, you can automate the entire reminder workflow.
In this tutorial, you’ll learn to use Twilio’s WhatsApp API with the Notion API and Python to send payment reminders to your clients at regular intervals. You will use Notion for storing data, Twilio for sending WhatsApp messages, and Python to implement the business logic. We will create three reminders that will be sent 7 days before, 3 days before, 1 day before, and each day after the payment is due.
Prerequisites
To follow this tutorial you need the following items:
- Python 3.6 or newer. If your operating system does not provide a Python interpreter, you can go to python.org to download an installer.
- A Twilio account. If you are new to Twilio click here to create a free account.
- A Notion account. If you don't have one, click here to create a free account.
- A smartphone with an active WhatsApp account, to test the project.
The entire code for this repository is available in this GitHub repository.
Creating a Notion Database
The first thing you need to do is to create a Notion database.
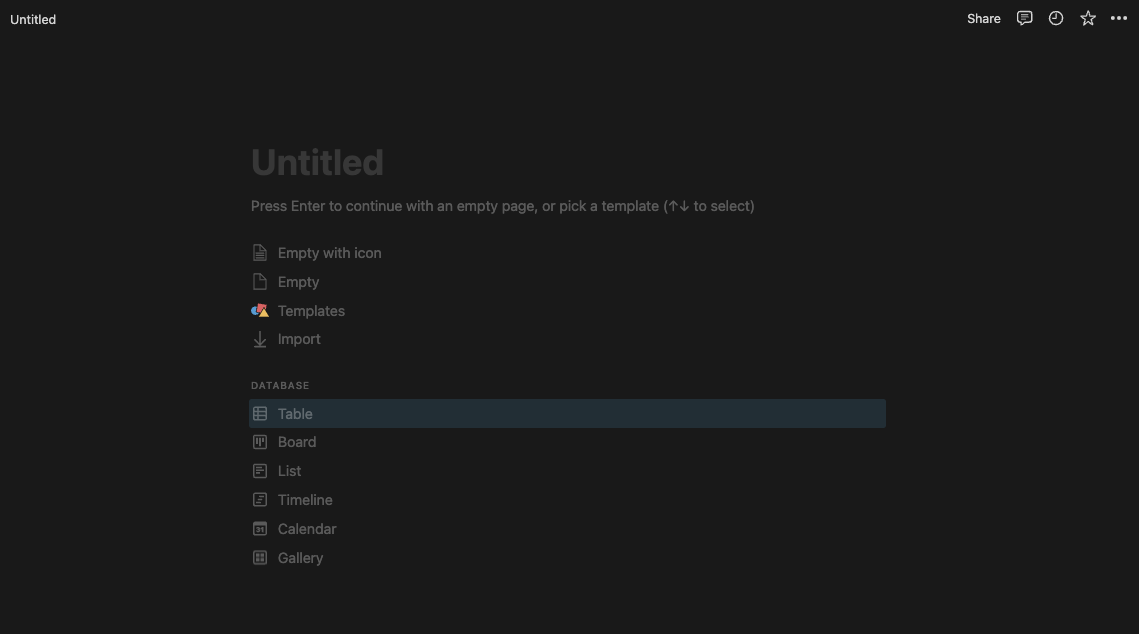
To do so, open your Notion account, click on Add a page, and select Table under the databases.
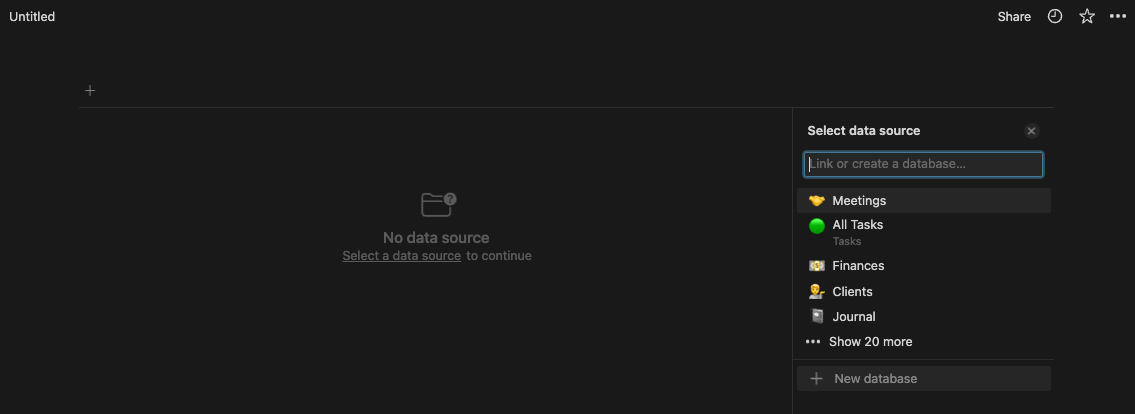
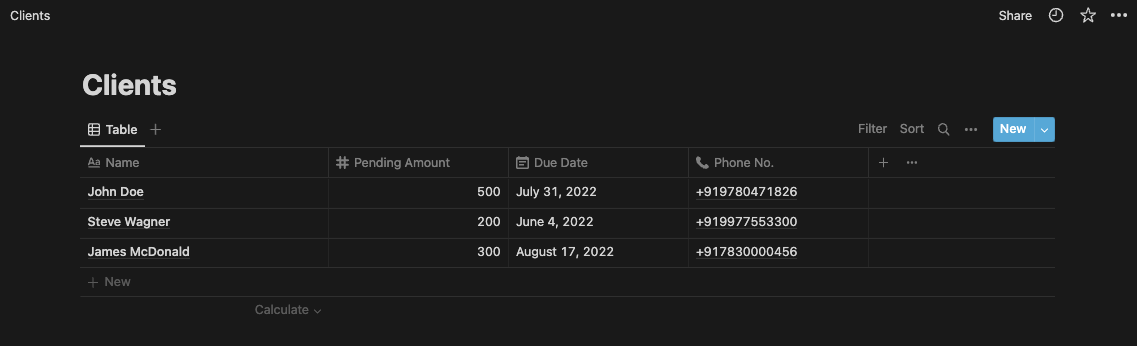
Once the table is created, select the data source as a New database and give your database a name like “Clients”.
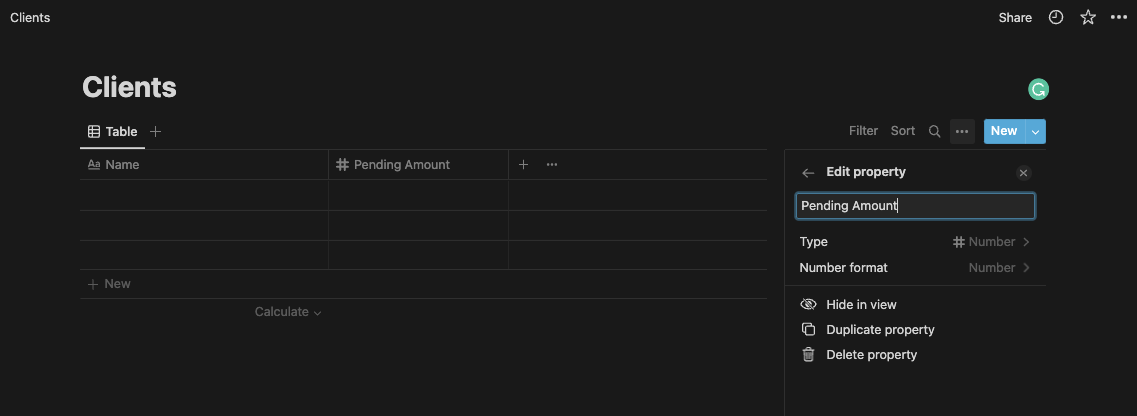
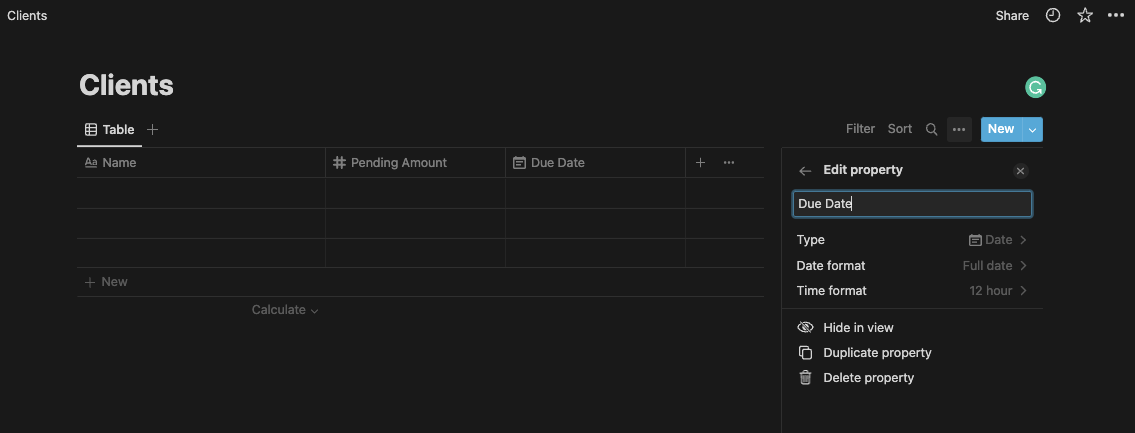
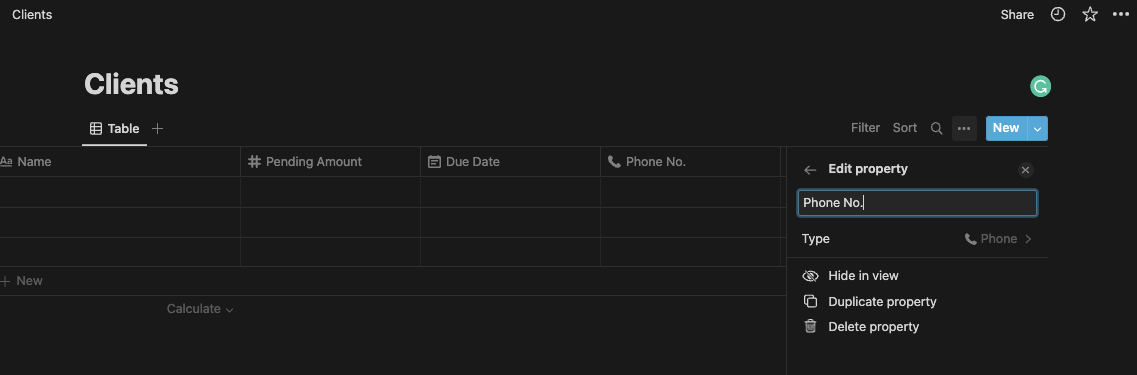
Every database table in Notion has a set of fields in which you can store your data. Add the following three fields after the Name field to your table:
- Pending Amount (Number) - for specifying the amount to be paid by the client.
- Due Date (Date) - for specifying the payment’s due date.
- Phone No. (Phone) - a phone number of the client.
After creating your database, you need to add some test clients to it. For the sake of this tutorial, you can add the details of your family members and add the phone numbers that you can access. Make sure to add the phone numbers in E.164 format as recommended by Twilio otherwise you might get some errors while sending messages.
Your Notion database is now set up. Next, you need to query the data in Notion using the Notion API in your Python application.
Getting Notion API Token
To use the Notion API, you need to create a Notion integration and get an API access token.
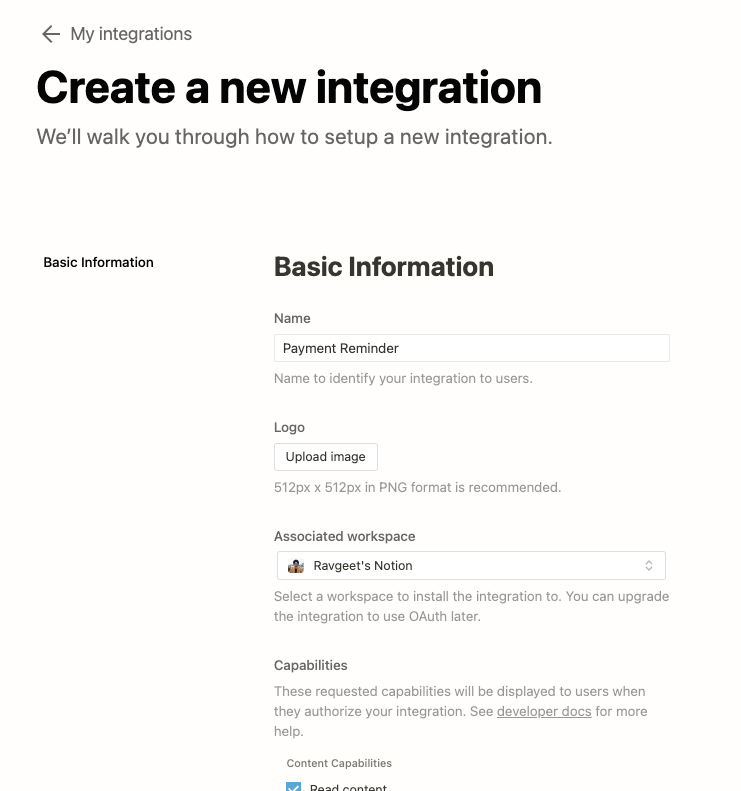
To do so, visit https://www.notion.so/my-integrations and create a new integration. Give it a name “Payment Reminder”, and upload a logo if you want to.
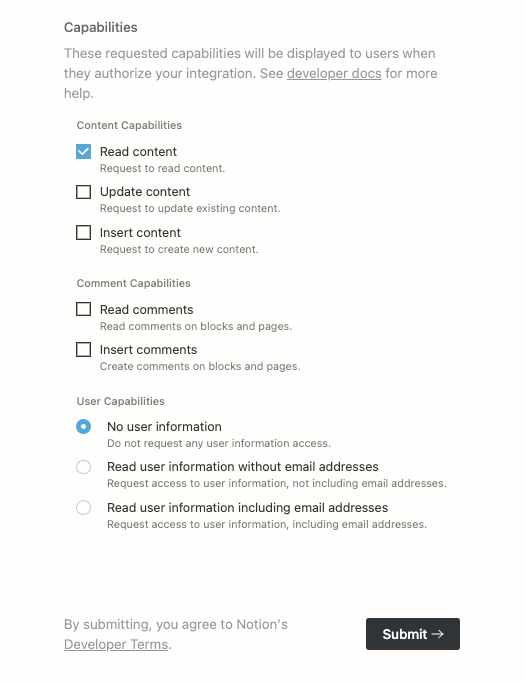
Next, set its Content Capabilities to Read Content only and Comment Capabilities to None, and User Capabilities to No user information only and click Submit.
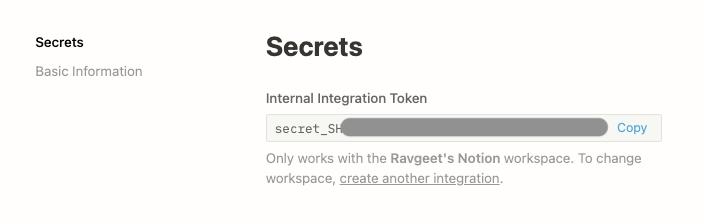
Once the integration is created, you will be presented with a secret API token. Copy and keep it safe as you will be using it later while writing the Python application.
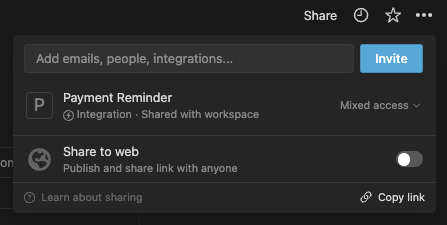
By default, Integrations don't have access to pages or databases in Notion. So, you need to share the specific page or database that you want to query with the Notion API with your integration.
To do so, open your database in Notion. Click on the Share button and use the selector to find your integration by its name, and click Invite.
With that, you can now access your Notion database using the Notion API in your Python application.
Setting Up Python Project
First, open your terminal, navigate to a path of your choice, create a project directory called “payment-reminders”, and set up a virtual environment by running the following commands in your terminal:
For this project, you need to install the following PIP dependencies:
- twilio - Twilio’s Python SDK client for Twilio API.
- requests - Used to make HTTP requests.
- python-dotenv - Used for reading environment variables from the
.envfile.
Next, install the above-listed PIP dependencies by running the following command in your terminal:
Connecting to Notion API and Check Service Status
Now is the time to write some code. Firstly, you want to connect to the Notion API and fetch the entries in your database. Once you have the entries, you can loop over them and check their status by sending a GET request.
To do so, first create a src directory at the project’s root directory. In the src directory, create a main.py file and add the following code to it:
In the above code:
- In the
get_client_detailsfunction, you connect to the Notion API and query your Notion database to get the data stored in it. The POST request to https://api.notion.com/v1/databases/{NOTION_DATABASE_ID}/query returns the following response:
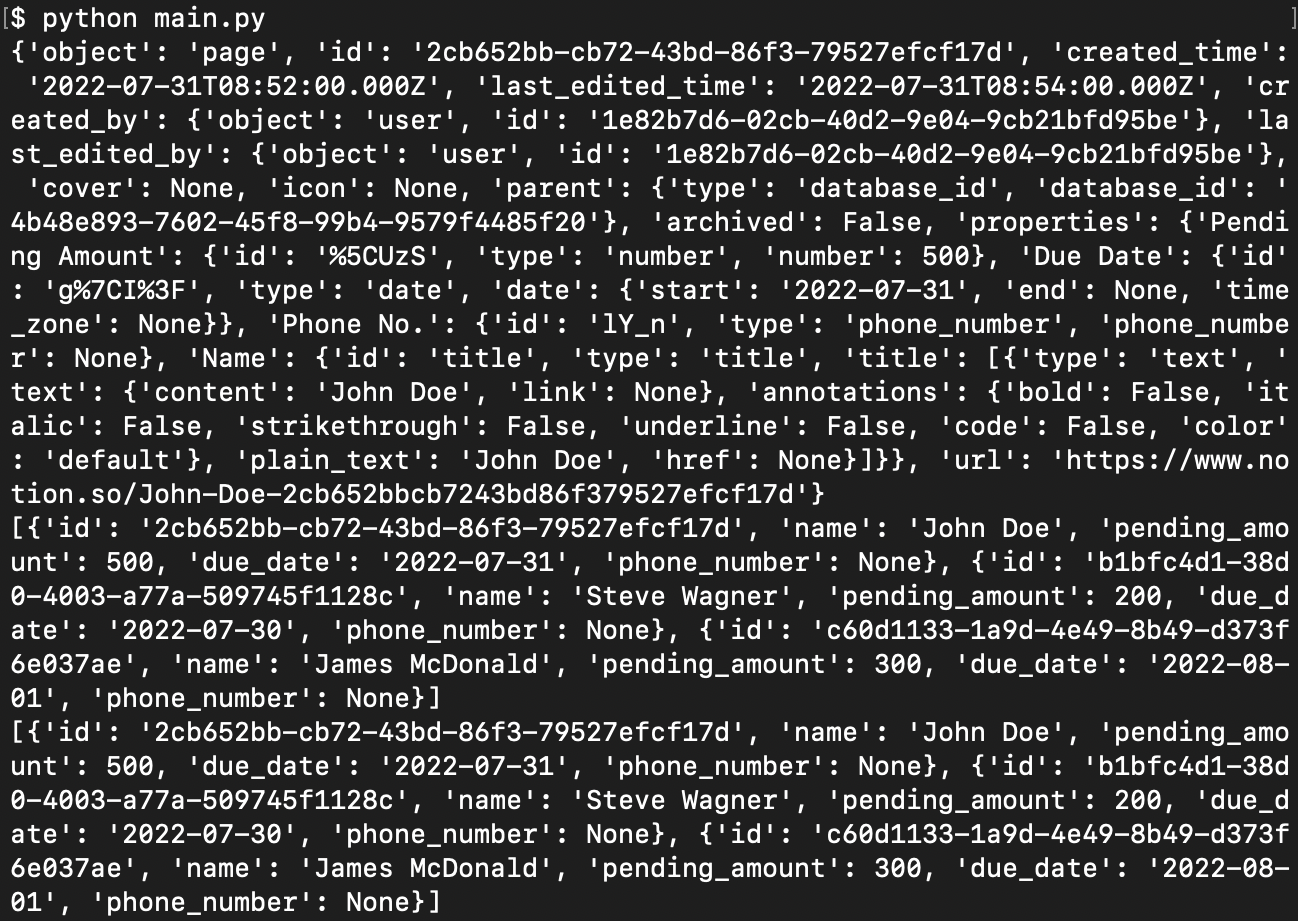
- As the response is pretty big and you don’t need all of the data, you reduce the response by creating a new list of clients that have the following structure:
- In the
is_duefunction, you check whether thedue_dateis due or not. Since in this tutorial the objective is to send a reminder before seven days, three days, one day before the due date, and each day after the due date, this function checks the same. - In the main function, you call the
get_client_detailsfunction and for the clients that have a pending due date, you call thesend_reminder function, which you will write in the next section.
Next, create a .env file in the project’s root directory and add the following two environment variables to it:
To get your database ID, check out the URL structure for a Notion page - https://www.notion.so/{workspace_name}/{database_id}?v={view_id}. The part that corresponds to {database_id} in the URL is your database’s ID. It is a 36-character long string.
If your Notion database is not within a workspace, or if it simply doesn’t match the URL shown above, it probably looks like this: https://www.notion.so/{database_id}?v={view_id}.
Sending WhatsApp Notifications
Sending reminders is the main objective of this tutorial. For sending reminders, you can use the Twilio WhatsApp API to perform this task.
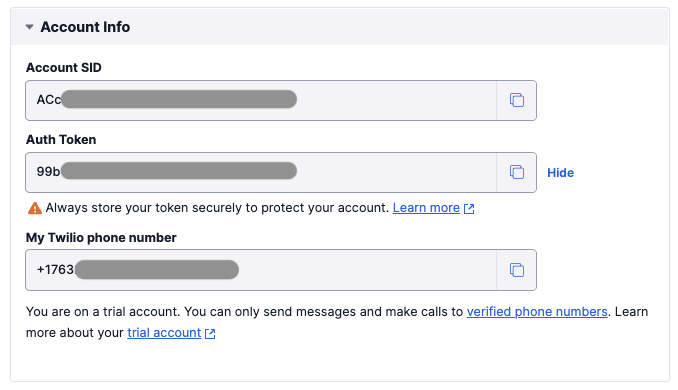
To do so, first, log in to your Twilio account and visit the Twilio console. On the console, look out for the Account Info section and obtain the Account SID and Auth Token.
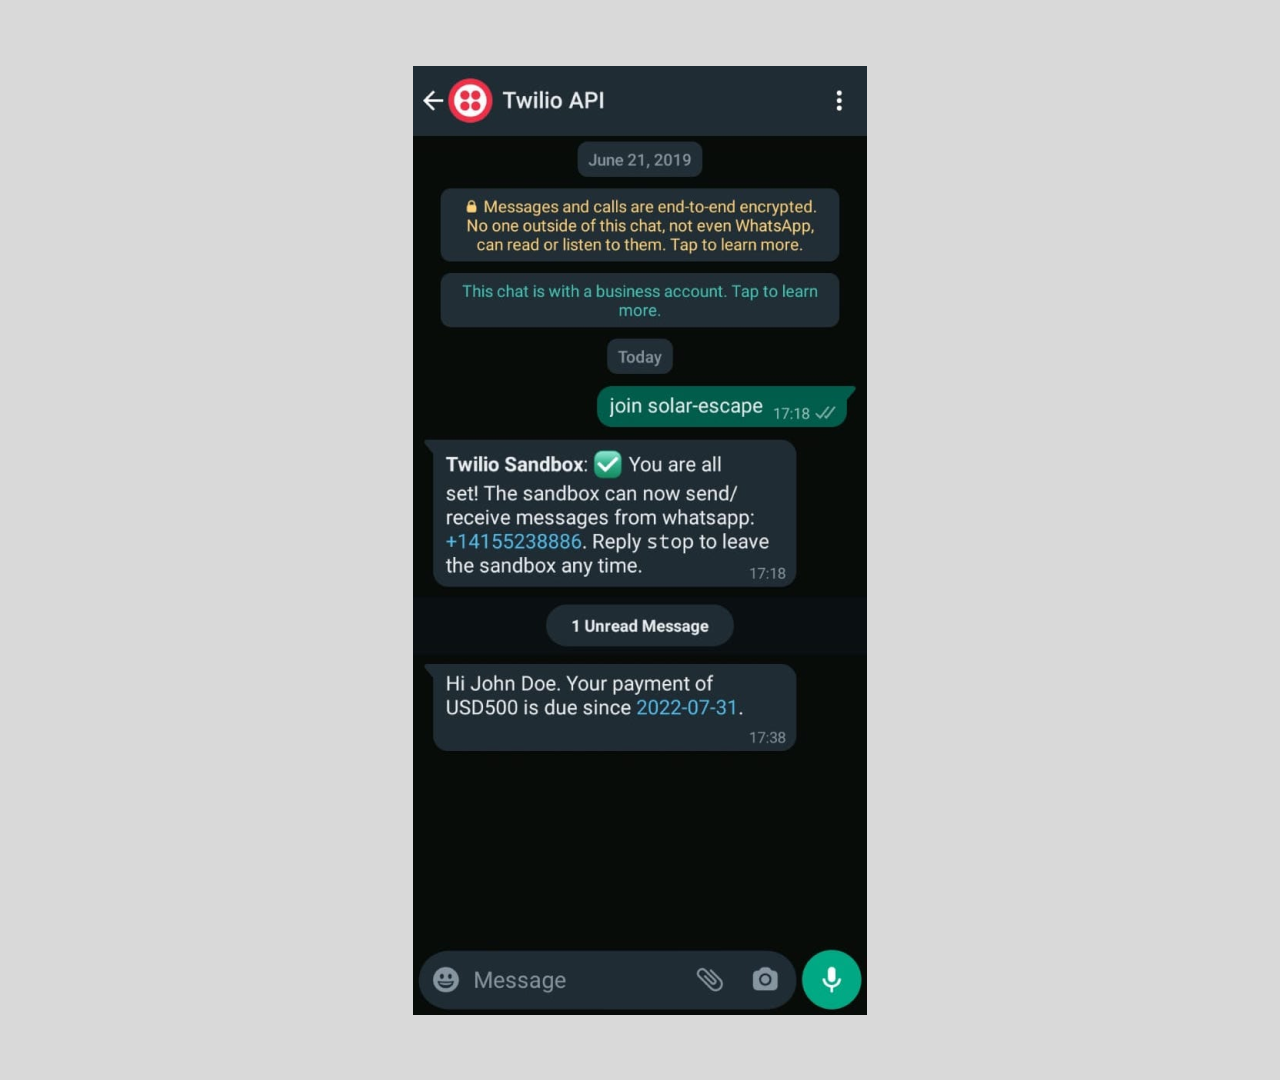
Next, activate your Twilio Sandbox to send and receive WhatsApp messages.
Next, add the Account SID and Auth Token as environment variables to your .env file:
Next, update the main.py by adding the twilio library at top of the file and and the send_reminder function before the main function:
In the above code, you define the send_reminder function that takes client as input. It uses Twilio Python SDK (Client) to send a WhatsApp message from a Twilio Sandbox phone number to the client’s phone number to_whatsapp_number. The body of the message contains the client’s name, pending amount, and the due date.
Finally, execute the Python application by running the following command in your terminal:
If there are any empty rows or fields in your Notion database, the application might throw an index error. Otherwise, if there are any clients with due dates, then the application will send some WhatsApp notifications:
Automating Sending Reminders
The final step is to automate the process of running the Python code on a regular basis to keep checking for new due dates. There are a lot of ways which you can automate the script execution, for example - host your script on Heroku and use Heroku Scheduler, use Crontab on a self-hosted machine, or use Github Actions. For this tutorial, you will use Github Actions.
To do so, first, create a directory path .github/workflows in your project’s root directory. In .github/workflows, add a main.yml file and add the following code to it:
The above Github Action is scheduled to run every day at 00:00 UTC as specified by the line cron: "0 0 * * *". Depending upon your requirement, you can change the frequency at which the code runs. With workflow dispatch, you can run the action manually whenever you want.
Next, create a requirements.txt file to list all of the dependencies used by your Python application by running the following command in your terminal:
Next, create a new Github repository. Go to Settings > Secrets > Actions.
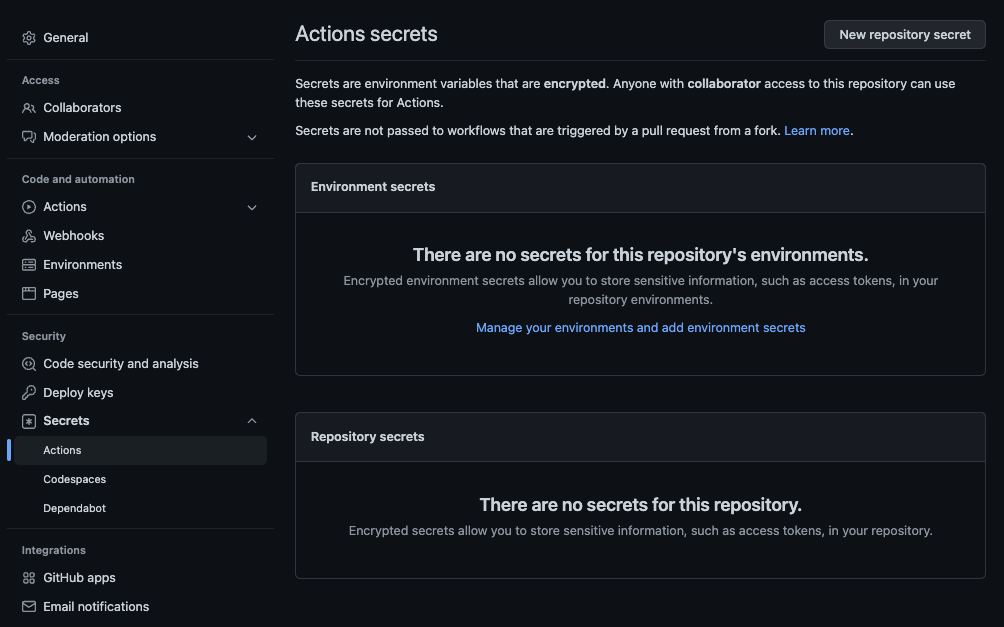
Next, add the following secrets and their respective values as repository secrets:

Next, initialize a Git repository in your local project by running the following command in your terminal:
Next, create a .gitignore file in your project’s root directory and add the following files and directories to it to prevent them from being pushed to the upstream repository:
Finally, commit and push the changes to your upstream repository by running the following commands in your terminal:
Testing
To verify all of your work till now, visit the Actions tab and run the workflow manually.

Wait for the workflow to complete and check for any notifications on your WhatsApp:
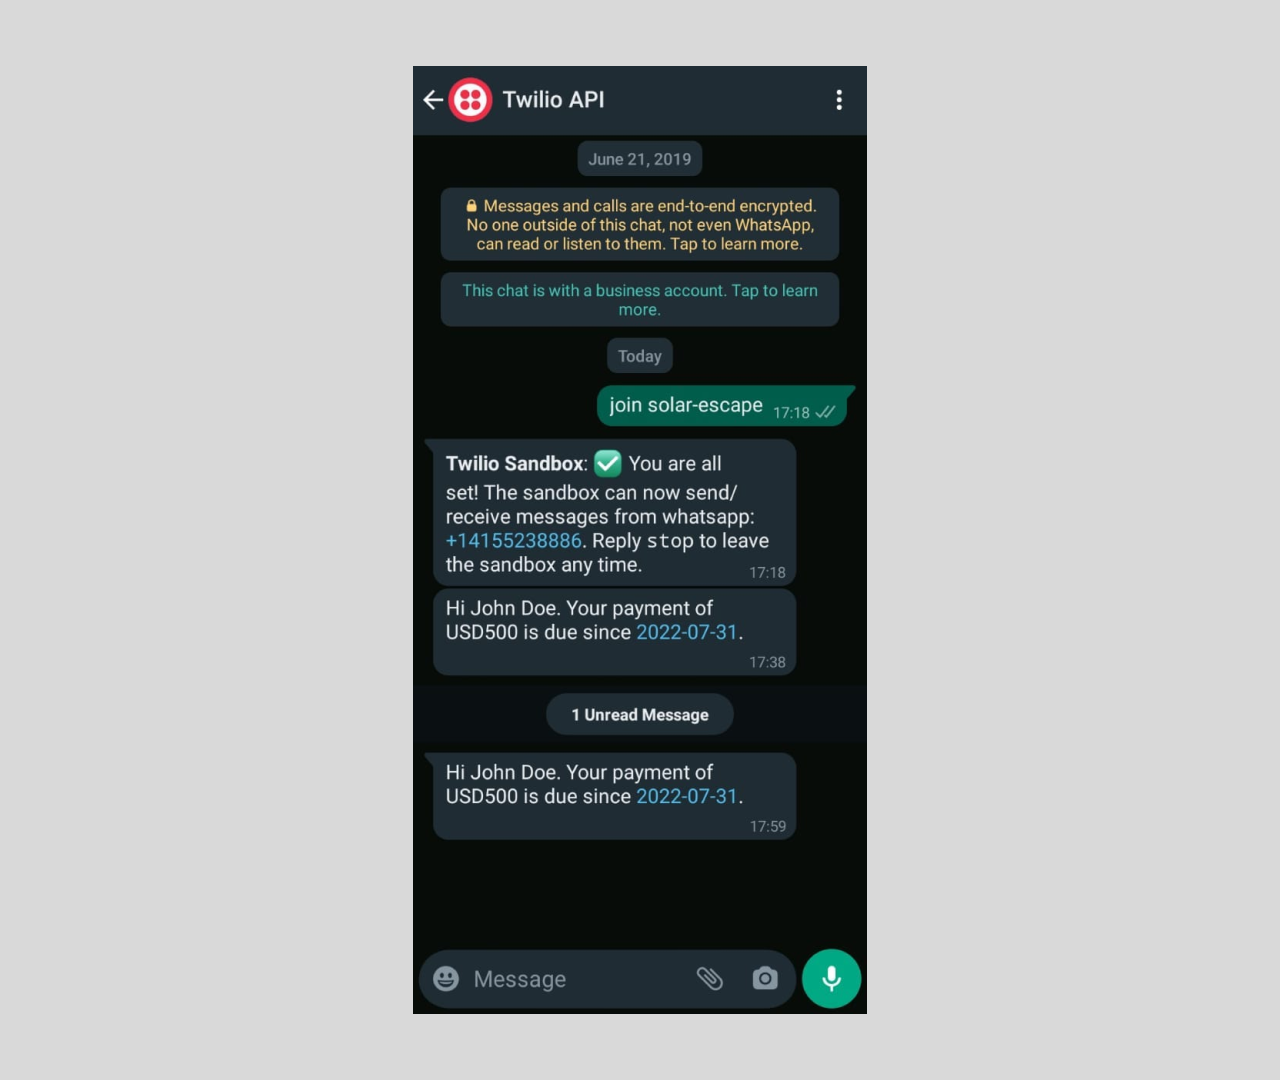
And with that, you have successfully implemented the payment reminders for your clients.
Conclusion
Congratulations! In this tutorial, you learned to send payment reminders using Twilio, Notion, and Python. You used Notion to store the client’s data, Python for logic, Twilio for WhatsApp notifications, and GitHub Actions for automation.
Let me know if this project helped you or just say Hi! by reaching out to me over email! The entire code for this repository is available in this GitHub repository.
Ravgeet is a remote, full-time, full-stack developer and technical content writer based in India. He works with and writes about React, Vue, Flutter, Strapi, Python, and Automation. He can be reached via email ravgeetdhillon[at]gmail.com, LinkedIn, and Github.
Related Posts
-
 How To Containerize A Twilio App With DockerDylan Frankcom
 -
 How to run Automated AMD Tests and Fine-Tune Twilio AMD for Accurate Voice AutomationRosina Garcia Bru Fernando Vieira Machado
 -
 How to Build an AI Chatbot with Facebook Messenger, OpenAI, and Twilio Programmable Messaging using PythonDylan Frankcom
Related Resources
Twilio Docs
From APIs to SDKs to sample apps
API reference documentation, SDKs, helper libraries, quickstarts, and tutorials for your language and platform.
Resource Center
The latest ebooks, industry reports, and webinars
Learn from customer engagement experts to improve your own communication.
Ahoy
Twilio's developer community hub
Best practices, code samples, and inspiration to build communications and digital engagement experiences.