Build React Projects with a Background in Python, Flask, HTML, and CSS
Time to read:
January 15, 2021
Written by
Reviewed by

There comes a time in every developer's life when they have to figure out – do I need to learn a new language for this? Should I stop using Python and try out a JavaScript project? How do I know if React is the right tool for me to use over Vue? There's just so much out there – and you're not alone in having these thoughts.
Although learning Python can help you pick up other languages, it can be a challenge to figure out which technologies make the most sense for you and your project. In this post, I’ll show you React, a JavaScript library that has plenty of support online from professionals within the industry as well as independent developers.
In this article we’ll build a simple Flask app and change it so that it can be scaled up further using React. This will help you see the differences in syntax and give you an idea of which microframework is better for your case so let's try it out!
React - what's so great about that?
React is an open source JavaScript UI library built to help developers like you focus on the code to build user interfaces with minimal stress. In the React philosophy, your project’s UI is organized in a tree that React maintains – each object you write is a node on the tree.
In the standard Model-View-Controller (MVC) framework, React can be used to build out the View component.
In order to better understand React we'll be taking a simple Flask app and rewriting the code in React instead. Go ahead and install Node.js and npm on your local machine. If you are using a Mac and have Homebrew installed on your machine, then you can use brew install node.
At the time that this article was written node is on version 15.6.0. You can run node --version on your command line to check and make sure the version is up to date.
Translate a Flask web application to React
Let's create a simple React application that shows a sample UI, just as you would when you make a Flask application. For our example, we’ll create a webpage to show a fixed list of usernames that entered a giveaway.
In a Python and Flask application, consider an app.py file with code that looks like the following:
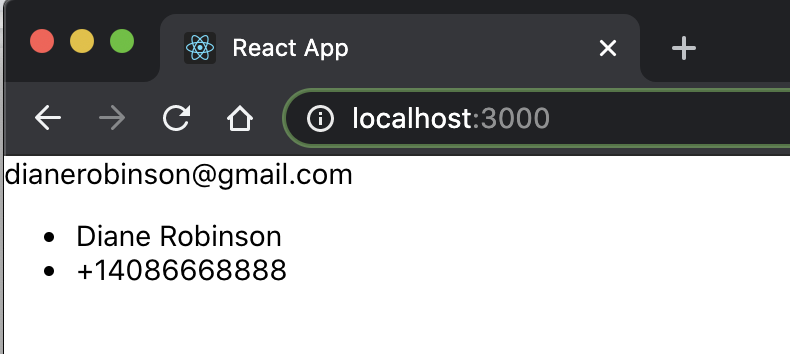
The index.html page might also look similar to the following:
Here’s how that page would render:

Coming from your Python, Flask, HTML, and CSS background, this should look somewhat familiar to you! You pass the variable usernames_list from Python to the view so that it can be rendered in HTML.
Python – well, it’s Python (there’s a reason we call it "Pythonic"). In React, however, you notice a syntax similar to HTML because React gives you the ability to construct your DOM in JavaScript and have the changes reflected as they occur.
Build in React instead of Flask
Flask is an awesome framework – all you really need to do is understand Python to get your first project up and running. Most of the time, you use templates to render HTML files.
If you’re new to web development, I recommend you to draw a mockup of the web application you want to build – using boxes – so that you can see everything that you'll soon code. For example, your mockup should have a lot of boxes – one for each potential component and prop you want to have.
Keep in mind that props - which stands for properties - are similar to variables because they are used to pass data into a component. It might be best to think of props like function arguments in JavaScript and attributes in HTML.
To help you create a mockup and think of the components to write, you can think of every single thing on your web application as a function or object. React wants to simplify everything for you and allow you to reuse components. It's worth keeping in mind that if a component becomes too complicated, then you should break it down into smaller subcomponents.
Start a React app
In React, there are a few different ways to start a React application. For the sake of simplicity, we'll use a shortcut command to build out the project structure that you can build on.
On your command line, run npx create-react-app my-first-react-app and change into the my-first-react-app directory.
Notice that there are already some folders and files created in the directory created for your convenience. Open the src folder and navigate to App.js where you will see some boilerplate code for the React webpage.
We’re going to hardcode the list of entries for the time being. Replace the contents of the file with the following code:
The function returns JSX – known as JavaScript XML – a JavaScript extension created to make React much more bearable to write. It also looks very familiar, especially coming from a HTML background!
Open up your terminal and enter npm start to start the server on localhost:3000/.
Now, load it in your browser and see the same basic webpage with the list of hardcoded names in a row. Keep this running on your terminal – the localhost:3000 page will change every time you save changes to your code.

Write a component in React
As mentioned above, React uses components and props to make the code cleaner. Instead of listing out all of the names as hard coded text in a <div> tag, we'll pass the emails as props through newly created components. To further understand the value of props, we'll add some more information to each entry as well.
Create a new function above the App() function called ShowEntry(props). Copy and paste the following code in App.js:
When the ShowEntry function is called, React returns an email, full name, and phone number object. Typically, React allows developers to only return a single root node, so to get around this you would have to wrap all of your components with a div as seen above, or simply <> for shorter syntax.
This function will use HTML unordered lists tag to present the props.fullname and props.phonenumber that was passed in with the props.email. The values are displayed just as they would if you were to display a regular variable in Python.
Change the App() function so that it looks like the one shown below. I entered random information but feel free to change it as you desire:
If you ended npm from earlier then run it again on your terminal. You should be able to visit localhost:3000 and see the new changes reflected on the site.
Nice! The webpage is looking a lot better now that there's some structure to it.
Go ahead and call the ShowEntry function a few more times but pass in different strings for the props values. Here's an example of what your App() function might look like:
Use CSS in the React app
There are different ways to incorporate CSS into the React project. One of the ways is to use inline styling and write inline CSS directly in your JSX code.
Here's an example of a header that you can return in JavaScript:
Alternatively – and as a best practice – you can make CSS styling changes in a separate CSS file.
In the JavaScript file's ShowEntry function, we gave the returning div node a className of "usernames_list". This allows us to target the appearance of this React component from CSS. In this tutorial, we'll stick with using the App.css file that was created when we ran the npx command earlier.
Feel free to delete the contents of the App.css file and replace it the following lines to make the usernames_list from the ShowEntry(props) function change colors:
In order for the CSS to be rendered in the React app, you will need to import the file over to App.js. The CSS file should have already been imported when creating the default React template, but here's the full App.js file with the import file at the top in case you removed it earlier:
If you ended npm from earlier then run it again on your terminal. You should be able to visit localhost:3000 and see the new changes reflected on the site.
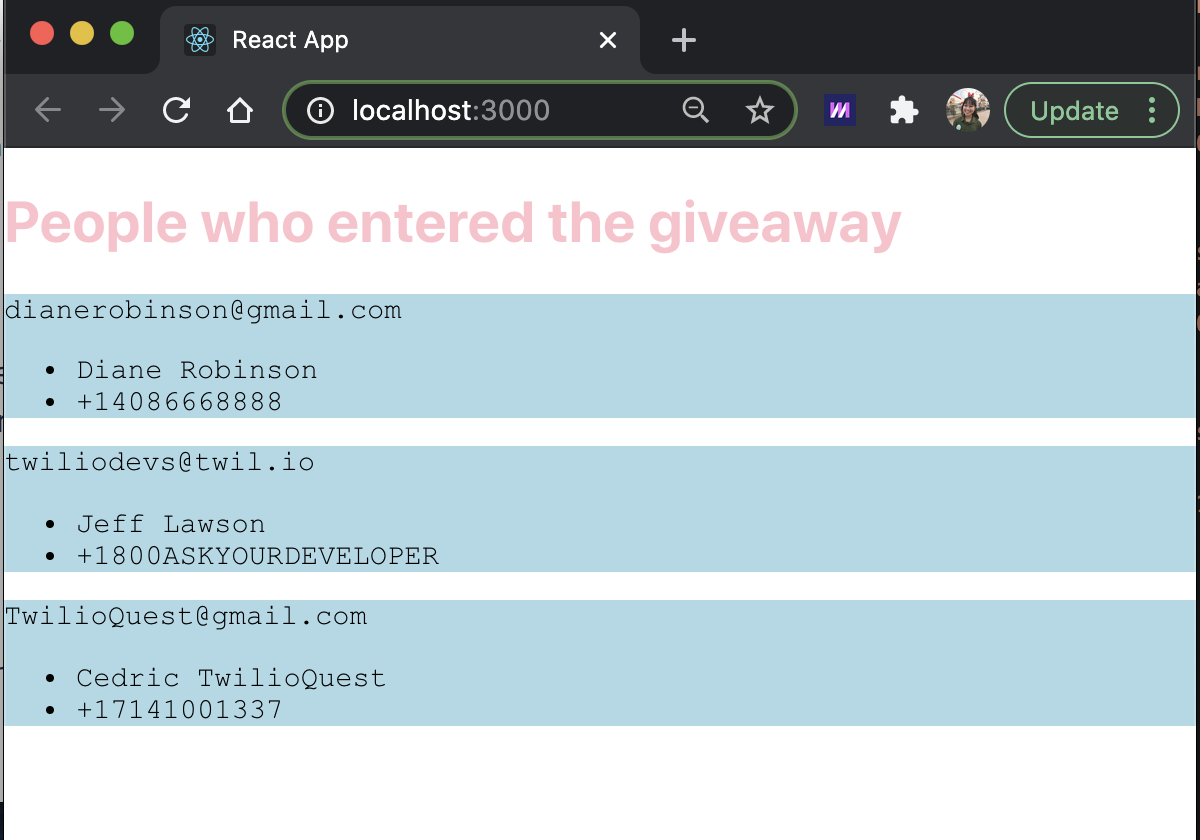
Now that you have a feel for how it’s done, you can put your snazzy CSS skills to use here. You can also check out other modules to help decorate your React app such as Sass or Emotion if you want to build upon your React project.
Building React projects with a background in Python, Flask, HTML, and CSS
Congratulations, hope it wasn't too bad moving from a Flask app to a React app! As you can see, there are only a few syntax changes. Instead of having Flask render the HTML pages and Python functions for your web application, you use React's handy technologies to kickstart your application’s UI.
It's worth noting that in a practical application, you should not explicitly write the data in a list or template as it could interfere with the HTML markup. A workaround would be to use a loop to pass in the data. This would overall give you a nicer structure - whether you're working in Flask or React!
By using React's tools – and connecting with its massive open source community – you will be able to scale up the application that shows user entries in no time. Want a quick challenge? Add a button component and have people enter their name on your site.
Check out these articles to learn how to build more with React:
- Build a Custom Video Chat App with React and Twilio Programmable Video
- Learn how to use Server Push in 5 Easy Steps with Flask, React and Twilio Sync
- Build a Chat App with Twilio Programmable Chat and React.js
Reach out to me over email to show me how your first React projects are going!
Diane Phan is a Developer Network editor on the Developer Voices team. She loves to help programmers tackle difficult challenges that might prevent them from bringing their projects to life. She can be reached at dphan [at] twilio.com or LinkedIn.

Related Resources
Twilio Docs
From APIs to SDKs to sample apps
API reference documentation, SDKs, helper libraries, quickstarts, and tutorials for your language and platform.
Resource Center
The latest ebooks, industry reports, and webinars
Learn from customer engagement experts to improve your own communication.
Ahoy
Twilio's developer community hub
Best practices, code samples, and inspiration to build communications and digital engagement experiences.