Dynamic Email Templates and the Twilio SendGrid Design Editor
Time to read:
July 04, 2023
Written by

Whether it's for a Marketing Campaign, or simply because you want to send more complex, professional looking emails in which you don't have to write HTML by hand, Twilio SendGrid has a Design Editor that you can use to create Dynamic Templates for your emails.
Let's walk through the basics of building email templates for whatever you may need, using the example of creating a marketing email to let people know about the Mars Rover taking a selfie. If you do not already have one you should create a SendGrid account. For the purposes of this tutorial you can choose the free tier.
Creating a Dynamic Template
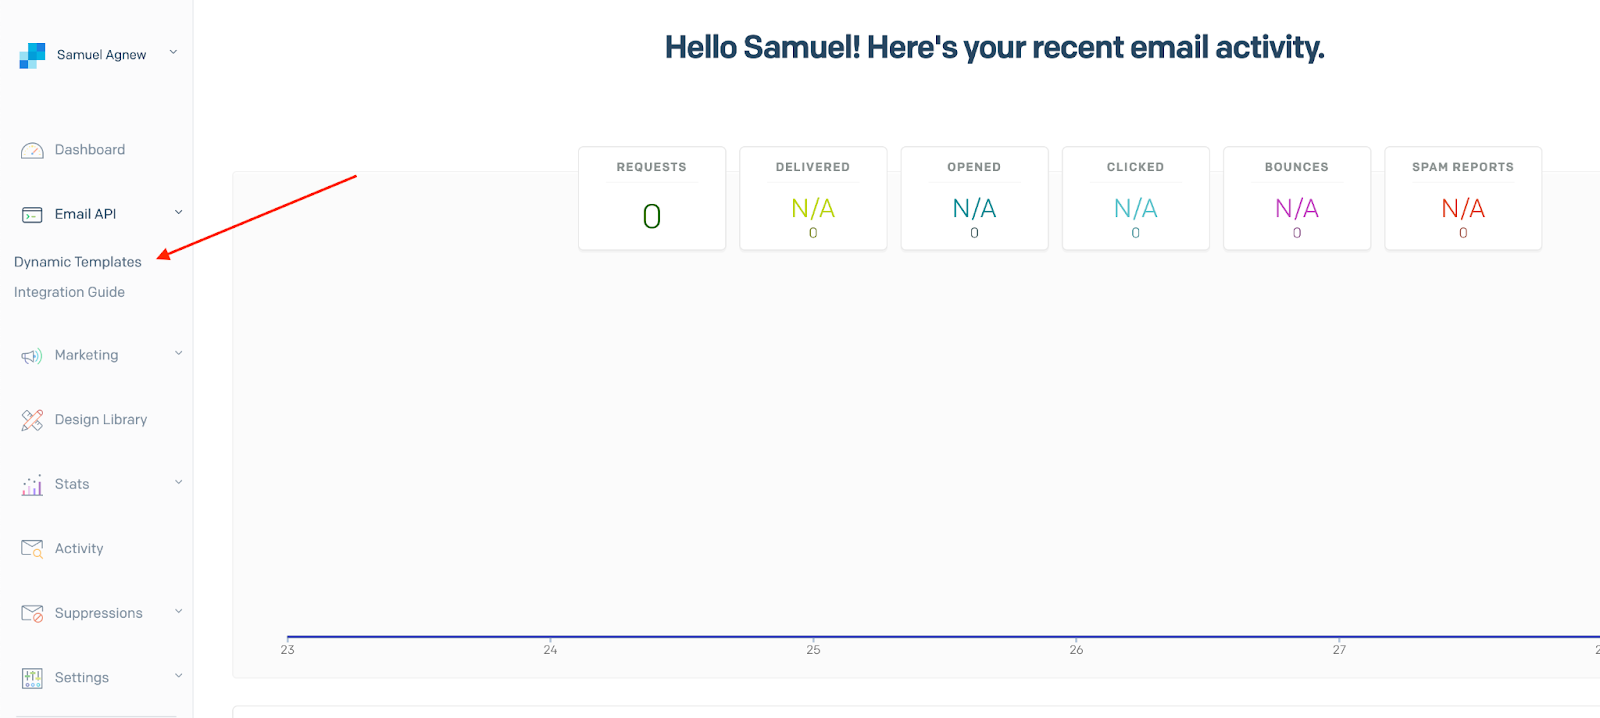
In your SendGrid Dashboard, click on Dynamic Templates under the Email API section
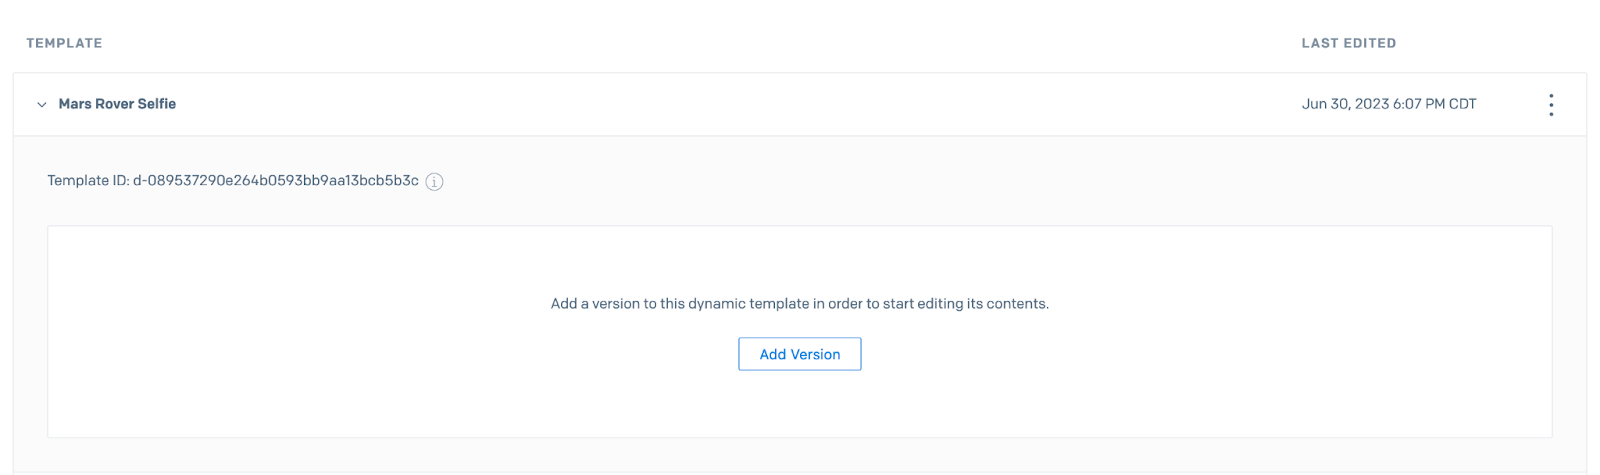
Click "Create a Dynamic Template" and give it whatever name you want. Once you have the template created, click to add a Version to it, so you can start editing the content of the email. You can update this template by creating new versions in the future, so that you can tweak it for different campaigns.
Designing your Template
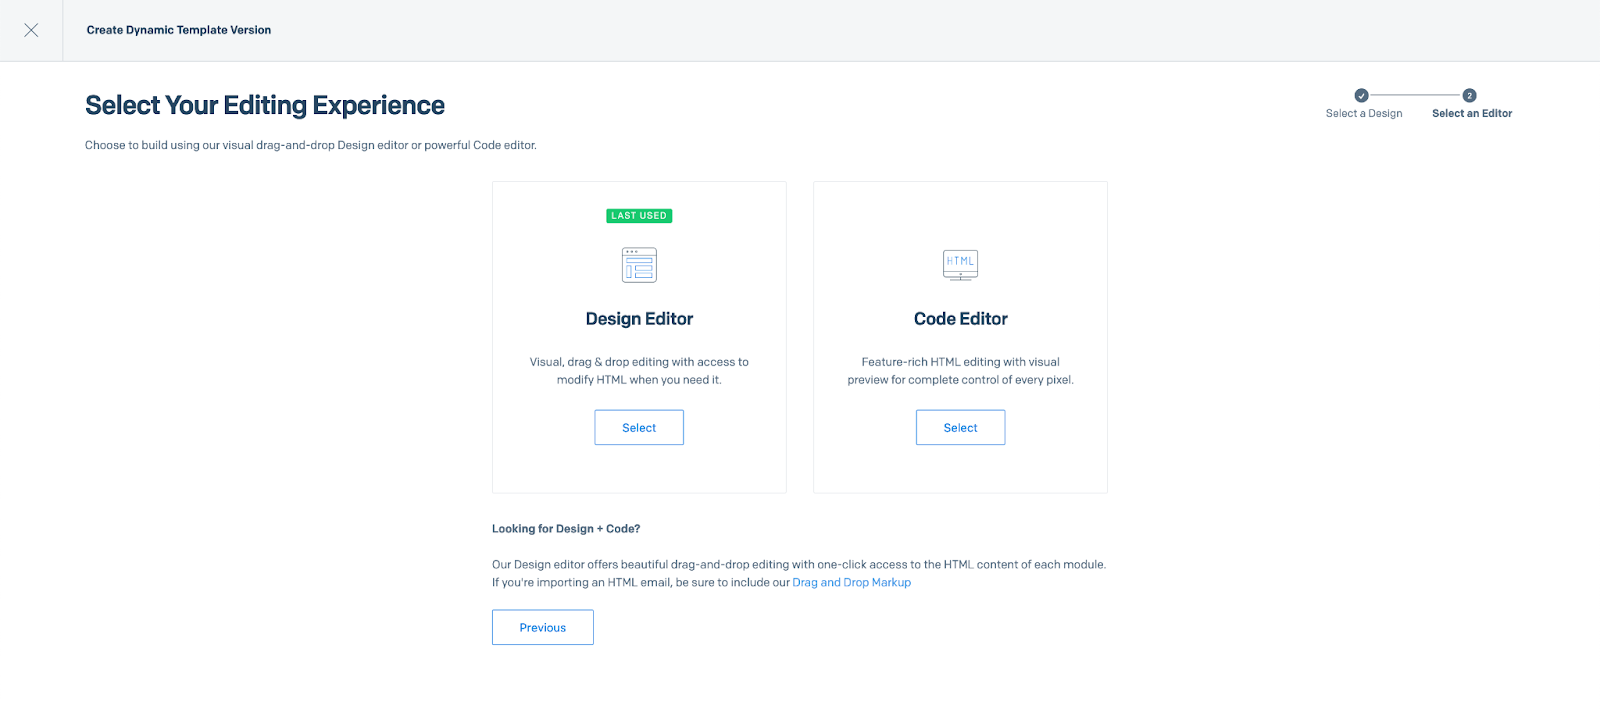
You can choose between editing the email with the Design Editor or directly through code. As the name of this post implies we are going to be using the Design Editor for this example, but you can get more granular by tweaking the HTML itself if need be.
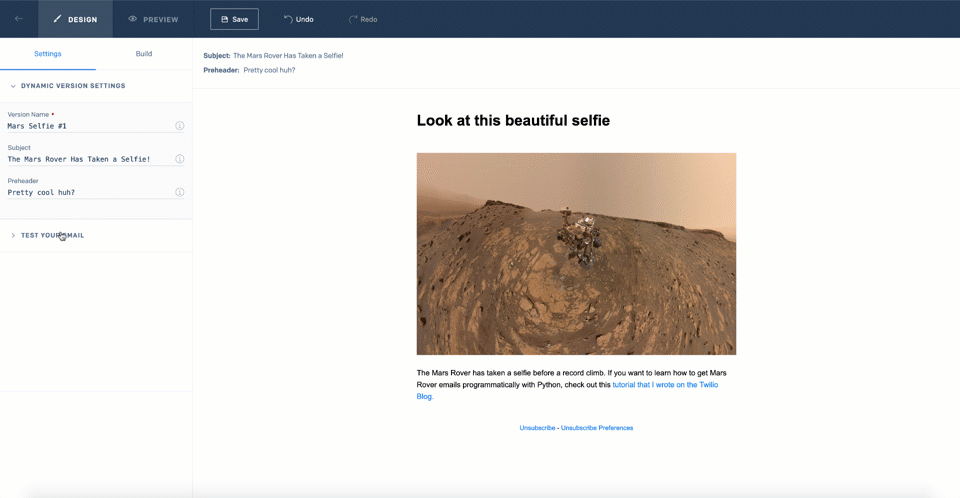
Give your template a Version Name and a subject line, which will be the subject of the email when it is sent.
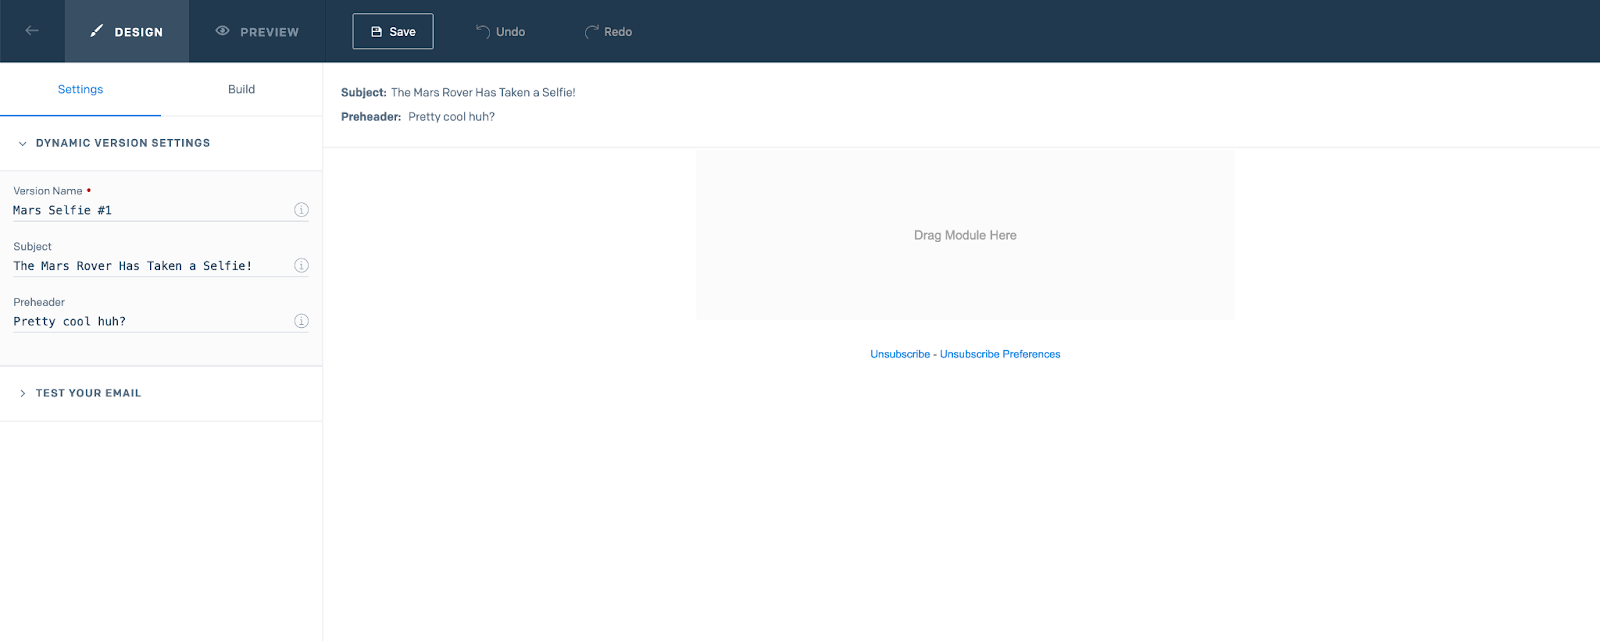
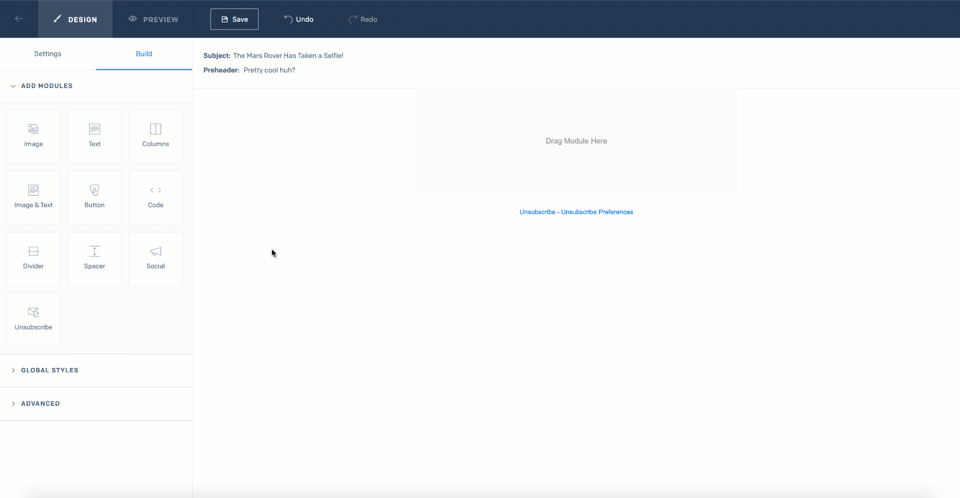
The Design Editor has a variety of features that you can use via a drag and drop interface, such as inserting images and text as well as buttons, code blocks, unsubscribe preferences, etc. The GIF below demonstrates these features in action. For this email we are going to add an image of the selfie that the Mars Rover took, and a text block explaining the image and linking to a technical blog post about how to use the Mars Rover API with SendGrid.
Sending an Email using your Template
Before you can send an email, you'll have to create a Sender. This requires you to enter things such as your contact information and mailing address, in order to comply with anti-spam regulations. If your email address matches one of your verified domains, then you don't have to validate that email address at this step. Here is another guide on domain verification, which is a step we highly recommend following.
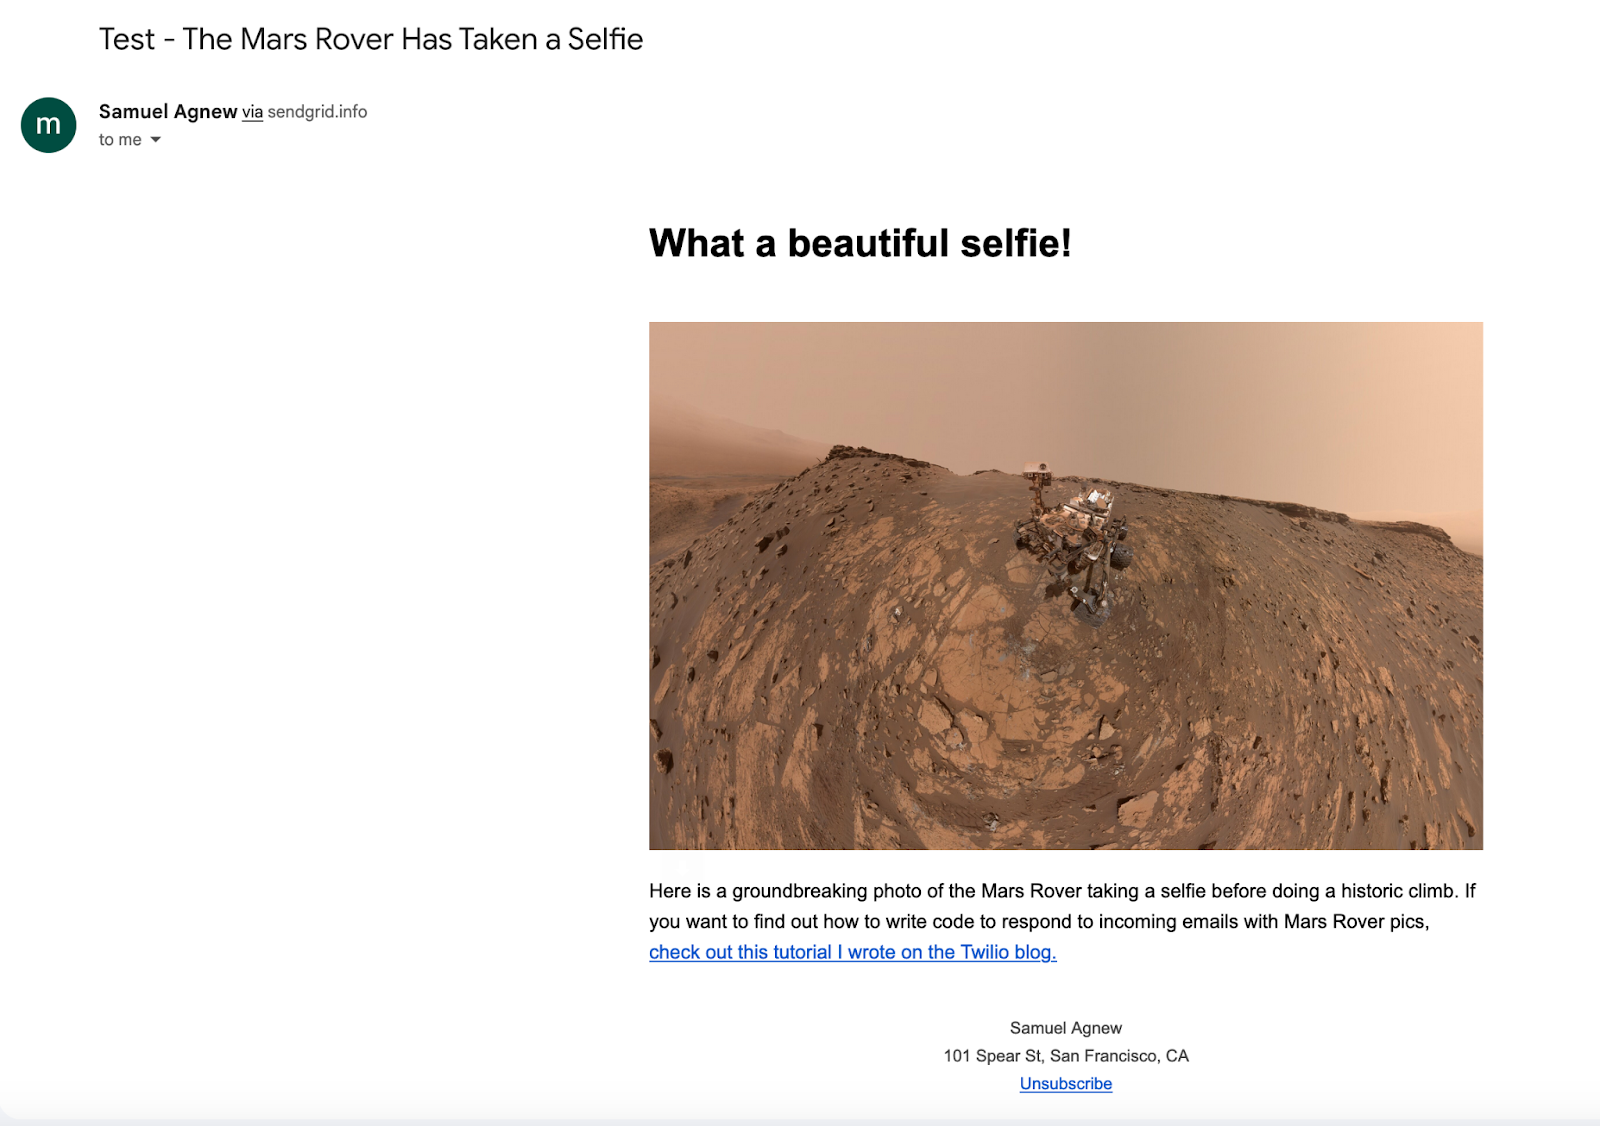
Once you have a Sender, you can send this email either using the SendGrid Dashboard or with code. You can test this email out by scrolling down in the design editor and clicking the "Send Test Message" button as seen in the GIF below.
In your inbox you should see something like this:
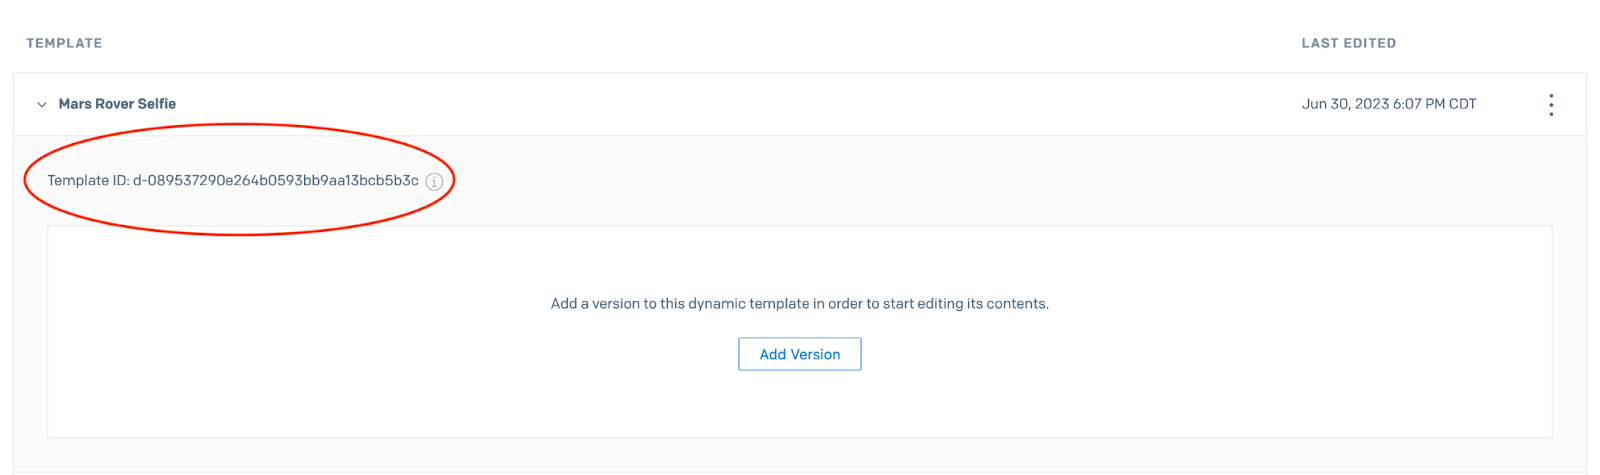
If you want to send this email via the API, you need to use the Template ID in your code. You can copy and paste the Template ID by viewing your Dynamic Templates in your SendGrid account.
Before you can write code using the Twilio SendGrid API for emails, you'll need to create an API key if you don't already have one. The following code sample displays how to send an email using a Dynamic Template in Python:
The dynamic_template_data in the message are "key: value" pairs that represent data you want to display in the email. You can read more about this on the SendGrid docs. For the purposes of this tutorial, we are keeping things simple and sending a template that does not contain custom data.
Make sure to set your API key to an environment variable named SENDGRID_API_KEY, and to install the Twilio SendGrid helper library for Python using the command pip install sendgrid before attempting to run this code.
Now that you know how to use the Design Editor, you can create all kinds of different custom emails that you can use for Marketing Campaigns. I can't wait to see what you build. Feel free to reach out for any questions, or to show off how you're using Dynamic Templates in your own projects.
- Email: sagnew@twilio.com
- Twitter: @Sagnewshreds
- Github: Sagnew
- Twitch (streaming live code): Sagnewshreds

Related Resources
Twilio Docs
From APIs to SDKs to sample apps
API reference documentation, SDKs, helper libraries, quickstarts, and tutorials for your language and platform.
Resource Center
The latest ebooks, industry reports, and webinars
Learn from customer engagement experts to improve your own communication.
Ahoy
Twilio's developer community hub
Best practices, code samples, and inspiration to build communications and digital engagement experiences.