How to Generate a QR Code with Python
Time to read:
September 20, 2023
Written by
Reviewed by
Quick Response (QR) codes are two-dimensional barcodes that can store data, such as text or a web link. They are widely used for various applications like mobile payments, advertising, and product labeling.
In this tutorial, we will build a QR code generator using FastAPI, a modern, fast (high-performance) web framework for building APIs with Python. Our QR code generator will have the option to add a custom watermark to the QR code, and we will also add validation to ensure that a URL is provided in the request.
Prerequisites
- Python 3.8+ and Pip installed on your machine
- The code editor of your choice, I recommend Visual Studio Code
- cURL or Postman or the Postman Visual Studio Code extension
- A smartphone with a camera that supports QR code scanning
Build the QR code generator app
First, let's create the core web app using FastAPI and the qrcode library. Start with creating a directory named python-qr-code, where you store your Python code.
Then, create two additional folders in the new directory, named data and qrcodes.
- data will hold custom watermarks that we will use later to create custom QR codes
- qrcodes will hold the generated QR Codes
Let’s also change into the top-level project directory.
Now, create a virtual environment and activate it:
After that, install the required packages (fastapi, qrcode[pil], and uvicorn) using pip:
Then, create a new Python file, main.py, and add the following code to it:
In the main.py file, we have:
- Imported the required modules.
- Created an instance of the
FastAPIclass. - Defined a URL model with a single field,
url, of typestr. - Created a route,
/generate, that accepts a POST request with a JSON body containing a parameter namedurl. - The
generate_qr_code()function creates a QR code from the provided URL and saves it in qrcodes directory locally, as an image file named qrcode.png. It then returns a JSON response with a success message and the filename of the QR code image.
Now, let’s run the application.
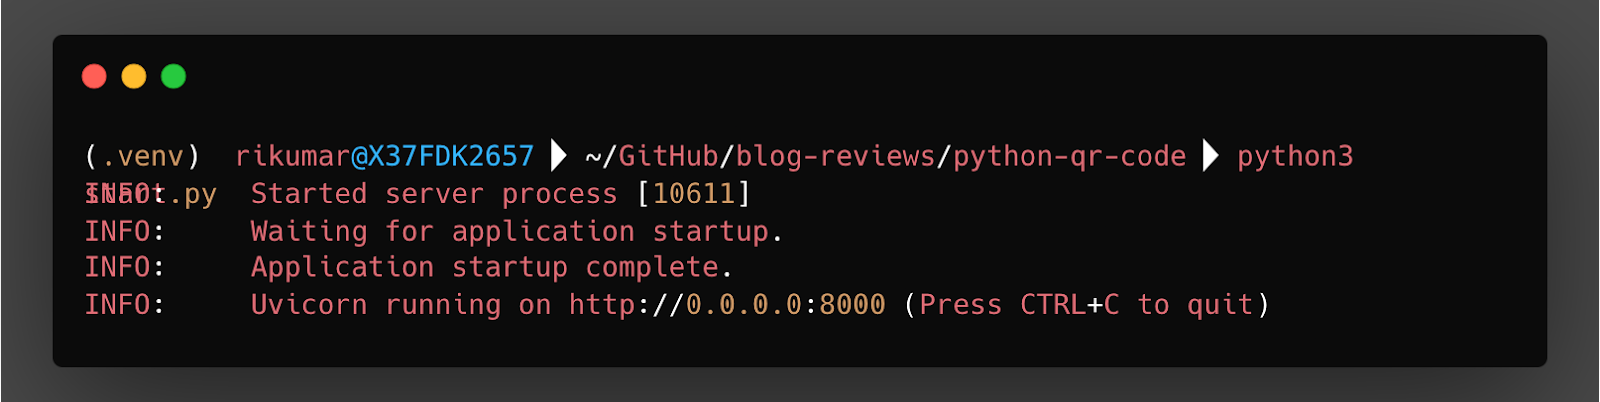
Your FastAPI application will be running on http://127.0.0.1:8000.
Test if it works
Use an API client like Postman or cURL (in a new tab or session) to send a POST request to http://127.0.0.1:8000/generate with a JSON body that includes the url field, such as in the cURL example, below.
The API will generate a QR code, similar to the one below, with the provided URL and save it as qrcode.png in the qrcodes directory.

Customize the QR Code
Now, let's modify our QR code generator to add a custom watermark to the QR code. We will also add validation to ensure that the url field is provided in the request.
Modify the Url model in main.py to include an optional watermark field by updating it to match the following code.
Then, modify the generate_qr_code() function in main.py to add the watermark to the QR code, by updating it to match the following code.
In this modified version of the generate_qr_code() function, we first create a QR code image from the provided URL. Then, if a watermark parameter is provided, we open the watermark image and we resize the watermark image to be 1/5th (one-fifth) the size of the smaller dimension of the QR code image, before pasting it onto the QR code image. This ensures that the watermark will always fit within the QR code image.
Also, the filename of the saved QR code image is modified to include the URL, by replacing the slashes and dots in the URL with dashes. This will save the QR code image with a filename like "qrcode-url-com.png".
Test the code changes
Now, let’s test our code changes. I have an image named twilio-tile-logo.png in the data directory that we will be using as the watermark, you can download it here or use your own watermark. This time I will use the Postman extension in Visual Studio Code, as in the screenshot below, to send a POST request to http://127.0.0.1:8000/generate with a JSON body that includes the url and watermark fields.
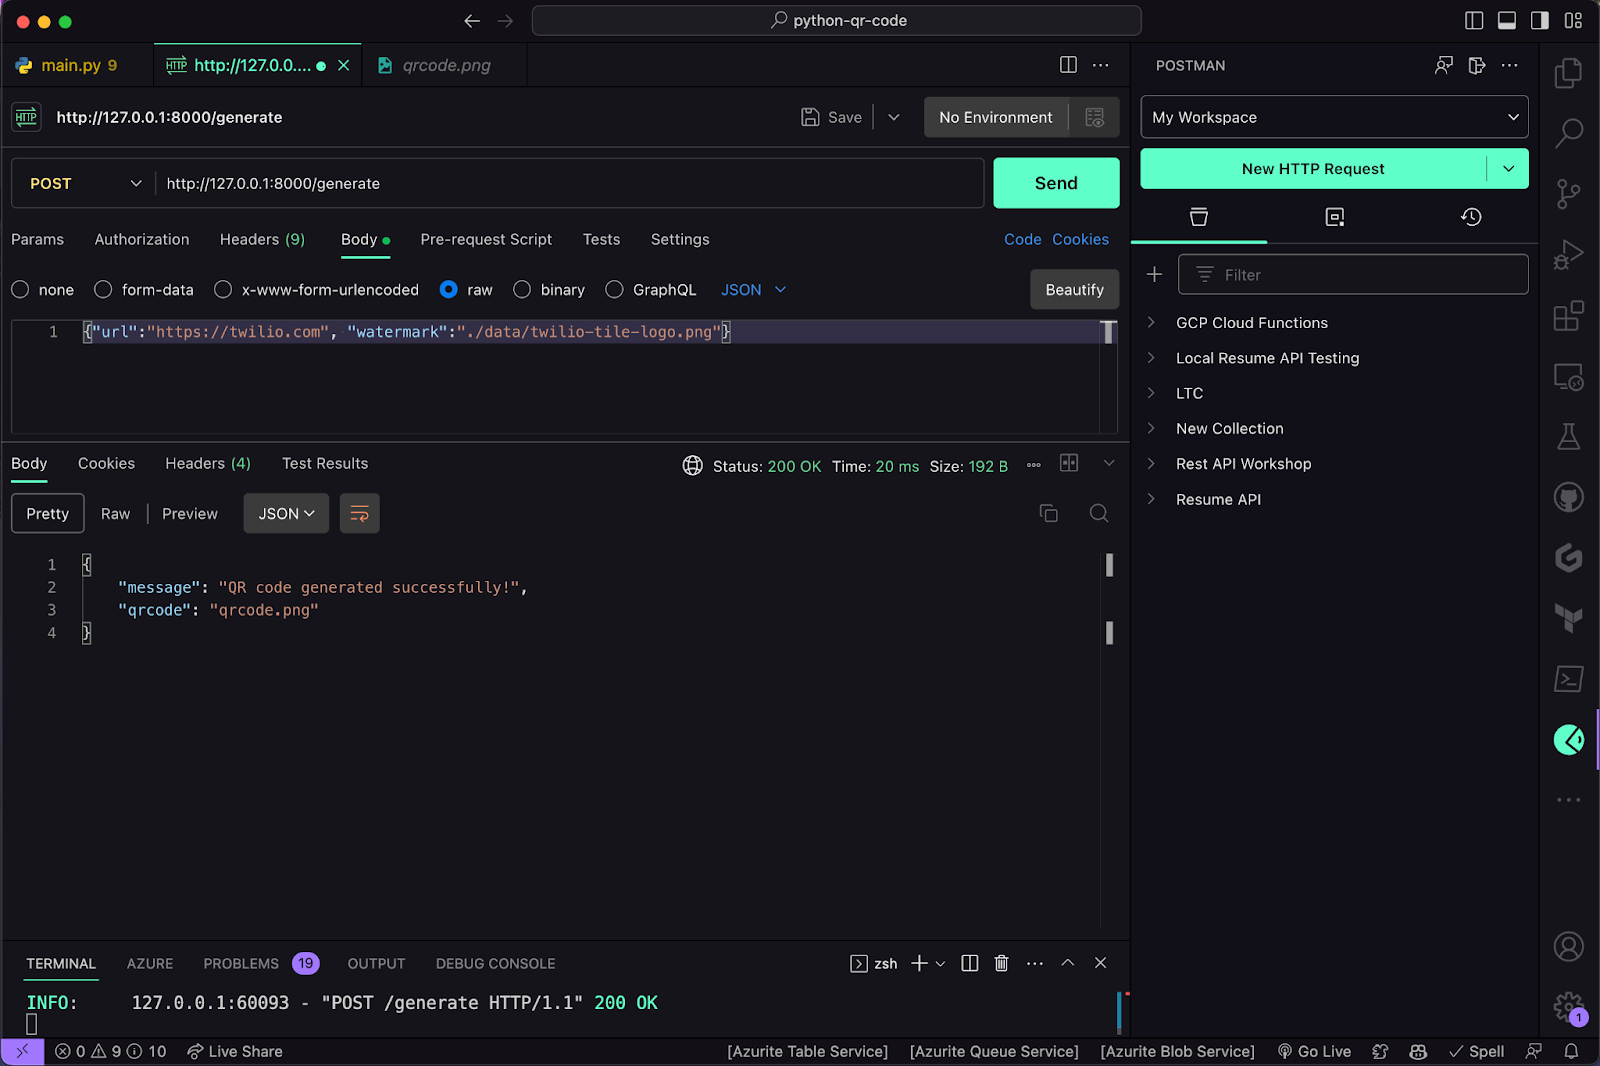
If you want to use cURL, here is the equivalent command.
The API will generate a QR code for the provided URL, add the provided watermark to the center of the QR code, and save it with a filename that includes the URL.

That's it! You have successfully created a QR code generator using FastAPI that can add a custom watermark to the QR code and validates that the url field is provided in the request.
If you are interested in how to do this in Go, check out “How to Generate a QR Code with Go”
Rishab Kumar is a Developer Evangelist at Twilio and a cloud enthusiast. Get in touch with Rishab on Twitter @rishabk7 and follow his personal blog on cloud, DevOps, and DevRel adventures at blog.rishabkumar.com


Related Resources
Twilio Docs
From APIs to SDKs to sample apps
API reference documentation, SDKs, helper libraries, quickstarts, and tutorials for your language and platform.
Resource Center
The latest ebooks, industry reports, and webinars
Learn from customer engagement experts to improve your own communication.
Ahoy
Twilio's developer community hub
Best practices, code samples, and inspiration to build communications and digital engagement experiences.