Build an IoT Doggy Alarm so Your Furry Friend Can Tell You They Want To Go Outside
Time to read:
July 05, 2022
Written by
Reviewed by
This post is part of Twilio’s archive and may contain outdated information. We’re always building something new, so be sure to check out our latest posts for the most up-to-date insights.

Sometimes dogs like to mistake furniture for a toilet. Out of fear for my new shoe cupboards, I decided to make a doorbell for my dog, Bobby, to push to alert me when he needed to go outside. It took a little while (and cost me a lot of treat-based incentives) to get him to push it, but soon enough, Bobby would stand by the door… and wait until I could see him to push the button. This got me wondering: could I build something where I would be notified when he stands close to the door?
In this guide, I will show you how to build a sensor capable of detecting your fluffy friend’s proximity to your door then send you a text message alert, using an Arduino and Twilio’s Programmable SMS.
Workflow
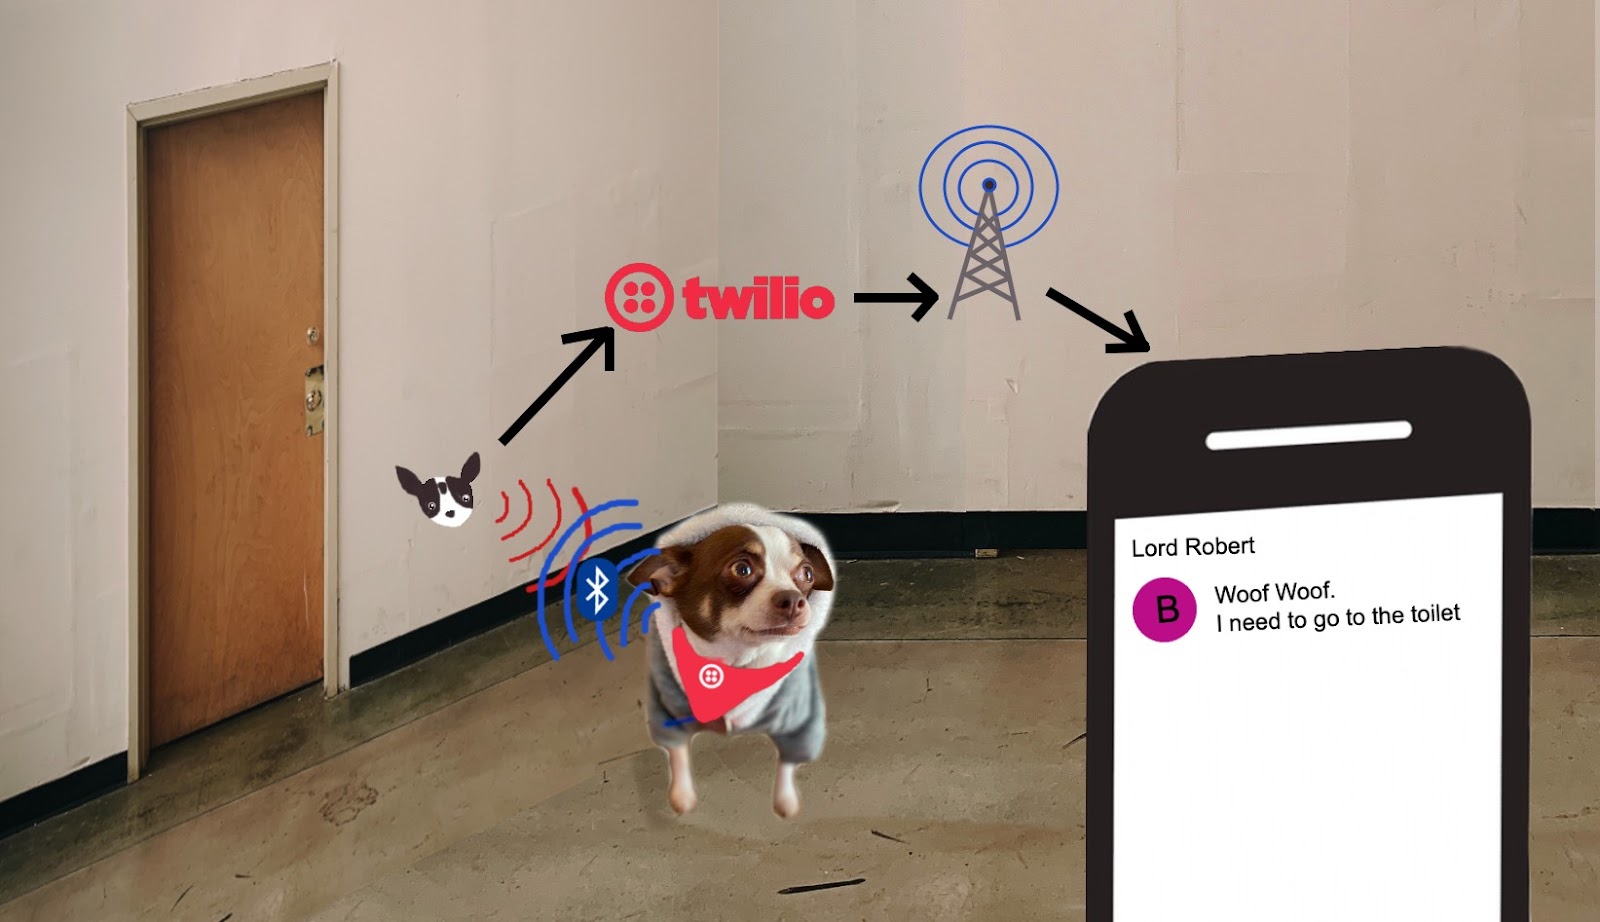
It’s that time of day. Your dog wants to go outside and stands by the door hoping you’ll notice. The Bluetooth Low Energy (BLE) tag that your dog is wearing has a unique ID and emits a signal that only triggers the WiFi enabled ESP32 board when it is in close proximity. The board then executes a request to the Twilio REST API to send an SMS with a loving message from your dog to you.
Prerequisites
Before you can begin building the pet bathroom warning system, you’ll need a few accounts, plus some hardware and software.
- Twilio account (sign up here for a free trial)
- Phone number capable of sending SMS
Hardware
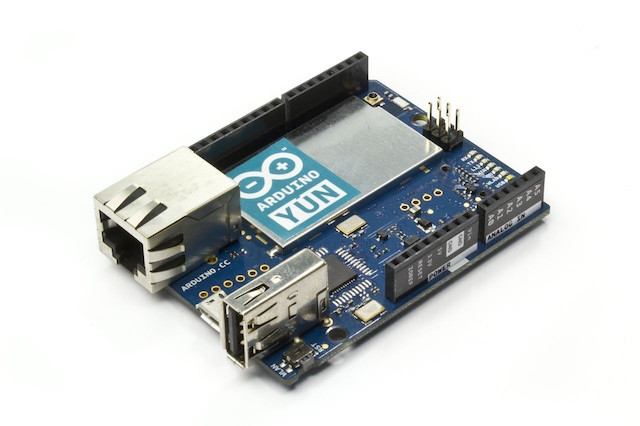
- Microcontroller NodeMCU ESP32 - Amazon
- Bluetooth Low Energy tag (BLE) - Available on Amazon
- USB - Micro-USB cable
- Power source near your door - battery pack with at least 5V or access to a plug.
- Command Velcro Strips to secure your enclosure to a wall near the door - Amazon (Optional)
- 3D Printer - I use the Creality Ender 3 (Optional)
Software
- Development environment: Arduino IDE
- Ultimaker Cura - 3D printing software (Optional)
Other than that – is there anything else? Oh yeah – a dog (Very Essential)!
Let’s get building
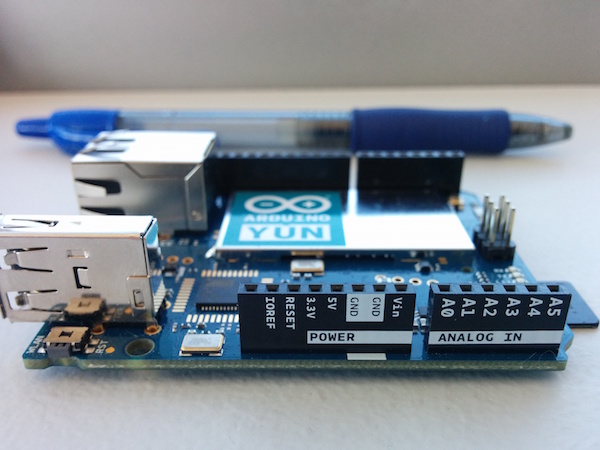
First things first, let’s open up your Arduino IDE, plug in your ESP32 using the micro-USB cable, and make sure the board lights up!
Set up your environment.
To get started you’ll need to download the ESP32_BLE_Arduino library from the library manager in your Arduino IDE. Tools > Manage Libraries.
Next, download the twilio-esp32-client library and add it manually to your environment. Sketch> include library> Add .zip Library. For further assistance follow this guide to installing libraries onto your IDE.
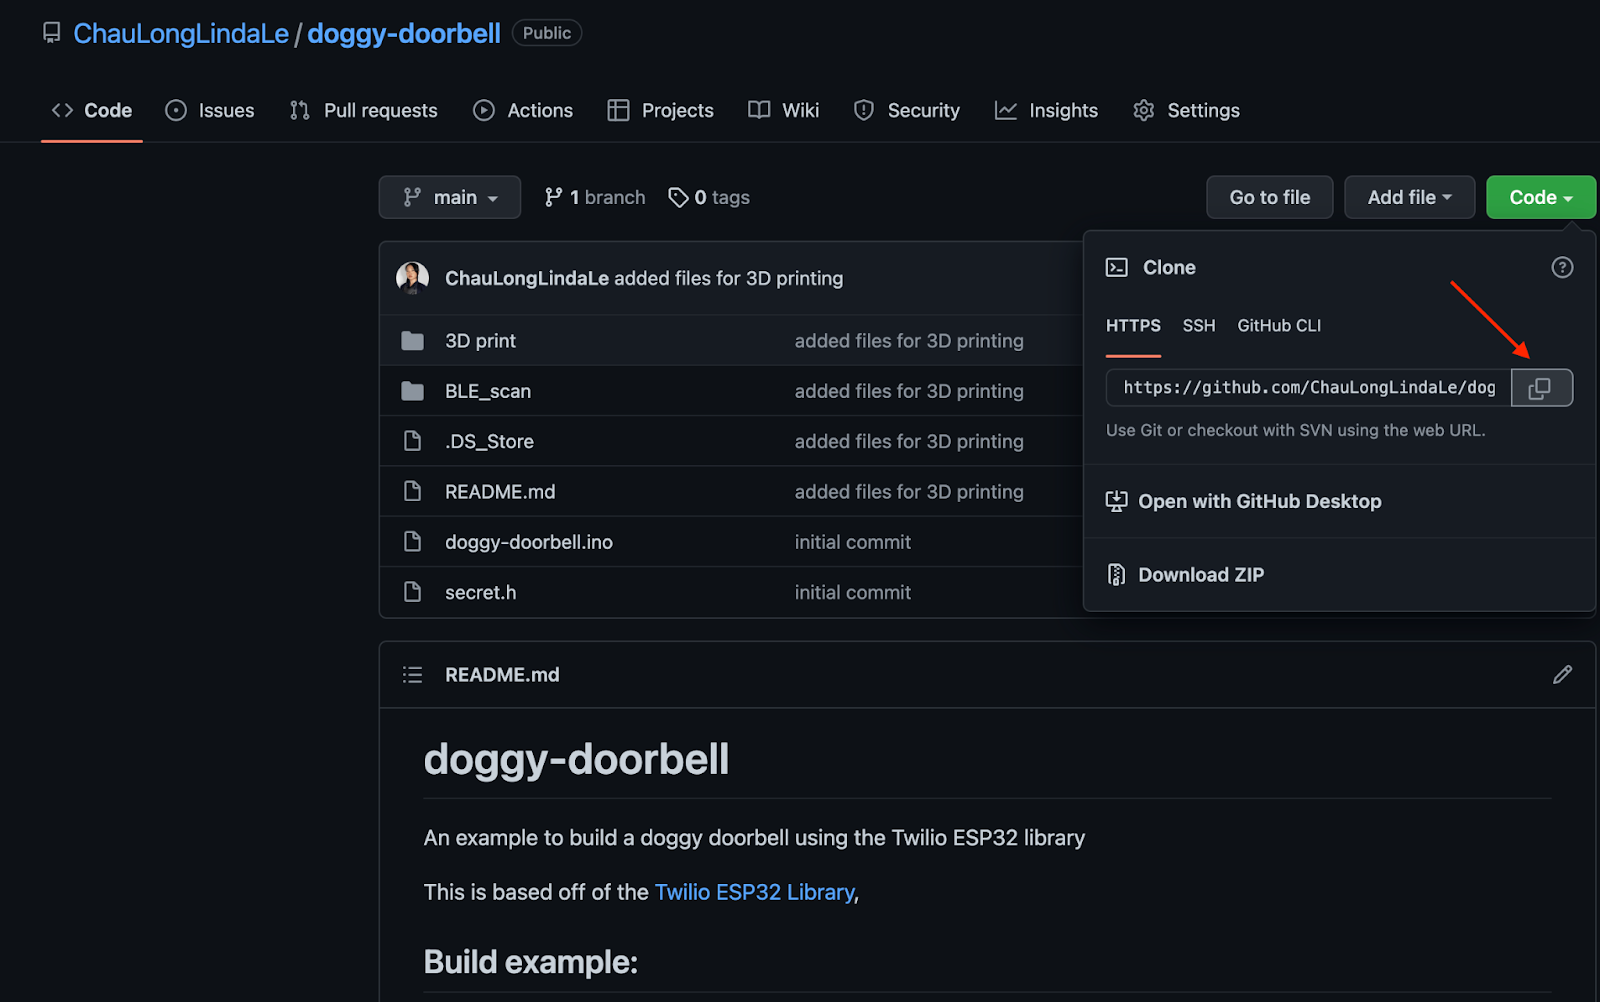
Clone this repository from GitHub
Check that your board works
Next, you'll want to detect the BLE tag’s service UUID so that you can identify when this comes in proximity to our microntroller acting as our sensor and trigger an SMS. To do this you'll need to open up BLE_scan.ino in your Arduino IDE Mac Users Cmd + U / Windows Users Ctrl + U to begin upload and press and hold boot on your microcontroller until it has been connected.
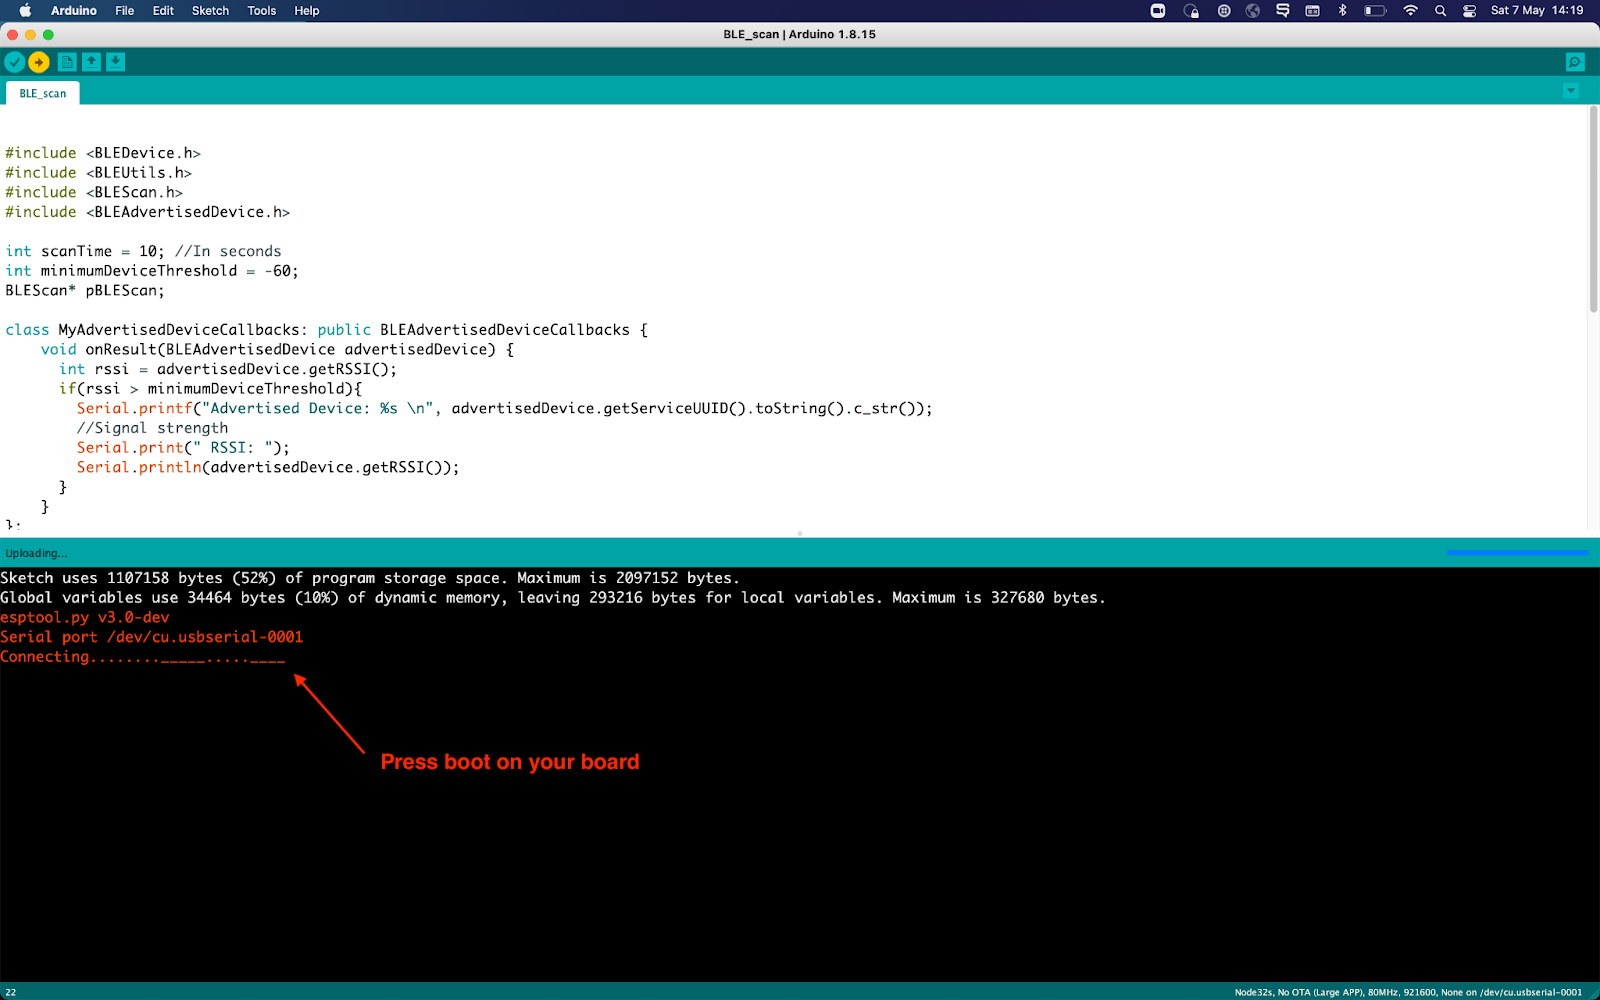
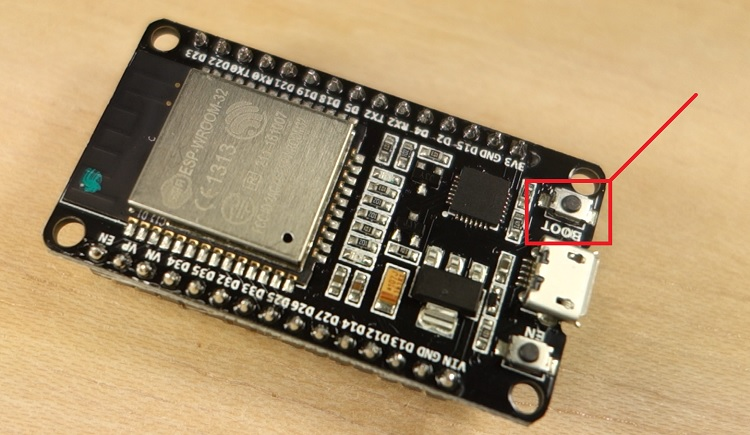
When you see the “Connecting…” message in Arduino, press the BOOT button on your board.
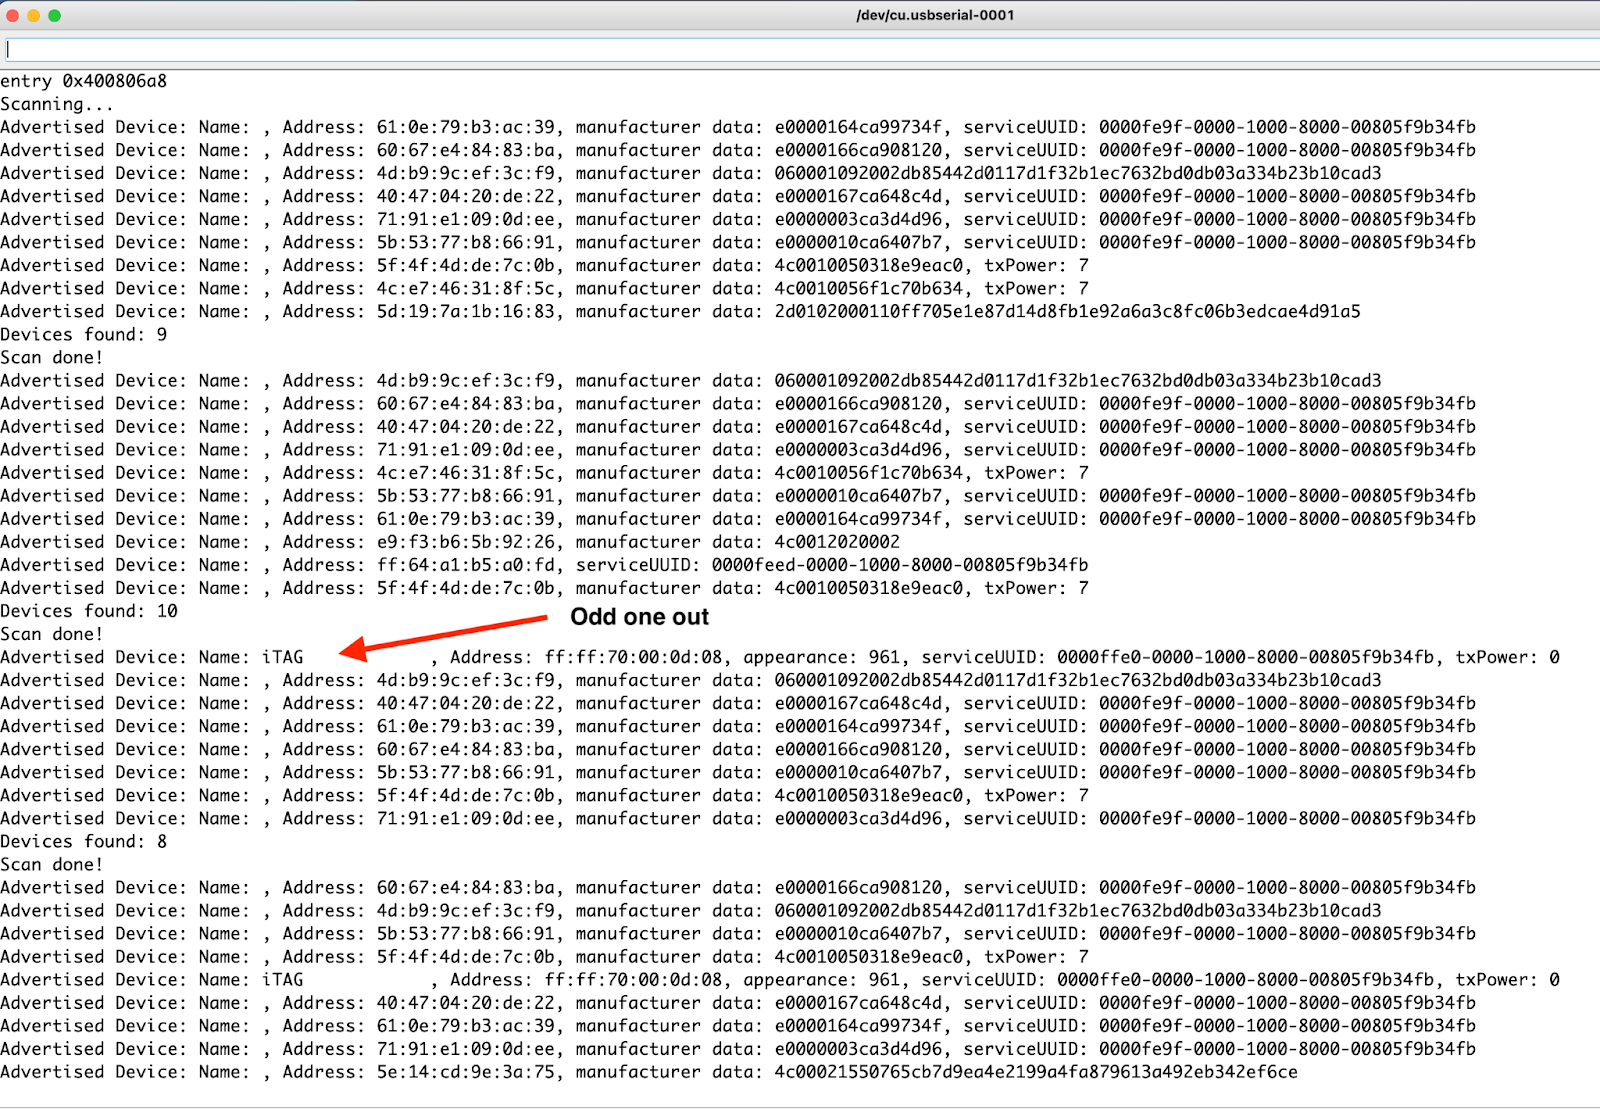
Detect your BLE tag
Open up the serial monitor in your Arduino IDE Mac Users Cmd + Shift + M/ Window Users Ctrl + Shift + M. From the scan you’ll be able to see a list of bluetooth devices and their signal strength. If you have a multitude of devices appearing, it will be useful to compare lists of advertised device names and signal strength when you take out the battery to help determine which one it is. Once you have the serviceUUID unique to your tag, place that variable into your doggyId variable in the doggy-doorbell.ino.
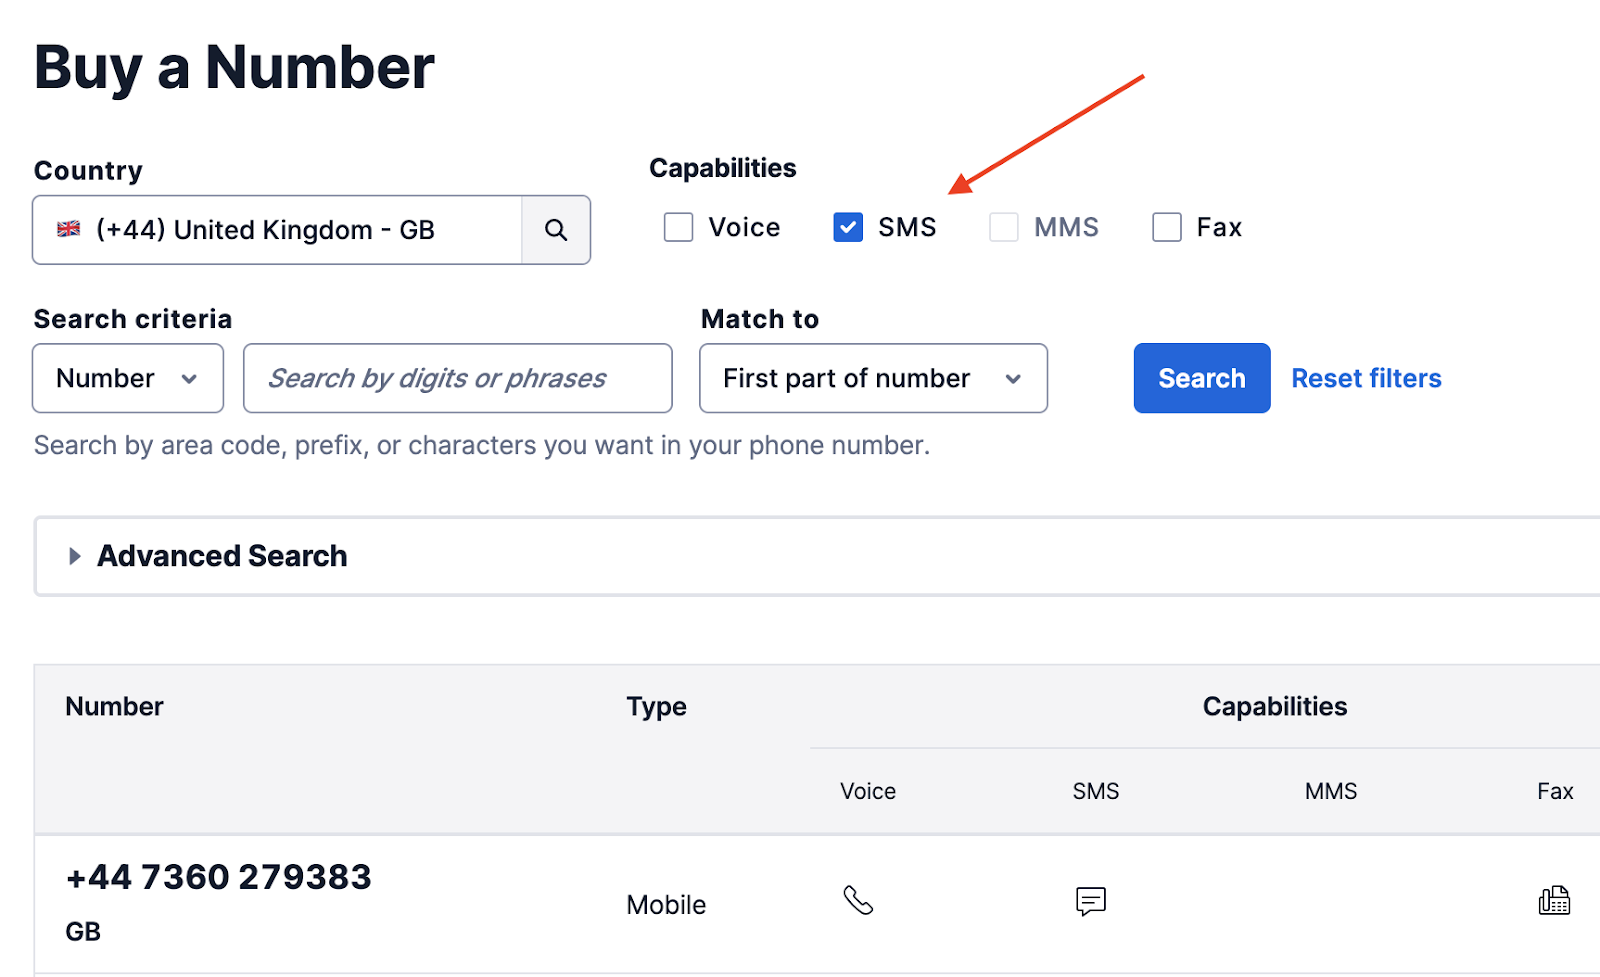
Buy a Twilio Number
You’ll either need to use a phone number that you currently own or purchase a number from the Twilio console. You can navigate here from the sidebar within the console and select the tab Phone Numbers > Manage > Buy a number or Active Numbers. As mentioned in the prerequisites, you will need a number with SMS capability in order to complete this guide.
Set your credentials
Place your corresponding credentials and numbers into the secret.h file and upload it to your board.
wifi_ssid: Your network SSIDwifi_password: Network's passwordaccount_sid: from twilio.com/consoleauth_token: from twilio.com/consoleto_number: A number to send the SMSfrom_number: A number from twilio.com/console authorized to send SMS

Test test test
Sending your first SMS should be as easy as pressing ‘Upload’ on the doggy-doorbell.ino – but when hardware is involved it’s always hard to guarantee the “works first time” feeling.
Throughout development it is recommended to keep the serial monitor open in order to see if the code is able to execute. Keep verifying your work (Ctrl +R/CMD +R) as you go along, and when in doubt stick with ol’ faithful: turn it off and turn it on again.

Build the Enclosure (Optional)
To protect your microcontroller and make it easier to mount, you will want to consider making, buying, or printing an enclosure.
To have yourself a Bobby shaped enclosure, I have included files in this GitHub repo to print/amend. I based my design off of this case and added a Chihuahua vector on top
Of course, a 3D printer is definitely a luxury item and is not necessary – you can find services to do one-off prints, buy an ESP32 case online, or build your own enclosure (hot glue and well-wishes do wonders!).
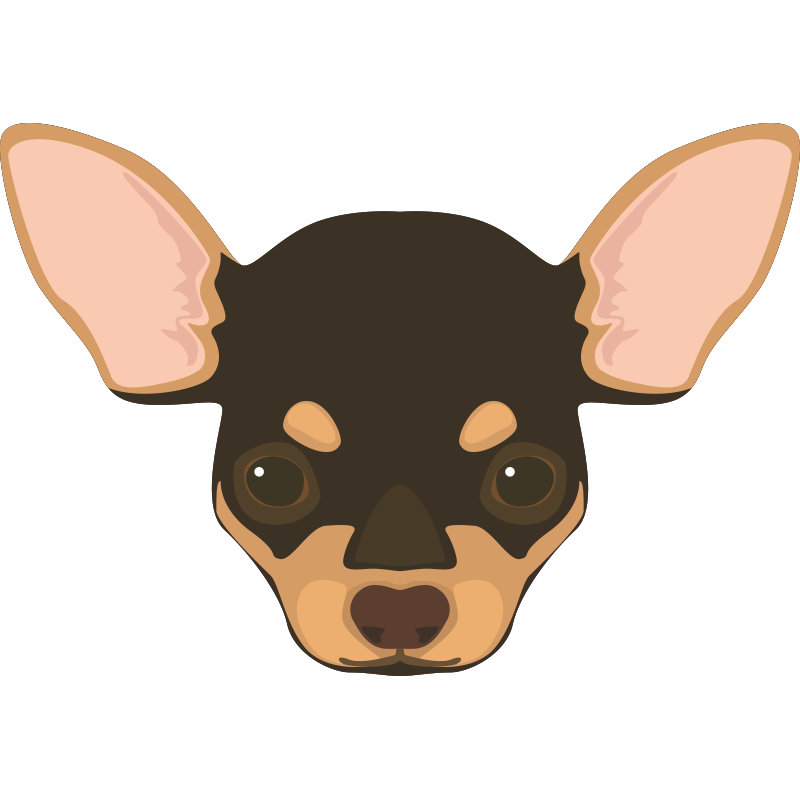
Chihuahua vector used to place on top of the enclosure for 3D printing
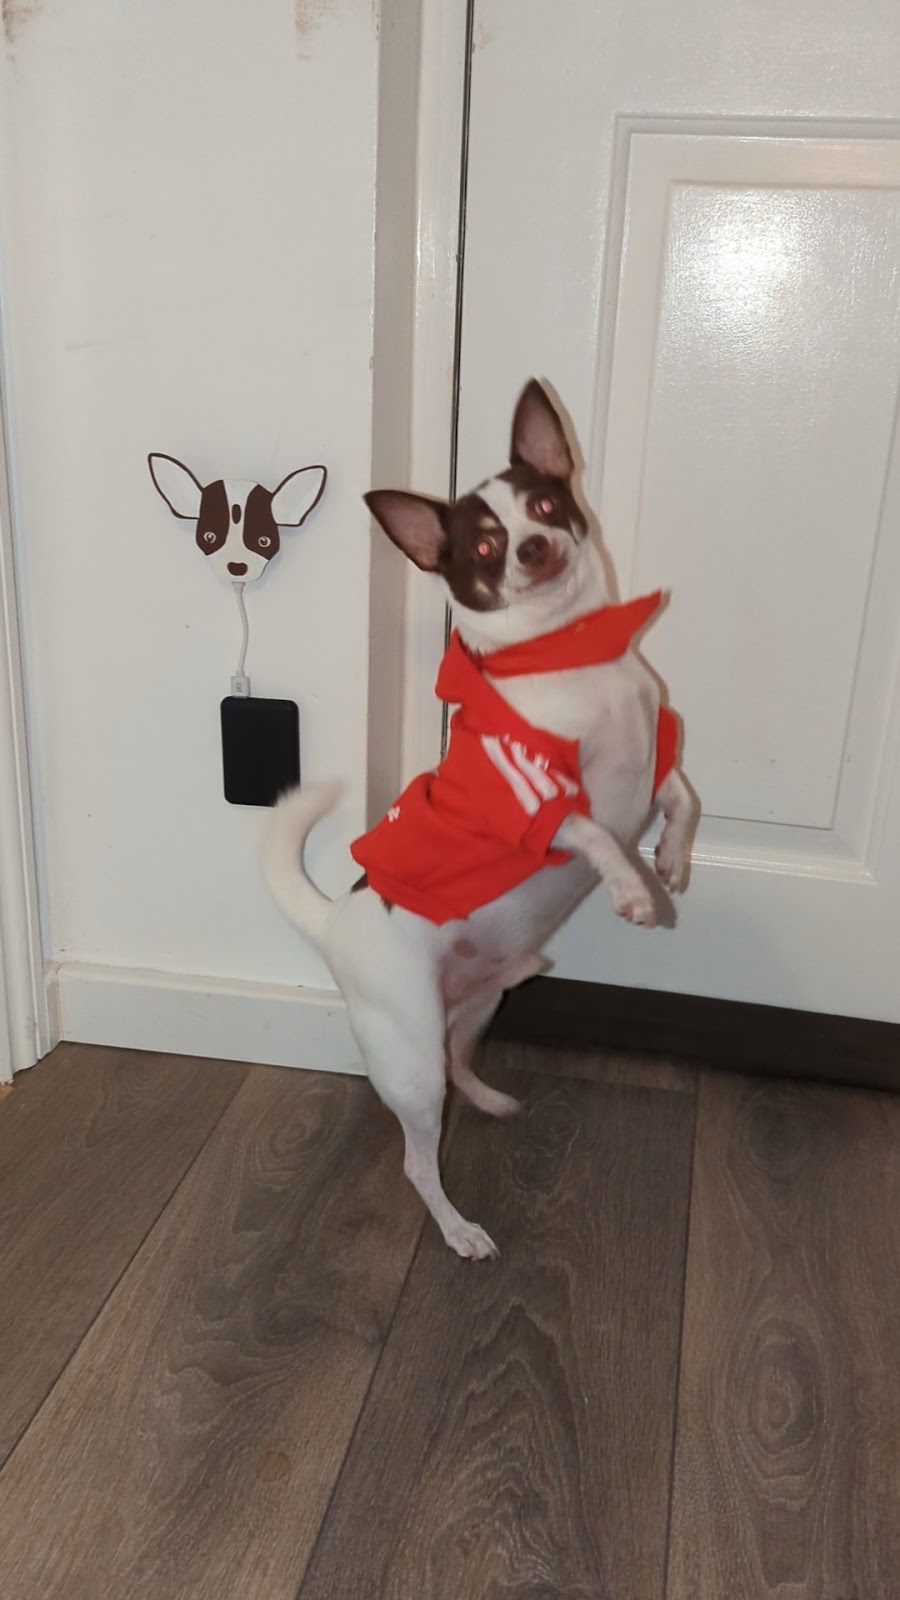
Put it all together
Now that you have your fully programmed board and an enclosure, it’s time to put it by your door. In my house, I have mounted it with adjustable velcro strips so I’m able to make updates or easily move its location. You will also need to power your board using a mountable battery pack, or a nearby plug socket.
Attach dog to tag
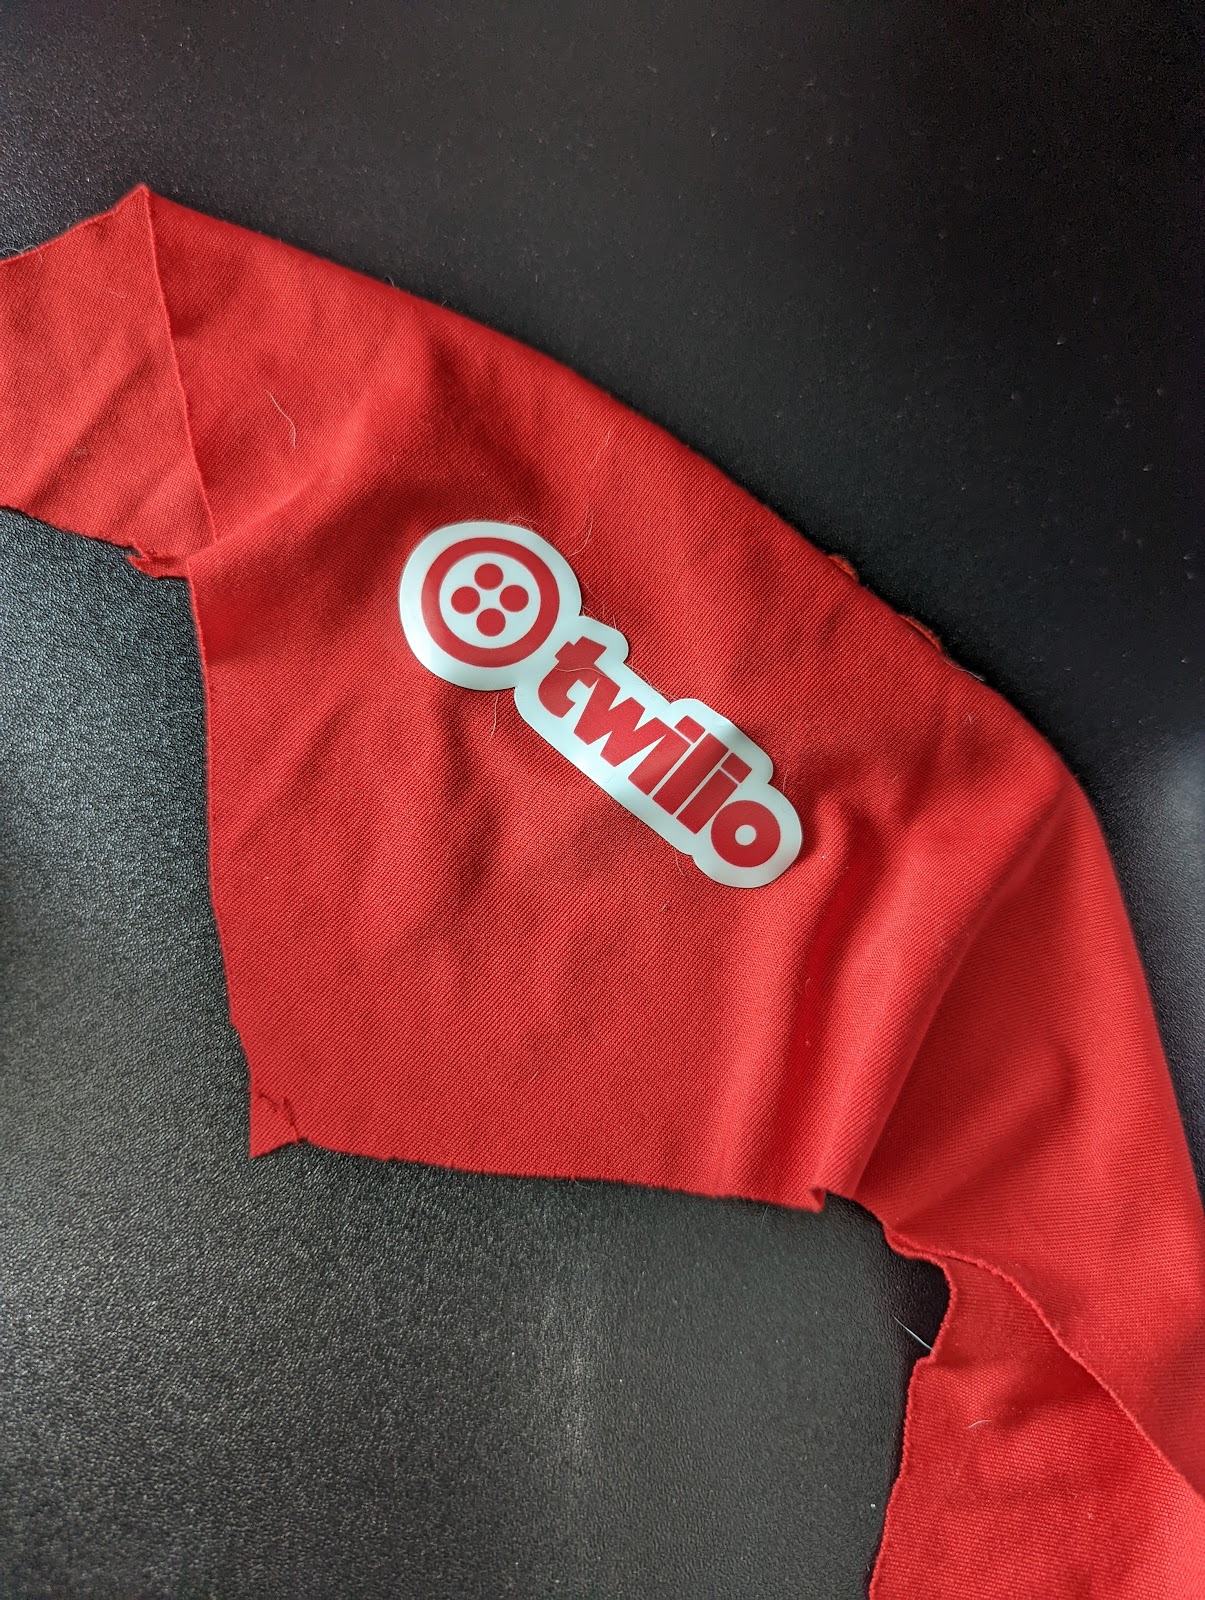
Once your board is mounted the next step is to attach your tag to your dog. If you have a tag that permits you to, you could attach it to their collar. I sewed a bandana with a pocket for the tag, and put it in there.
You did it (hopefully). If you find yourself thinking “Instructions unclear, mounted dog to door” or need any assistance on your build please feel free to reach out to me on lile@twilio.com. If you liked this blog please view our accompanying videos on Tiktok. Here's a preview:
And if you’re interested in other IoT projects try the Dog selfie, Mail Pig sensor or IoT poop button!
Are you building anything with Twilio and IoT? We'd LOVE to hear about it.
Despite never having fathered a child, Linda Lê is a Dad joke specialist / Associate Solutions Engineer at Twilio supporting the United Kingdom and Ireland.

Related Resources
Twilio Docs
From APIs to SDKs to sample apps
API reference documentation, SDKs, helper libraries, quickstarts, and tutorials for your language and platform.
Resource Center
The latest ebooks, industry reports, and webinars
Learn from customer engagement experts to improve your own communication.
Ahoy
Twilio's developer community hub
Best practices, code samples, and inspiration to build communications and digital engagement experiences.